Sailing Vessel (SV) Sarah
Sarah has a new owner as of 7/26/2021. There will be no more updates to these SV Sarah pages
Sarah has a new owner as of 7/26/2021. There will be no more updates to these SV Sarah pages
|
|||||||||||||||||||||||||||||||||||
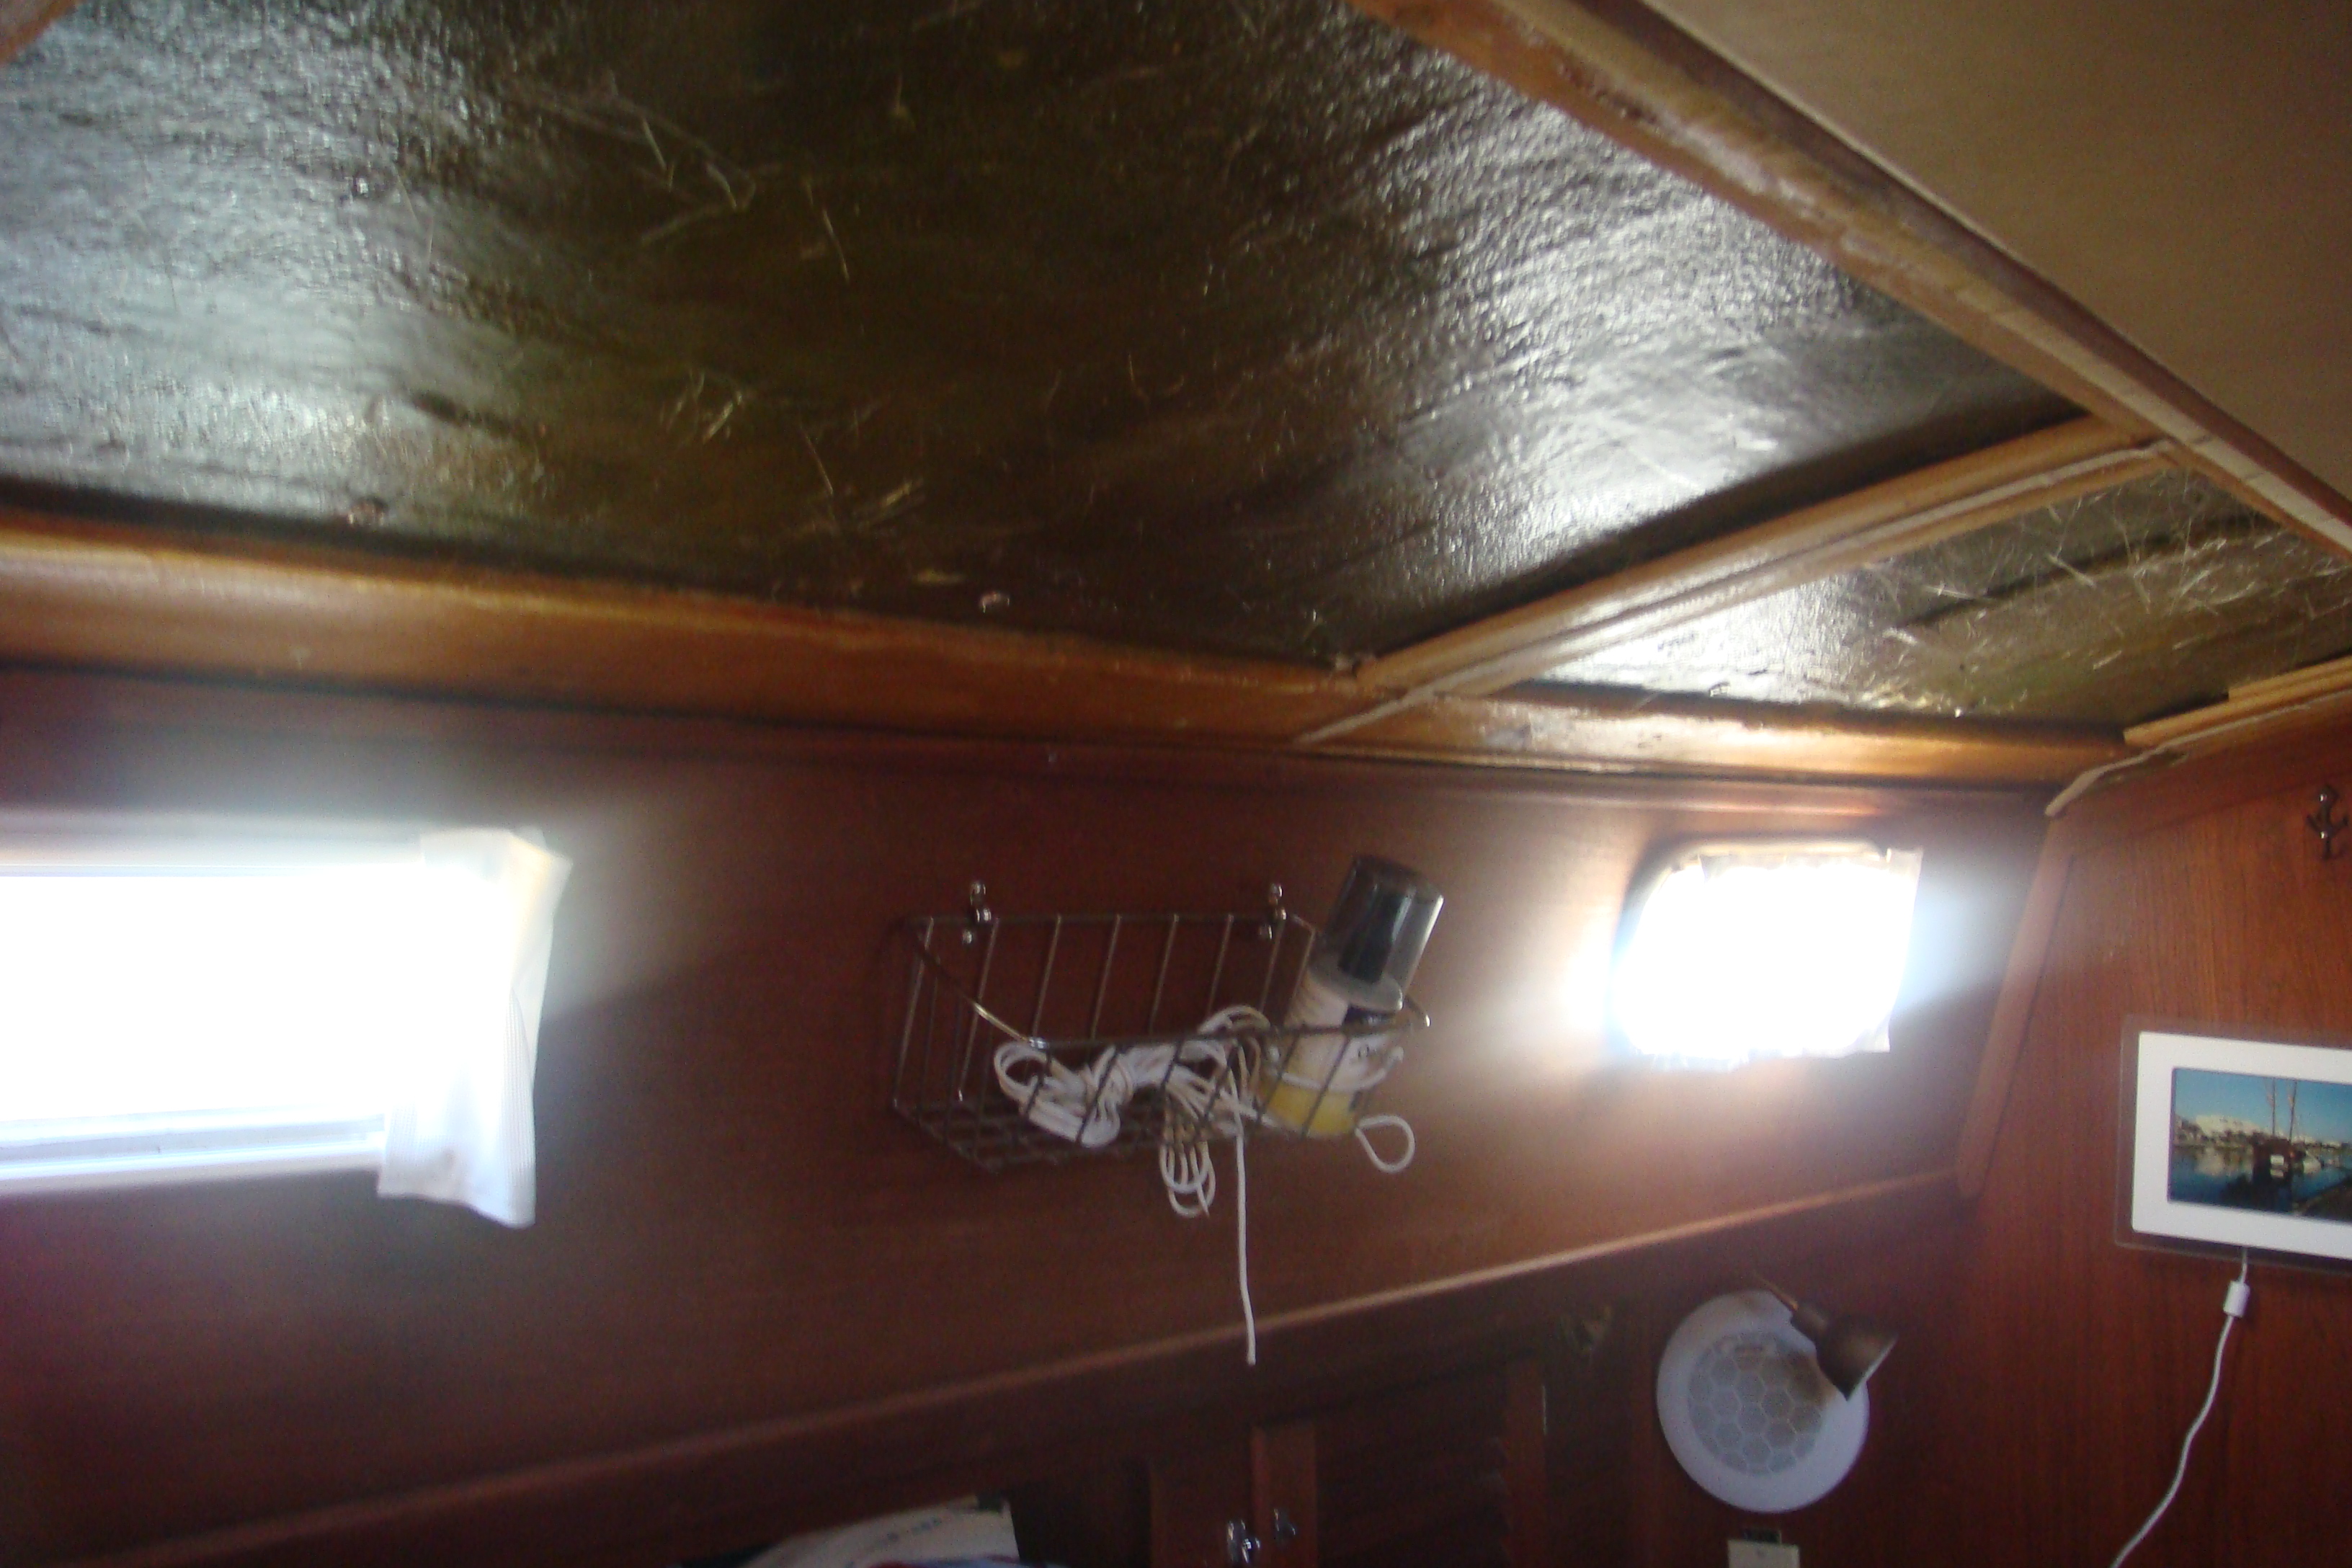
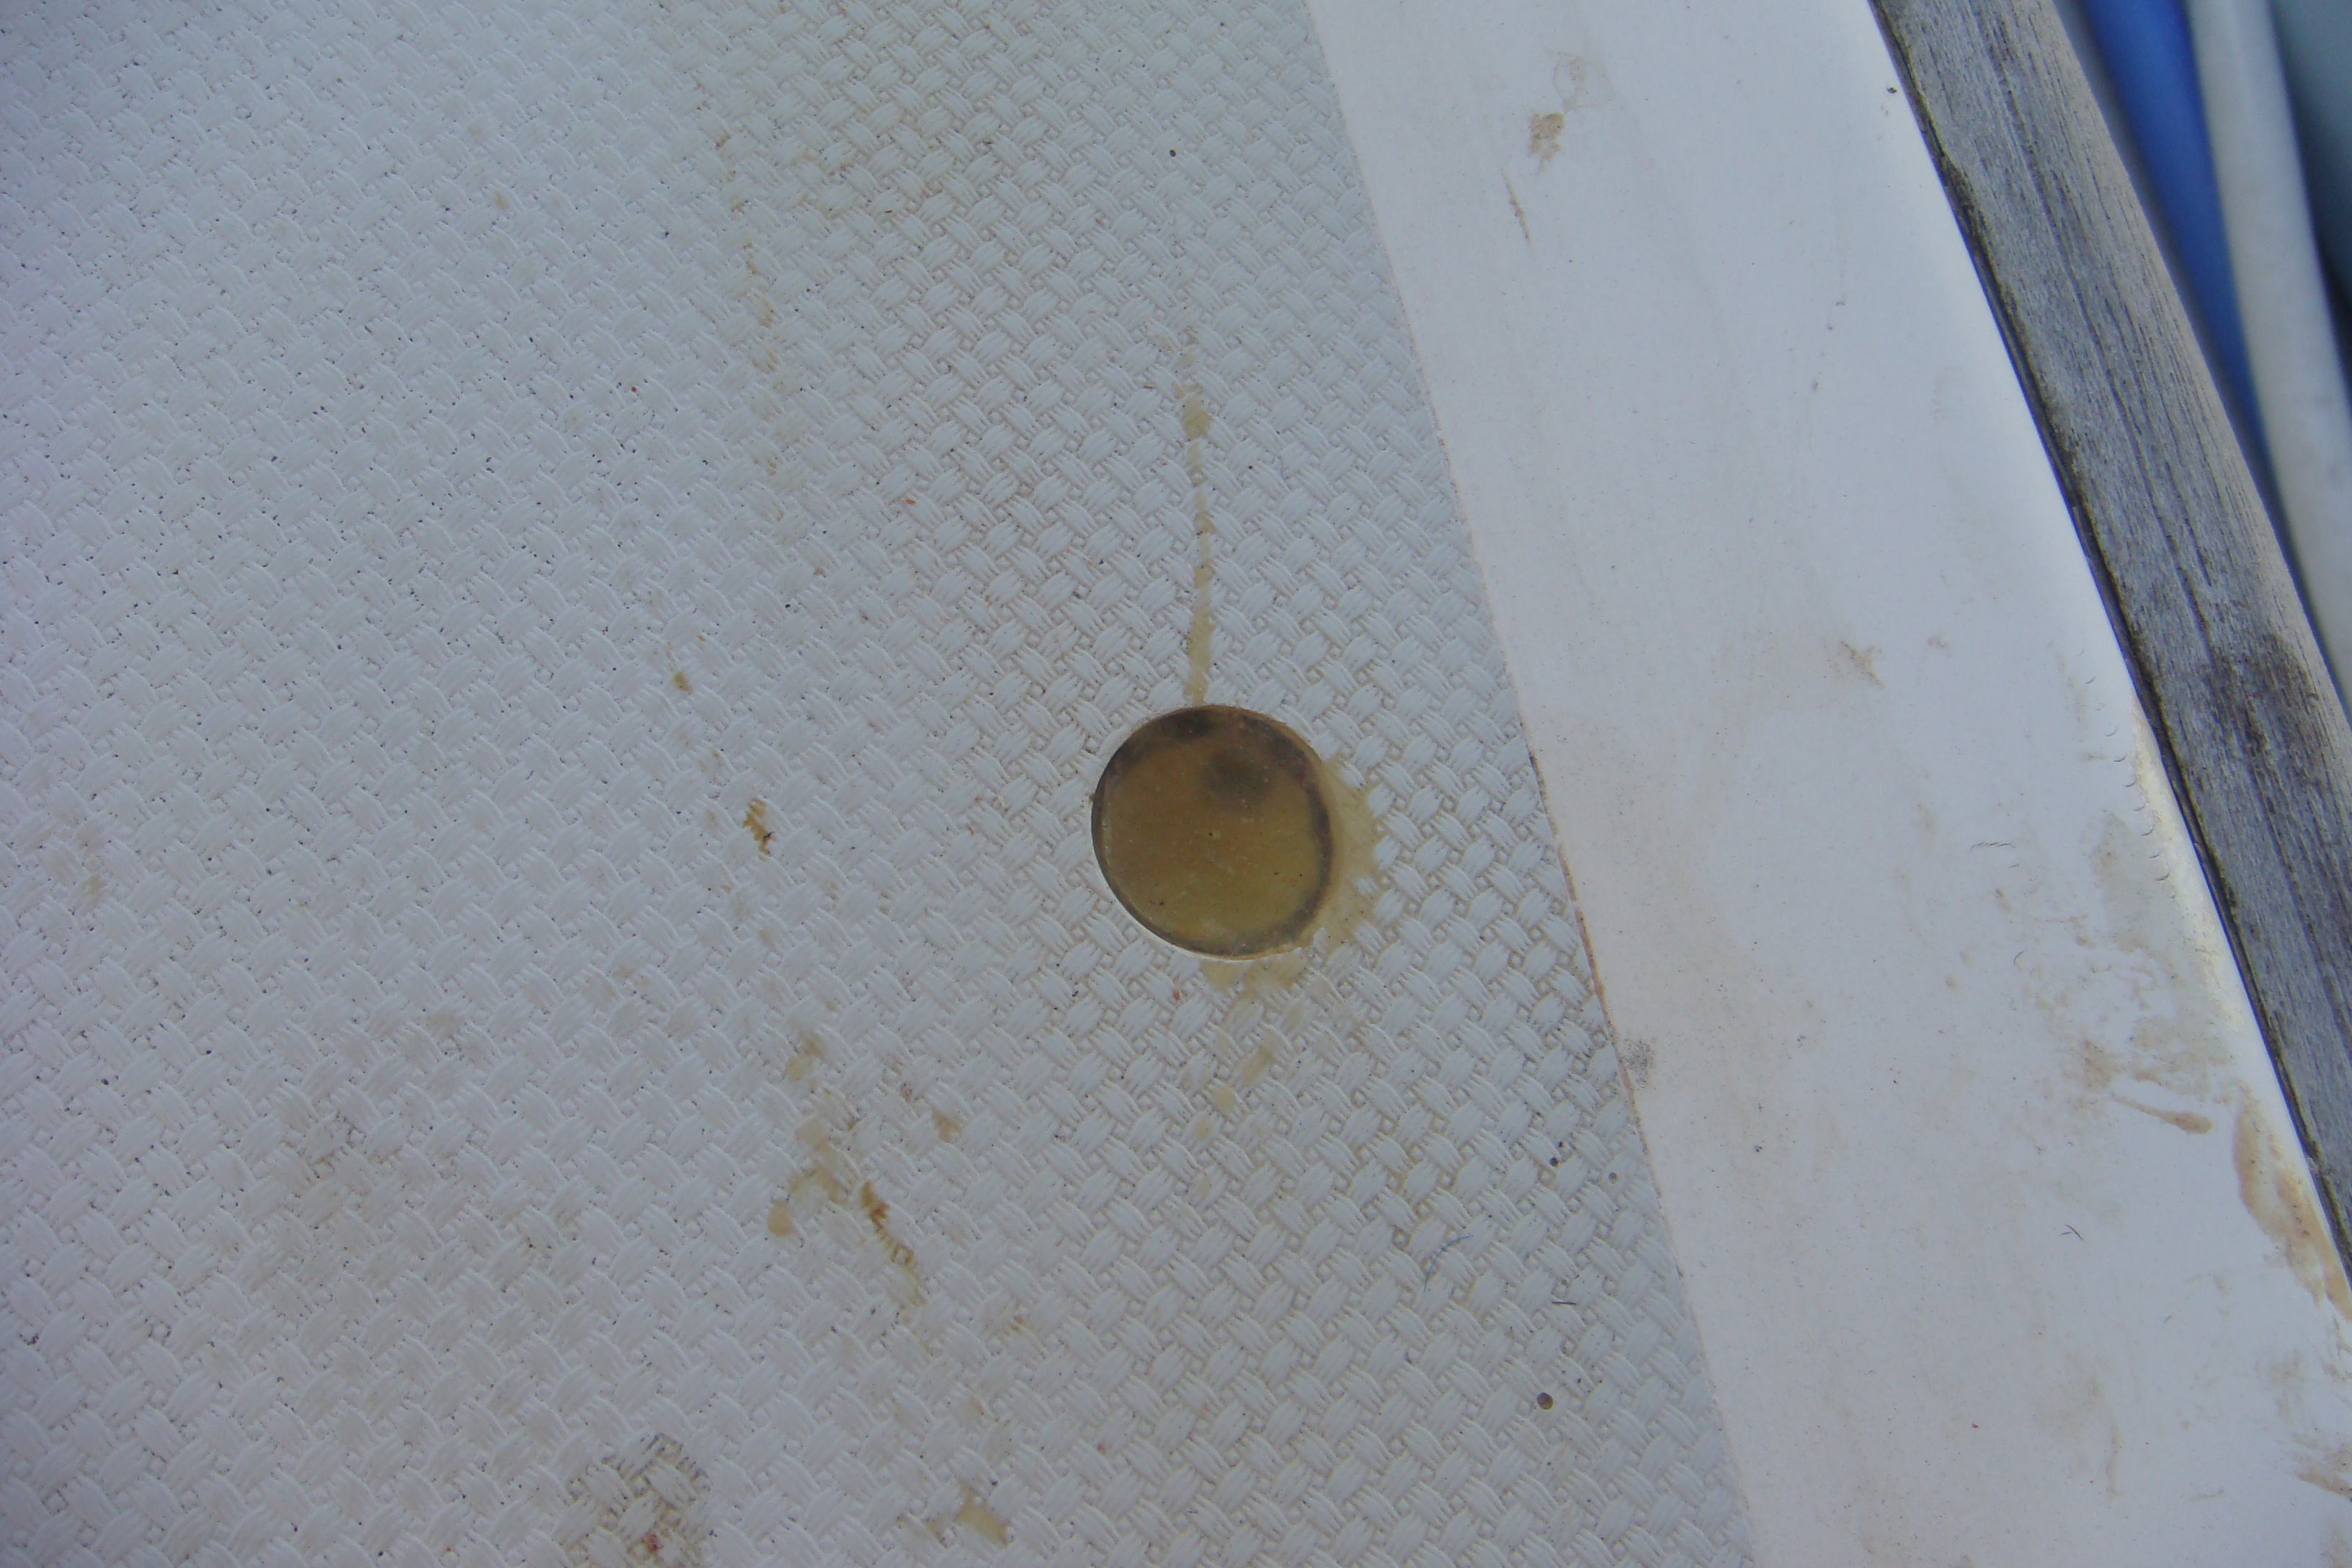
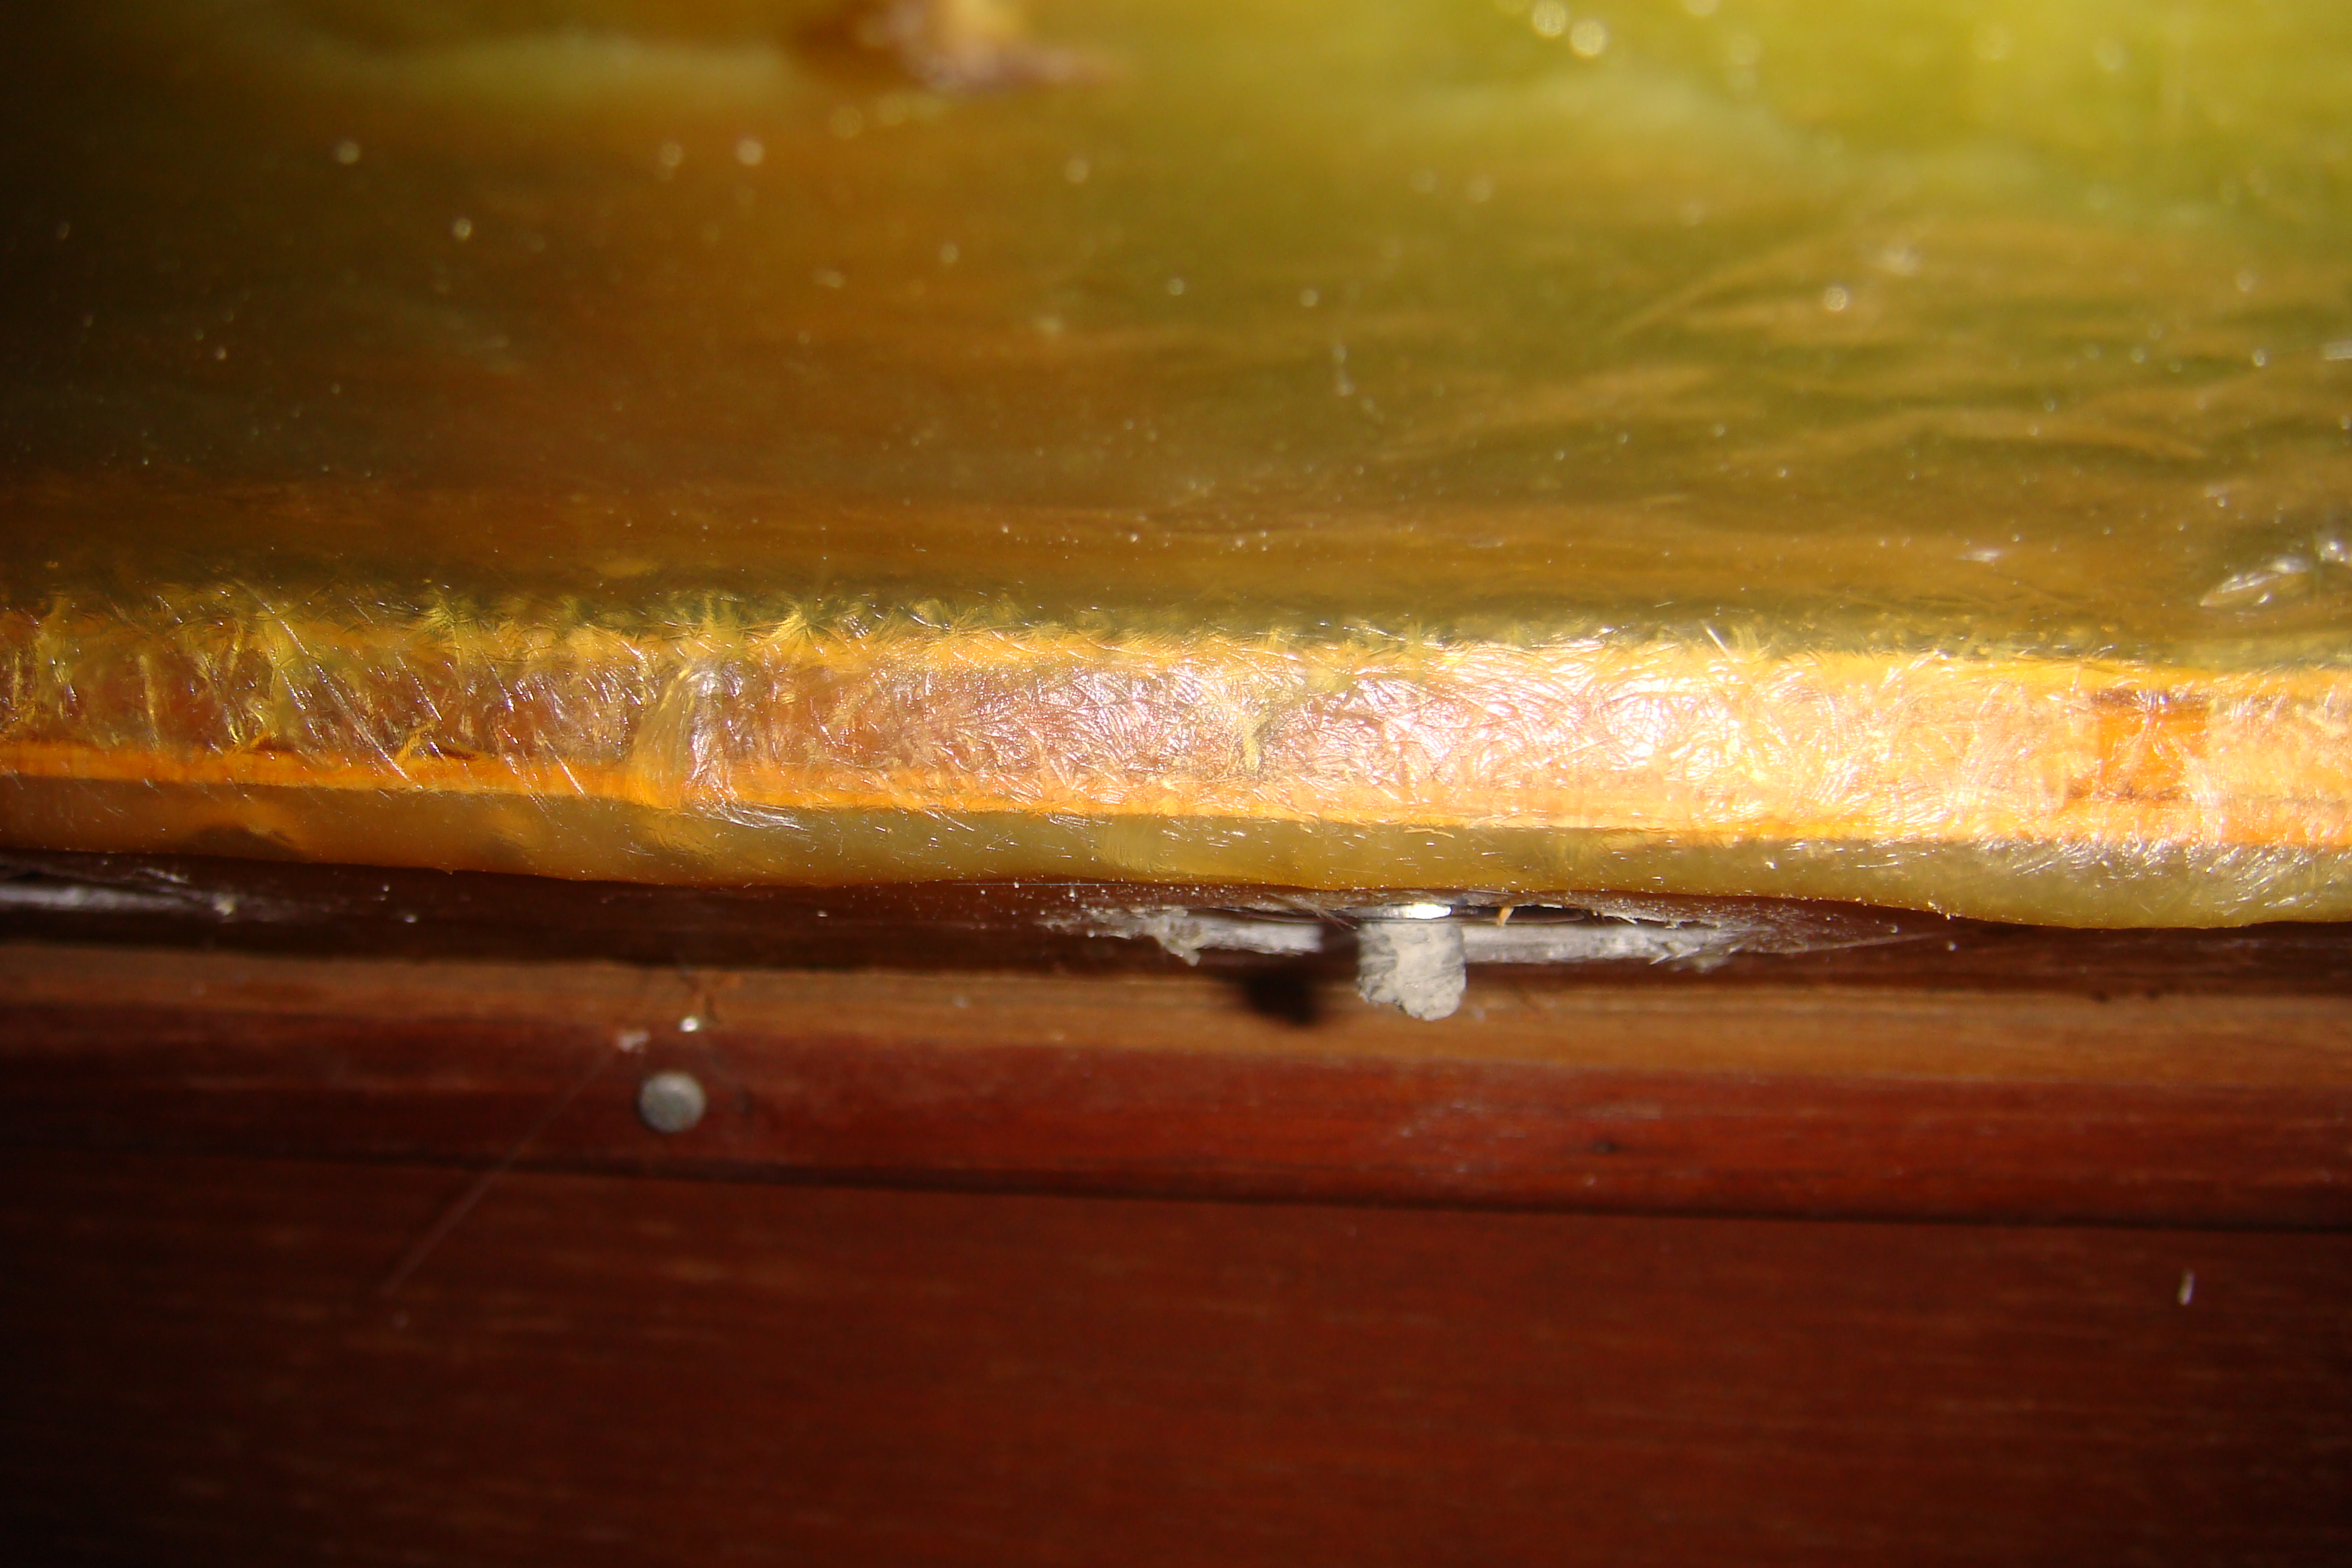
 T-Nut Has Penetrated the Cabin Trunk and is Nearly Flush With the Surface |
In
the picture on the left the T-Nut has been fully driven into
the plywood stiffener. I ruined one cheap ($3) Forstner bit drilling out the fiberglass sheathing. Forstner bits are intended for wood, not fiberglass. |
||||||||||||||||||||||||||||||||||
| Once
I had the fiberglass removed around each hole I discovered that
my measurement of the hole depth was not accurate. I had measured that the screw depth required with the track and core thickness was about 1-3/4". Since the T-Nut barrel penetrates into the wood about 3/8" I thought 1-1/2" machine screws would be adequate. |
|||||||||||||||||||||||||||||||||||
| Naturally, where I measured the roof thickness was probably the thinest portion of the coach roof, and the other holes were deeper. Also, I could never get the T-Nuts to fully penetrate the wood. Consequently I had great difficulty getting the 1-1/2" screws to thread into the T-Nuts. I had to drill more into the wood with the Forstner bit to allow the T-Nut to penetrate deeper. I was finally able to get all 7 T-Nuts on the port track to engage with the 1-1/2" screws, but in most cases only one or two threads deep. For this application I want the screw to engage with nearly all of the T-Nut thread. |
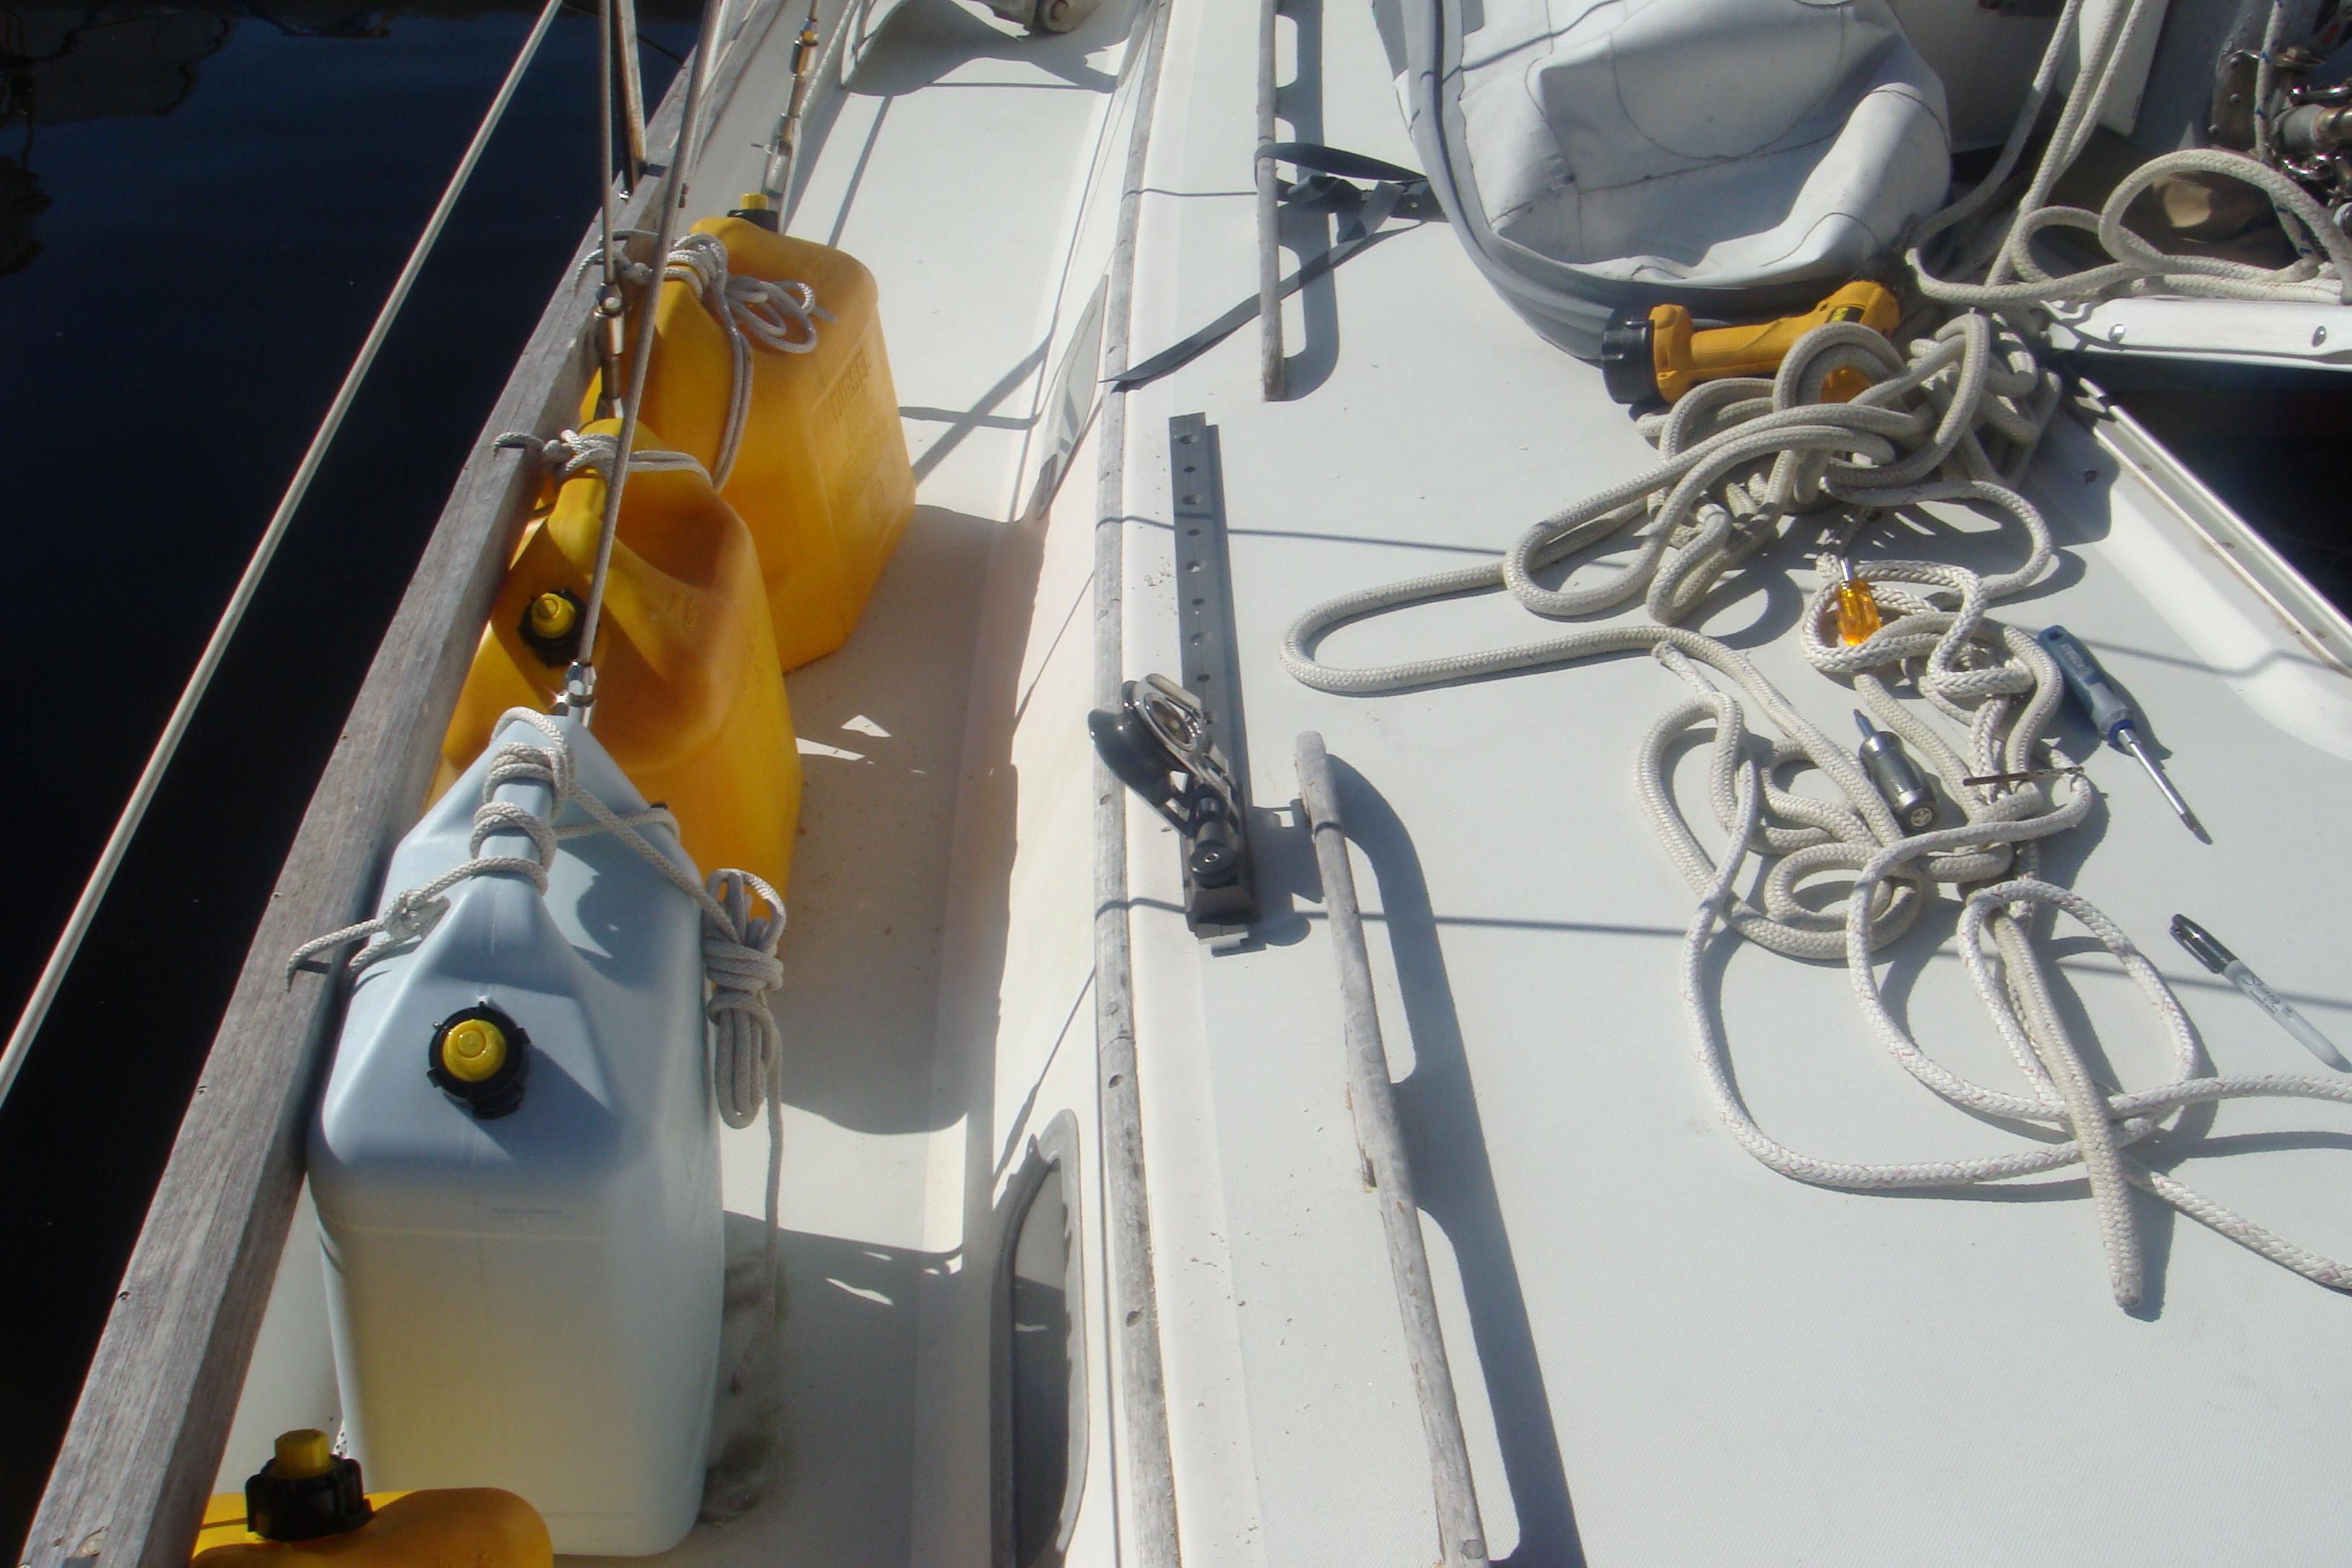
 Port Track Secured |
||||||||||||||||||||||||||||||||||
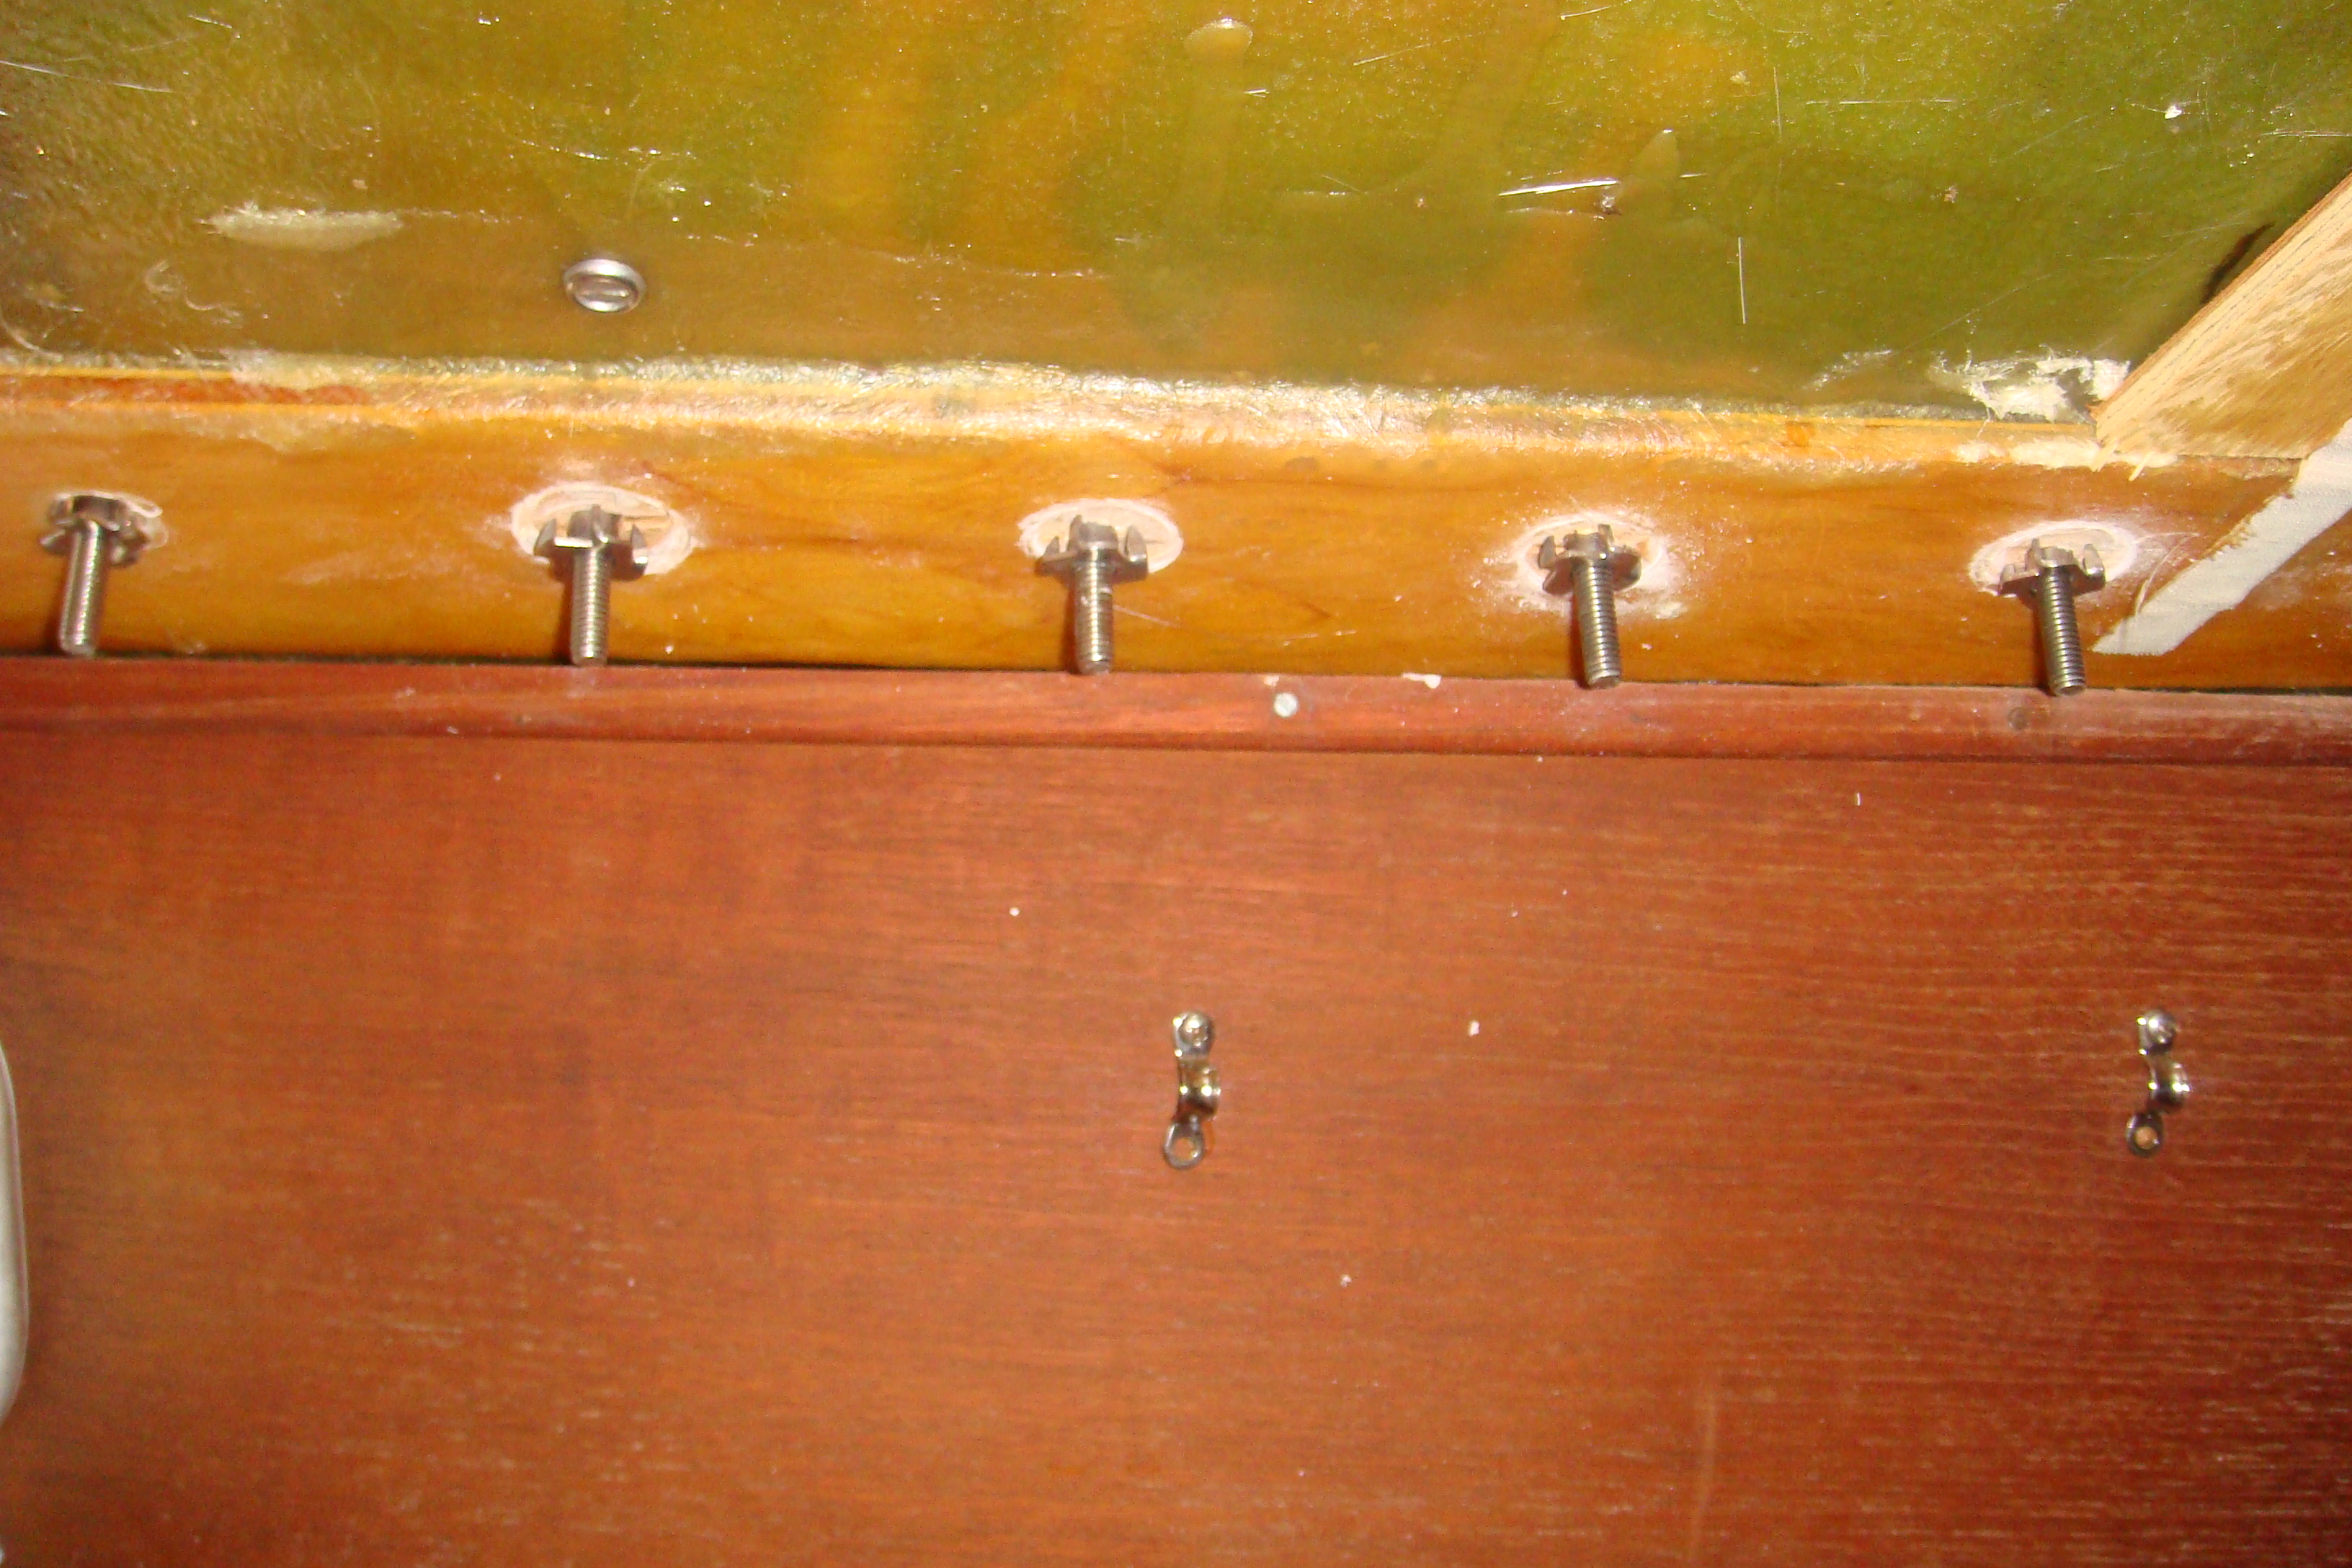
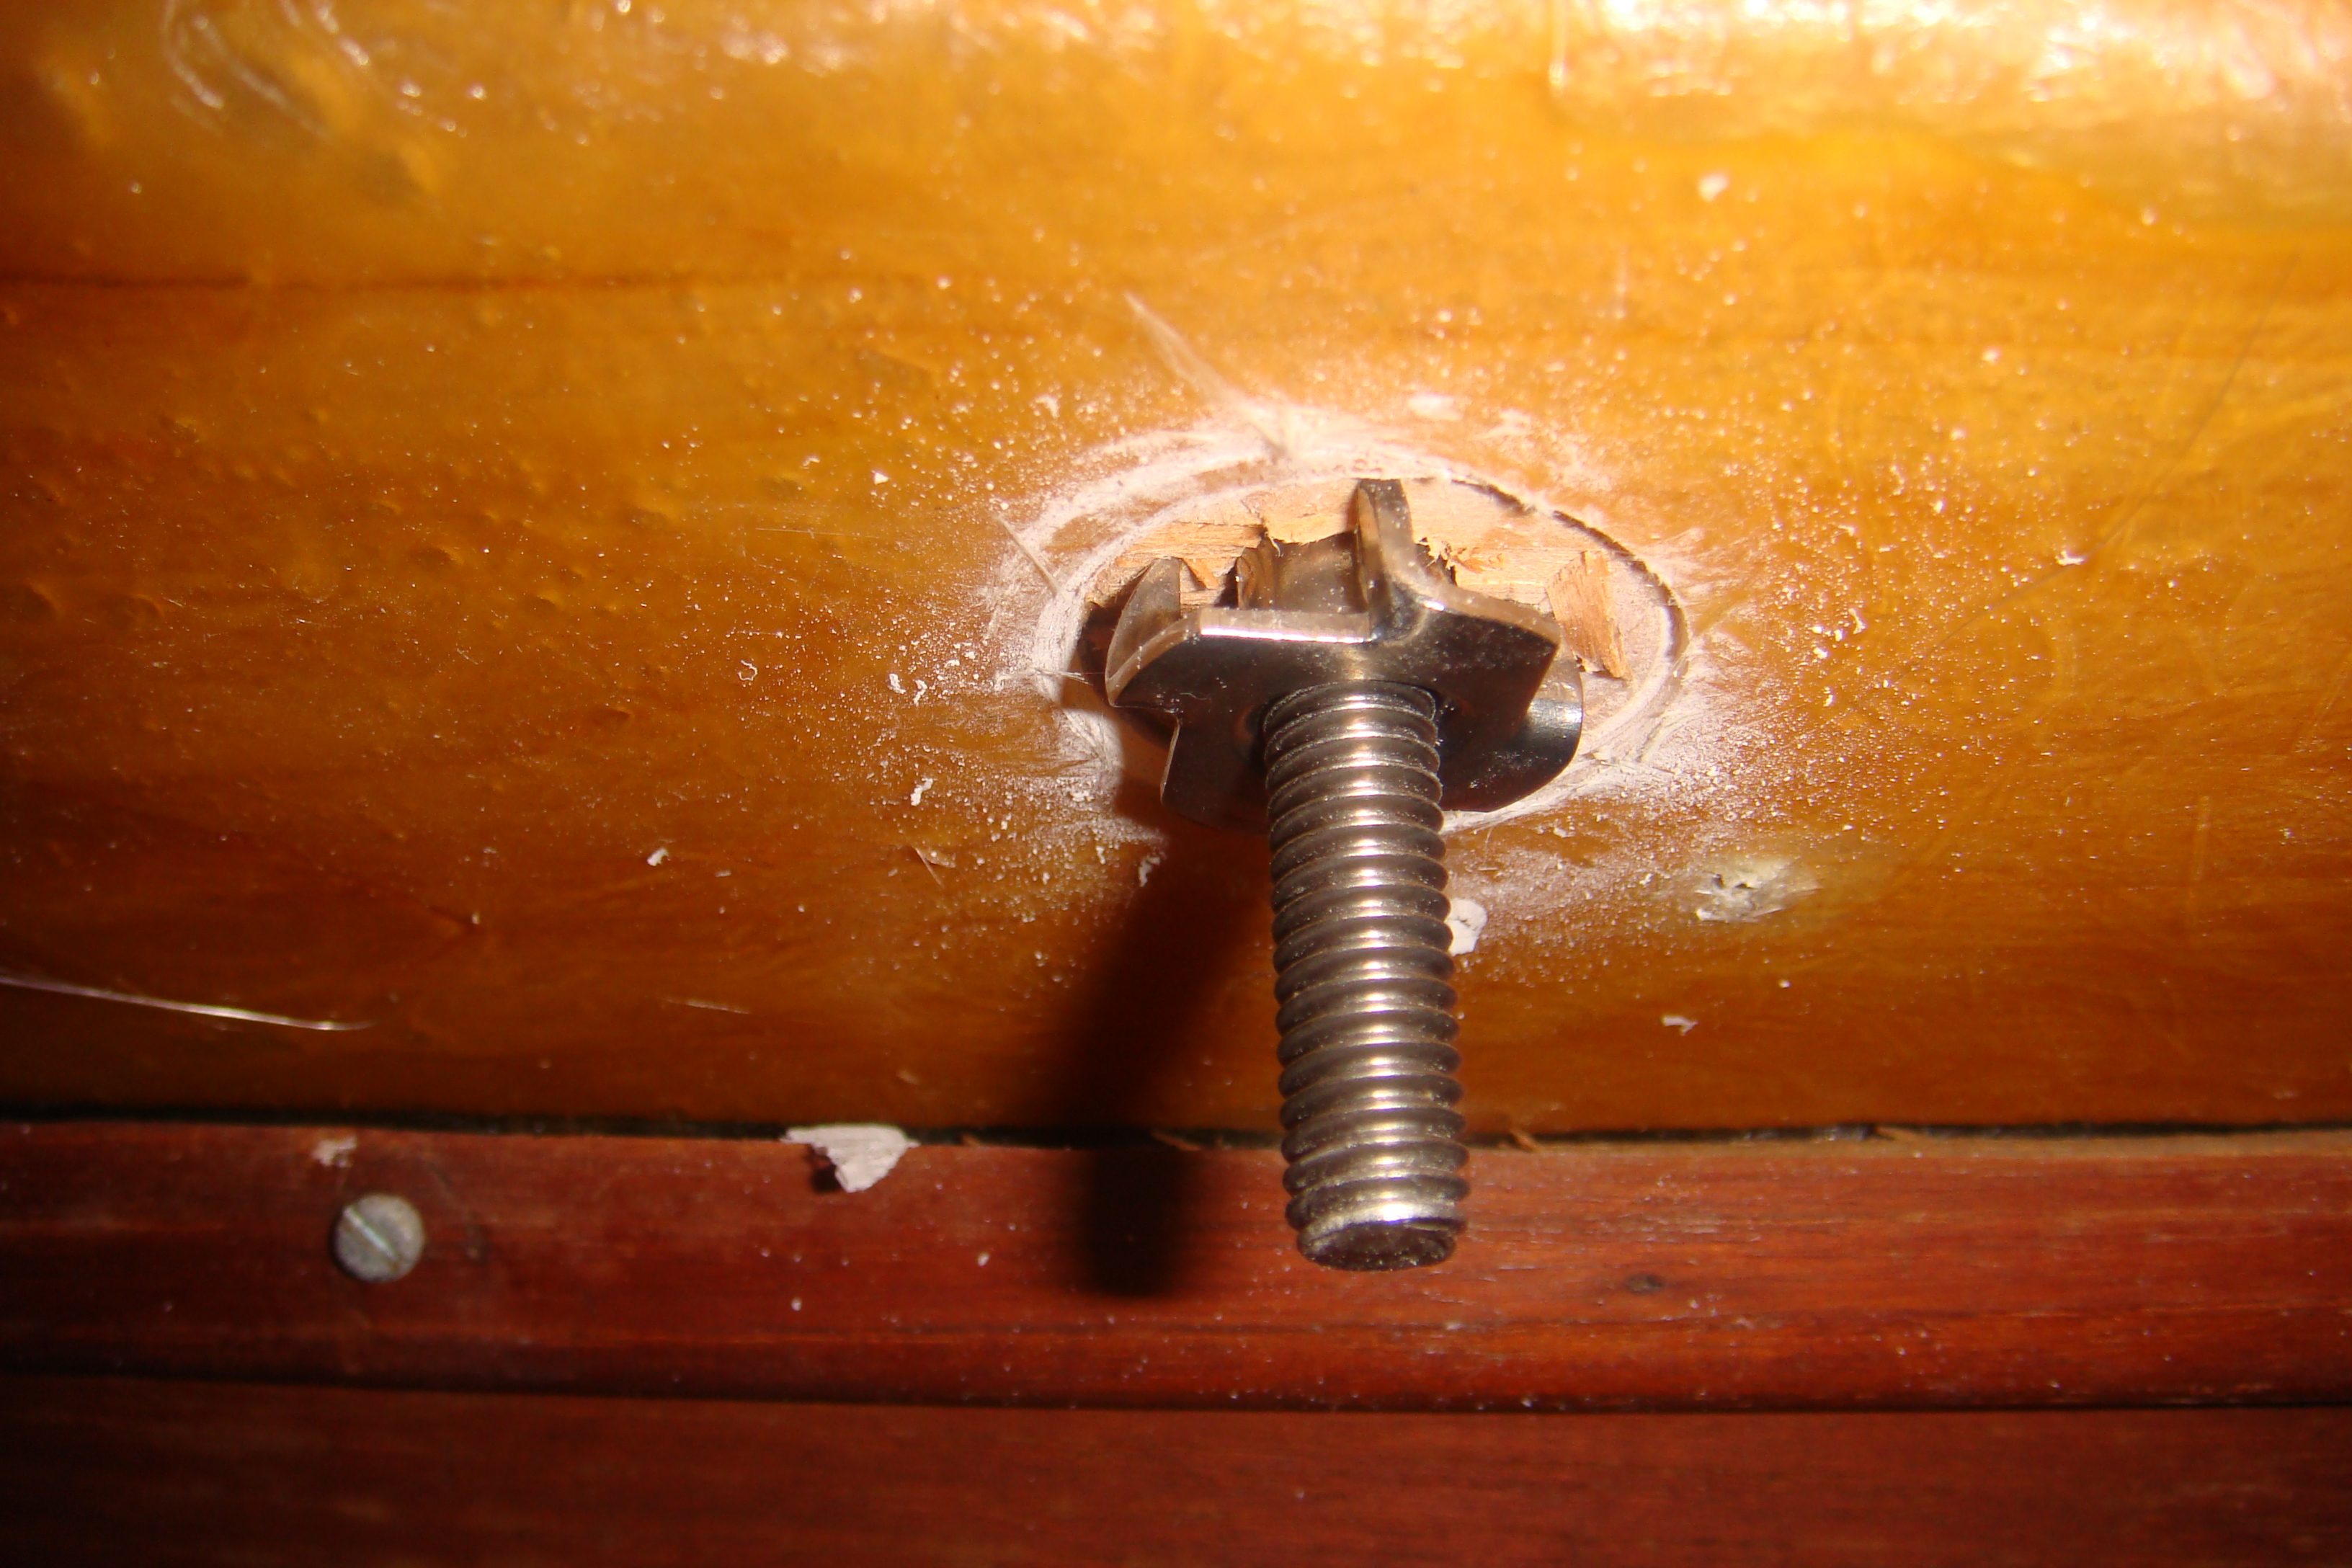
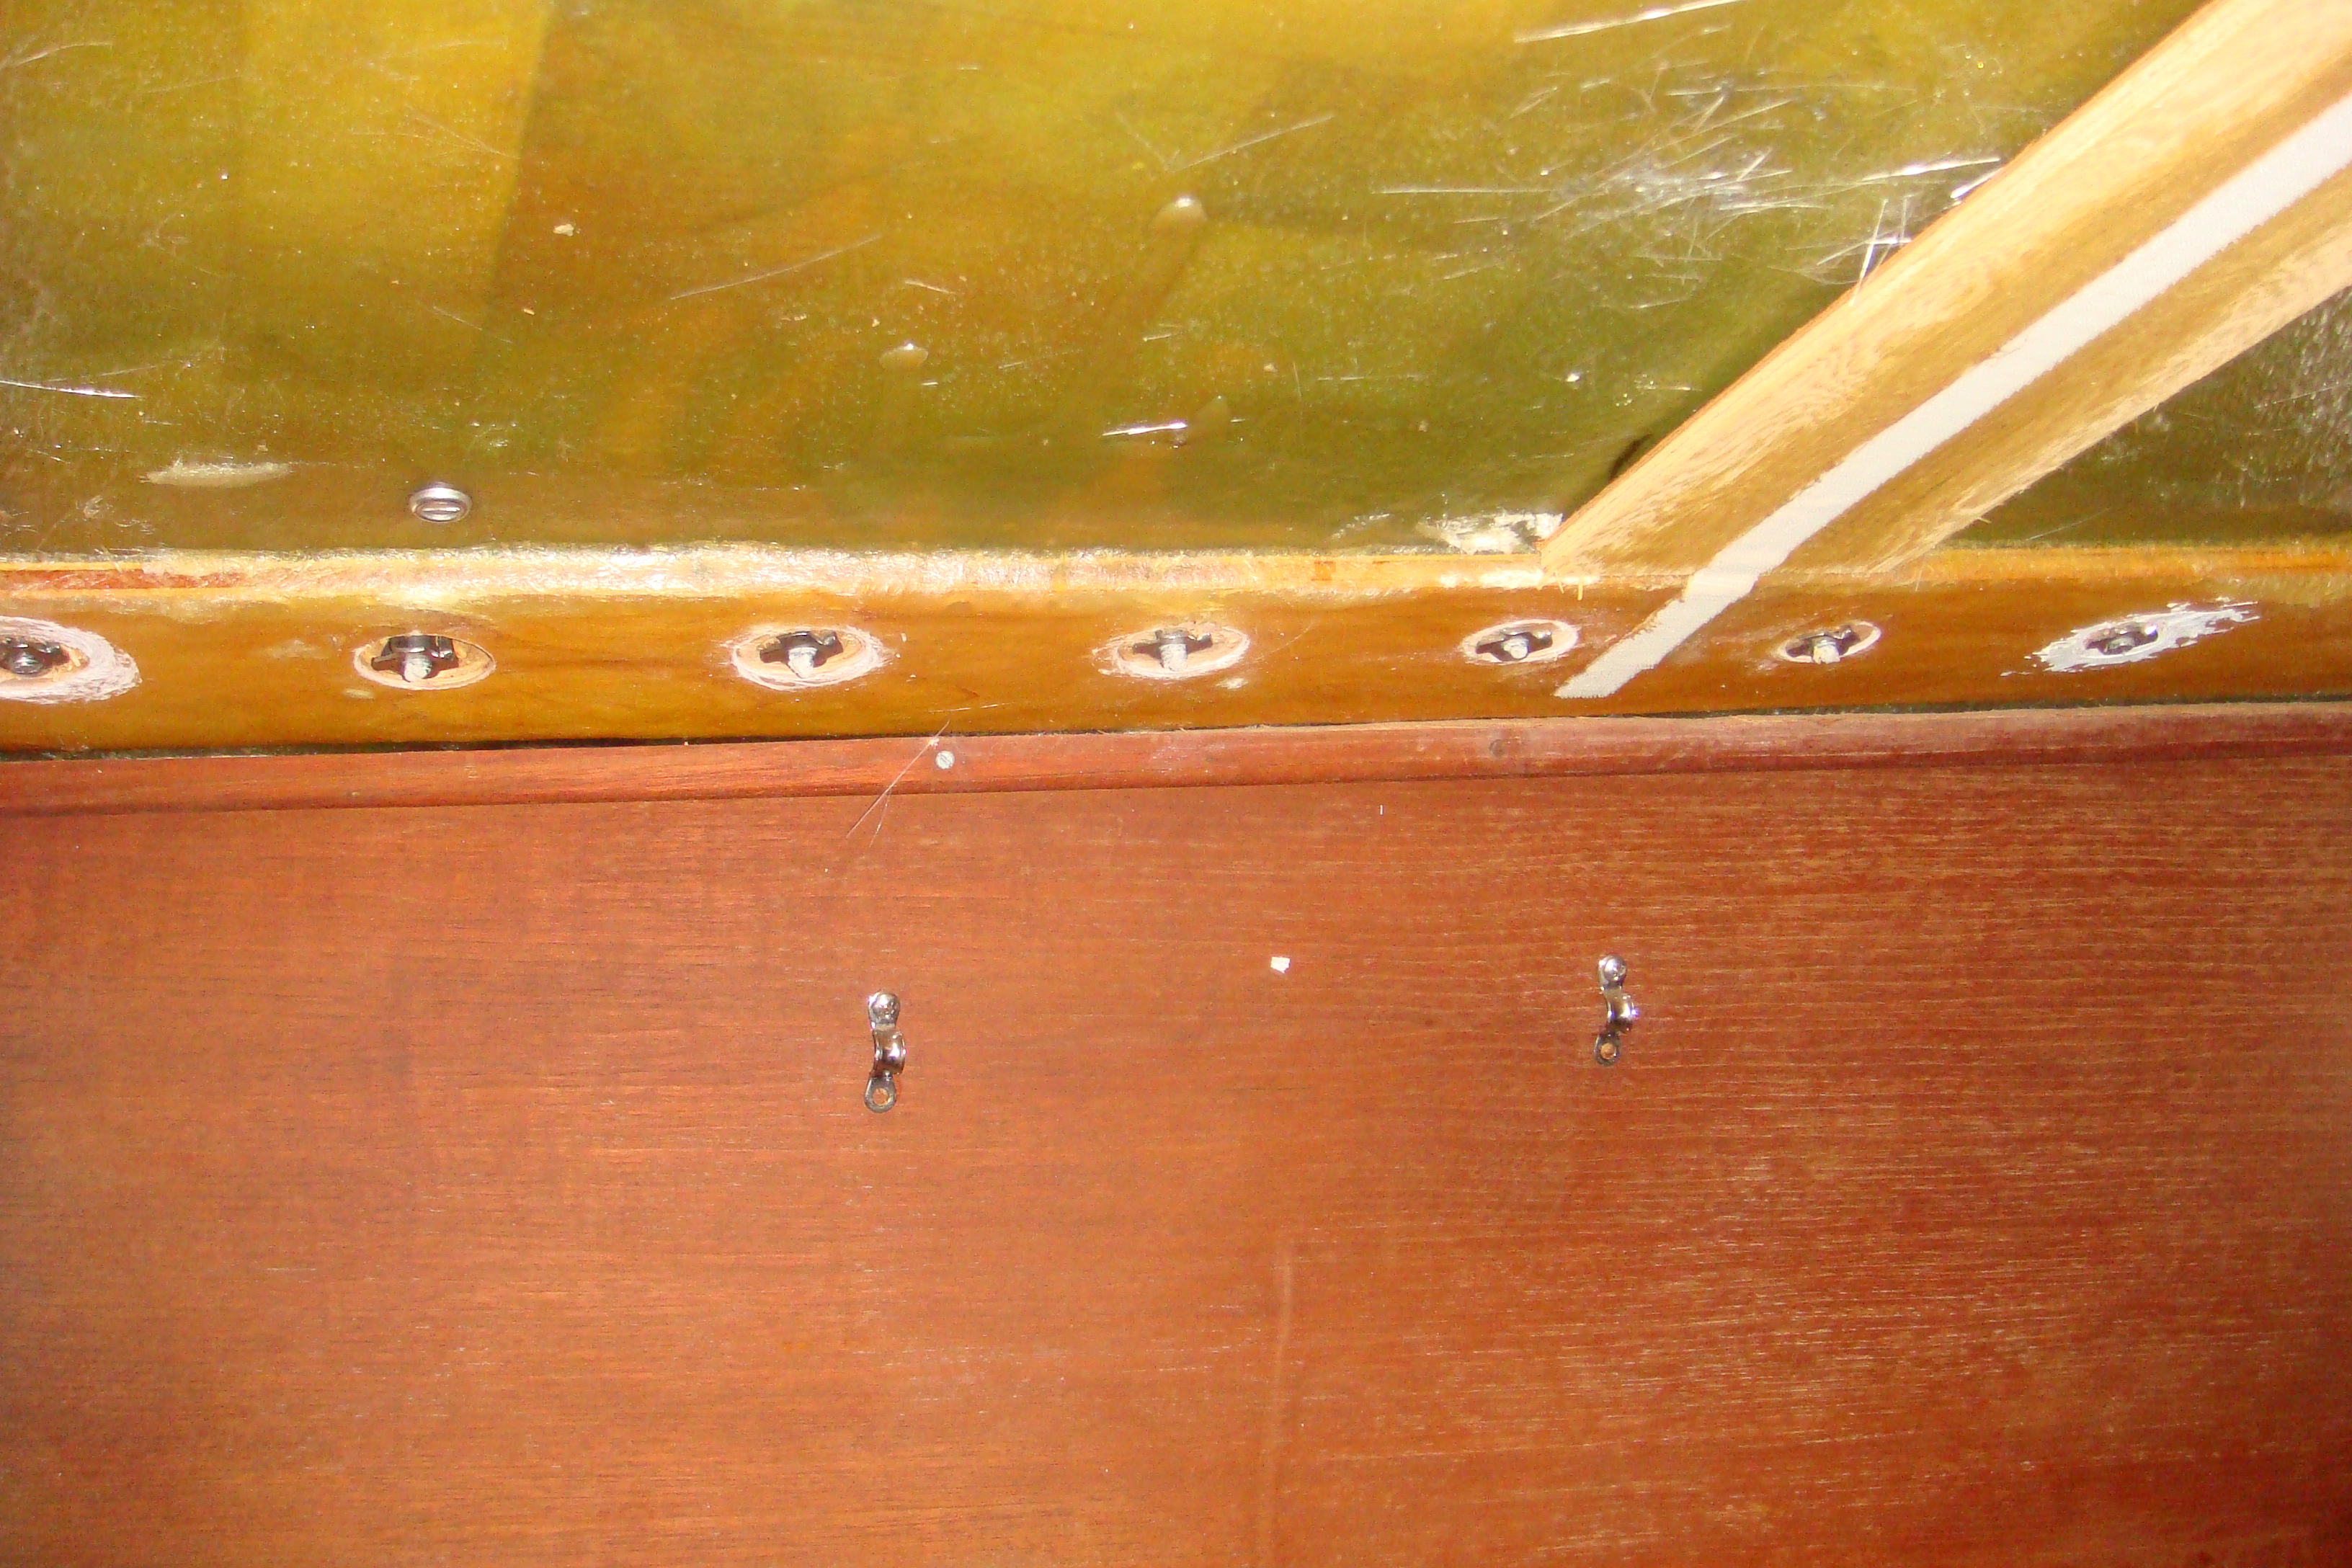
 The 2" Screws and T-Nuts |
Therefore I have initially secured the track using 2" machine screws as shown on the left. | ||||||||||||||||||||||||||||||||||
|
On the
right you can see that the 2" screws
penetrate at least 1/8" below the T-Nut. This would
prevent the headliner from securing flush with the stiffener.
I need 1-3/4" screws, but neither West Marine nor Loews's stocks them in the 5/16" machine screw. I have ordered a box of the 1-3/4" screws from Jamestown Distributors, but they won't be here for a week. |
 The 2" Screws Are Too Long |
||||||||||||||||||||||||||||||||||
| This means I can't replace the headliner until the order from Jamestown Distributors arrives next week. Of course I could cut down the 2" screws, but then I would likely have to do a lot of cleaning up of the threads with a die or nut to get those screws to engage the T-Nuts. I have enough other projects at this time, so it's not like I will be completely idle while waiting on the JD order. | |||||||||||||||||||||||||||||||||||
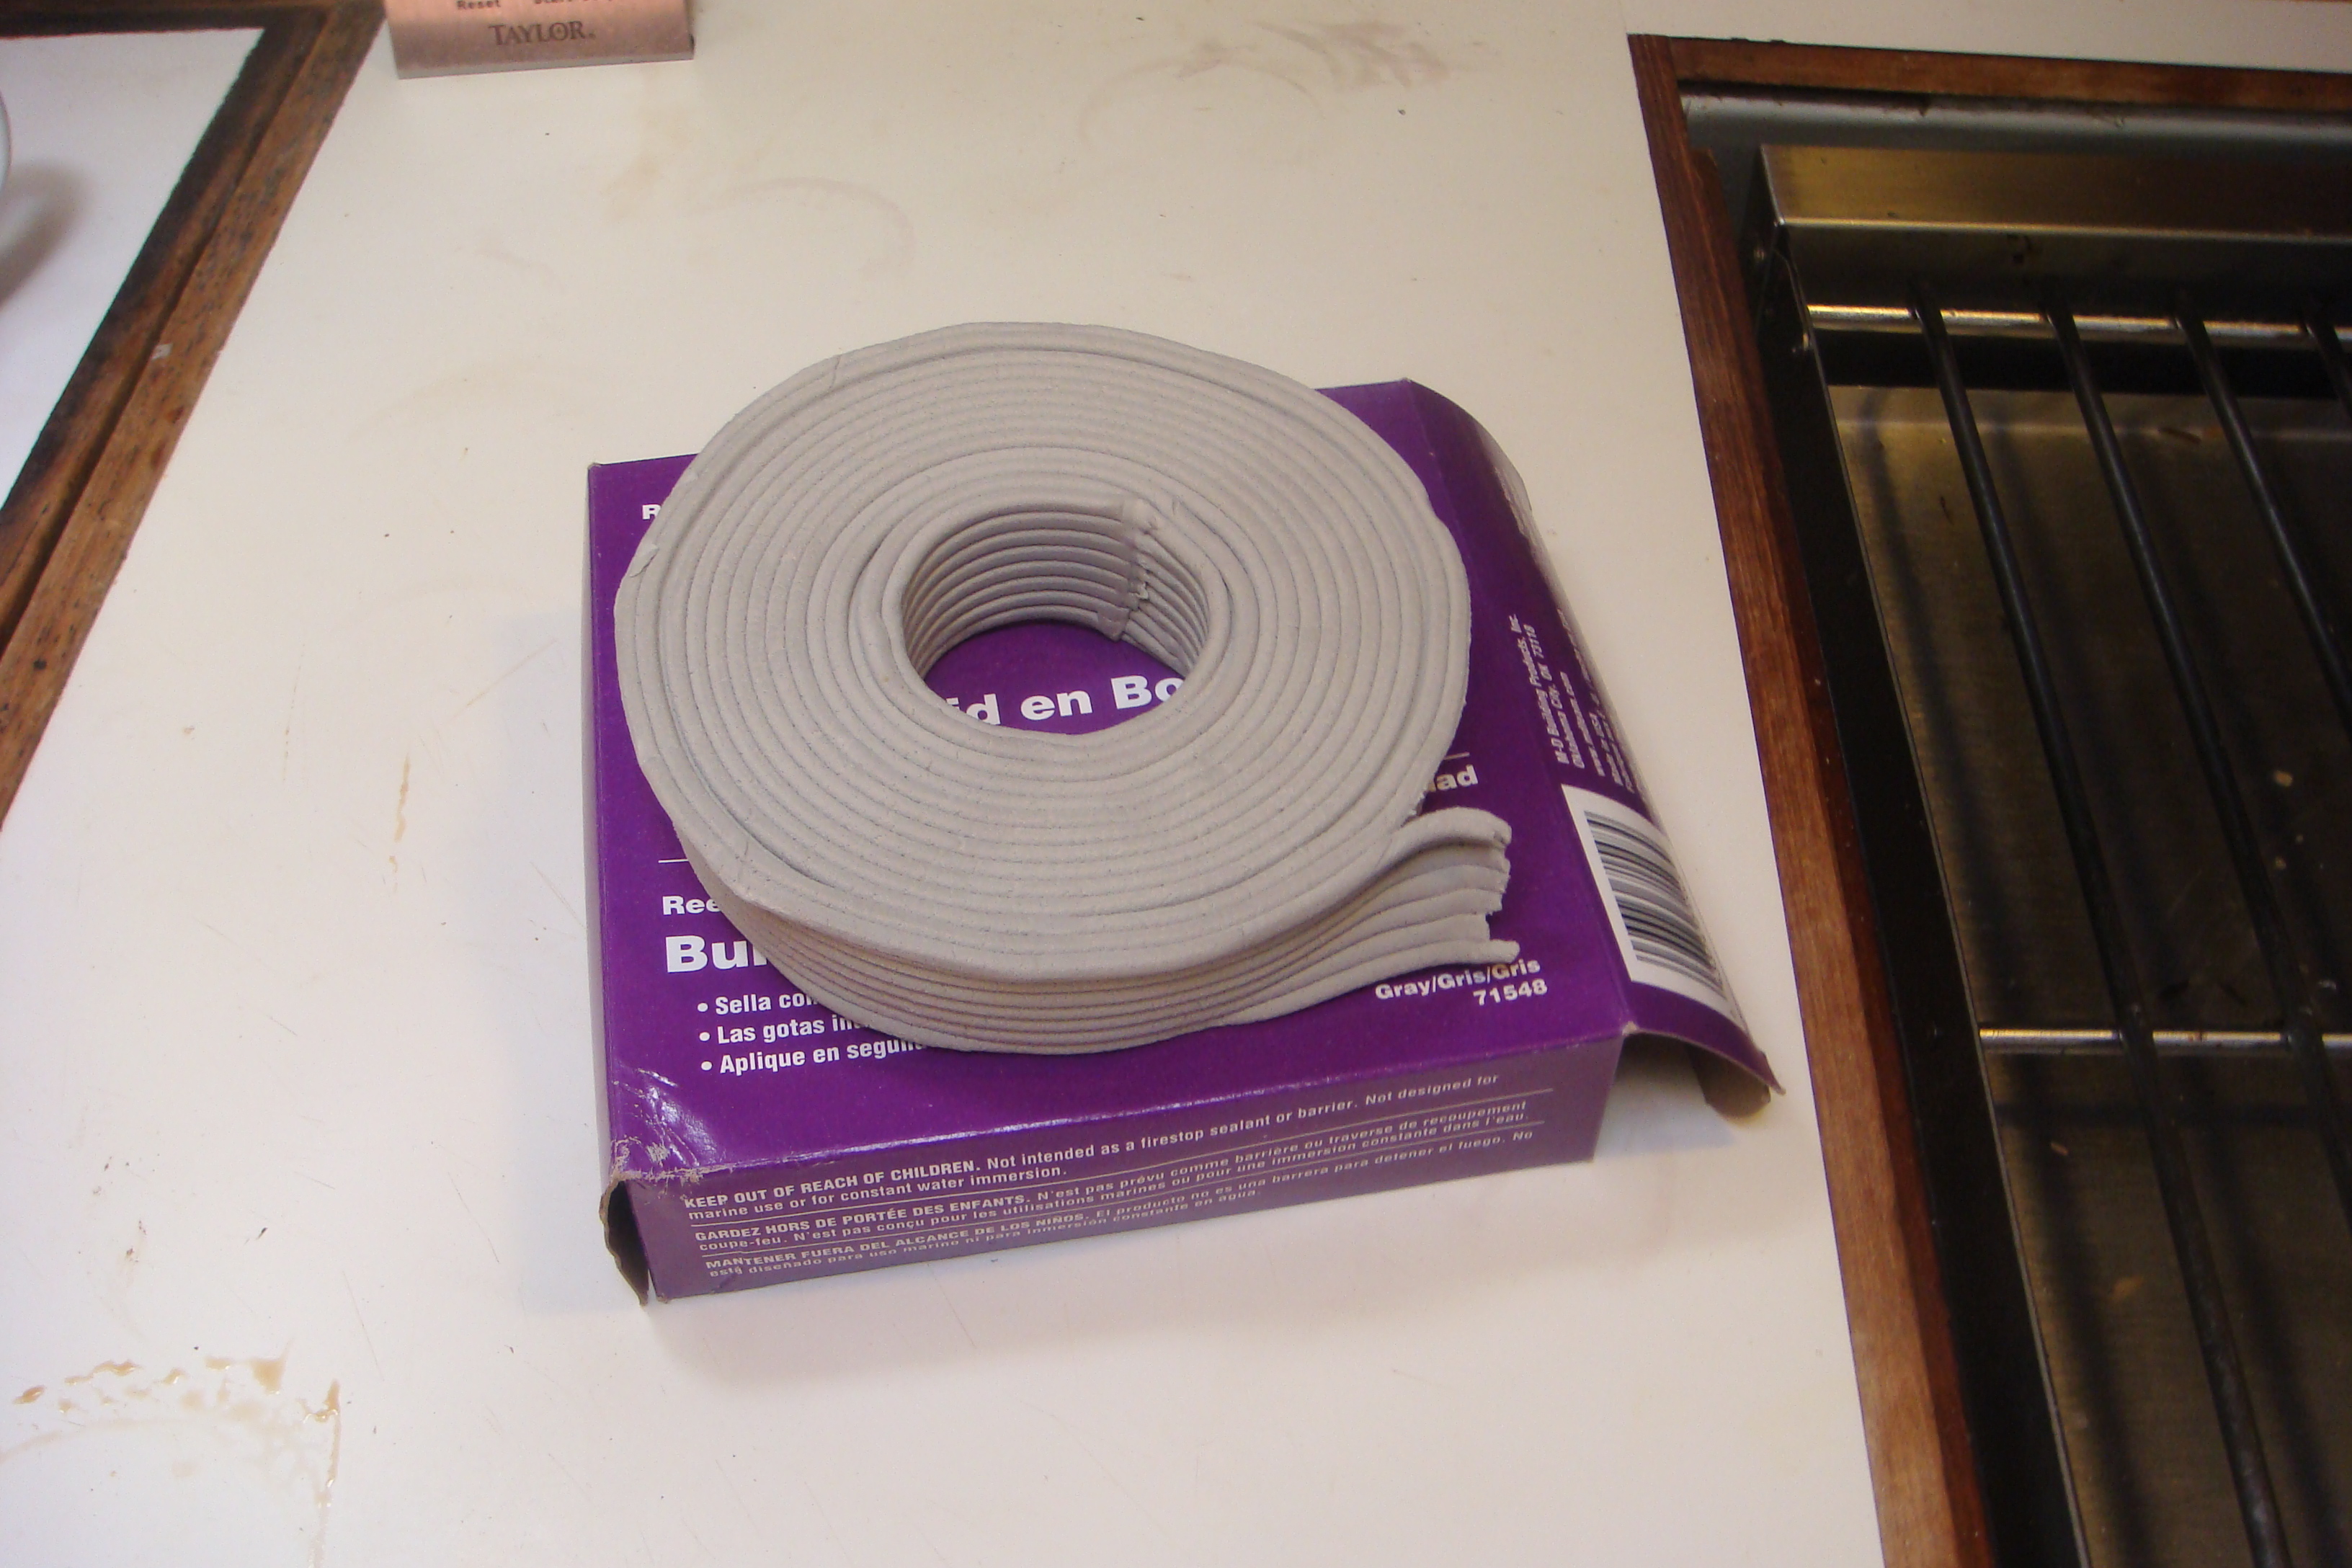 Rope Caulk Purchased at Lowe's |
To
bed the track I used something new for me - rope caulk, or as it
is called on the package weather proofing cord. I went
this way on the recommendation of another P424 owner, Tor
Pinney. He picked up this option from a Boatwright he
knows. The stuff appears to be similar to silly-putty. It can be formed into any shape and it does not dry out. The cord width is about twice the base of the Garhauer track, so I just folded a section of the caulk in two, lengthwise and pressed it to the bottom of the track. I put two machine screws on the track, one at each end and the put the track in place on the mounting holes on the cabin roof. |
||||||||||||||||||||||||||||||||||
|
Then
I secured the track, using the 2" machine screws. This was the
least messy bedding of an item of deck hardware I have ever
done. No goop on the decks, on my hands or my clothes. 3 years later (2013) I've had no leaks on either track; howeve I have switched to Butyl tape for subsequent deck fittings. Butyl tape is just as easy to work with as rope caulk, but it may be a more durable product. I purchased my Butyl tape from Compass Marine. |
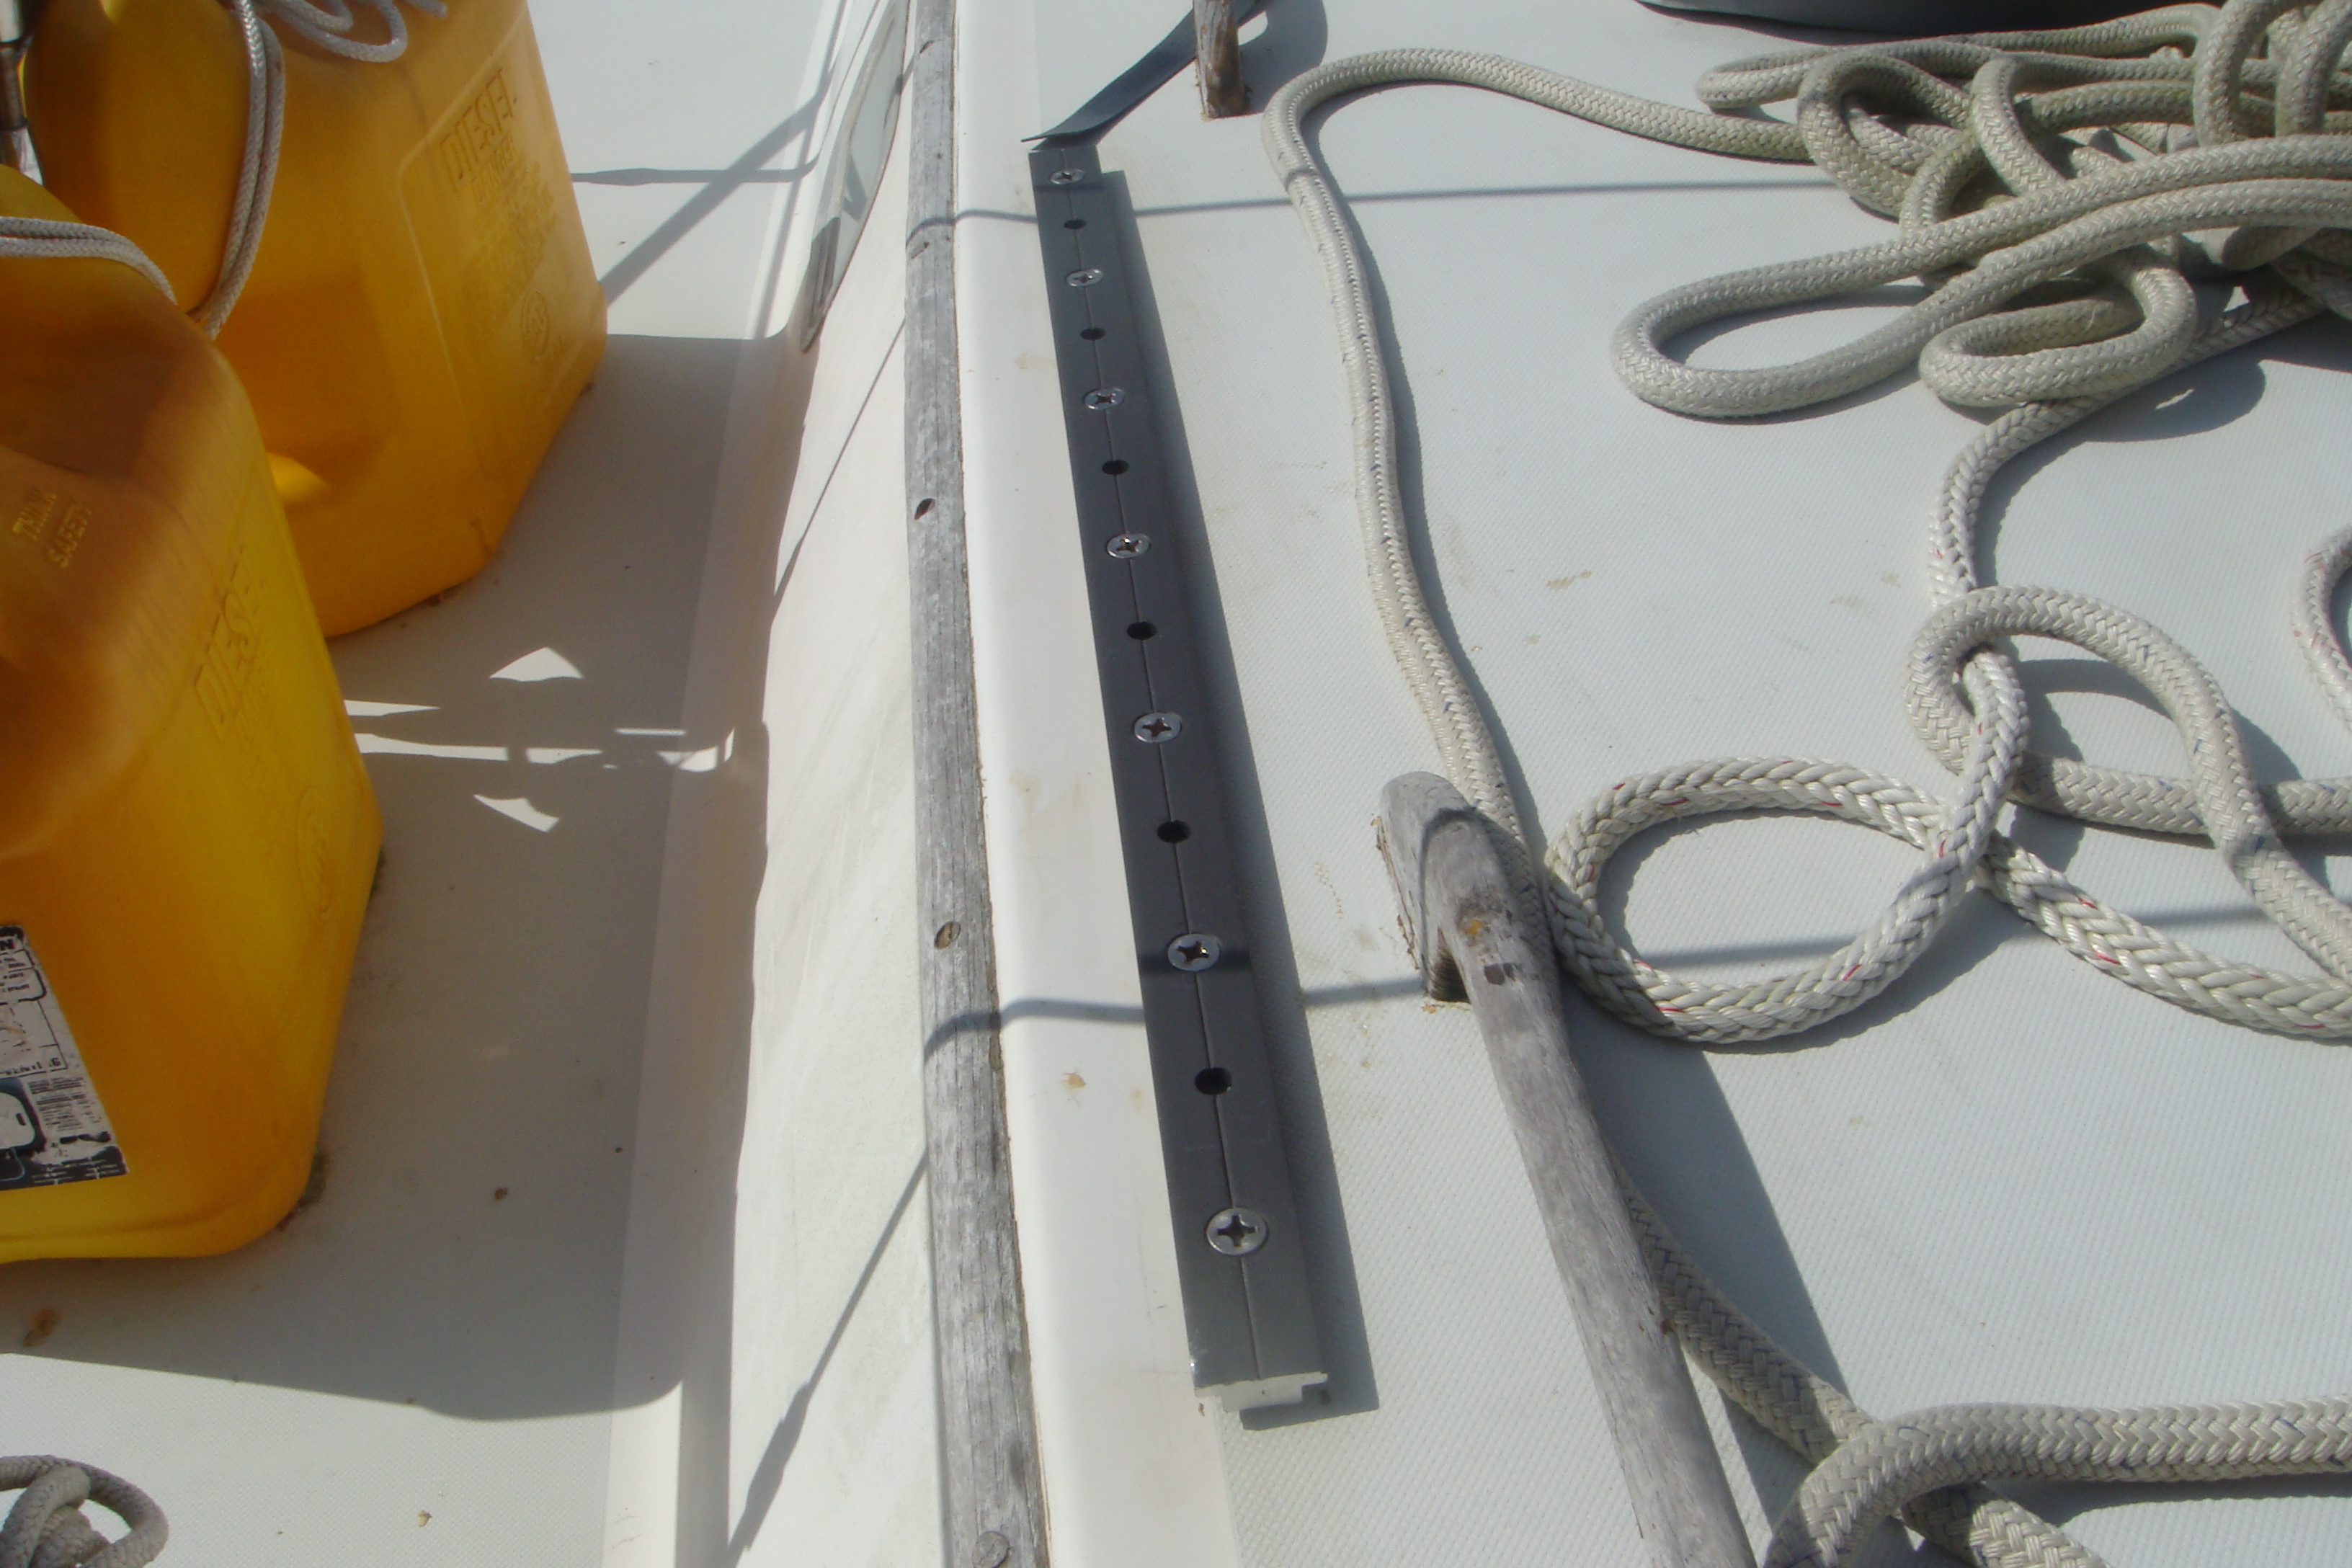 Track Secured to Cabin Trunk With 2" Screws |
||||||||||||||||||||||||||||||||||
|
Of course I have to replace those 2" screws with 1-3/4" when
they arrive. That means re-bedding the track. I decided to wait a bit before drilling the holes on the starboard side. I'll wait until I have all of the right material (1-3/4" machine screws) before starting on that installation. |
|||||||||||||||||||||||||||||||||||
| A few days later I learned the 1-3/4" screws I ordered through JD had been put on back-order with an anticipated ship date of 11/15. Since I was leaving for the family Thanksgiving get together a week later and then flying to Gibraltar to crew for a crossing to the Caribbean, this did not leave a lot of time to complete the project and get the boat closed up for an extended absence. | |||||||||||||||||||||||||||||||||||
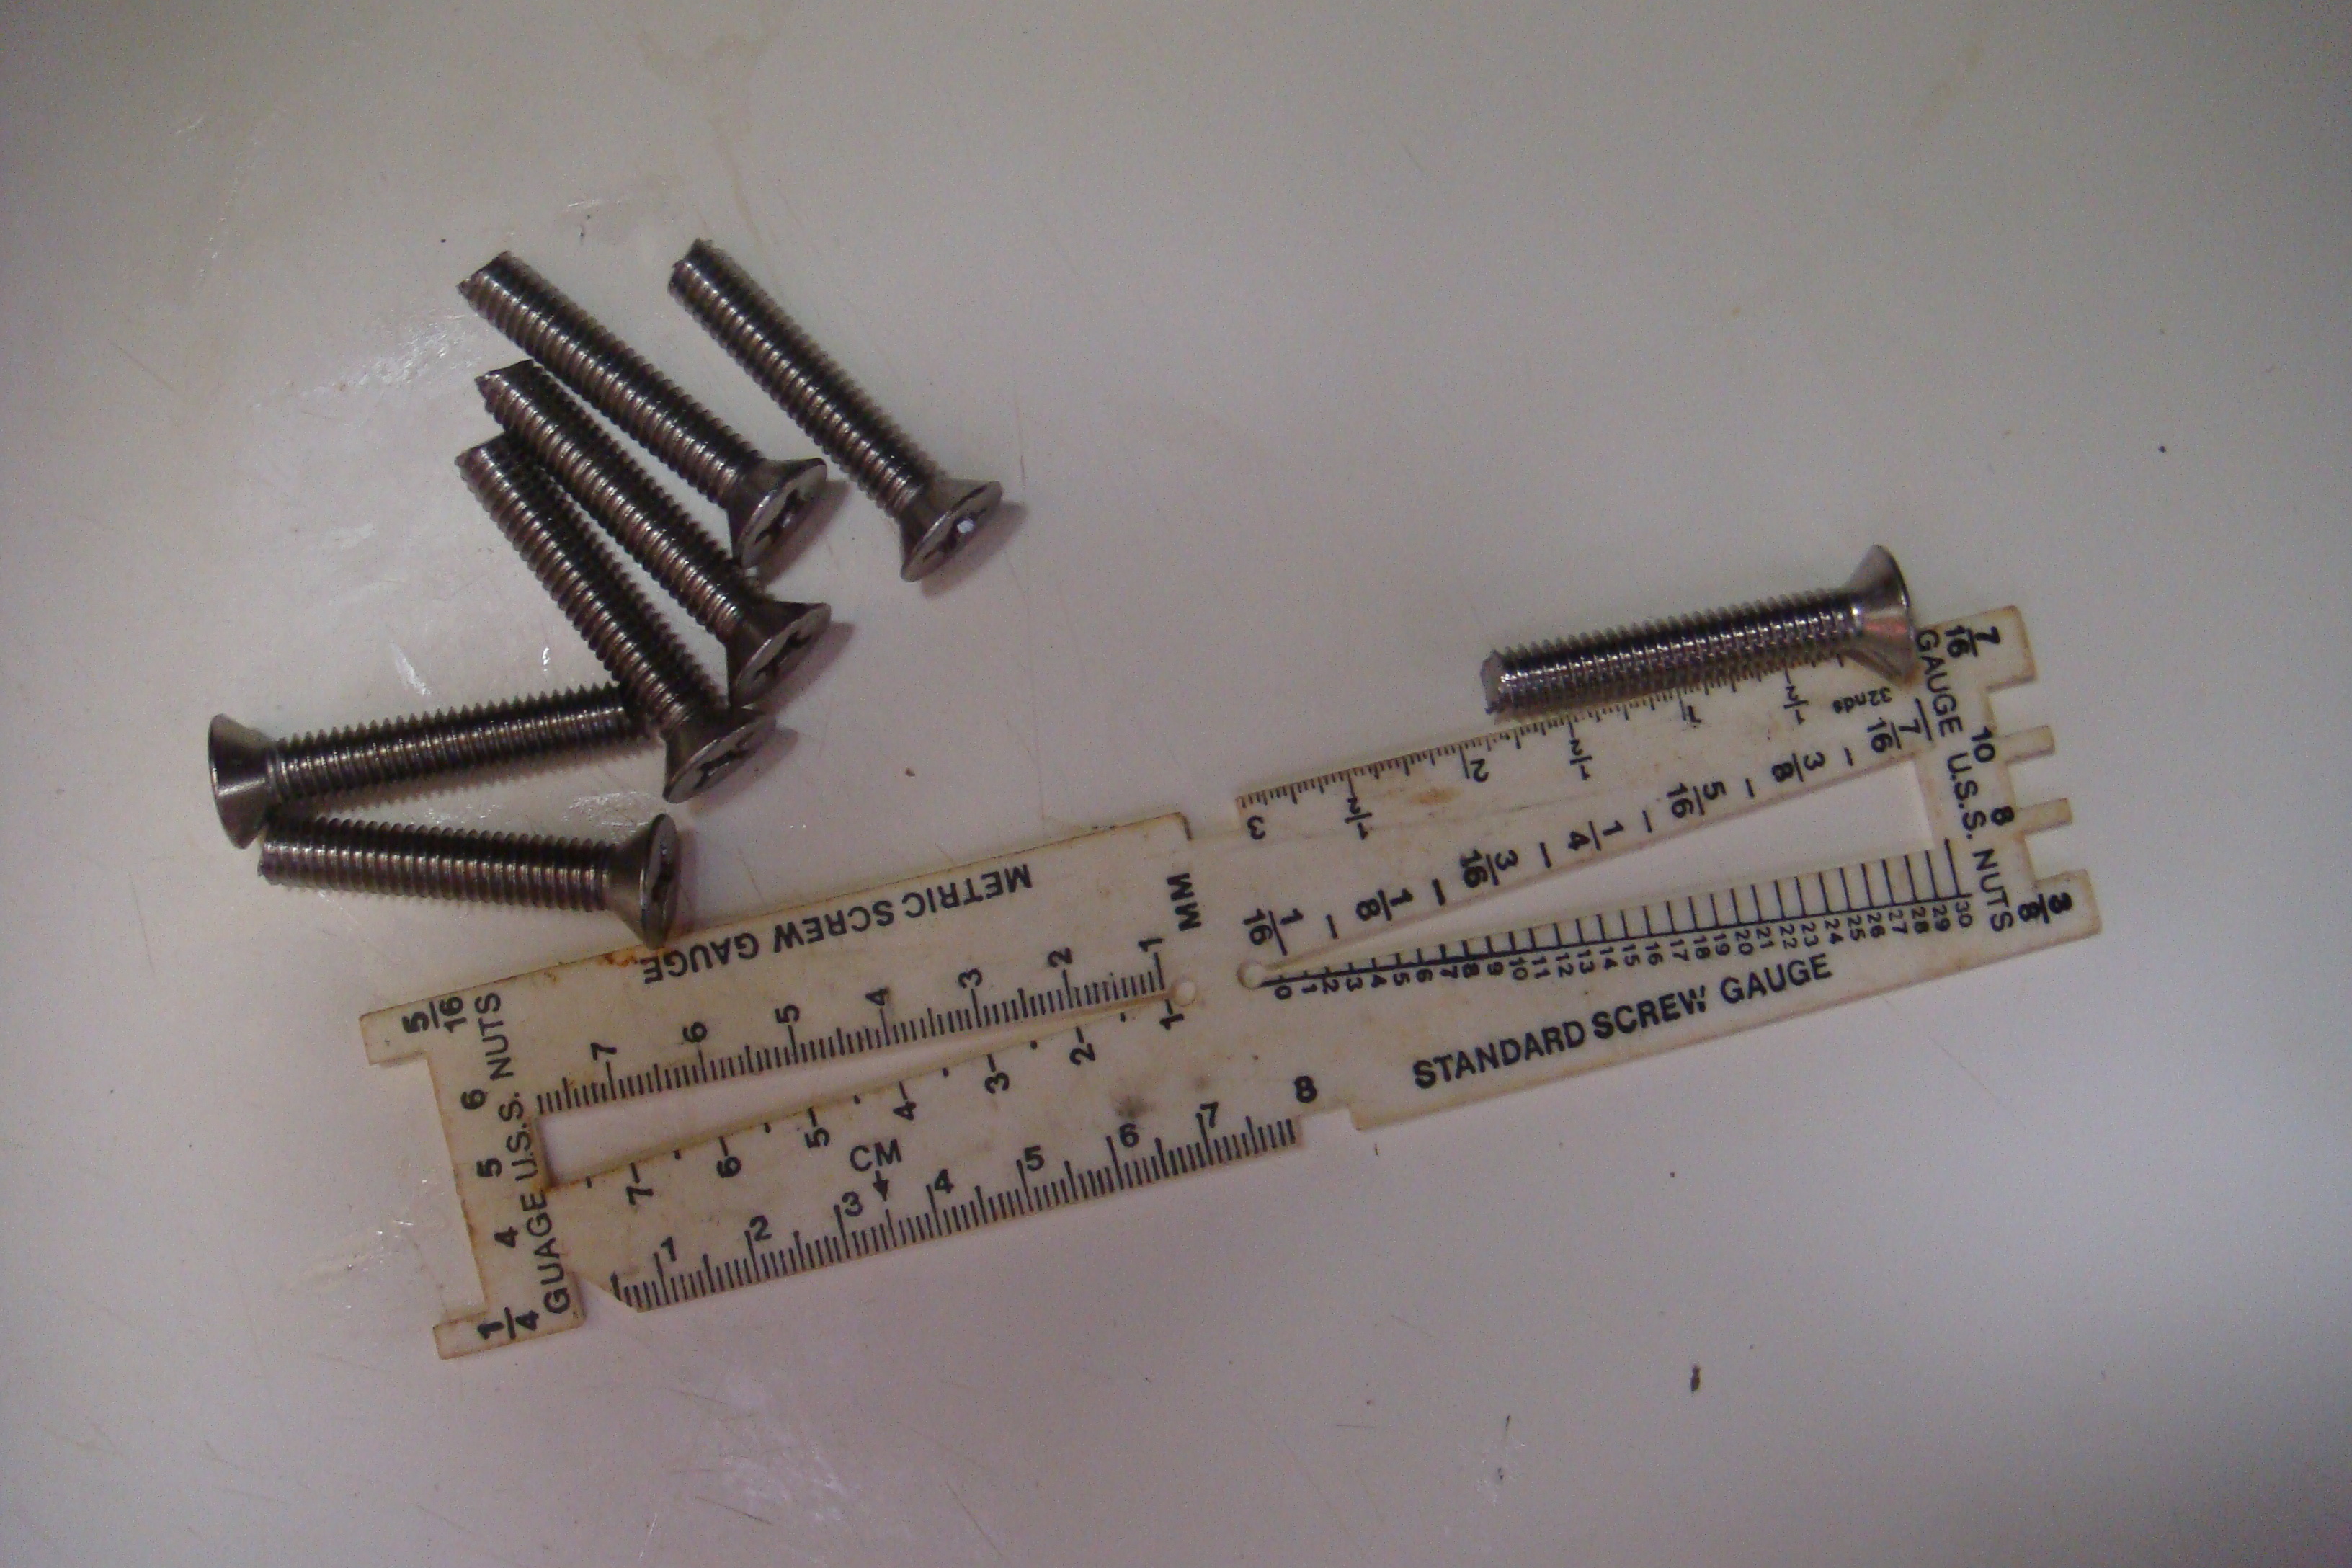 2" Screws Shortened to 1-3/4" |
I cancelled the order and then purchased a bunch of 2" machine
screws and shortened them with my 24" bolt cutter. Then I
cleaned up the threads with a die. I now had more than enough 1-3/4" machine screws. |
||||||||||||||||||||||||||||||||||
| Installing
the track on the starboard side went very quickly, the result of
having the correct materials and the knowledge of the mistakes I
made on the port side. Drilling out the fiberglass for the T-Nuts also went faster as I used my powered 1/2" drill rather than the cordless 3/8" drill I initially used on the port side. |
 Port Track Secured with 1-3/4" Screws |
||||||||||||||||||||||||||||||||||
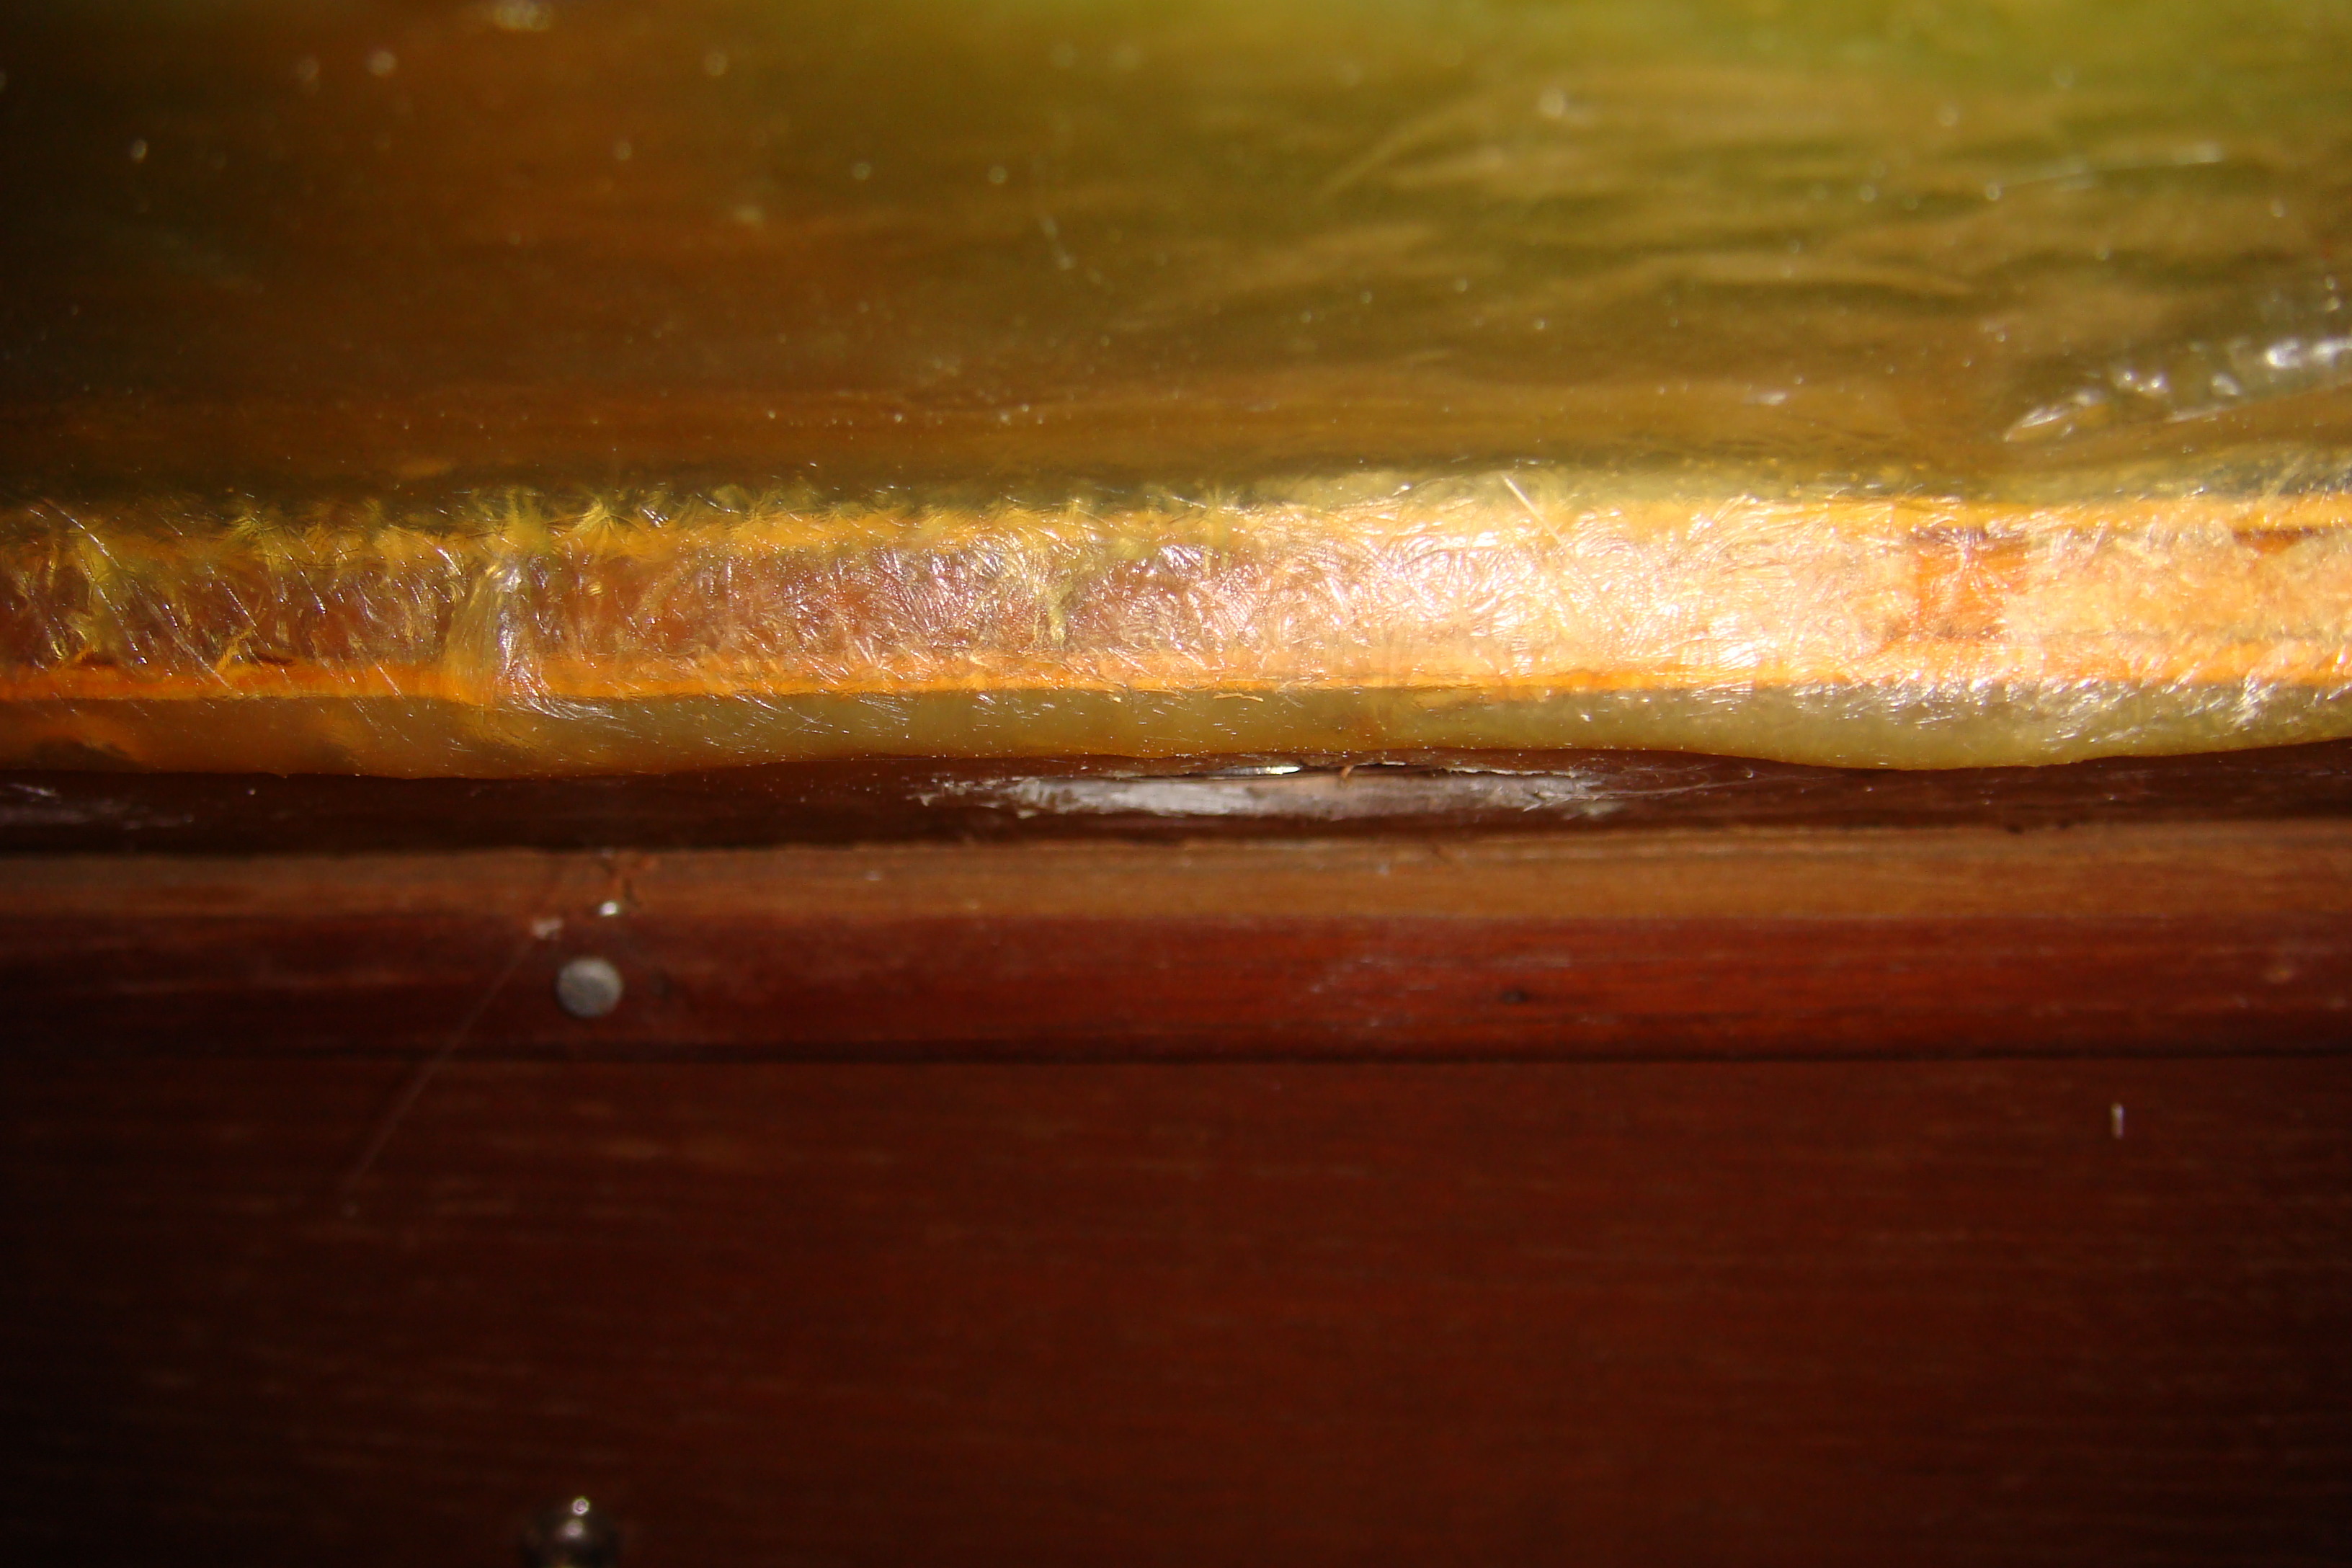 T-Nuts and Screws Are Flush with Wood |
This time the T-Nuts were fully flush with the stiffening wood. | ||||||||||||||||||||||||||||||||||
| I bedded the starboard track with Caulk Cord, just as
I had done on the port side. With the port track I initially did not put any caulk on the machine screws believing they would pick up caulk on the way into the deck and provide a seal for the holes. That works with the much less viscous sealants (silicone, polysulfide, etc.) I have used in the past. With the putty-like rope caulk the screw just pushed the caulk it displaced under the track down to the T-Nut. There was not a complete seal of each screw at the deck level. When I tested the water tightness of the port track, several of the screws produced leakage into the cabin. |
|||||||||||||||||||||||||||||||||||
| I
solved that problem by wrapping each screw in a short section of
the rope caulk and then screwed it into the T-Nut. This
appears to have provided a completely waterproof seal. In
retrospect I believe a better approach would have been to
counter-sink the holes in the deck to provide a bowl in which the
sealant would be trapped and seal the machine screw threads. One other difference between this type of sealant and the others I have used is that it does not take a set. It will pretty much remain as soft and pliable as when it comes out of the package. So there is no need to not fully tighten the fasteners. With the less viscous sealants fully tightening the fasteners will displace too much of the sealant. The normal procedure is to wait 24 hours or more before fully tightening the fasteners. |
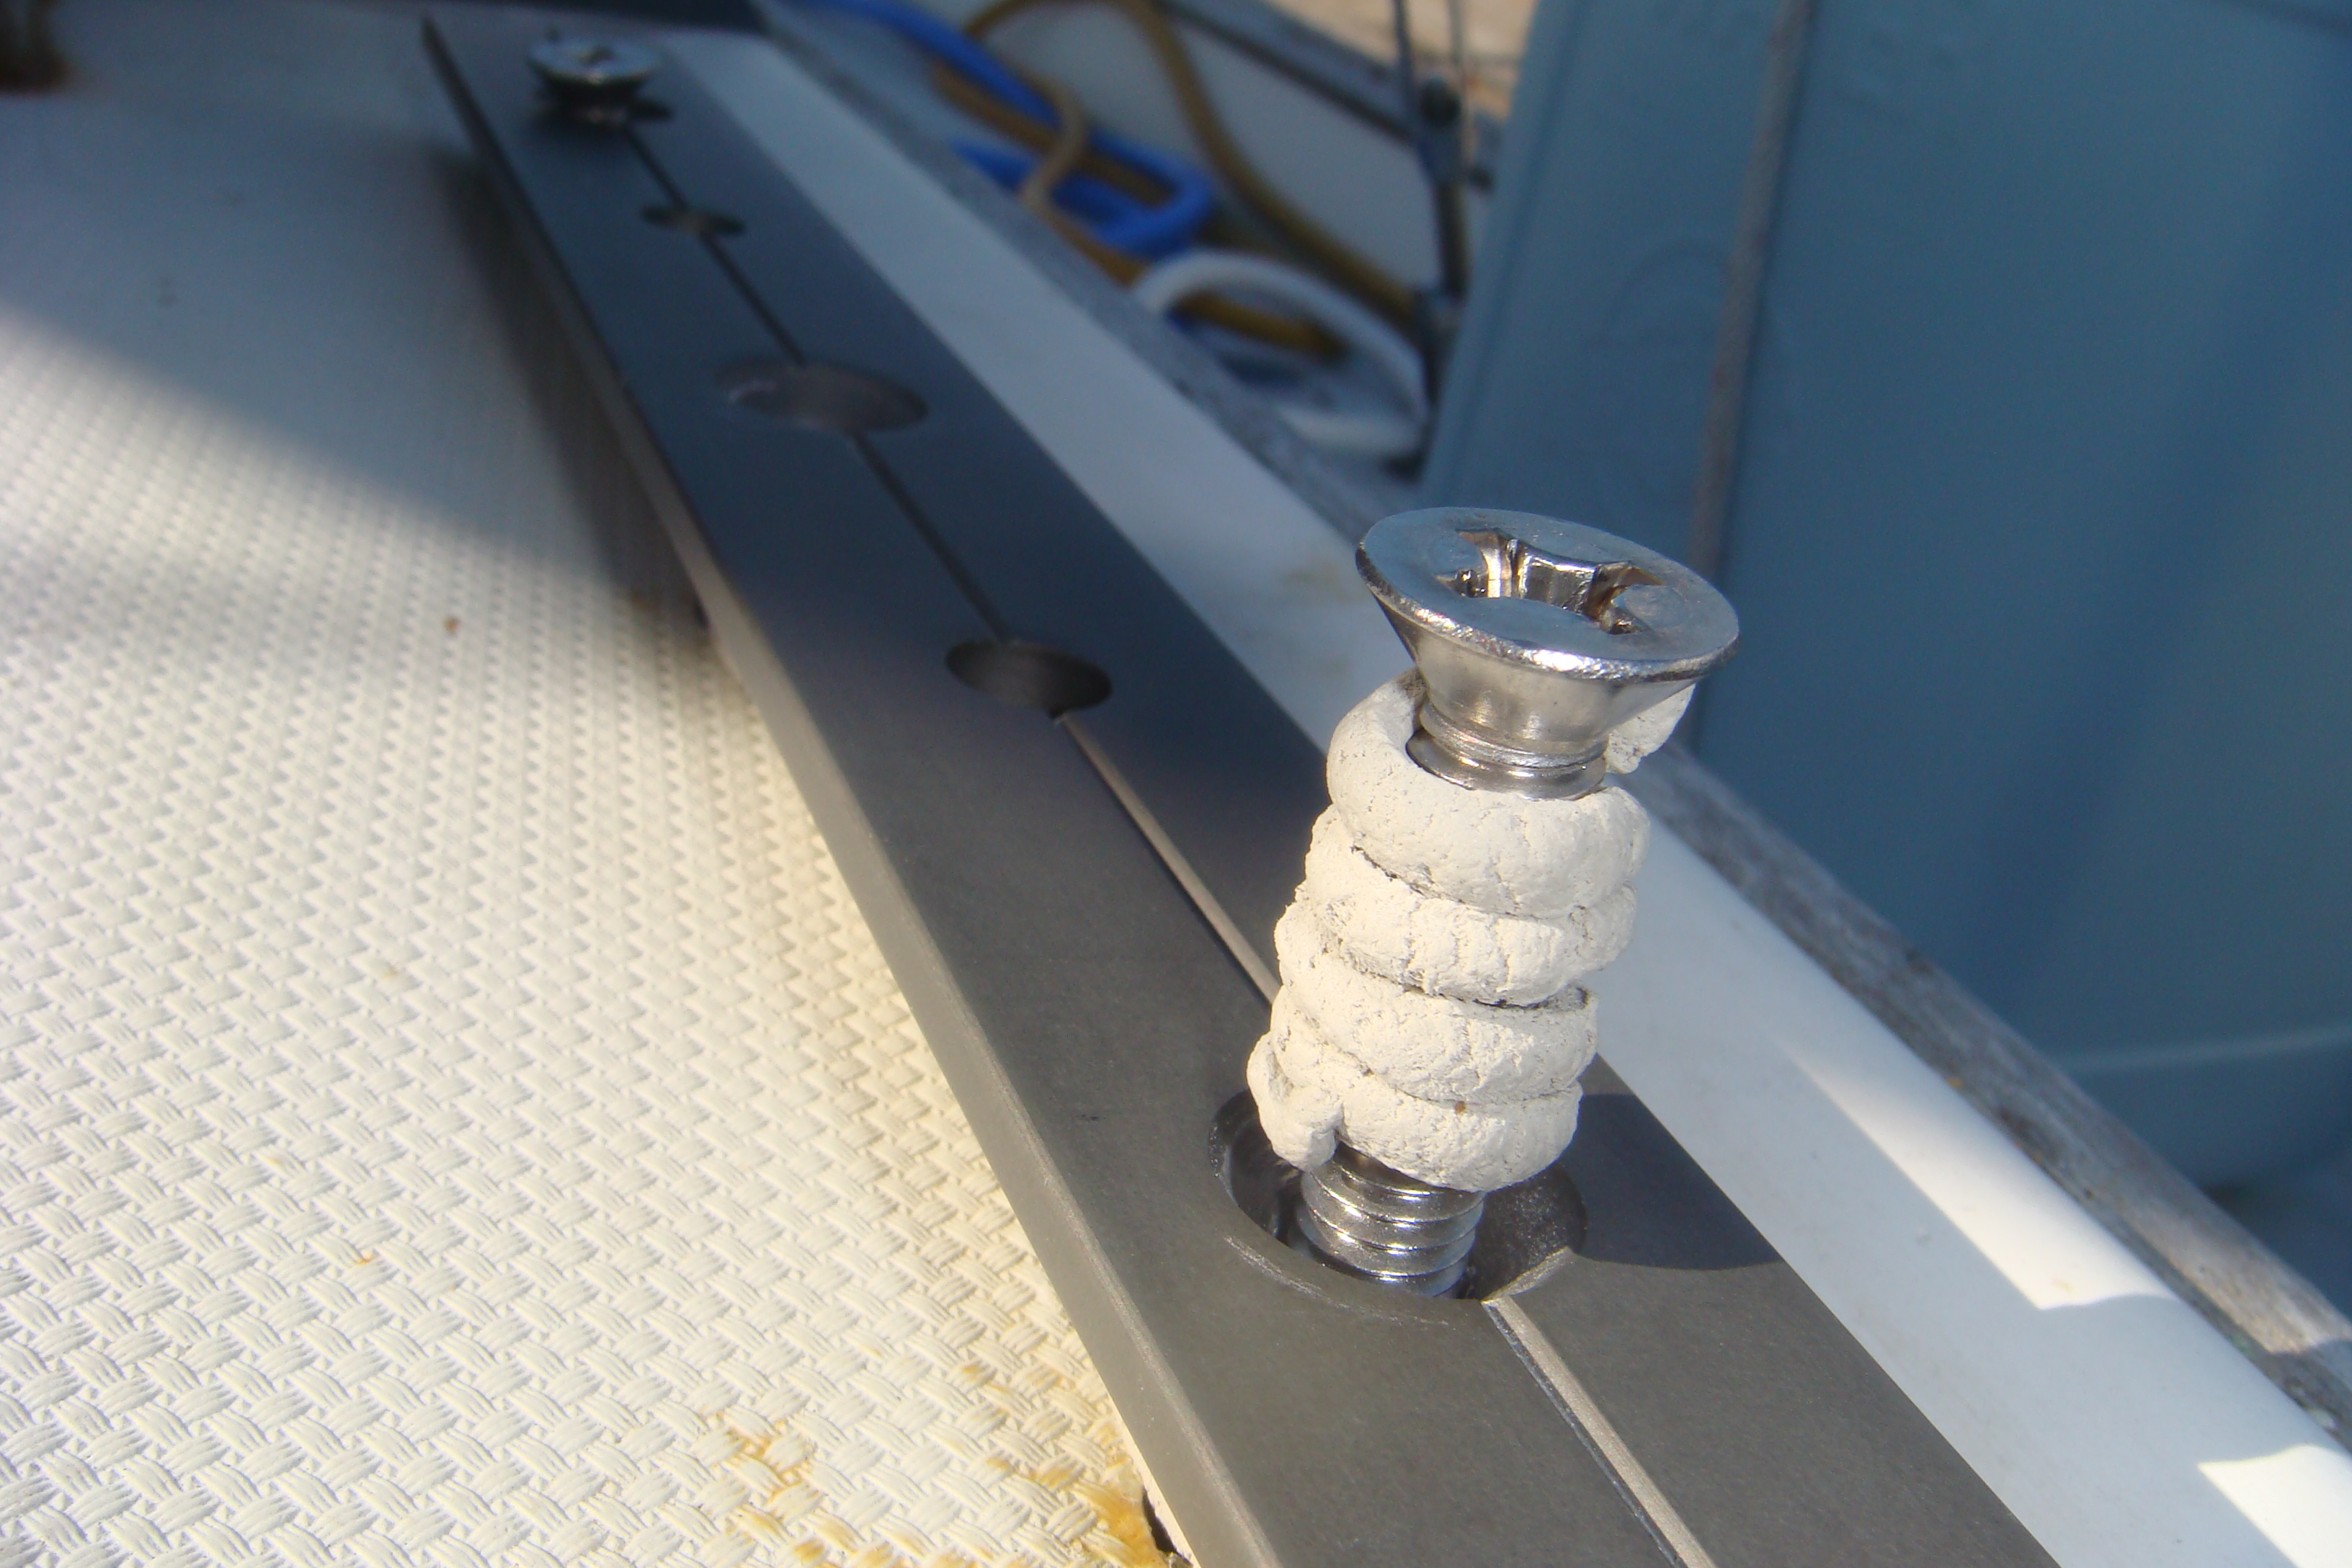 Screw Wrapped With Rope Caulk |
||||||||||||||||||||||||||||||||||
| Checkin' It Out | |||||||||||||||||||||||||||||||||||
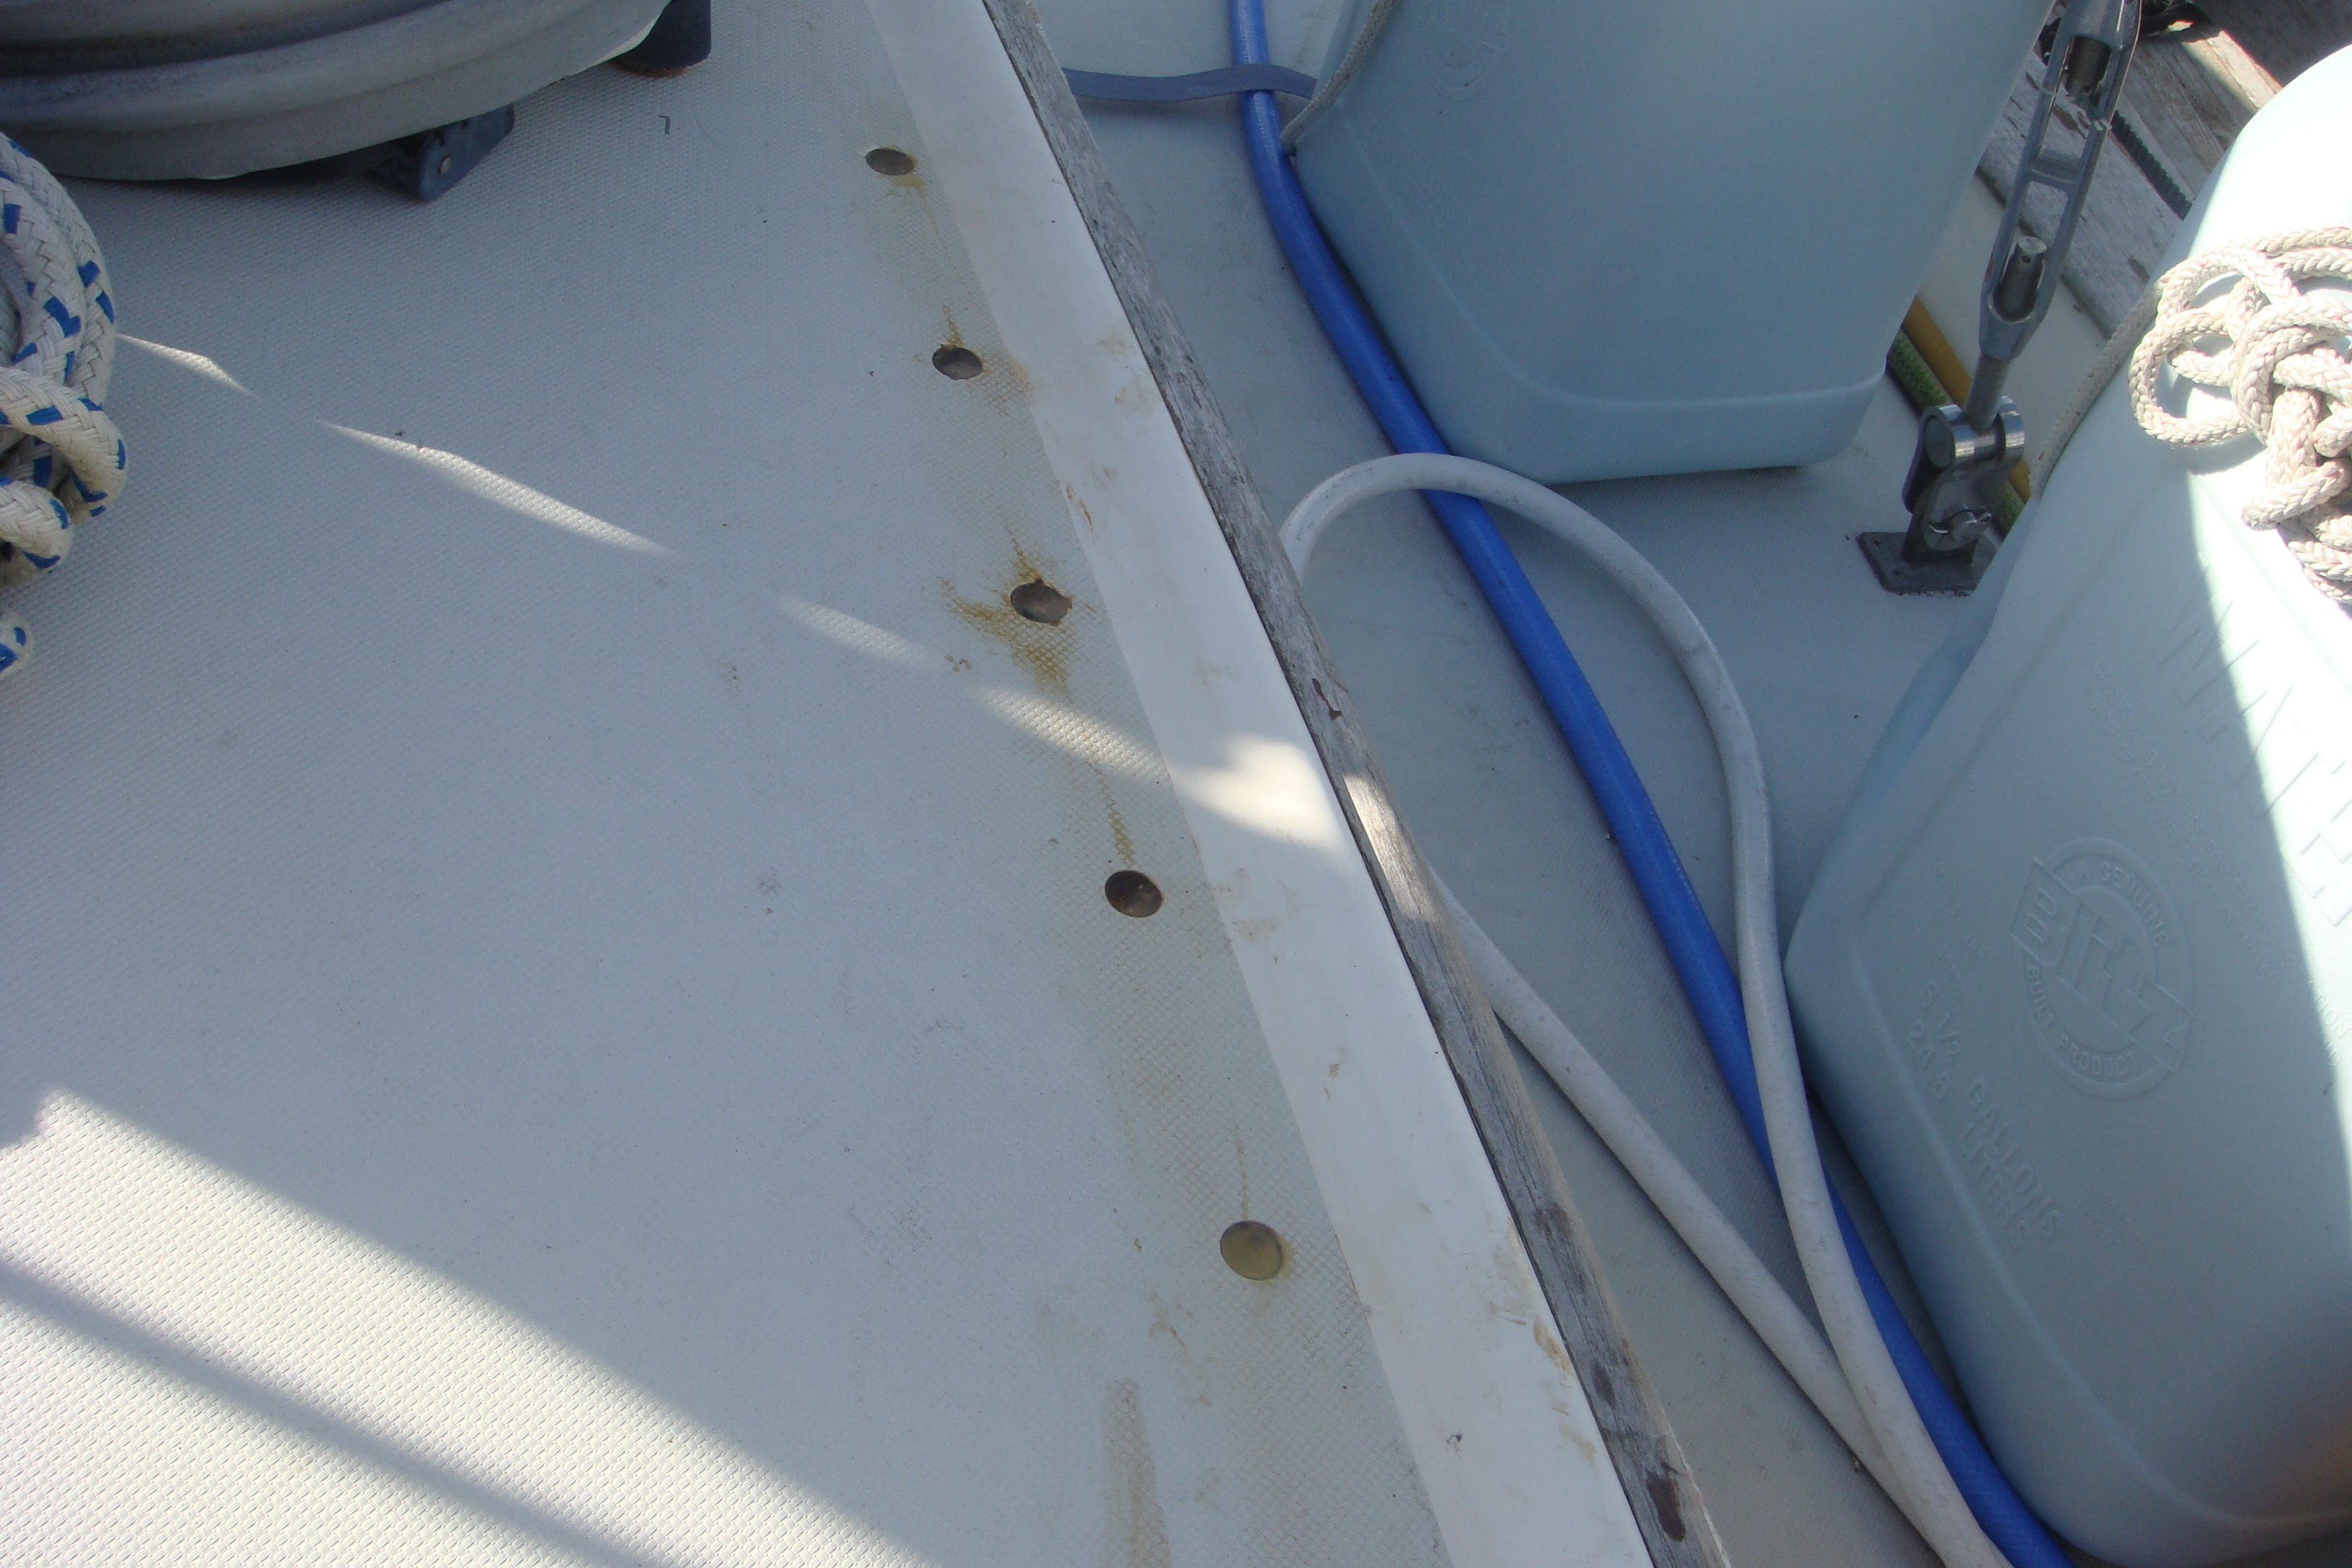
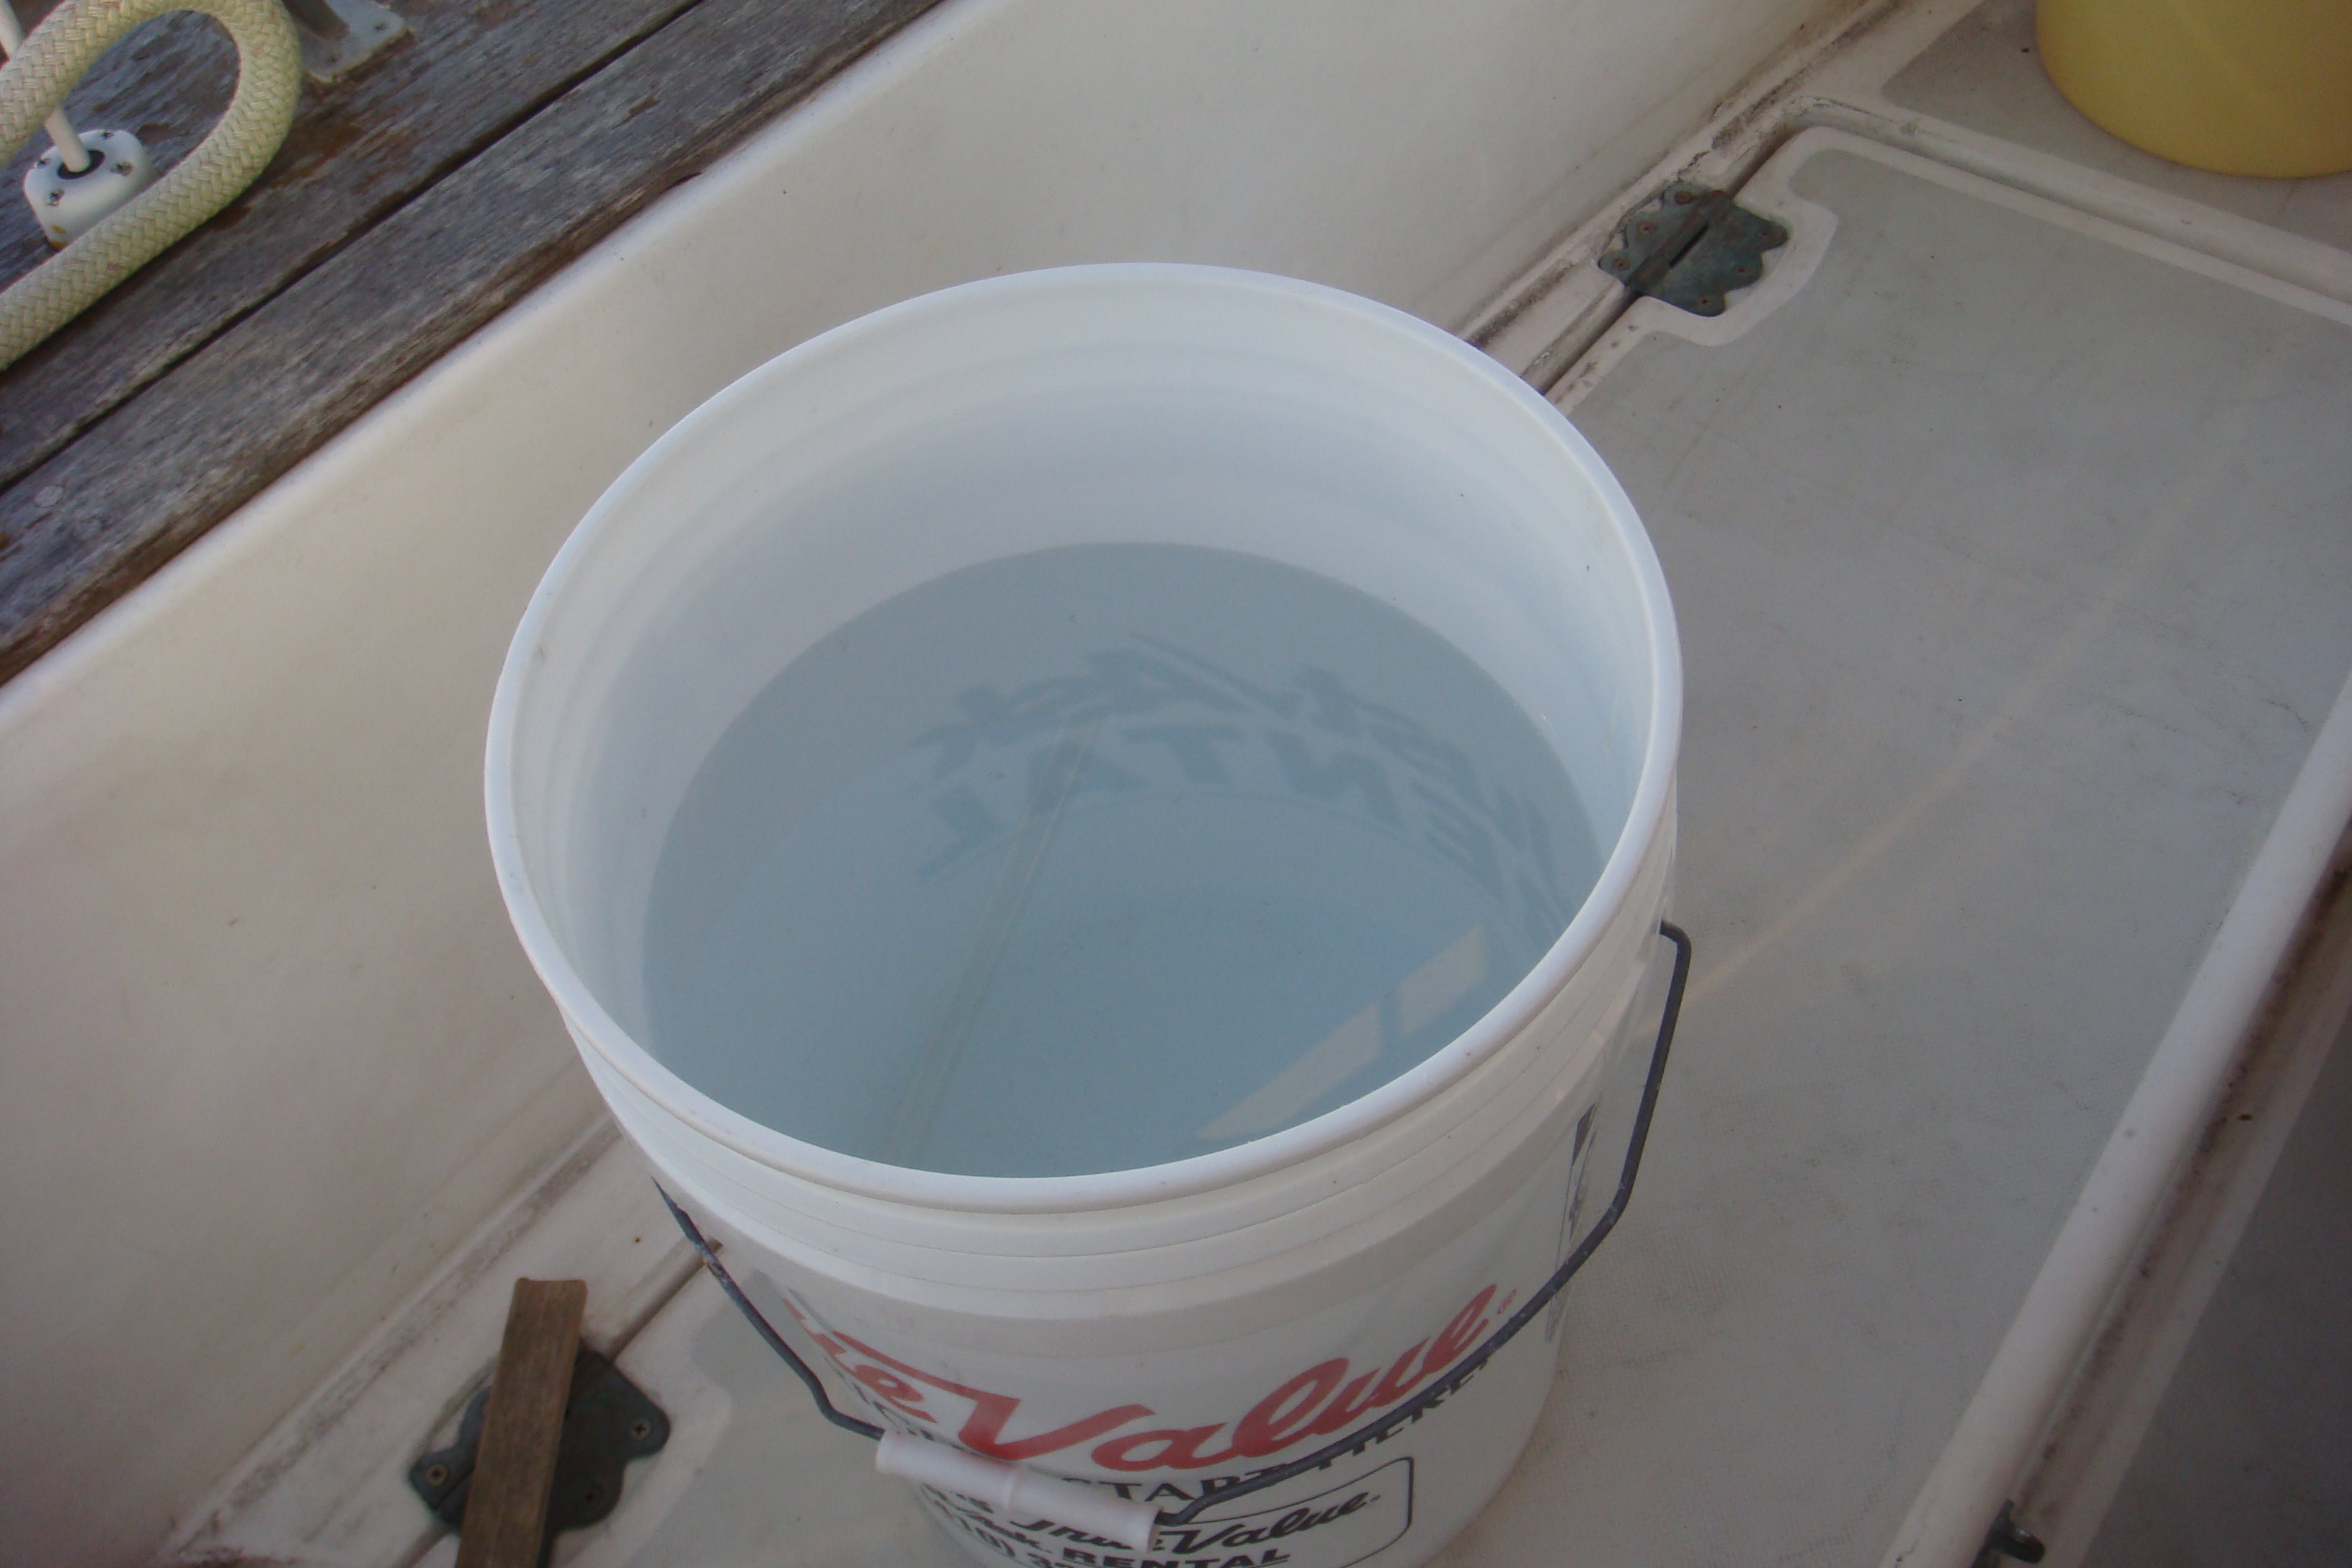 Rainfall From Hurricane Ida |
Within
a few days of completing the track installation the remains of
Hurricane Ida passed south of North Carolina then just stalled
for about 3 days off Hatteras and dumped nearly a foot of rain
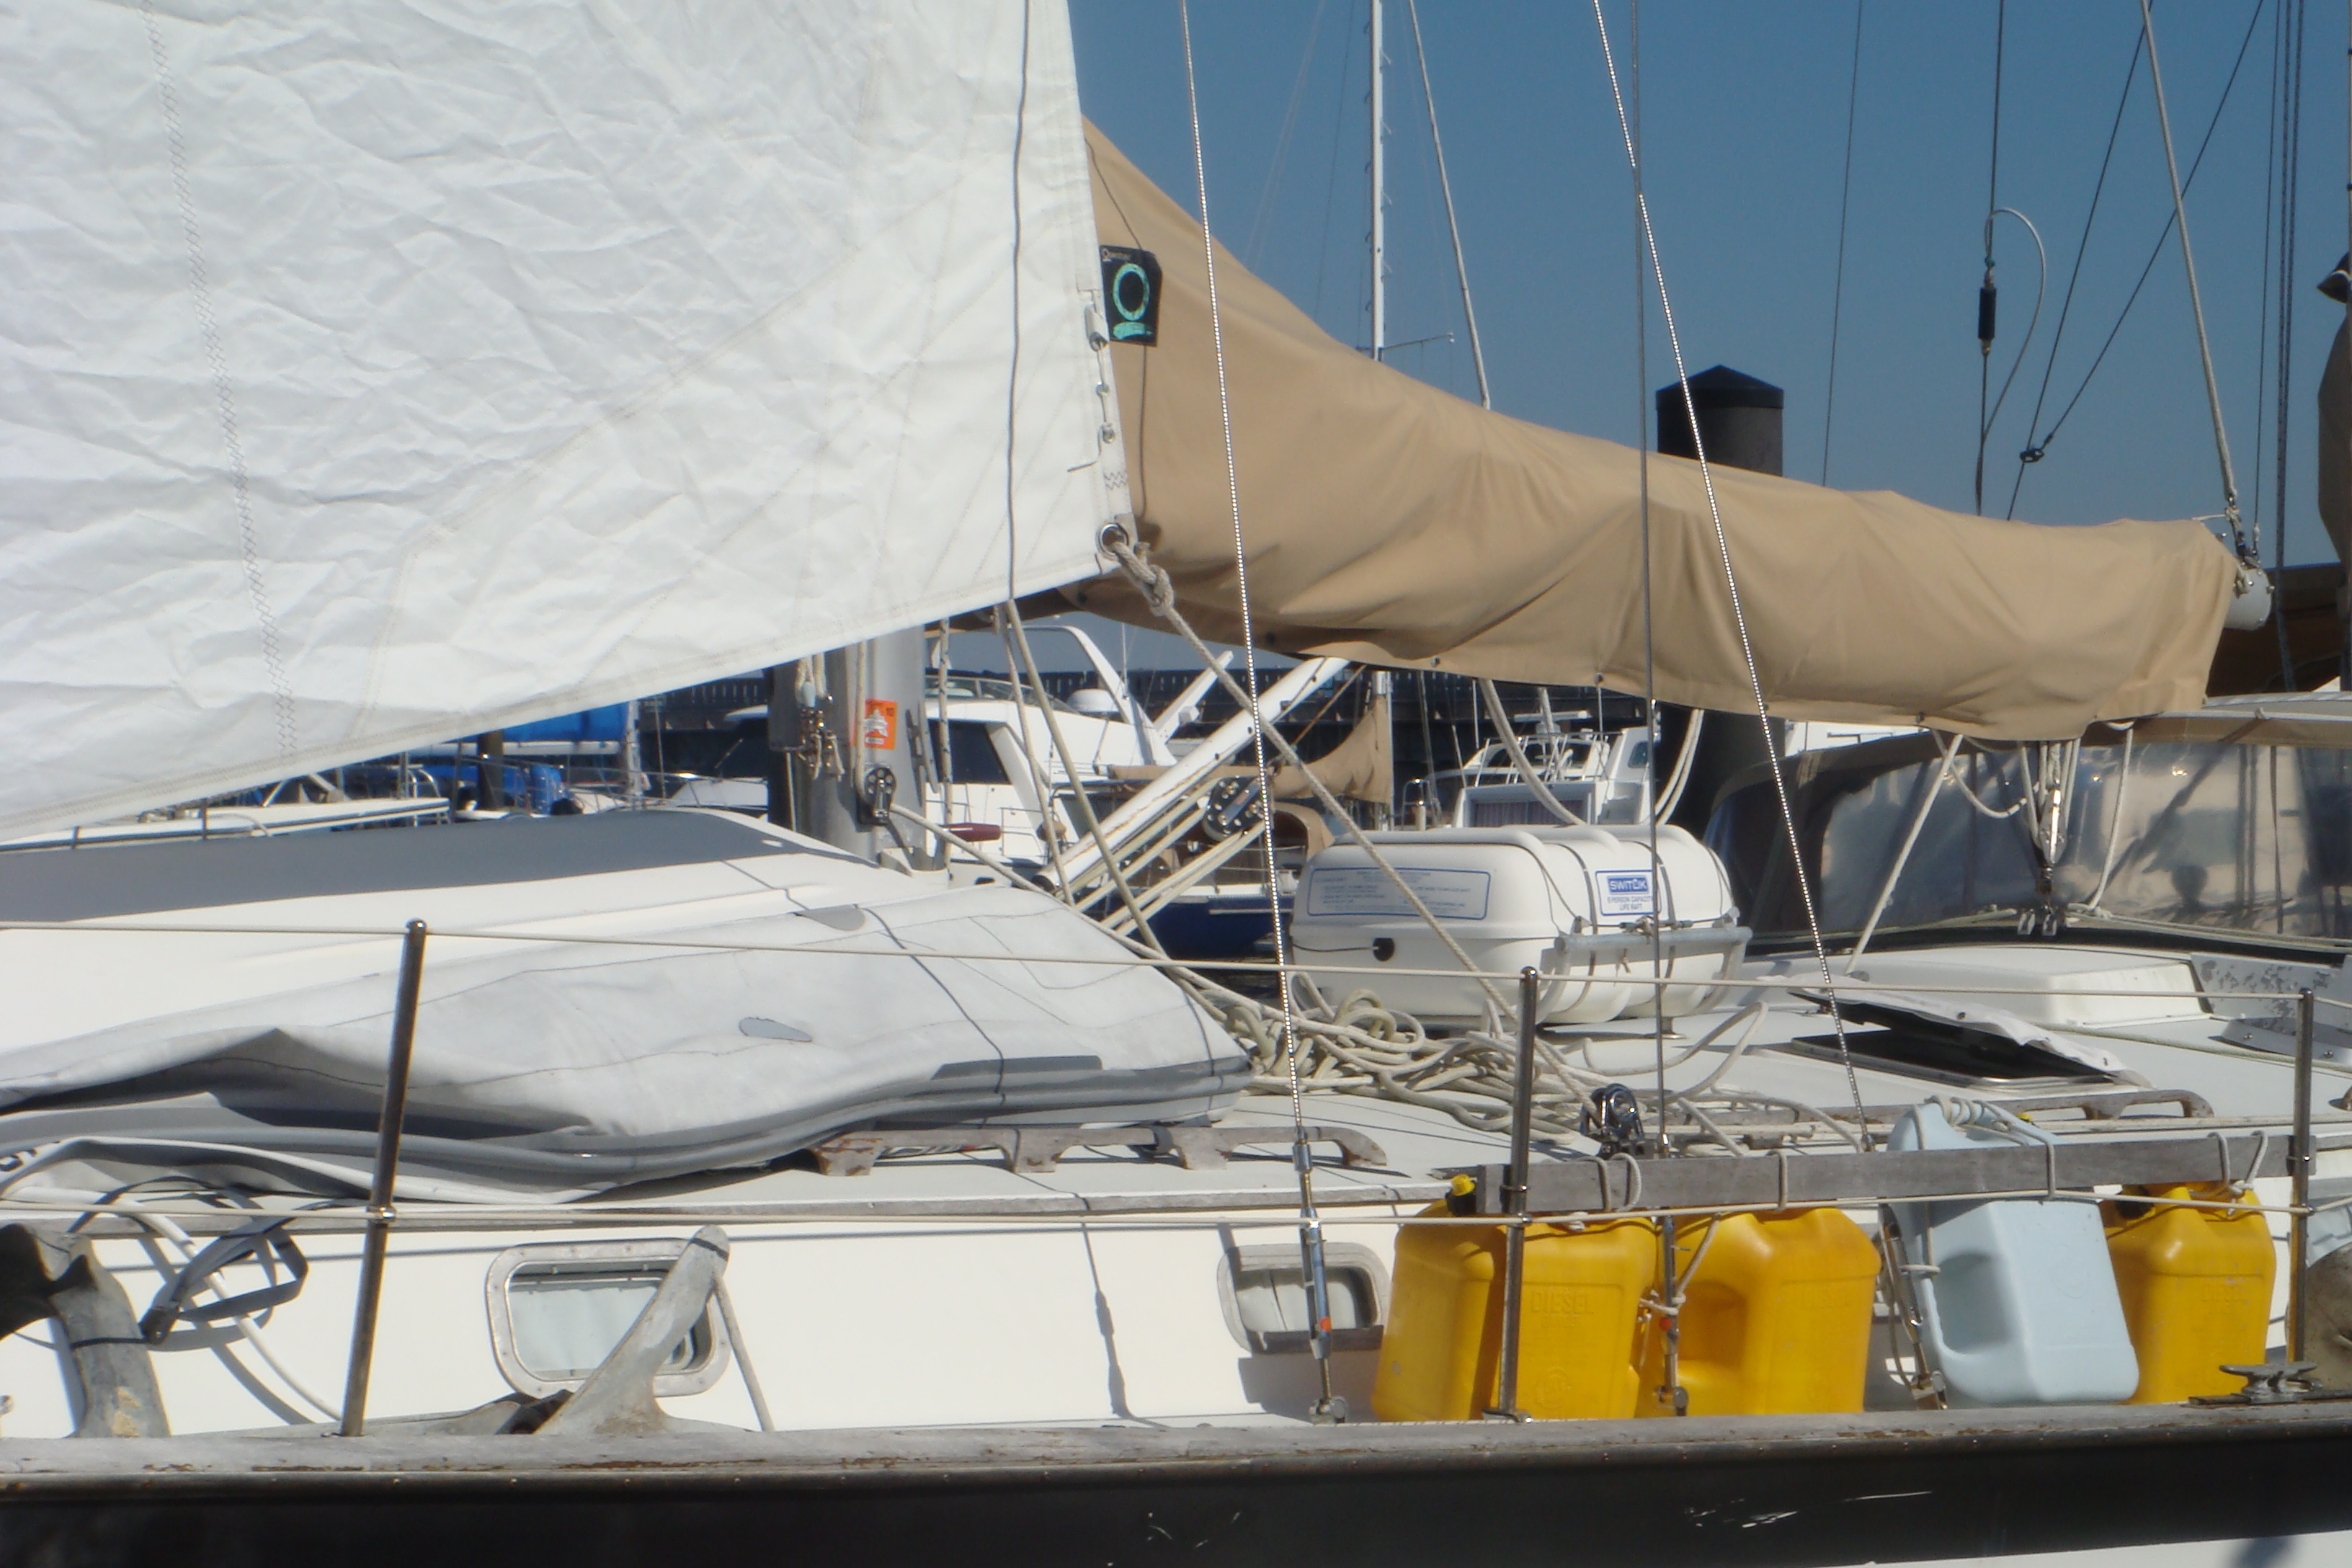
on New Bern. The drywall-type bucket in the picture on the
left was in the cockpit for all of that rain. It is nearly
3/4 full. All that rain provided me with more confidence that the tracks are well sealed. What happens after a few days of hard off-shore sailing is another matter, but for now I'm satisfied that the track is water tight. |
||||||||||||||||||||||||||||||||||
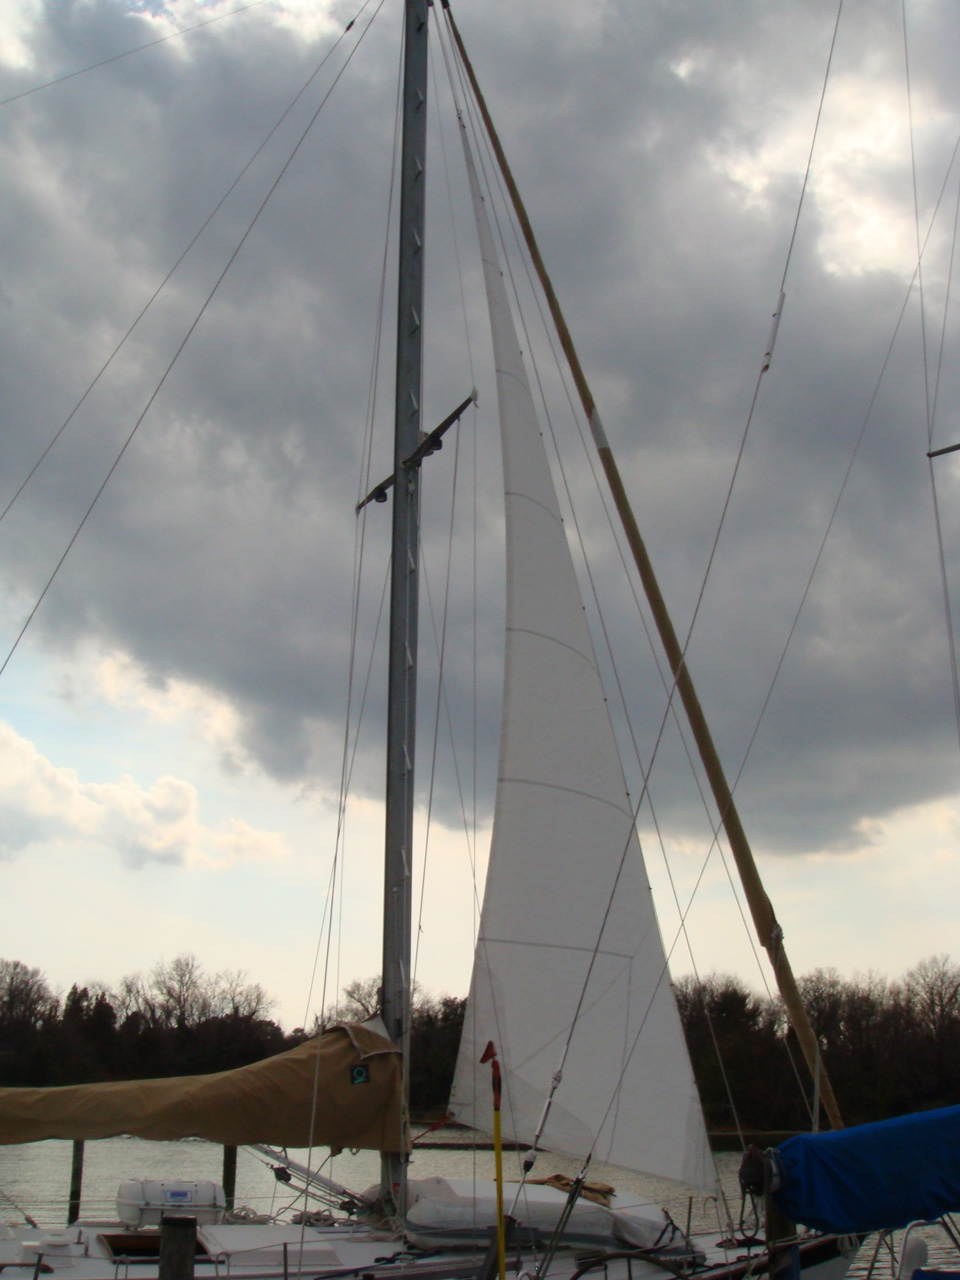
| Two days after the storm moved well off-shore we finally got a nice sunny day with no wind. This was my first chance to test the sheet leads on the re-cut sail and track. |
 Stay Sail Sheeted to Cabin Trunk Cars |
||||||||||||||||||||||||||||||||||
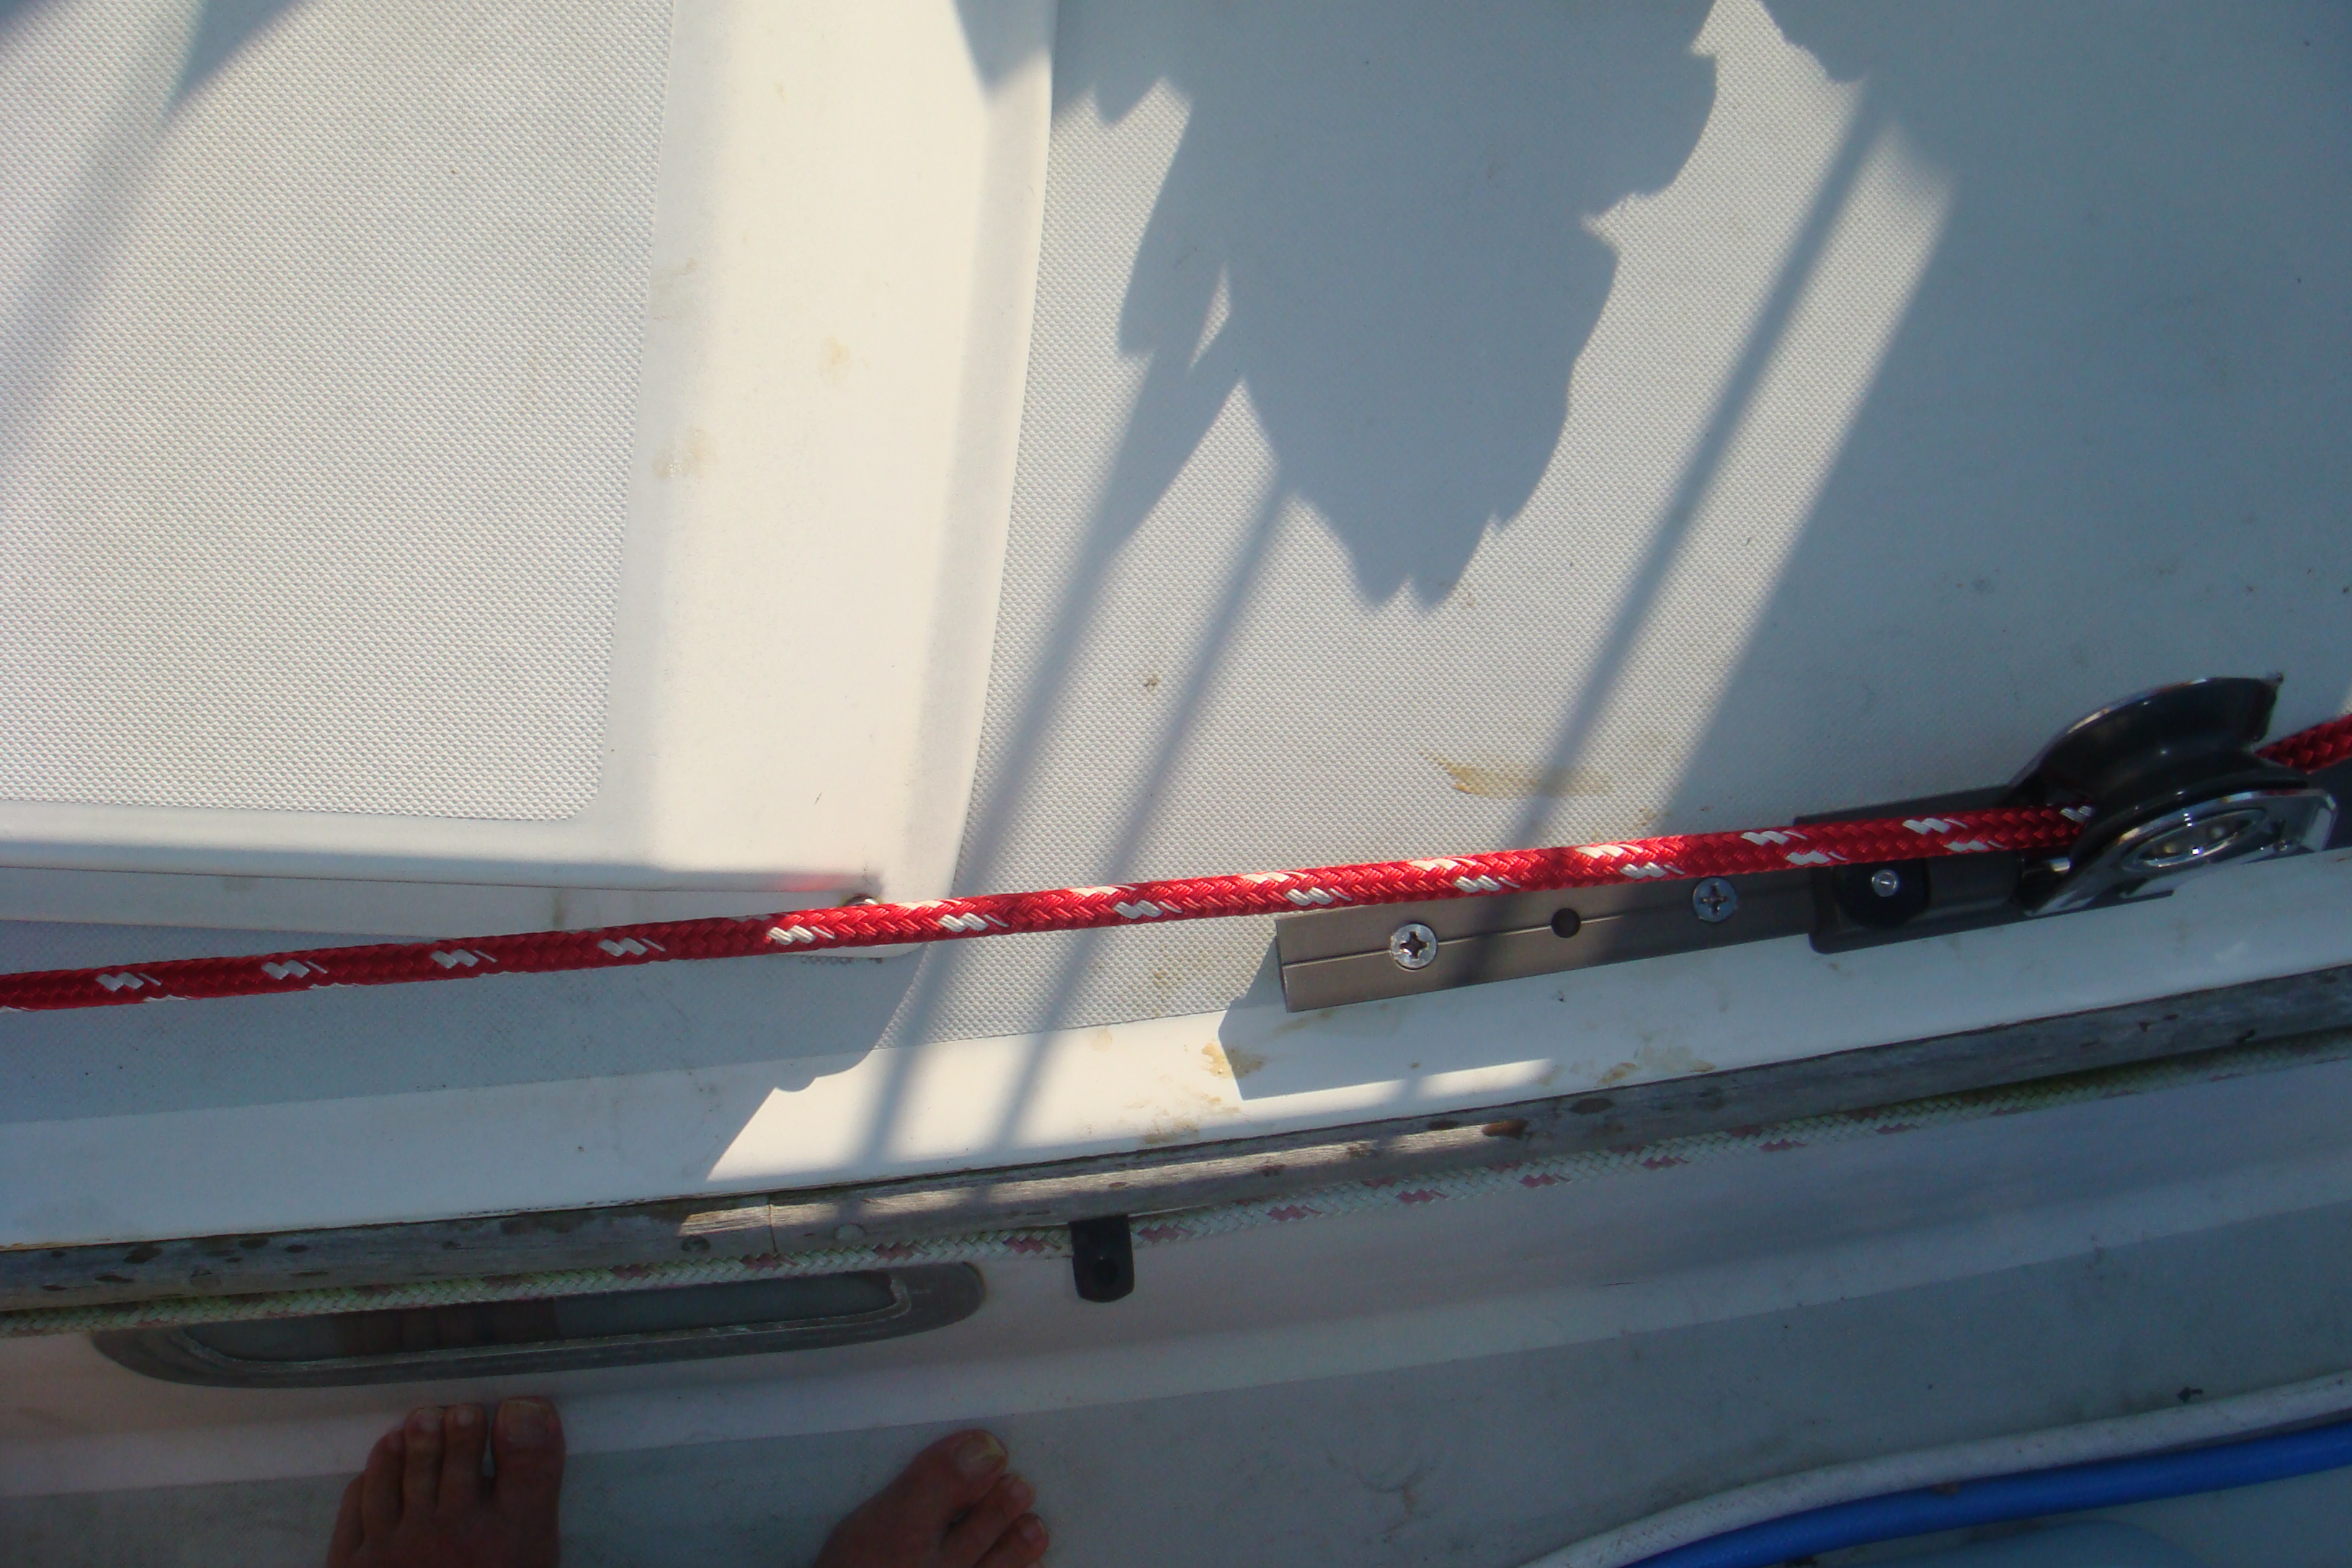
 Sheeting Angle |
Hard to see in this picture unless you click on it to view it at full resolution, but the track provides good sheeting positions. The car should be a little further forward, but there is plenty of room as it is at the aft end of the track. | ||||||||||||||||||||||||||||||||||
| The one problem I wasn't able to fully solve is the sheet run from the car to the winch in the cockpit. In the picture on the right you can see that the sheet runs down the cabin roof, then drops over the edge to the winch. I will need to put a stainless-steel wear guard on the cabin trunk edge to prevent the sheet from wearing into the fibeglass. |
 Sheet Run to Cockpit Winch |
||||||||||||||||||||||||||||||||||
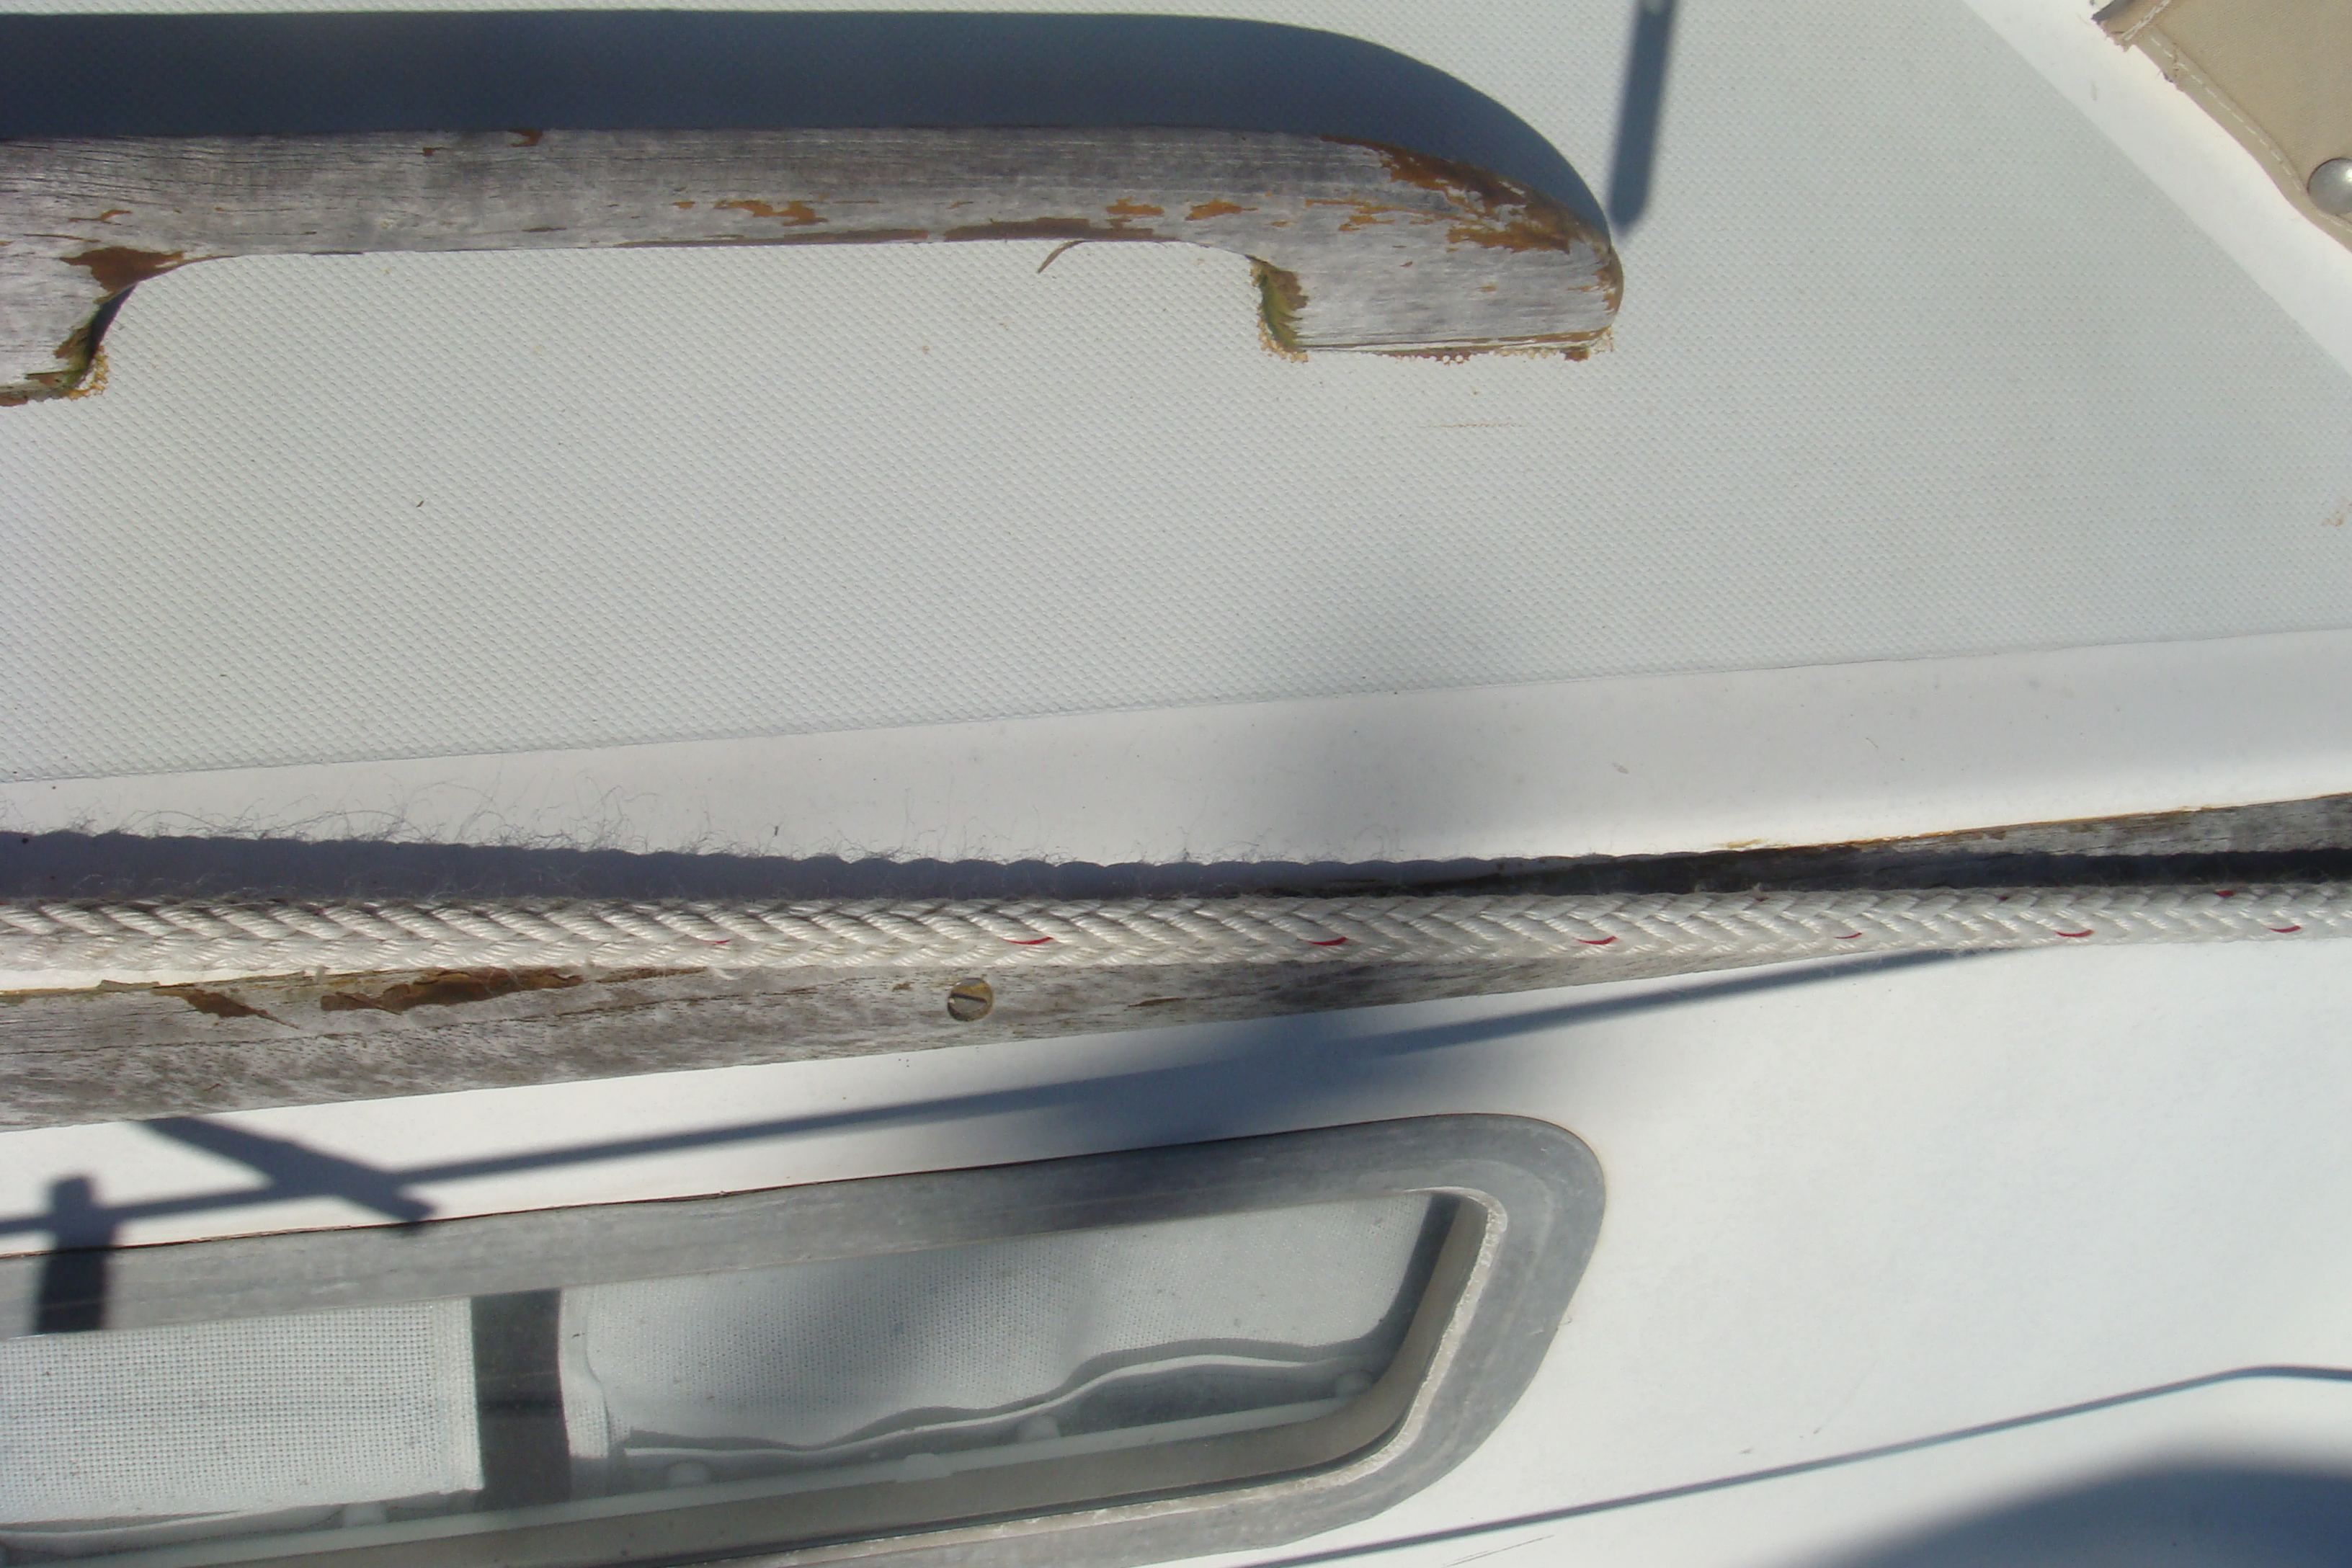 Sheet Lead Over the Edge of the Cabin Trunk |
On the left you can see where the sheet rubs on the edge of the cabin trunk. | ||||||||||||||||||||||||||||||||||
| The starboard side presents a couple of problems in addition to the trunk cabin edge. In the picture on the right you can see that the sheet just barely clears the sea hood on the forward companionway. If I move the the car fully forward on the track the sheet does make contact with the sea hood. |
 Starboard Sheet is Very Close to the Forward Companionway Sea Hood |
||||||||||||||||||||||||||||||||||
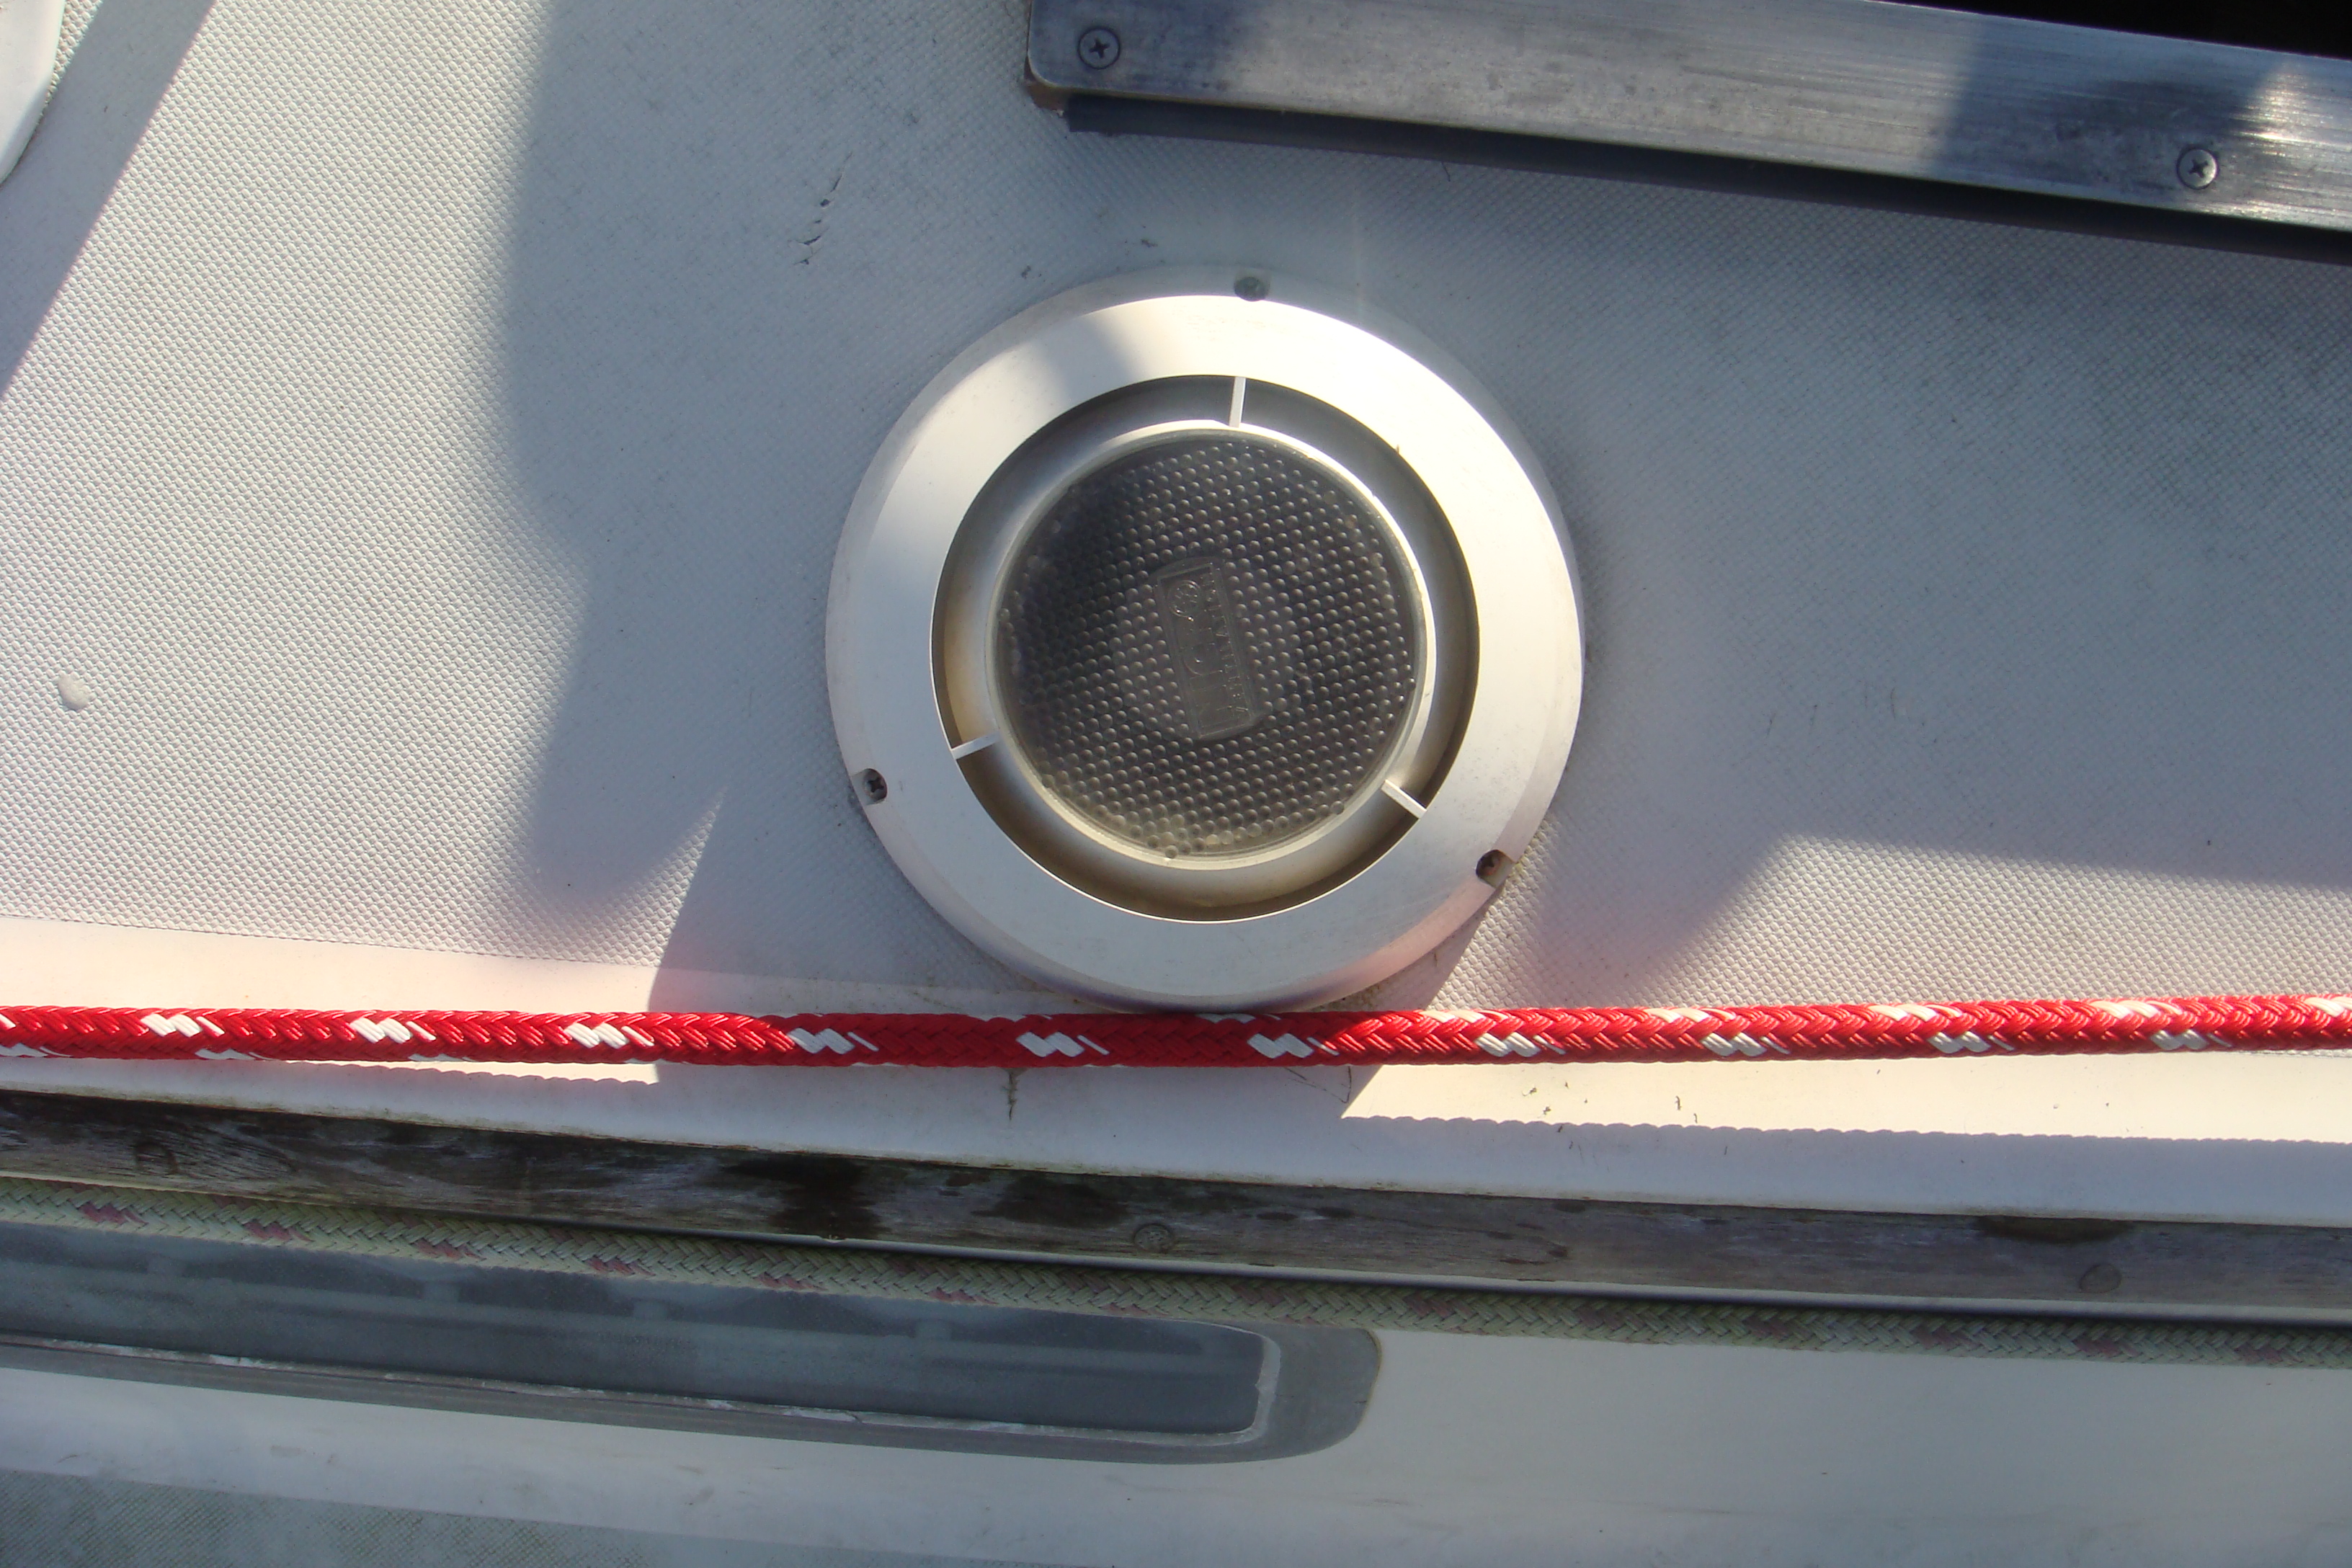 Starboard Sheet Also Runs Close to Airhead Vent |
Further aft on the starboard side the sheet just clears the vent for the composting head. Moving the car doesn't affect this clearance so it may not be a big problem. However I may add a cheek block or fairlead to keep the sheet away from these obstacles. | ||||||||||||||||||||||||||||||||||
| One other problem is that the sheet angle to the winch is about 90º to the winch barrel. It should be at least 20º lower than that. There is real danger of an over-ride when sheeting the stay sail. |
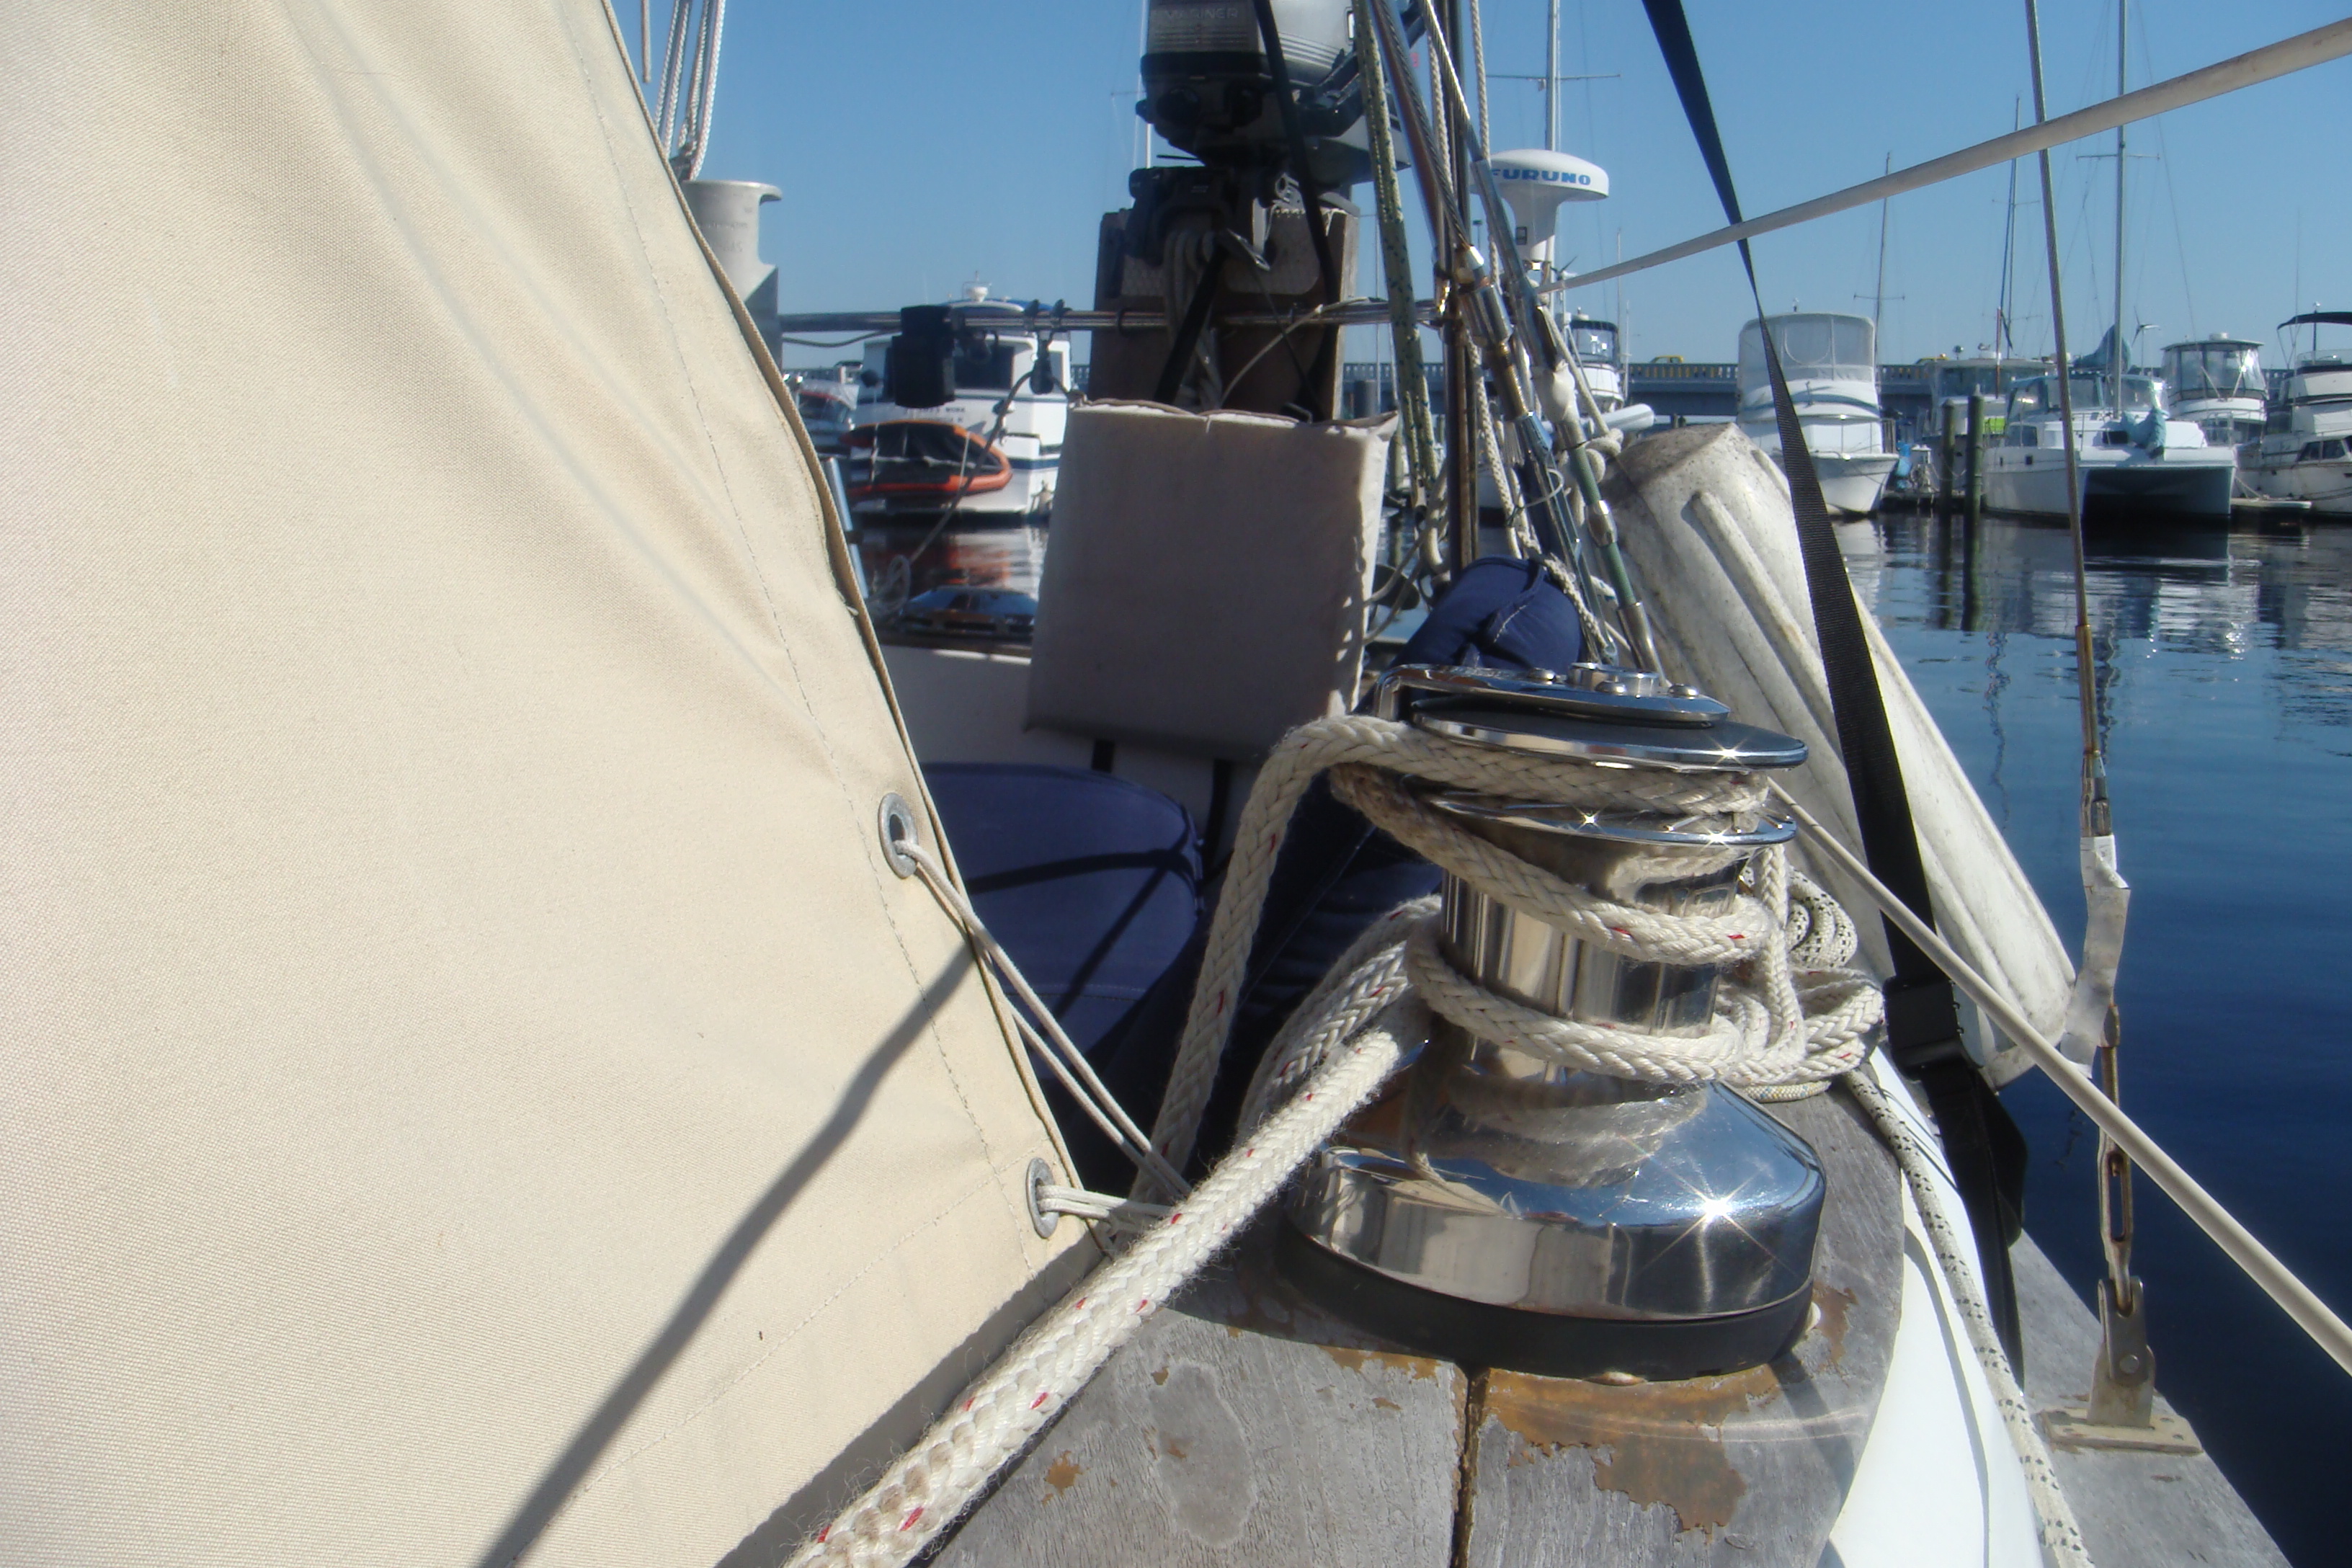 Sheet Lead to Cockpit Winch |
||||||||||||||||||||||||||||||||||
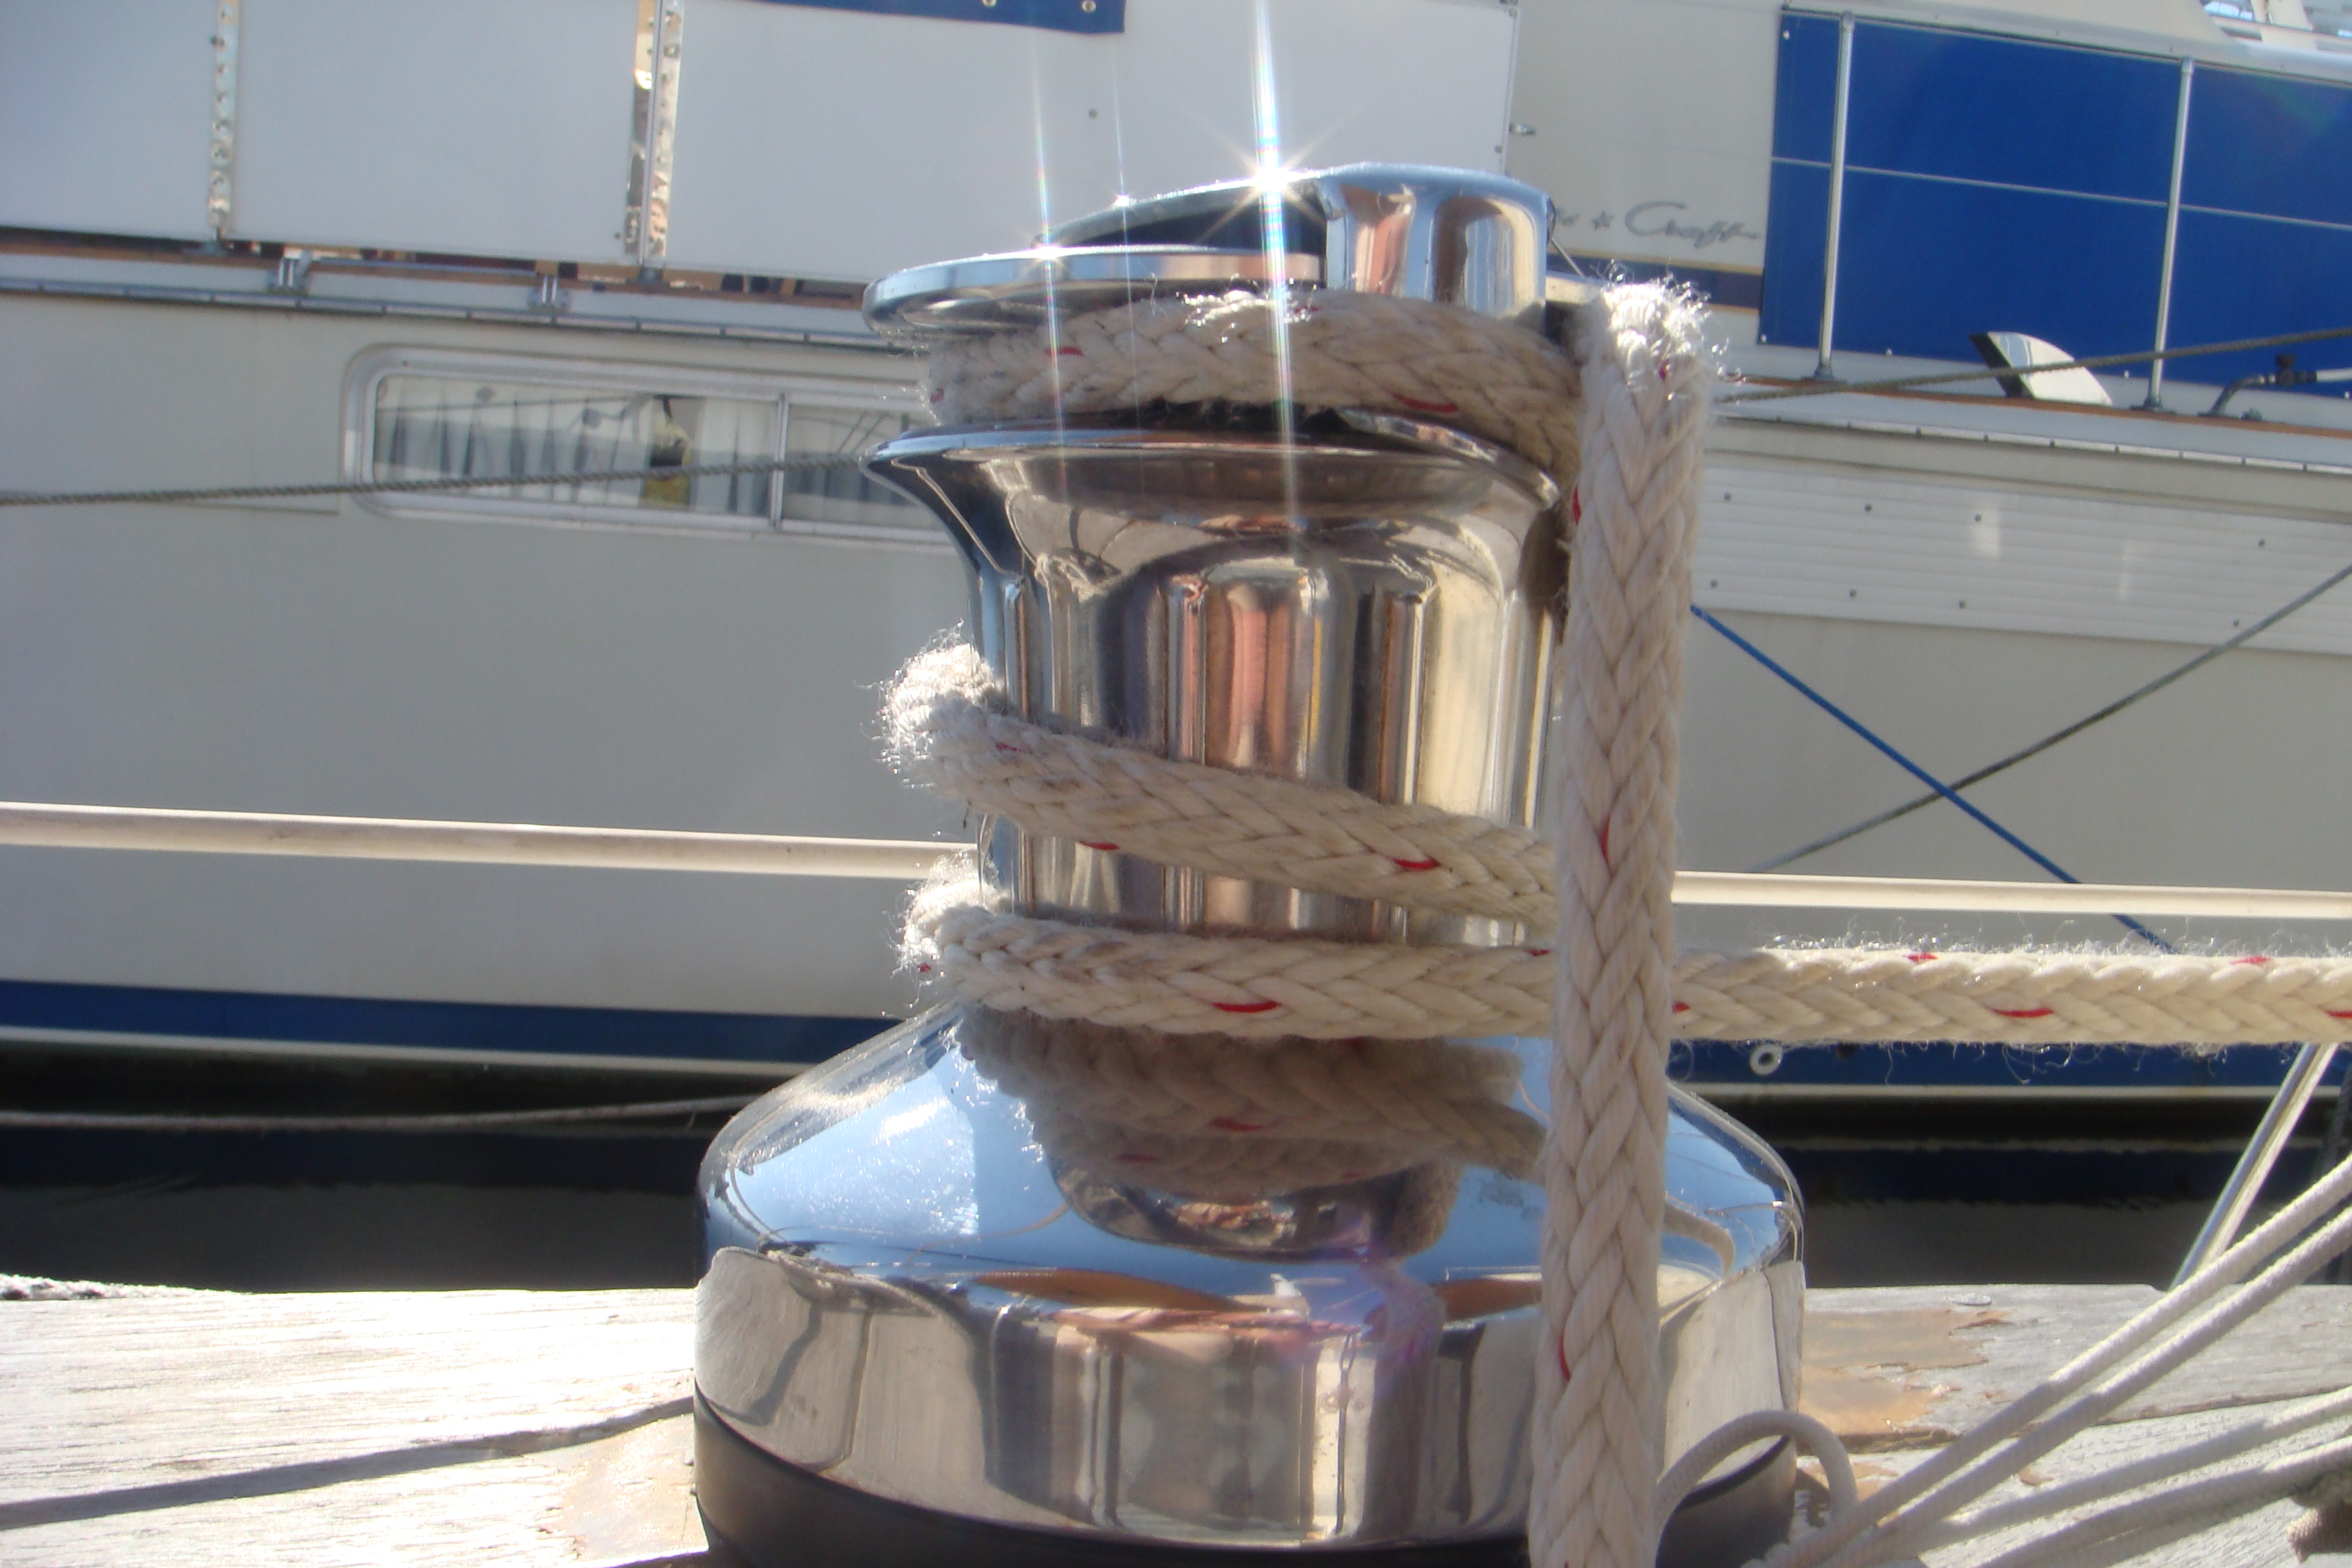 Lead to Winch May Cause an Over-ride |
In
the picture on the left the angle of the sheet to the winch can
be easily seen. This is one of the problems that kept me agonizing over this installation for months after the stay sail was re-cut. Finally I just decided to live with this situation until it proves itself to be un-manageable. If necessay I may put a lead block at the forward end of the cockpit coaming to lower the sheeting angle, but that would make setting up the sheet a more tedious process. |
||||||||||||||||||||||||||||||||||
| Of course the real solution is to route the stay sheets to
winches on the cabin roof, under the Dodger. I could use
the a pair of sheet stoppers to allow the main sheet winch to be
shared with the port stay sail sheet, but I would still need
another winch on the starboard side. I'm not going to sink
any more money into this installation until after I've used the
stay sail for awhile and determined the seriousness of each of
these apparent deficiencies. So for now the Solent Stay installation is complete. Stay tuned ... |
|||||||||||||||||||||||||||||||||||
| Storing the Solent Stay | |||||||||||||||||||||||||||||||||||
| One of the problems of an inner forestay (Solent
or otherwise) is that it does not co-exist easily with an
overlapping Genoa. Sarah carries a 135% Genoa. With
the Solent Stay in place it is not possible to tack the Genoa
without going onto the fore deck and manually pushing the Genoa
through the narrow slot between the inner and outer forestays.
My normal procedure is to furl the Genoa, and turn on the engine
(in light airs). Turn onto the new tack then unfurl and
trim the Genoa and turn off the engine. This is not a significant issue off-shore where tacks are infrequent, but for inshore sailing (such as on the Chesapeake) where tacking is common, the procedure is a PITA. My normal solution when sailing inshore for an extended period is to remove the staysail and secure the stay to the rail. I really didn't have any way to secure the stay, except by tying it to one of the shrouds. I kept looking a simple and better way to secure the stay out of the way. |
|||||||||||||||||||||||||||||||||||
| Then in September, 2012 I was removing the Solent Stay and
stay sail for some cruising on the Chesapeake and noticed the
track car slide could be used to secure the stay. With the car moved to the forward-most position on the Genoa track the Highfield Lever just about reached to the slide. I added a twisted shackle and the fit was almost perfect. |
 Highfield Lever Secured to a Track Car Slide on the Starboard Genoa Track |
||||||||||||||||||||||||||||||||||
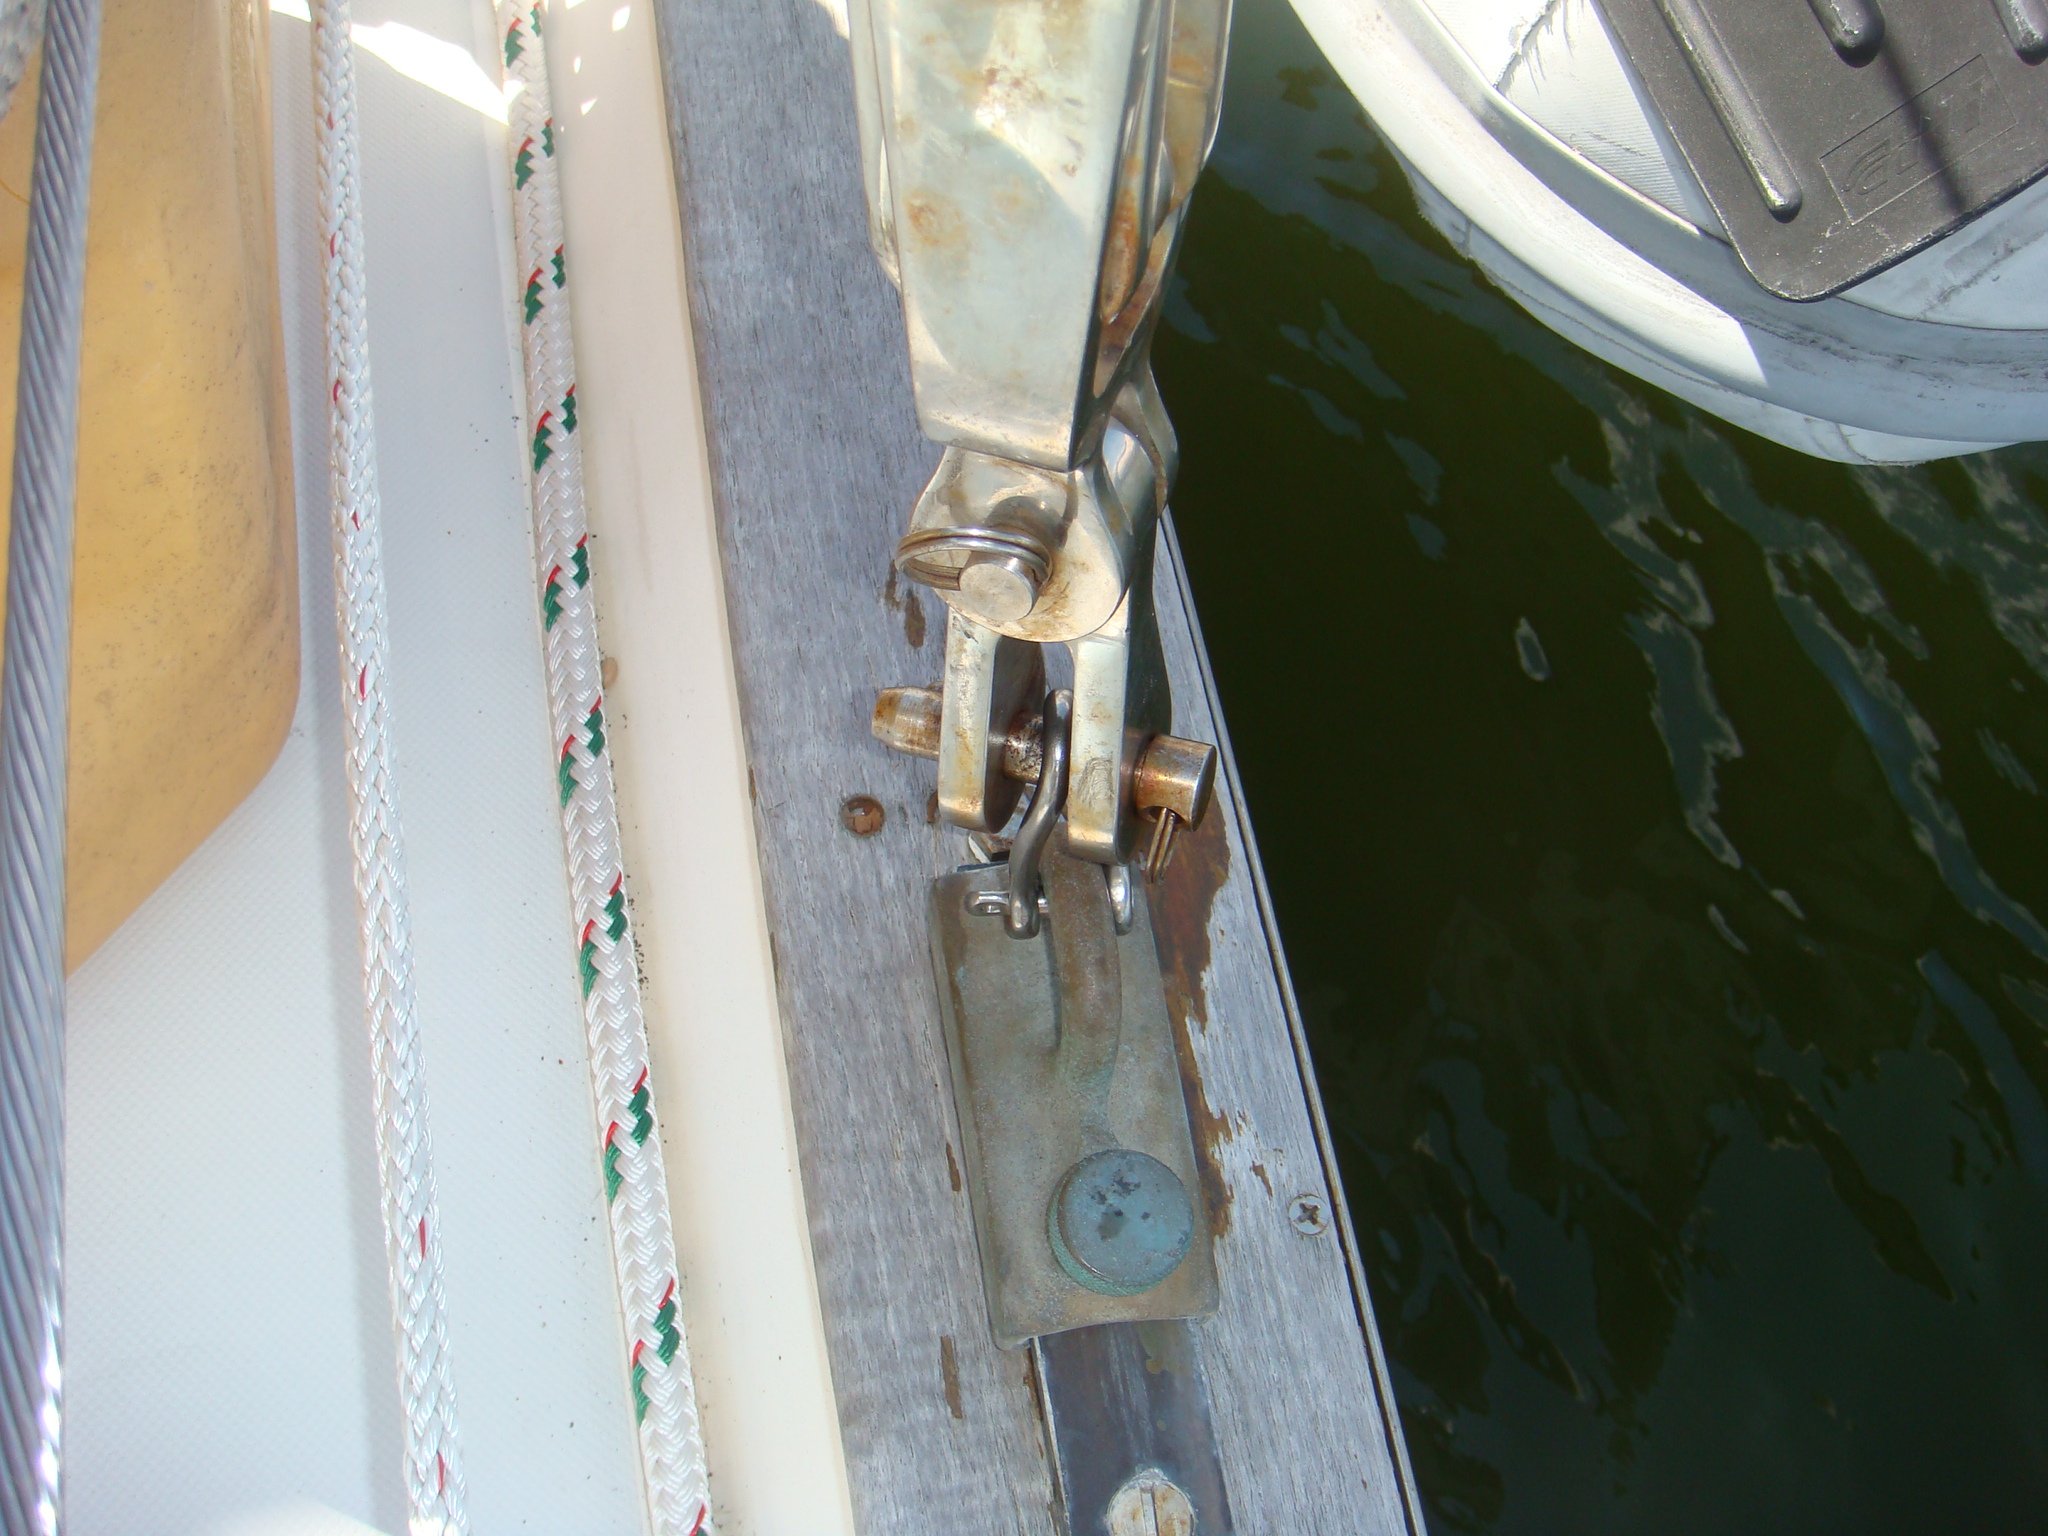 Close-up of the Shackle Between the Highfield Lever and the Track Car Slide |
On the left is a close-up of the shackle between the Highfield lever and the track slide. I used a shackle with a 90° twist to provide a fair lead for the Solent Stay. | ||||||||||||||||||||||||||||||||||
| The top of the Solent Stay does impinge on the stay sail halyard block. The line still runs through the block, but I need to clean up this part of the arrangement. I've wanted to use a different block (and smaller diameter rope) on this halyard. Now I have the excuse. |
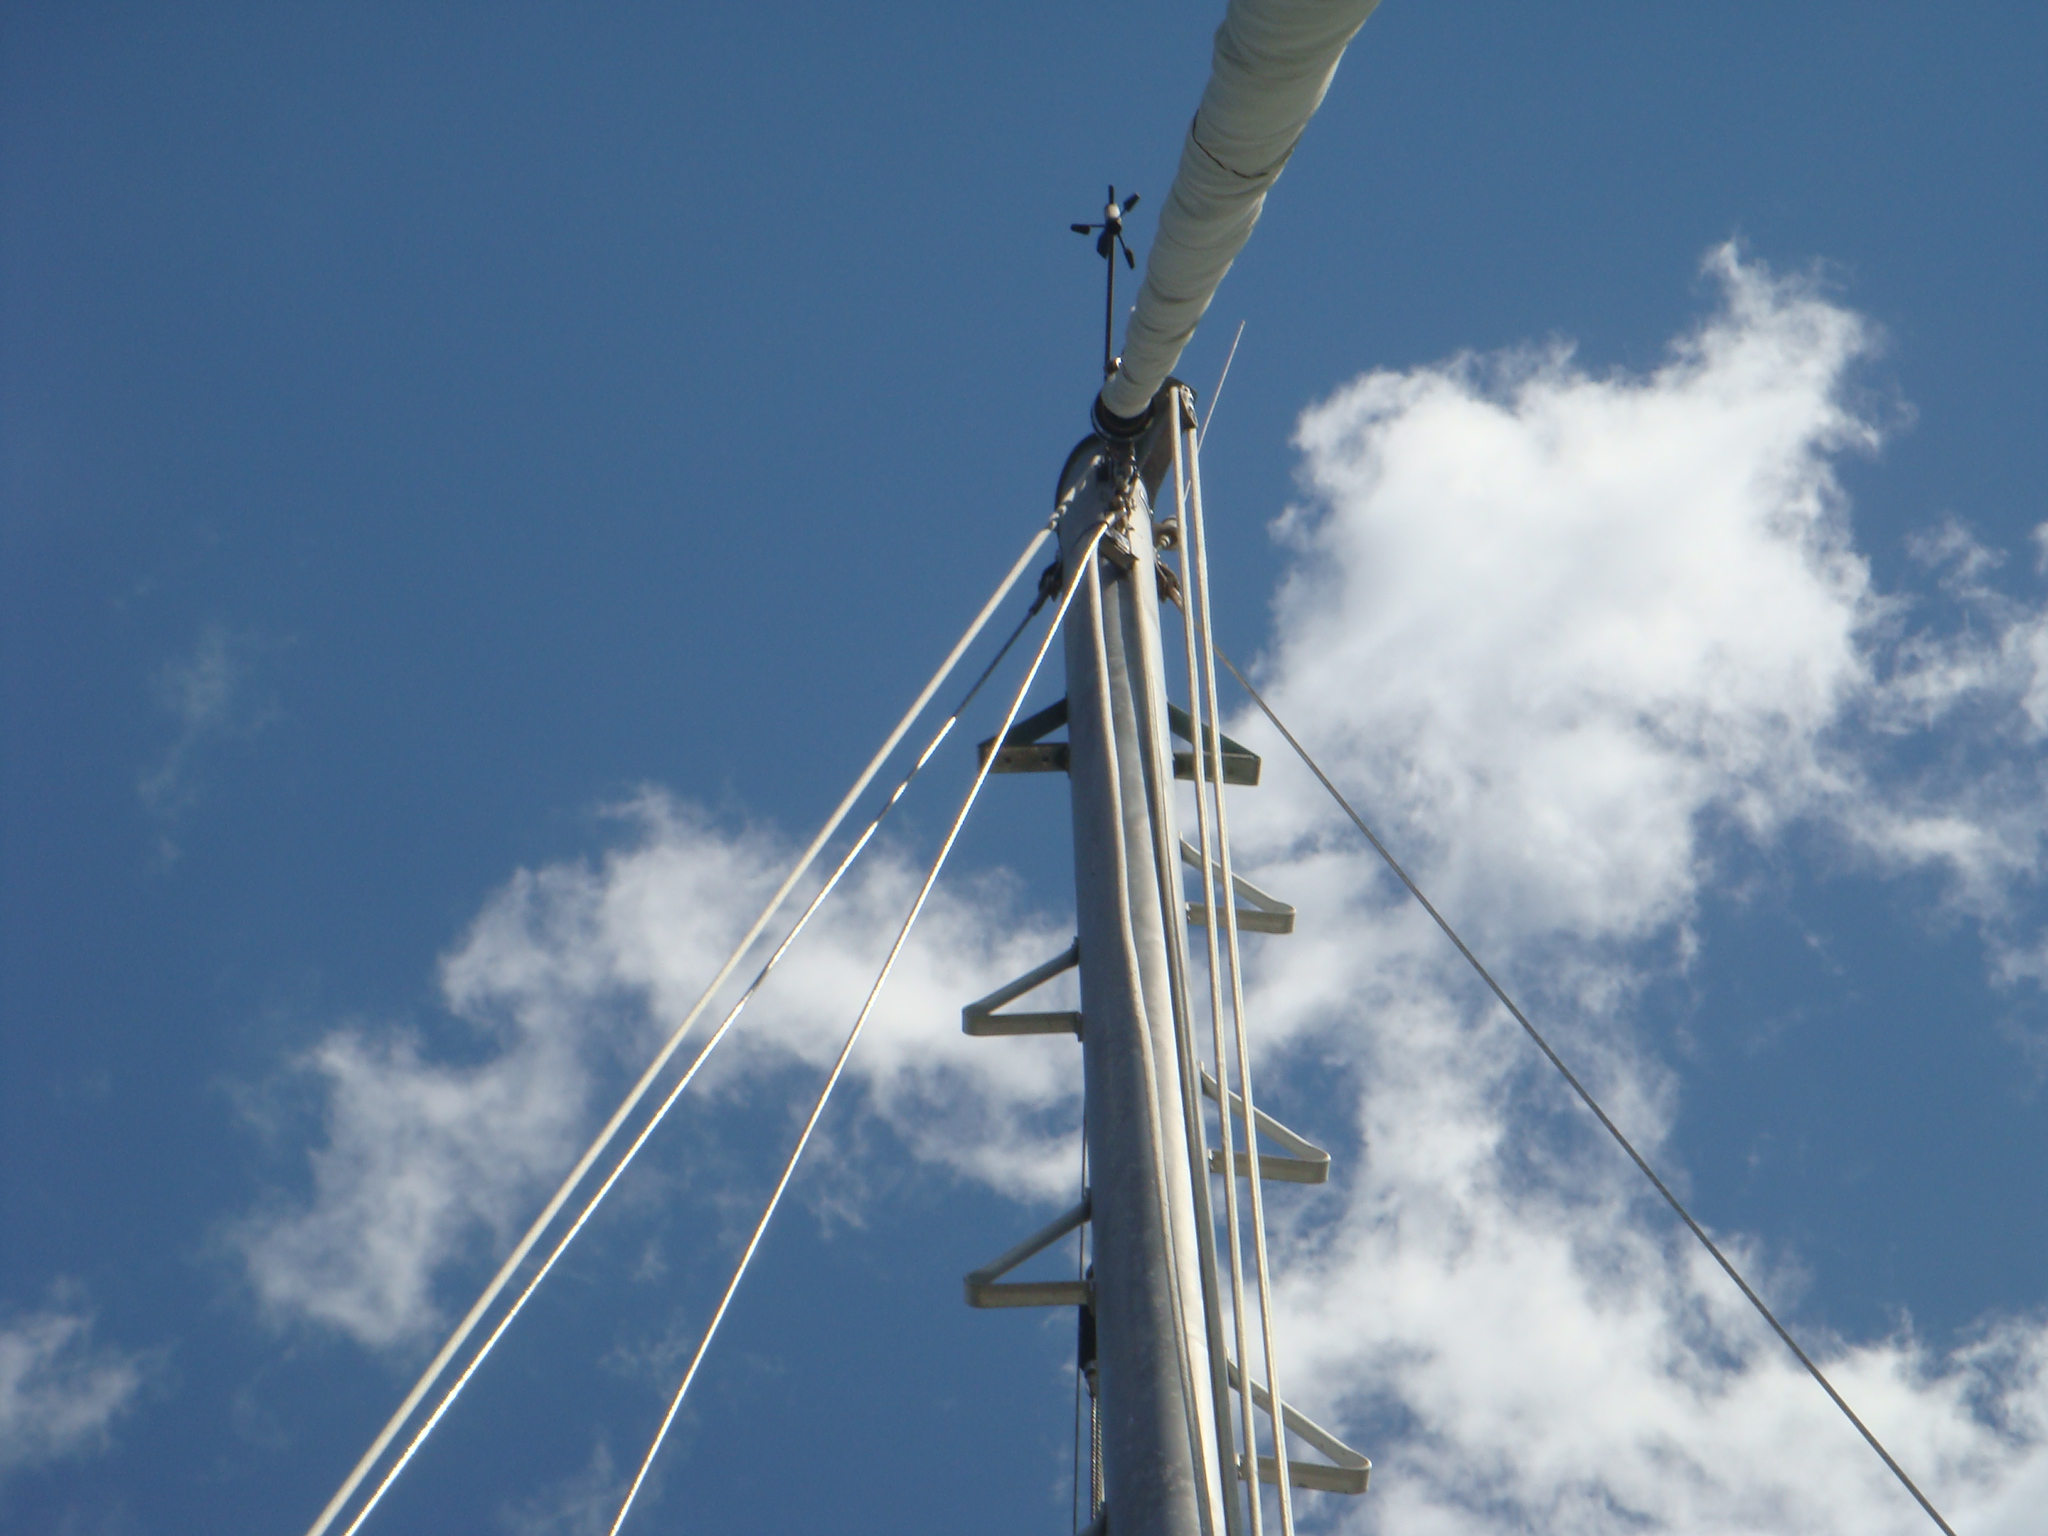 The Solent Stay Pulled to the Side at the Masthead |
||||||||||||||||||||||||||||||||||
 The Solent Stay Does Make Contact with the Starboard Spreader |
The stay does rest against the starboard spreader.
Over time this is likely to wear on the spreader. It may
also be noisy in high winds. So I will have add some protection for the spreader. |
||||||||||||||||||||||||||||||||||
| At least now I have found a place for the Solent Stay when sailing inshore. The track car slide was used to secure a snatch block for the Spinnaker sheets. The Genoa track is really too short for the Spinnaker sheet lead. I normally put the snatch blocks on the base of the stern pulpit. So this car can become a permanent part of the Solent Stay storage arrangement. | |||||||||||||||||||||||||||||||||||