Sailing Vessel (SV) Sarah
Sarah has a new owner as of 7/26/2021. There will be no more updates to these SV Sarah pages
Sarah has a new owner as of 7/26/2021. There will be no more updates to these SV Sarah pages
| Building a Pod For Autopilot Controller | |
| When I replaced all of the original instruments on Sarah in
2003 I spent a lot of time deciding where and how to install
them in the cockpit so they would be visible and useful. I
documented this decision process on
another page.
One of the results of this process was to install the ST600R
remote autopilot control on the mizzen mast in front of the
helm. This position made the autopilot controls immediately available to the helmsperson. The unit could be removed from the bracket and used at other positions within the cockpit. The autopilot remote also provided a display of the other instruments to the helmsperson. In the photo on the right the unit is displaying the wind speed. This arrangement worked very well for me for nearly 10 years of sailing, including two Atlantic crossings. However, the unit is getting old. It first failed while I was in Europe and I had it repaired by Raymarine. Today (2012) Raymarine no longer supports this device, and as a replacement only offers wireless controls (one of which I have on board). The repaired ST600R has continued to work, but it occasionally drops off the SeaTalk network and the backlight for the LCD display no longer works. The helmsperson must use a flashlight to view the display at night. |
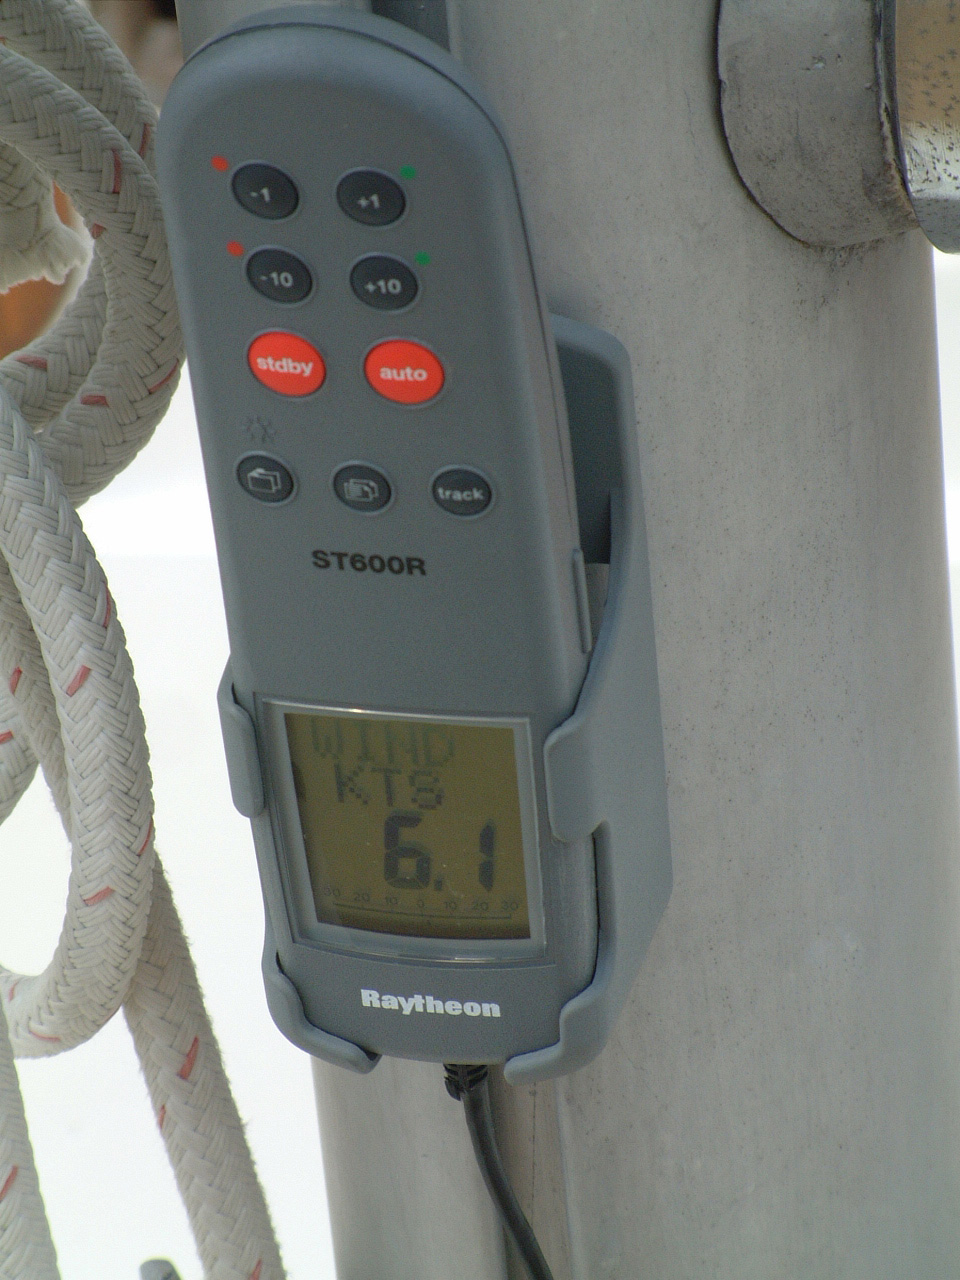 Raymarine ST600R Mounted on Mizzen Mast |
|
For the past few years I've looked at replacing the ST600R.
The wireless remote controller is not an adequate replacement as
it must be re-charged every 24 hours or so and it is much slower
than the ST600R. I use the wireless remote principally
when on deck, setting or reefing sails or handling ground
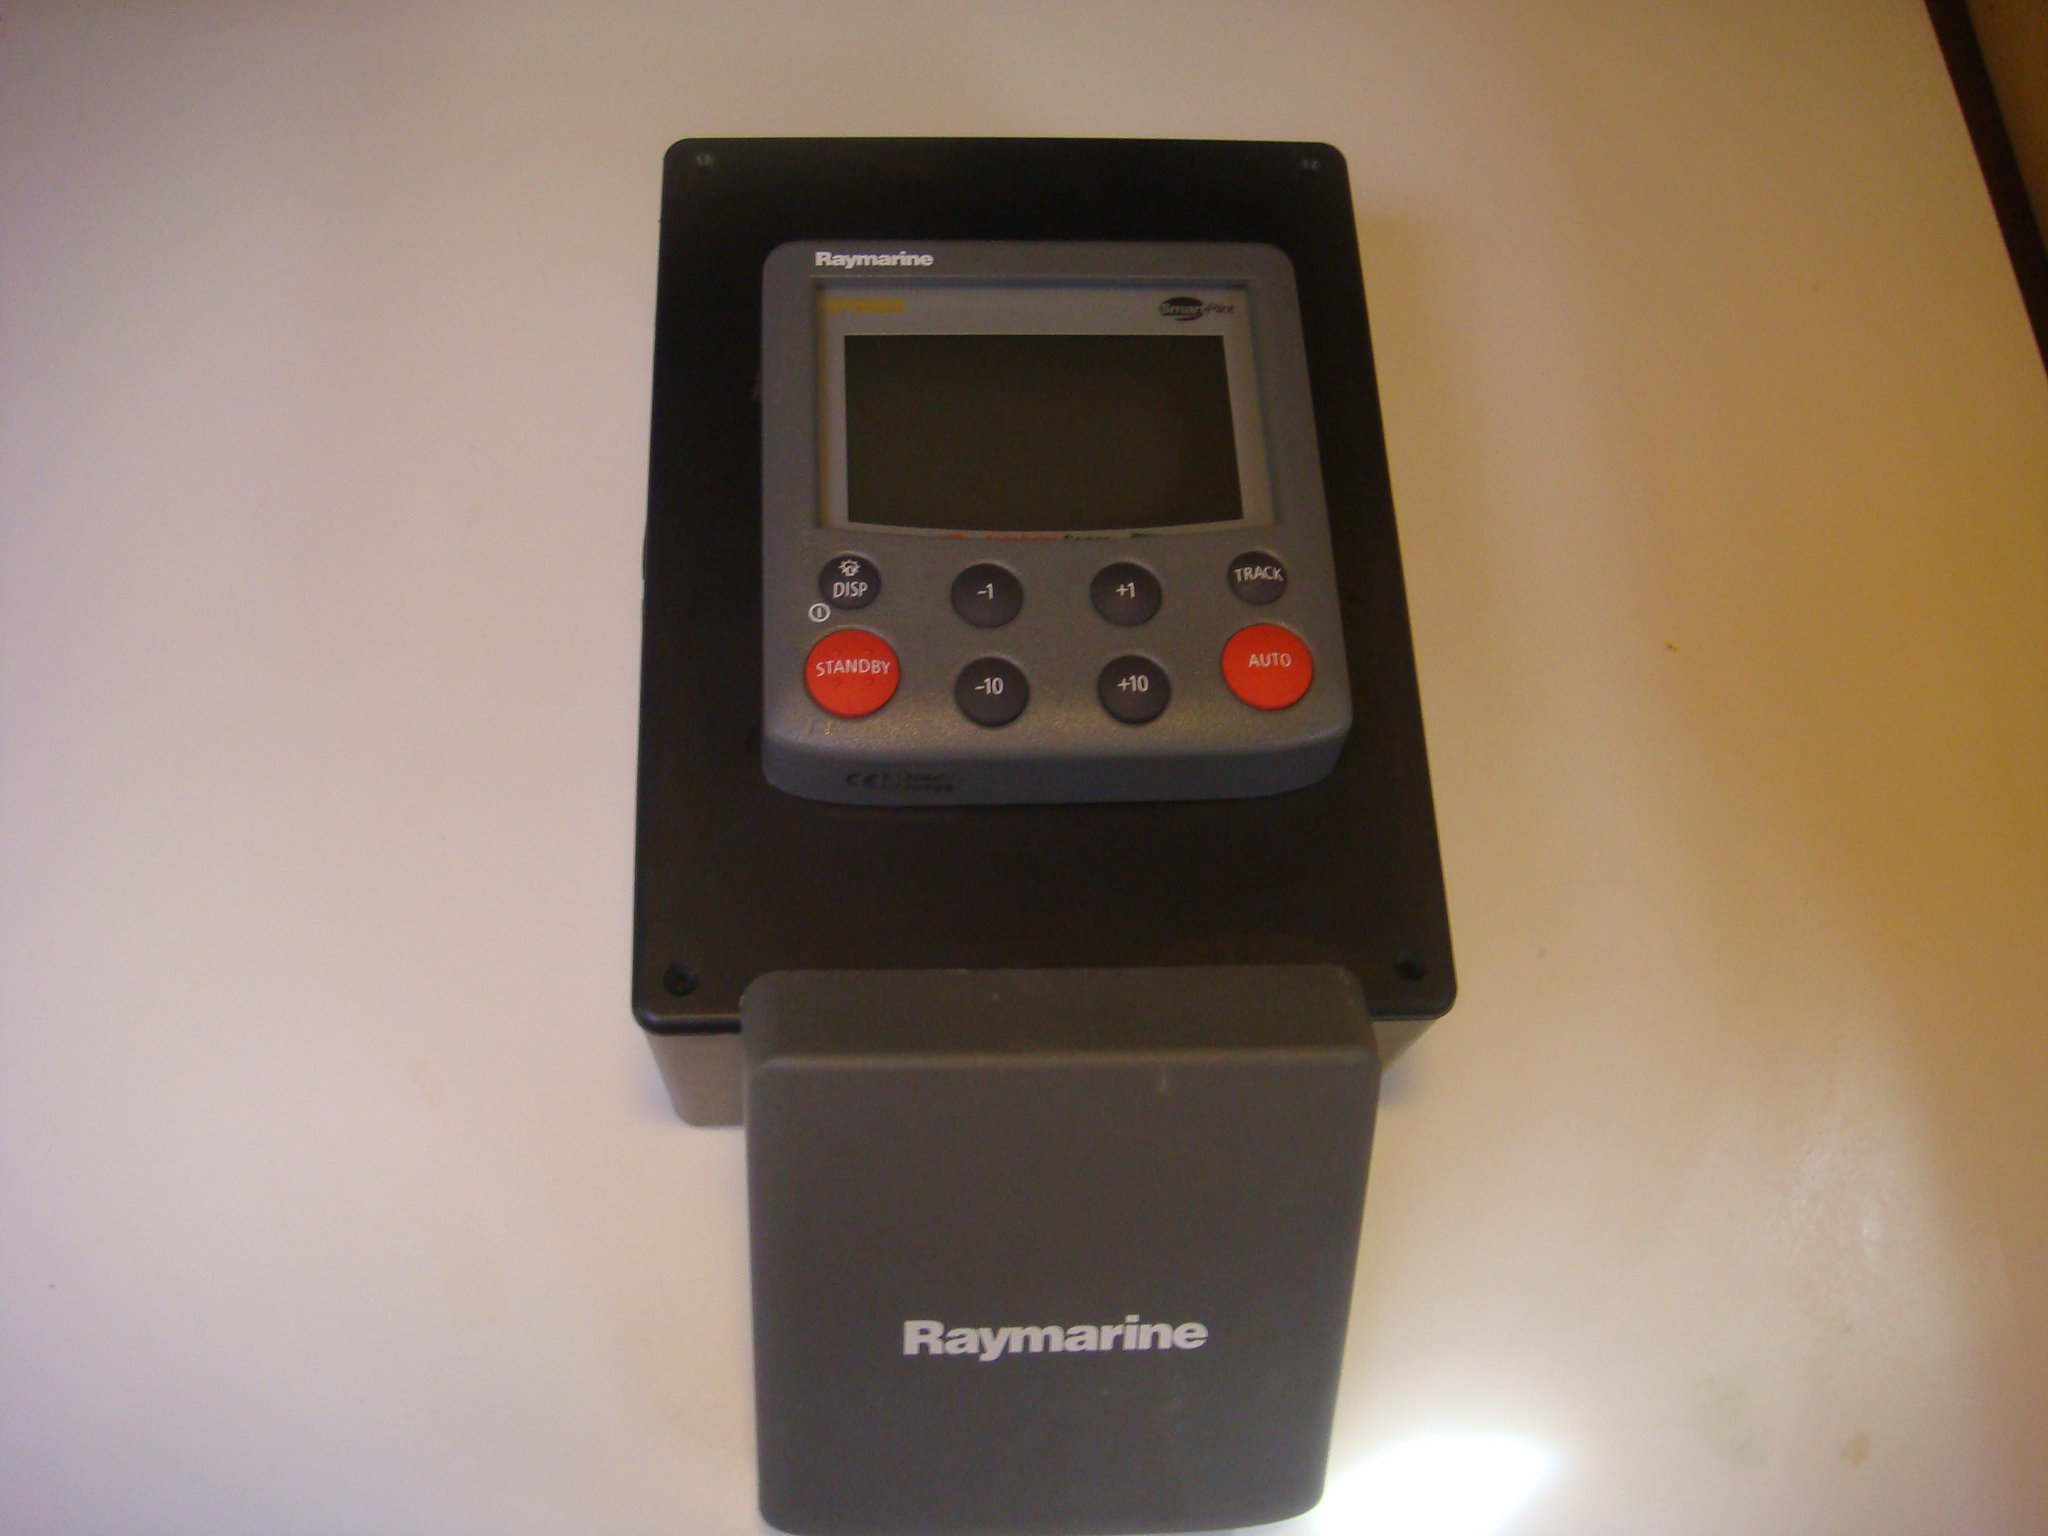
tackle. I've tried to buy another ST600R on eBay, but on the rare occasion when one is for sale, the asking or bid price goes to well over $400, a price I'm not willing to pay for a device that cannot be repaired. I considered moving my ST6000+ controller from the Nav Station to the Cockpit, but then I would have to replace that controller with another device to have data from other instruments displayed in the cabin. Finally I decided to purchase another autopilot remote control and bought a used ST6002 controller on eBay. |
|
 Radio Shack Large Project Box and ST6002 |
Now I have to decide how to mount this unit on the Mizzen mast
or the Edson rail. The easiest mount would be one of the
pods provided by NavPod, ScanStrut and others. However
these are very expensive and none of the them exactly meet my
installation needs. So I looked for another way to mount
the controller. I have used Project Boxes sold by Radio Shack in the past, and discovered I could fit the ST6002 on one of their largest boxes (shown in the photo on the left) at a cost of less than $10. |
| The first step was to drill the mounting holes in the cover
of the box. I created a template for the holes using
FastCad and taped the template to the cover to provide a guide
for the holes. The only difficult part was that center hole for the body of the instrument is 90mm. The only hole saws I have are in inches. 3-1/2" is slightly smaller than 90 mm, but I was able to force the instrument onto the cover. |
 ST6002 Mounted on Project Box Cover |
| The ST6002 came with the standard brass all-thread studs
that are used to secure it to a bulkhead or instrument panel.
The eBay seller did not provide the 7mm nuts that go on these
studs. In any case the supplied studs are too long for
this application. Fortunately I had a couple of short 7mm machine screws in one of my fasteners bins. With a #10 flat washer they fit perfectly. This also provided a convenient means to secure a strain relief cable clamp for the SeaTalk cable. |
 7mm Hex Head Machine Screw to Secure ST6002 to Project Box Lid |
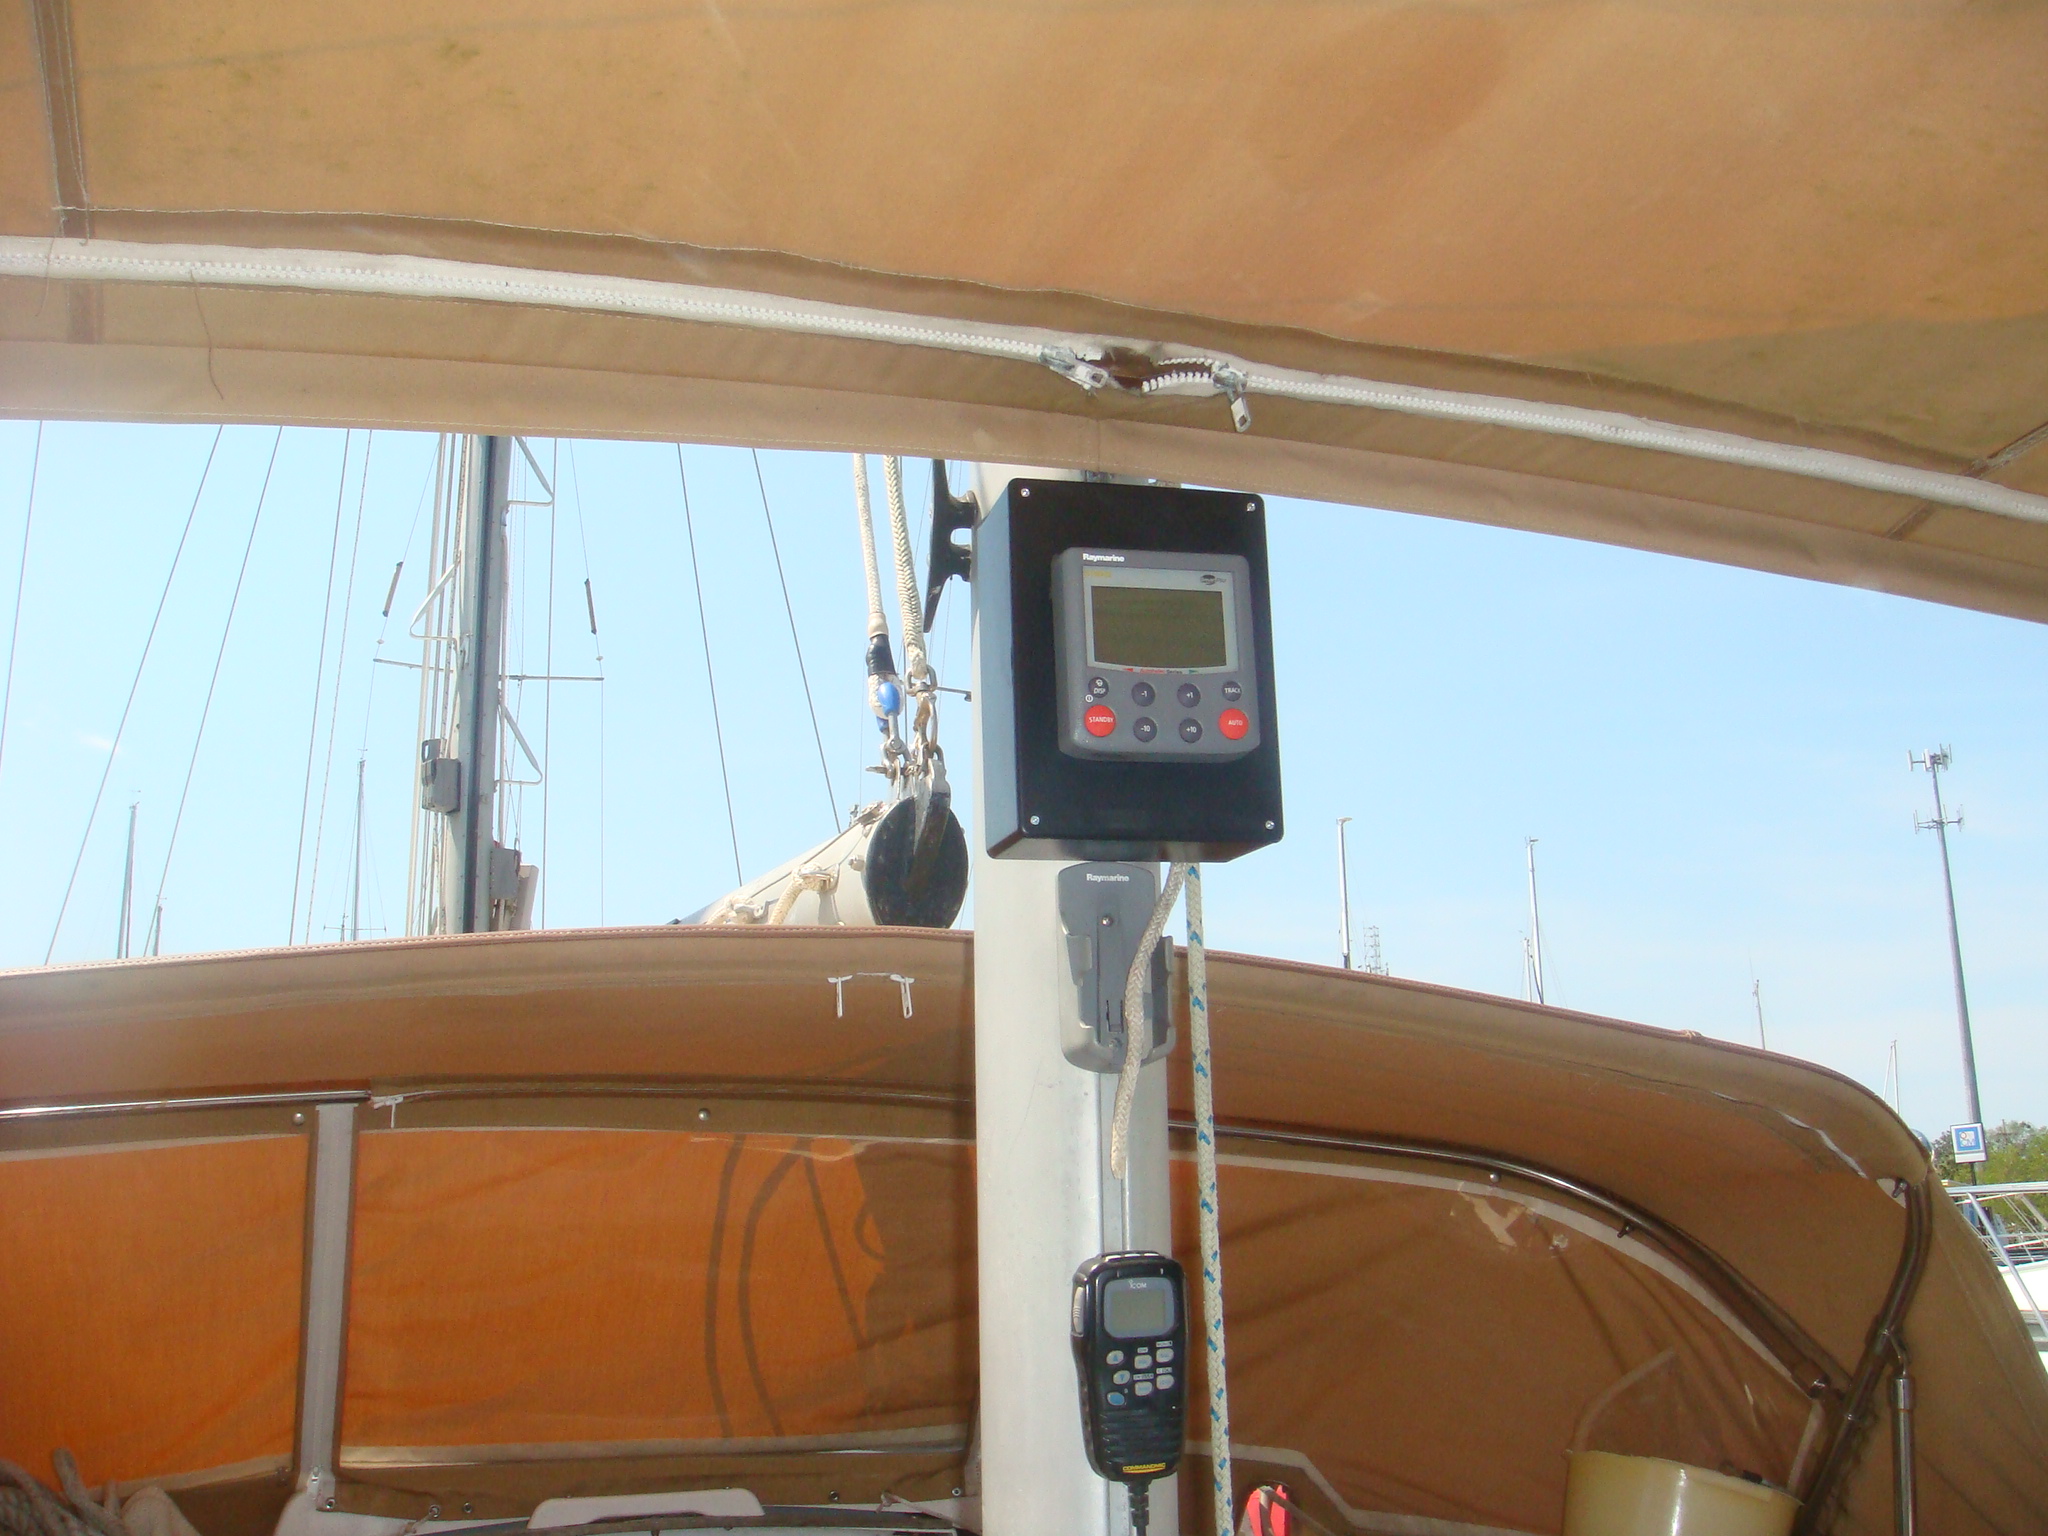 ST6002 Project Box Mounted on Mizzen Mast |
The next step was to mount the Project Box on the mizzen mast as shown on the left. |
 The box is secured to the mizzen mast track using sail track
stops through bolted to the back of the box. The box is secured to the mizzen mast track using sail track
stops through bolted to the back of the box. |
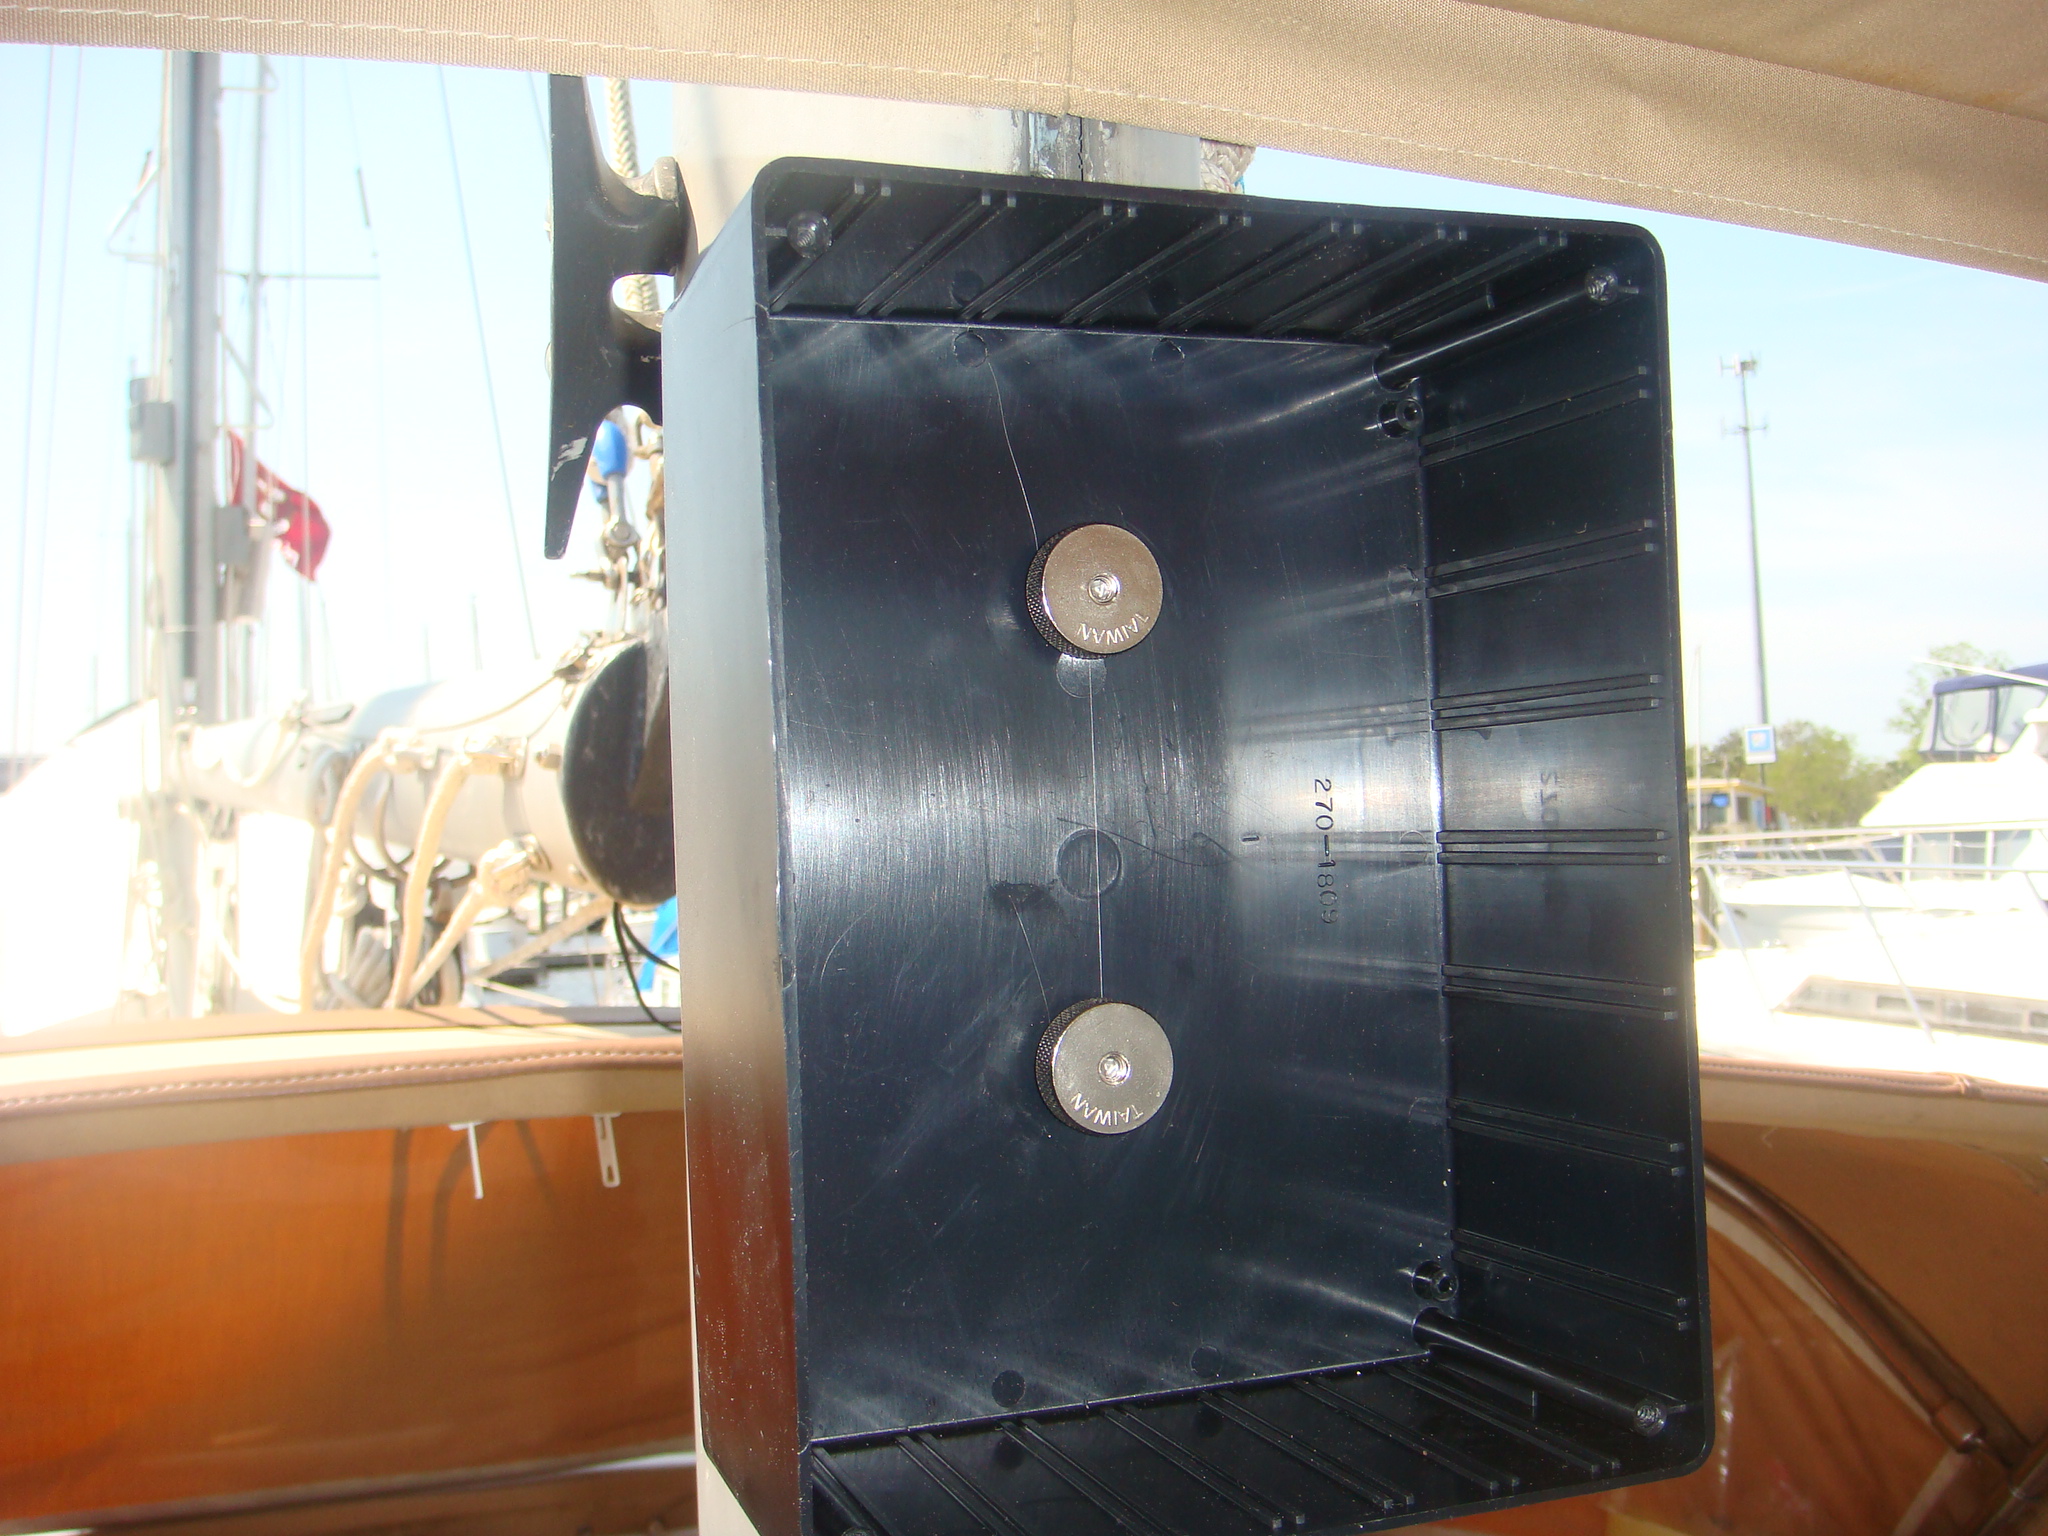 Project Box Mounted on Mast Using Sail Track Stops |
 Project Box Secured to Mizzen Mast Track |
This mounting arrangement will allow me to adjust the height of the ST60002 and also remove the entire unit when not in use. |
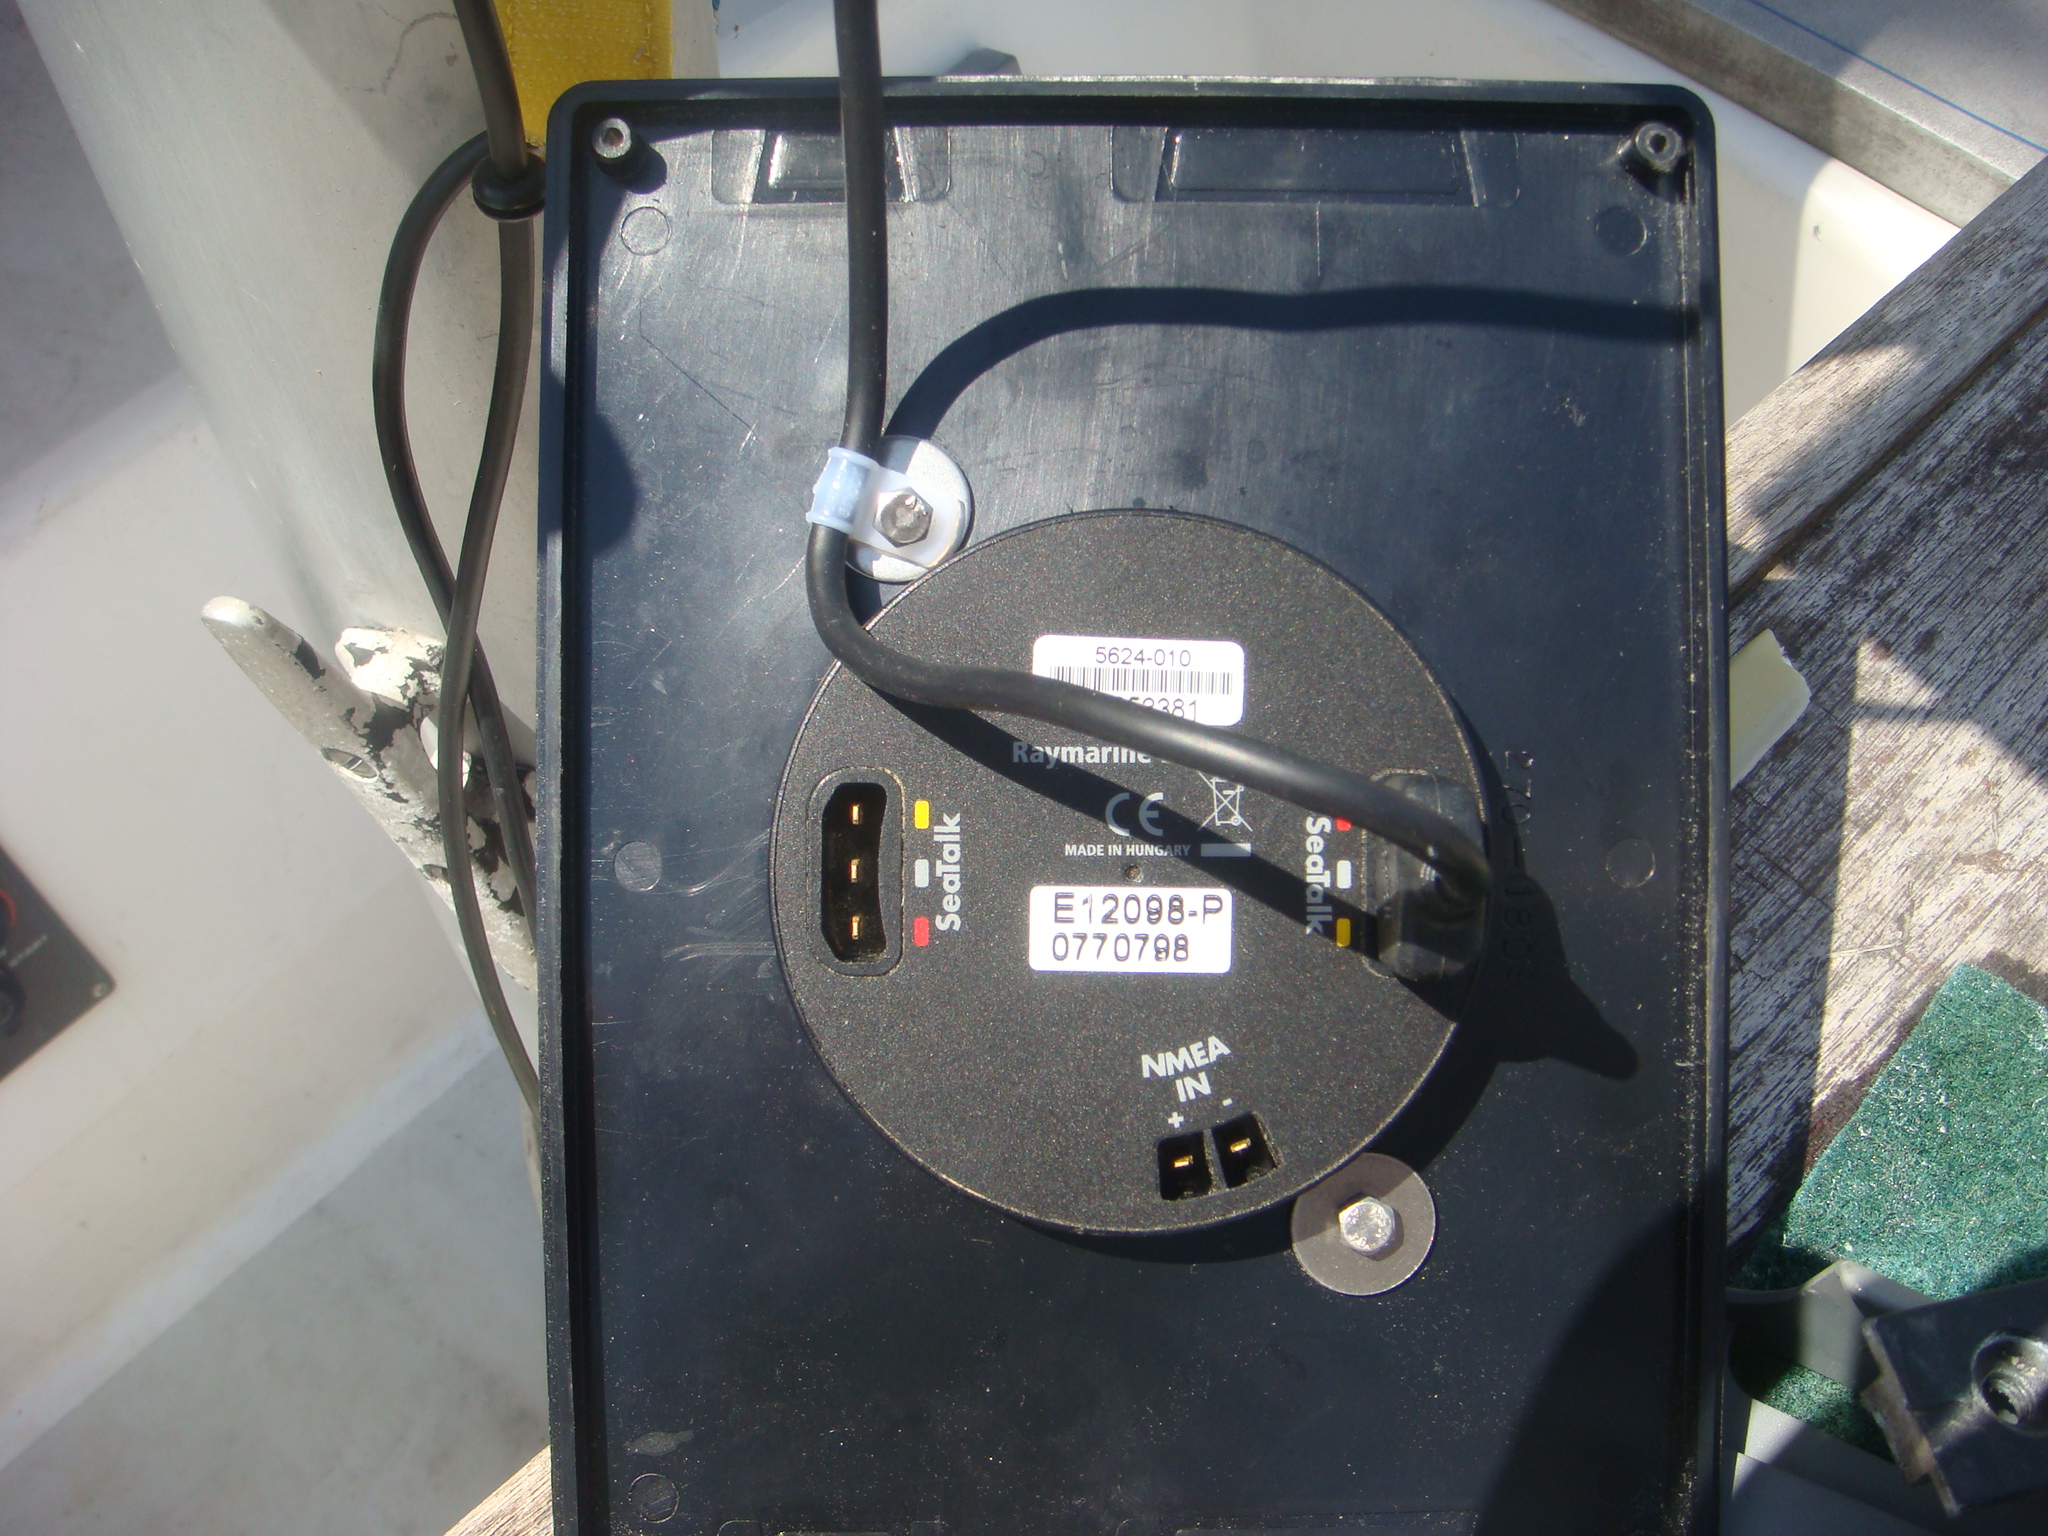
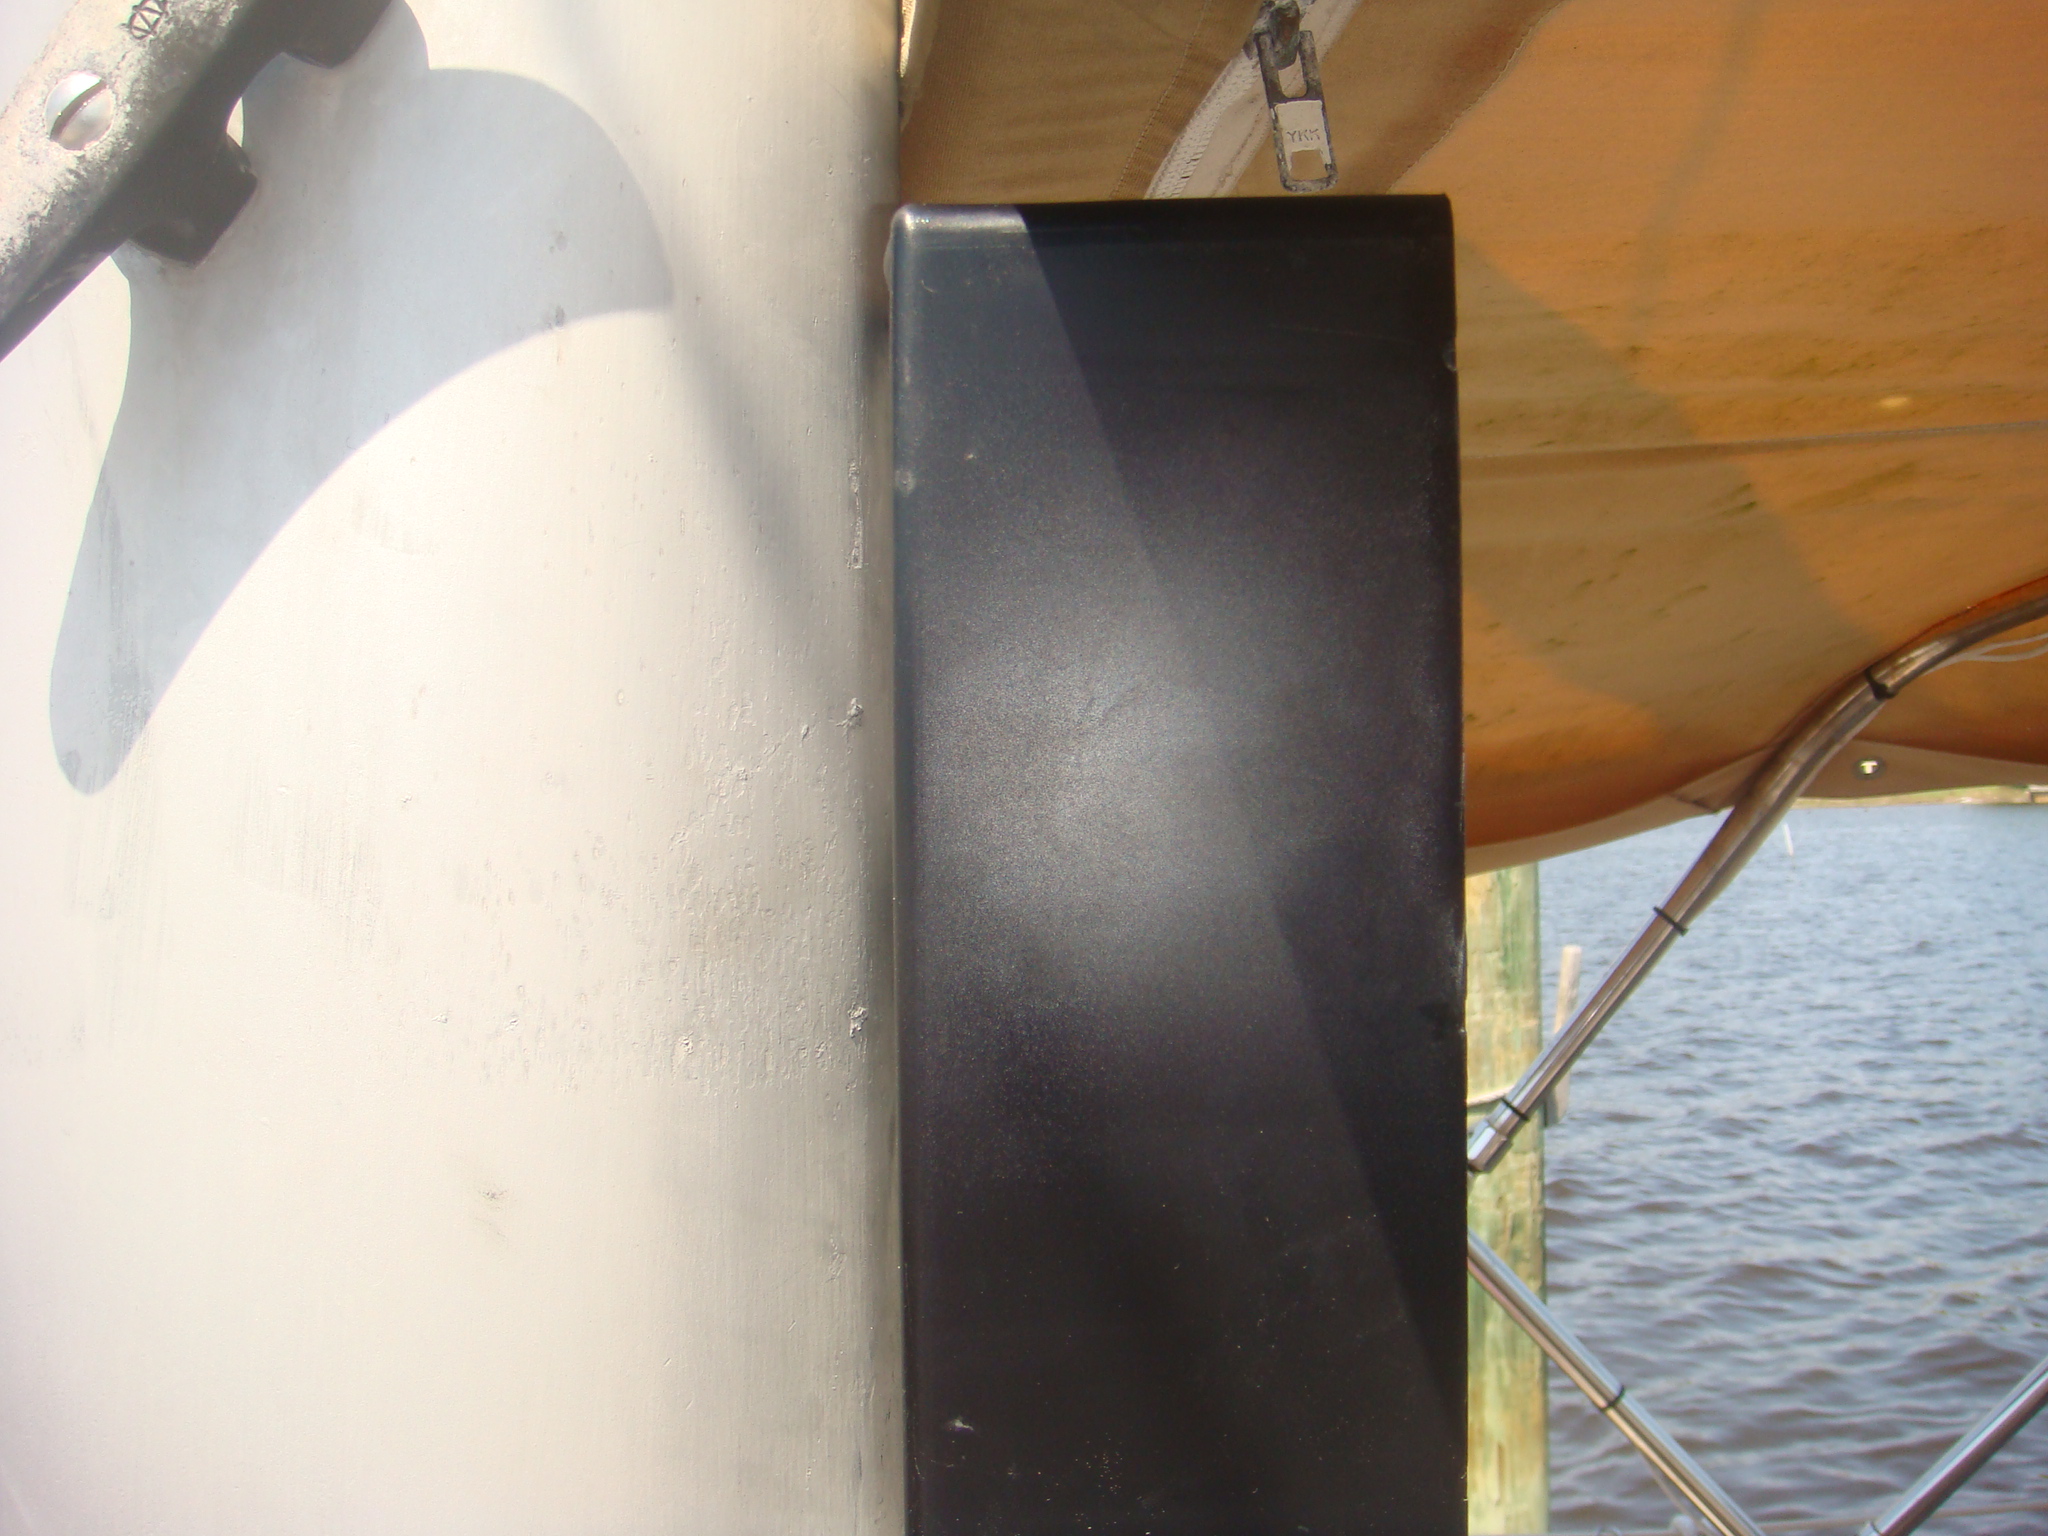
| When I had finished the SeaTalk wiring I sealed the box lid to the base with a small bead of Silicone. |
 Silicone Sealant Around the Box Lid |
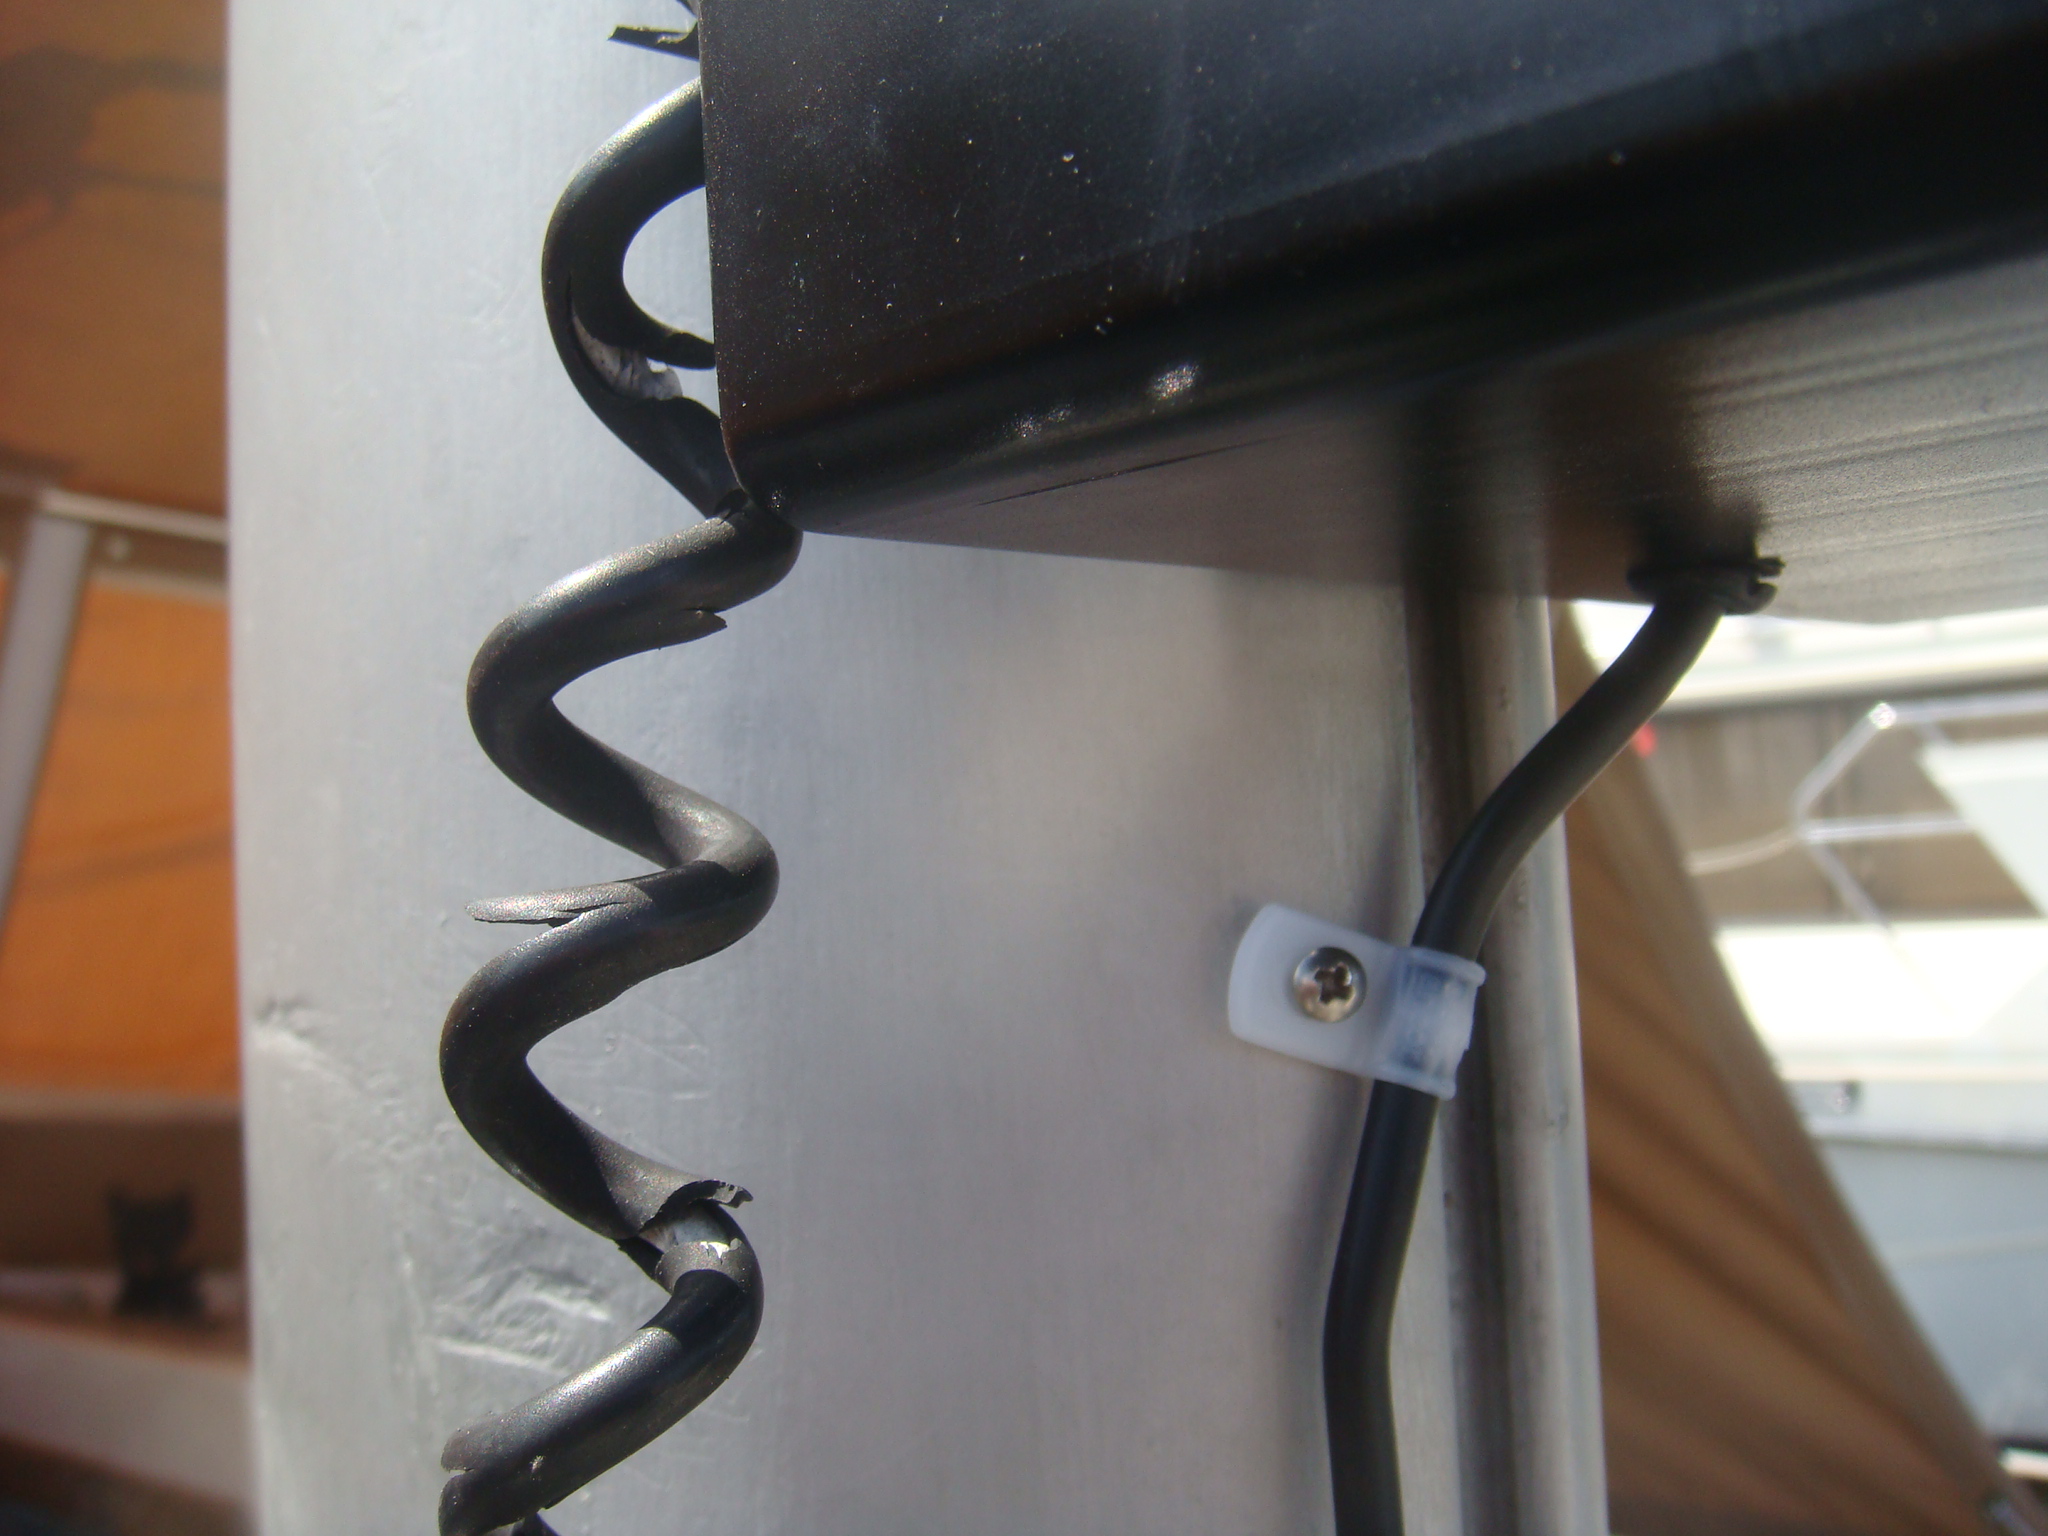 Cable Clamps to Secure the SeaTalk Cable to the Mast |
The SeaTalk cable is secured to the mizzen mast with 3/16"
cable clamps. This arrangement eliminates one of the
biggest problems with the ST600R installation - the long loose
cable from the mast to the SeaTalk plug on the bridge deck.
Now I can move in front of the mizzen mast without constantly
trying to not trip over the ST600R cable. The frayed cable on the left side of the picture is the old ICOM Command MIC cable. I have a new Command MIC, but I left the old one connected over the winter to keep moisture out of the cable connector. |
| The cable run through the cockpit sole is sealed with a Blue
Sea Cable Clam. The SeaTalk cable is the one in the
middle. This spot was previously used by the wire for the
mizzen mast flood light. The flood light bulb burned out
years ago. I've never bothered to replace it as the light
does not provide any useful illumination. Now I can remove
the fixture from the mast. No hurry on that as I will just
have to find some other toy to fill the hole in the mast. The large cable on the left is the radar cable and on the right is the cable for the ICOM Command MIC. There is a fourth Cable Clam on the other side of the mast for the AIS antenna cable. |
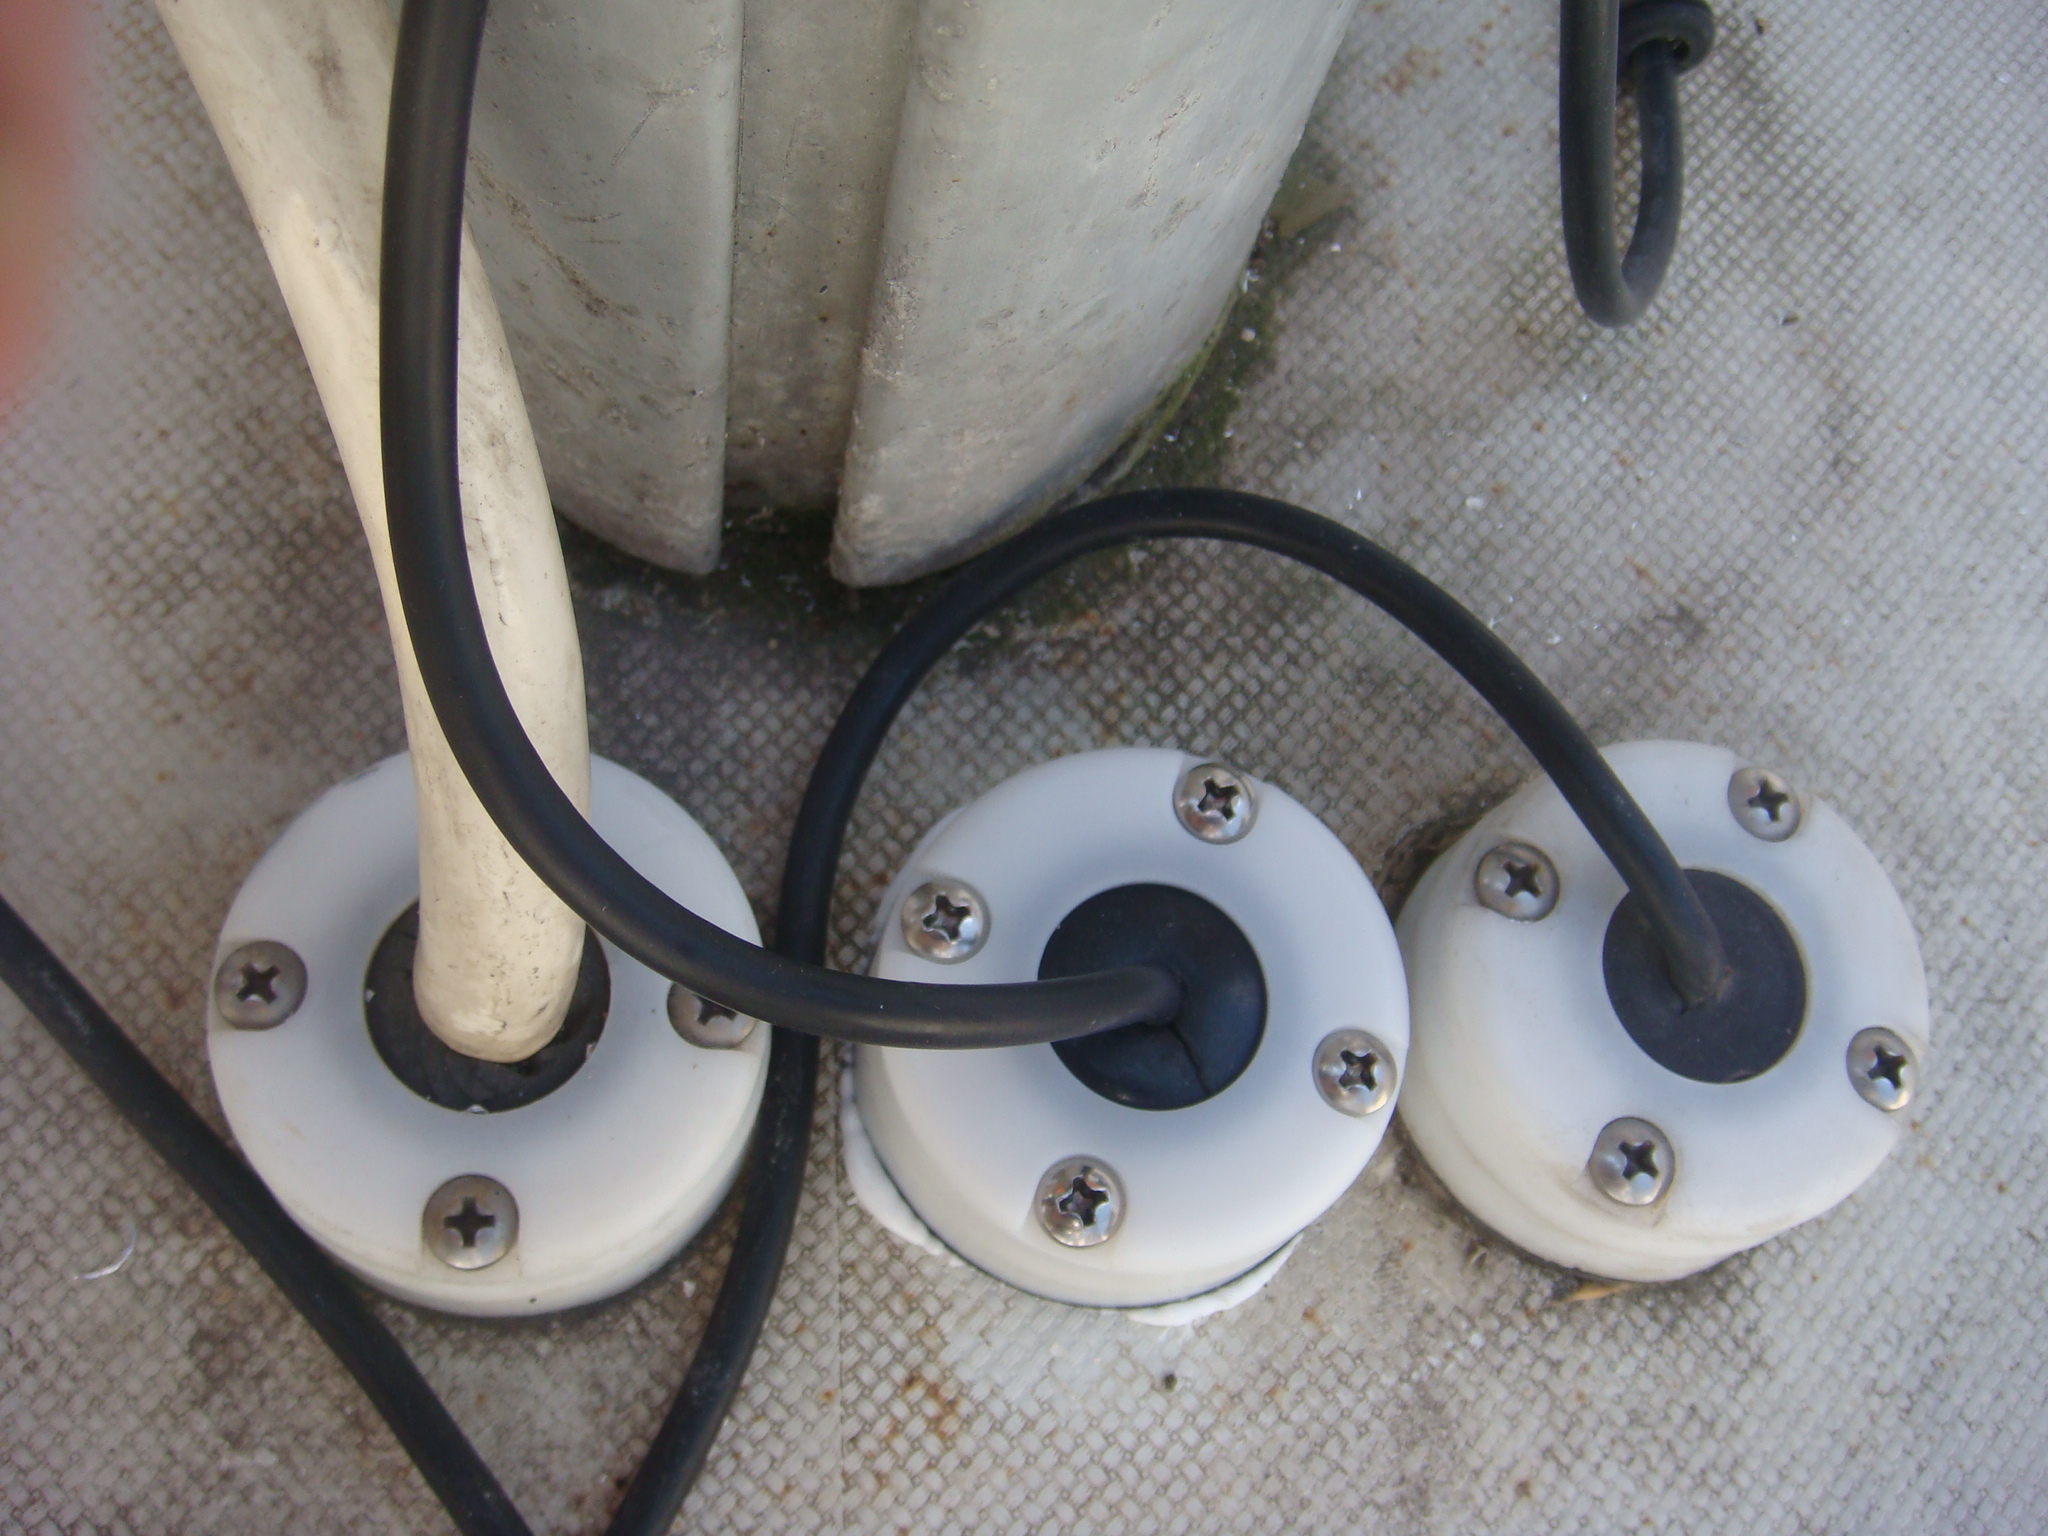 Blue Sea Cable Clam for the Through Cockpit Sole Run |
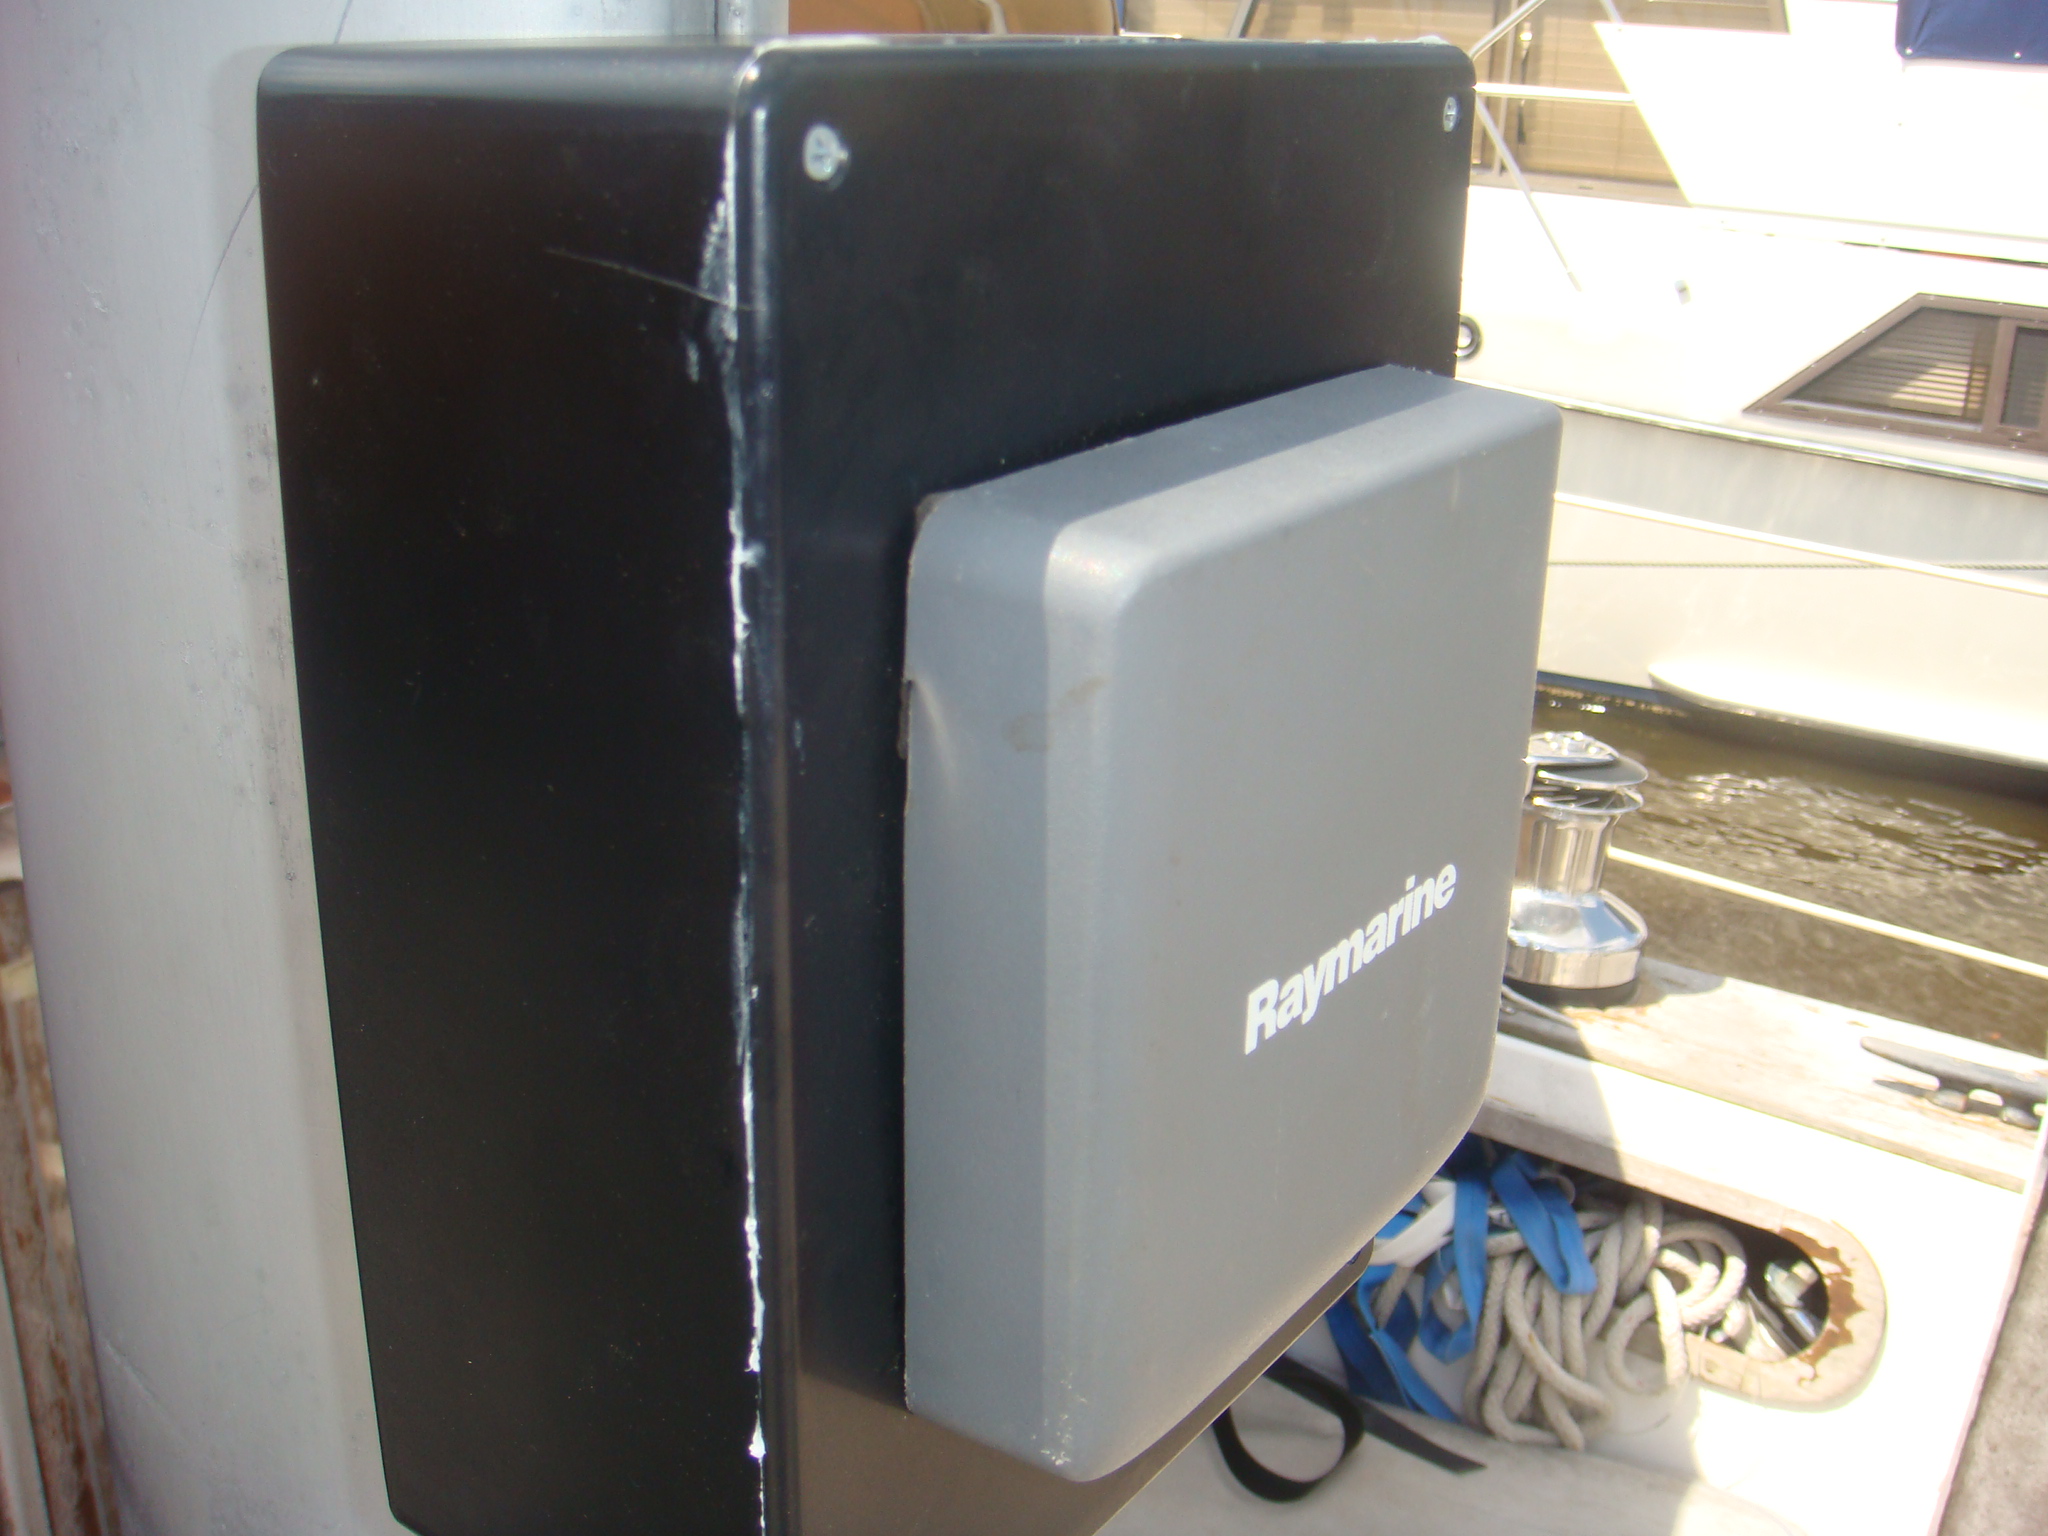
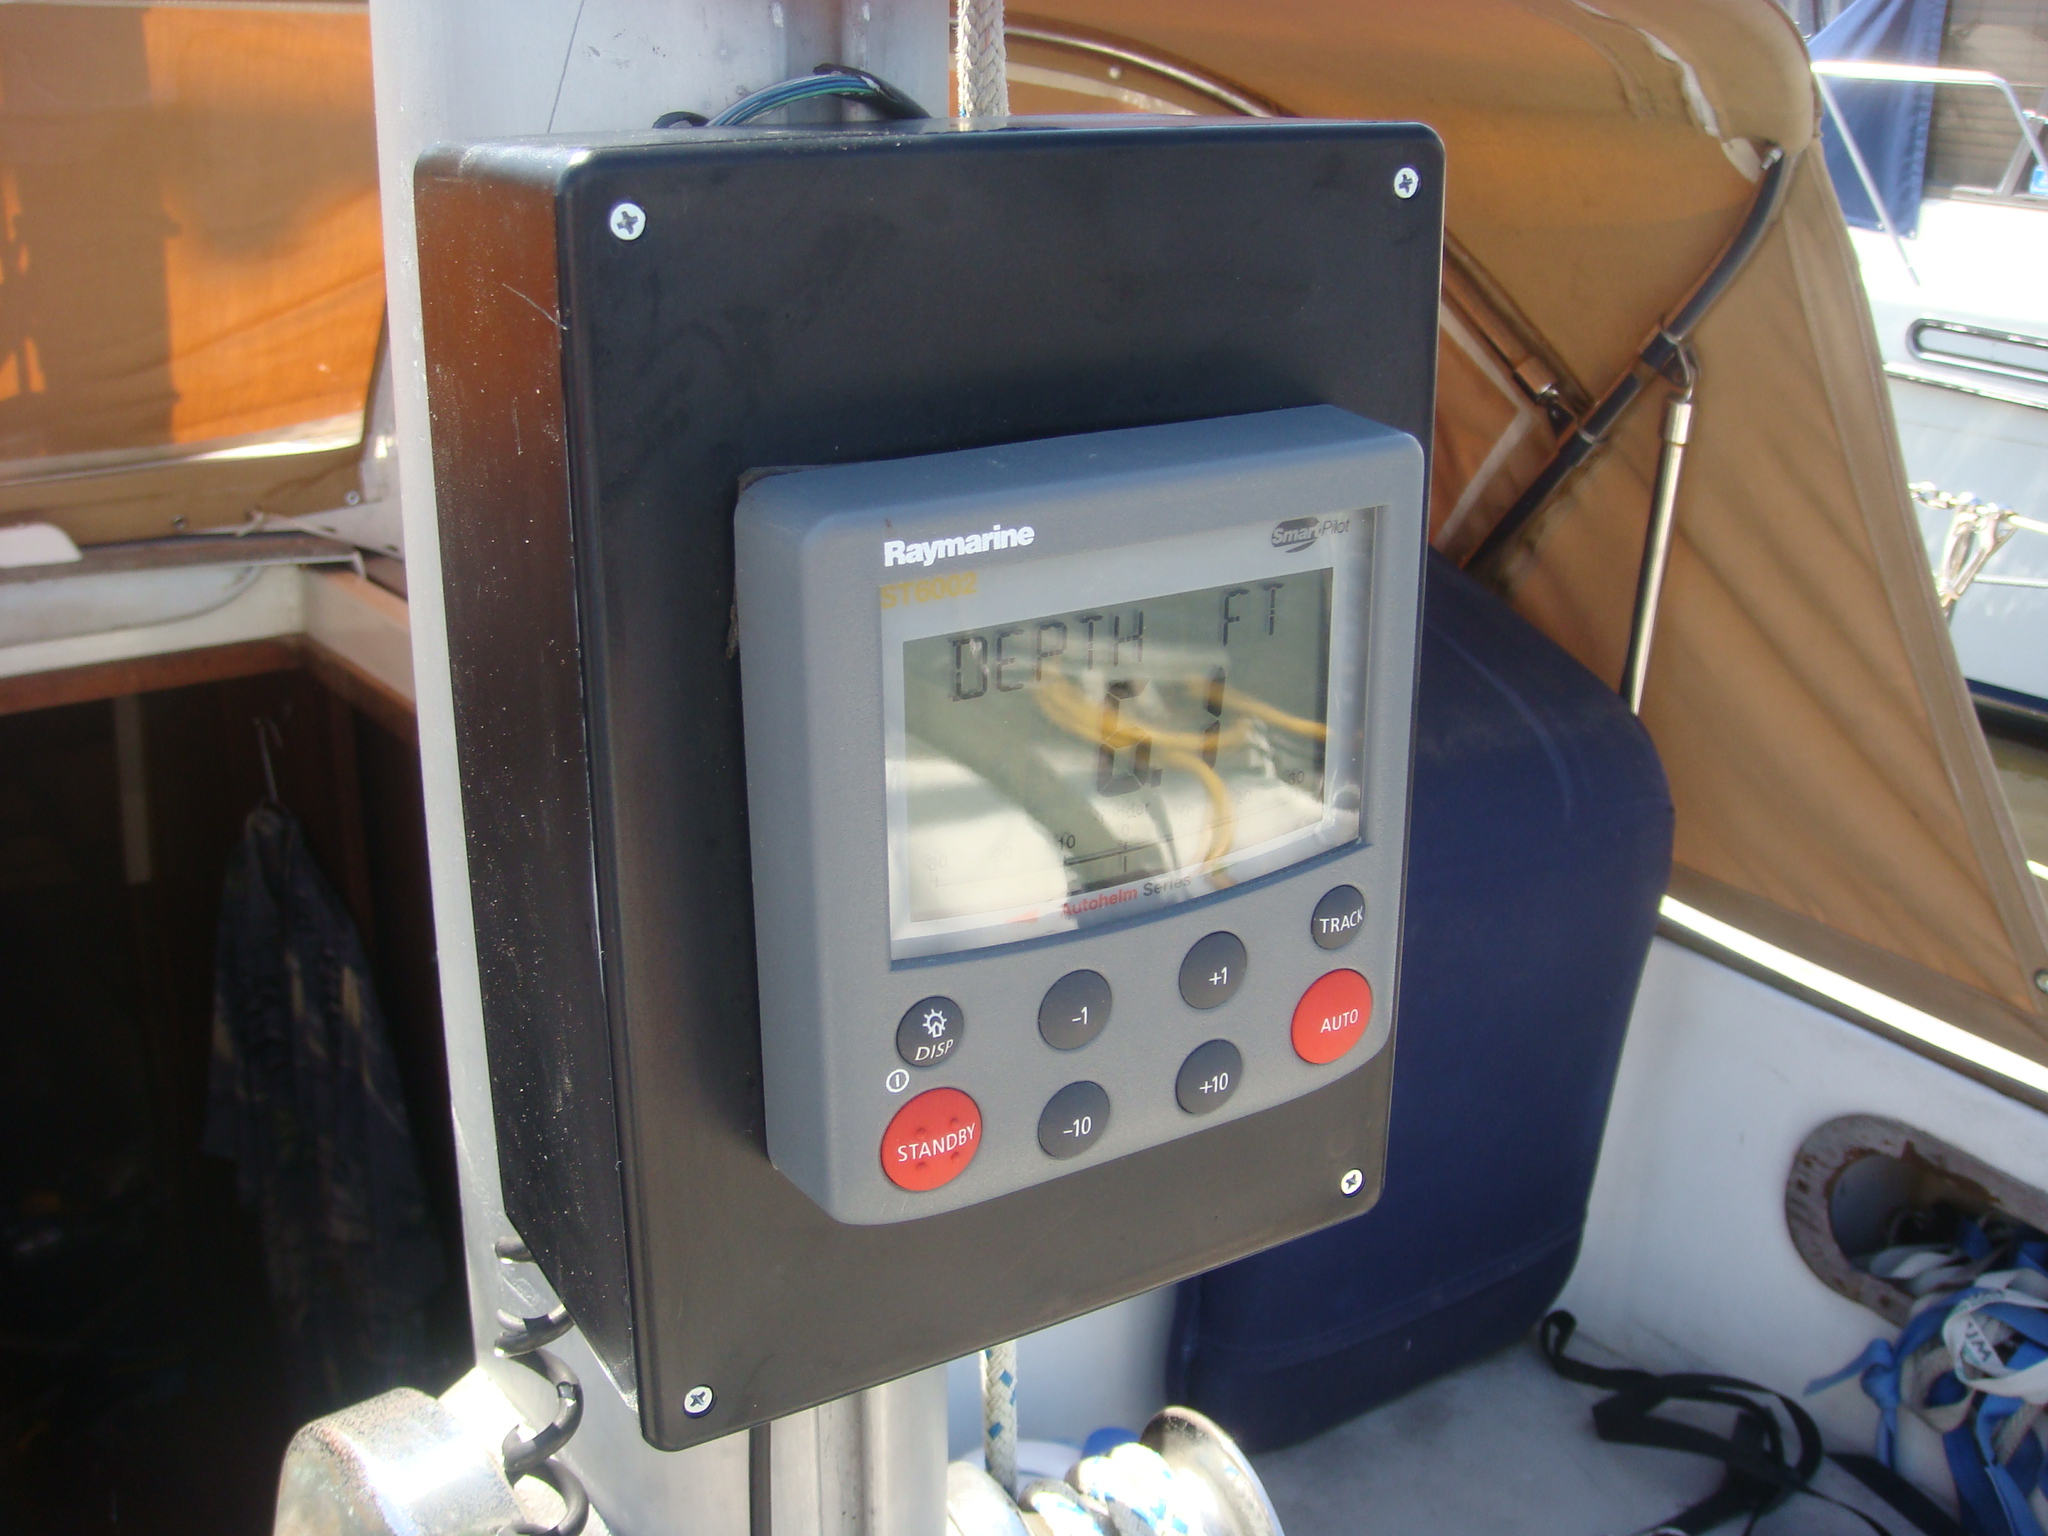 ST6002 AP Control Head in Operation |
With the cabling in place the ST6002 is now operational and
provides control of the AP from the helm position as well as
providing a display of data from the other instruments. There are two legs to Sarah's SeaTalk Network. One leg for the instruments, GPS and C120. The other for the Autopilot. I had intended to connect the ST6002 to the instruments leg, but there was a SeaTalk junction box conveniently located beneath the bridge deck. That junction box was on the AP SeaTalk leg, so now the ST6002 is on that leg as well. |
|
I am under no illusion that this Radio Shack project box is a
long term solution. It was not designed for exposure to
weather. It is partially protected from the sun and rain
by the Bimini and the insert between the Bimini and Dodger when
dockside or at anchor. So maybe it will give me 2 or 3
years of service. It did provide me with quick and dirty solution for the AP cockpit control, and it worked well on my trip from Florida to the Chesapeake Bay in the summer of 2012. It also has provided me with the prototype and template for a more robust instrument pod - possibly a water-tight electrical box from McMaster-Carr. As of May, 2016 the instrument pod is still in use and the ST6002 is working fine. |
|