Sailing Vessel (SV) Sarah
Sarah has a new owner as of 7/26/2021. There will be no more updates to these SV Sarah pages
Sarah has a new owner as of 7/26/2021. There will be no more updates to these SV Sarah pages
| Repairing Port Water Tank Leak | |
| In early April, 2012 it became apparent that there was a
leak in the Port side water tank. The symptoms were
water under the cabin sole, the bilge pump coming on hours
after the tank was filled, and most compelling - the water
level in the tank dropping when it was not the active tank. There are three water tanks on Sarah, one under each of the settees and one in the bow under the V-berth. I only use the bow tank when on a passage and it is the first tank used in that situation. Sarah sits bow-down without the weight of 50 gallons of water in the bow. |
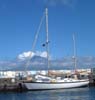
 Sliding Bunk Board Moved Fully Inboard |
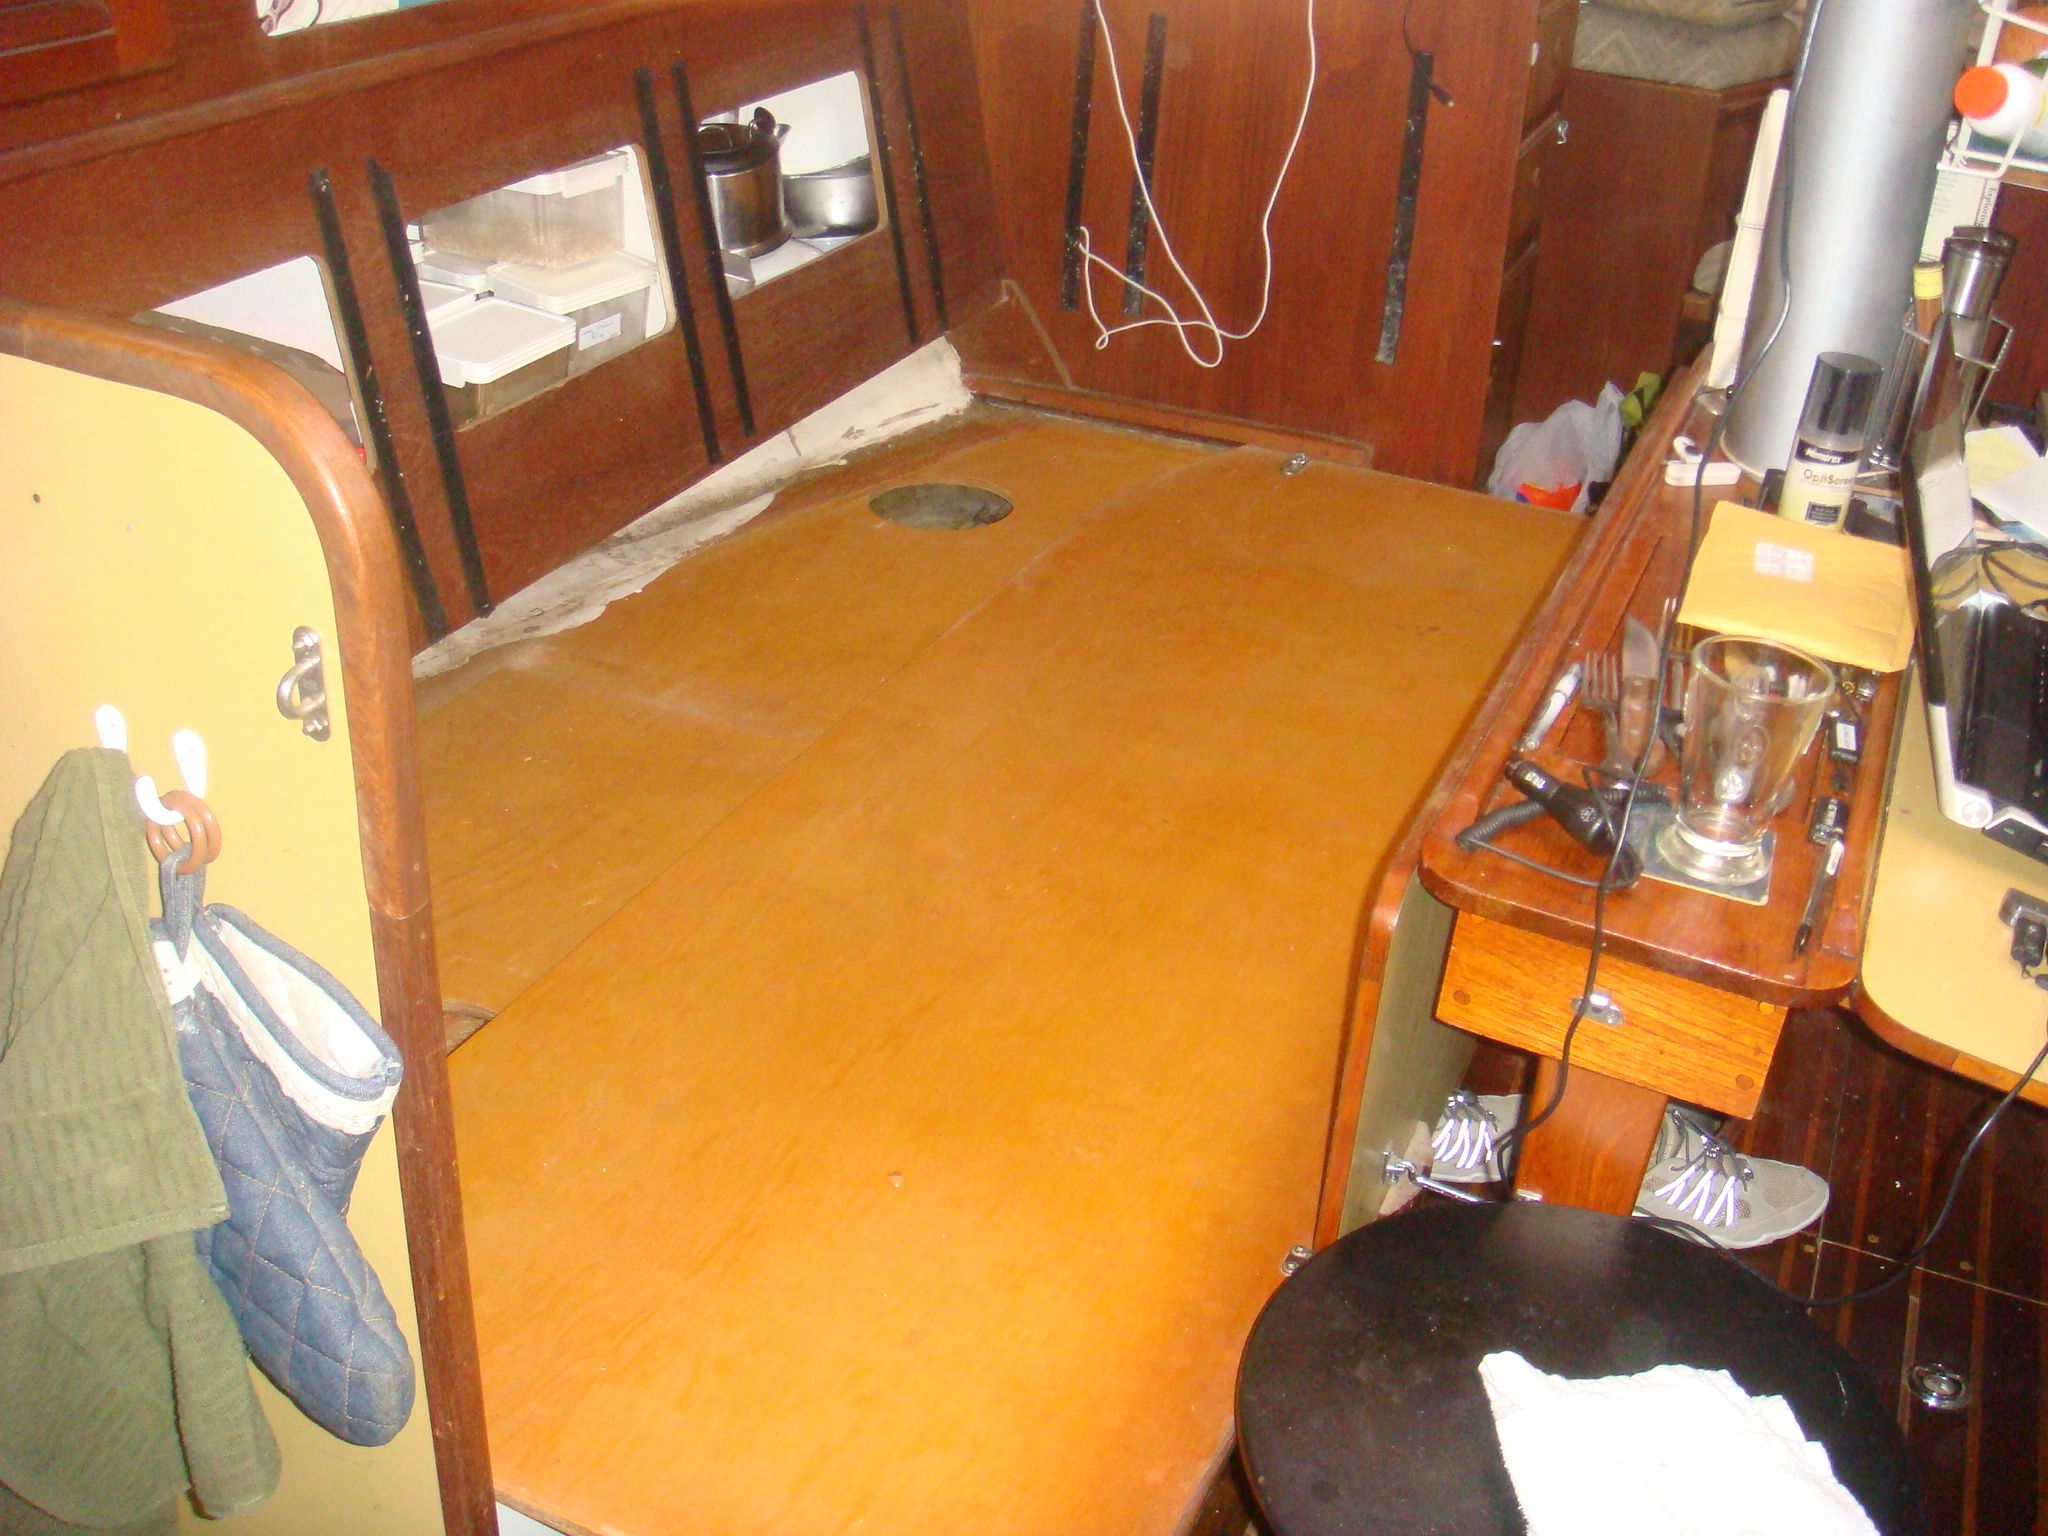
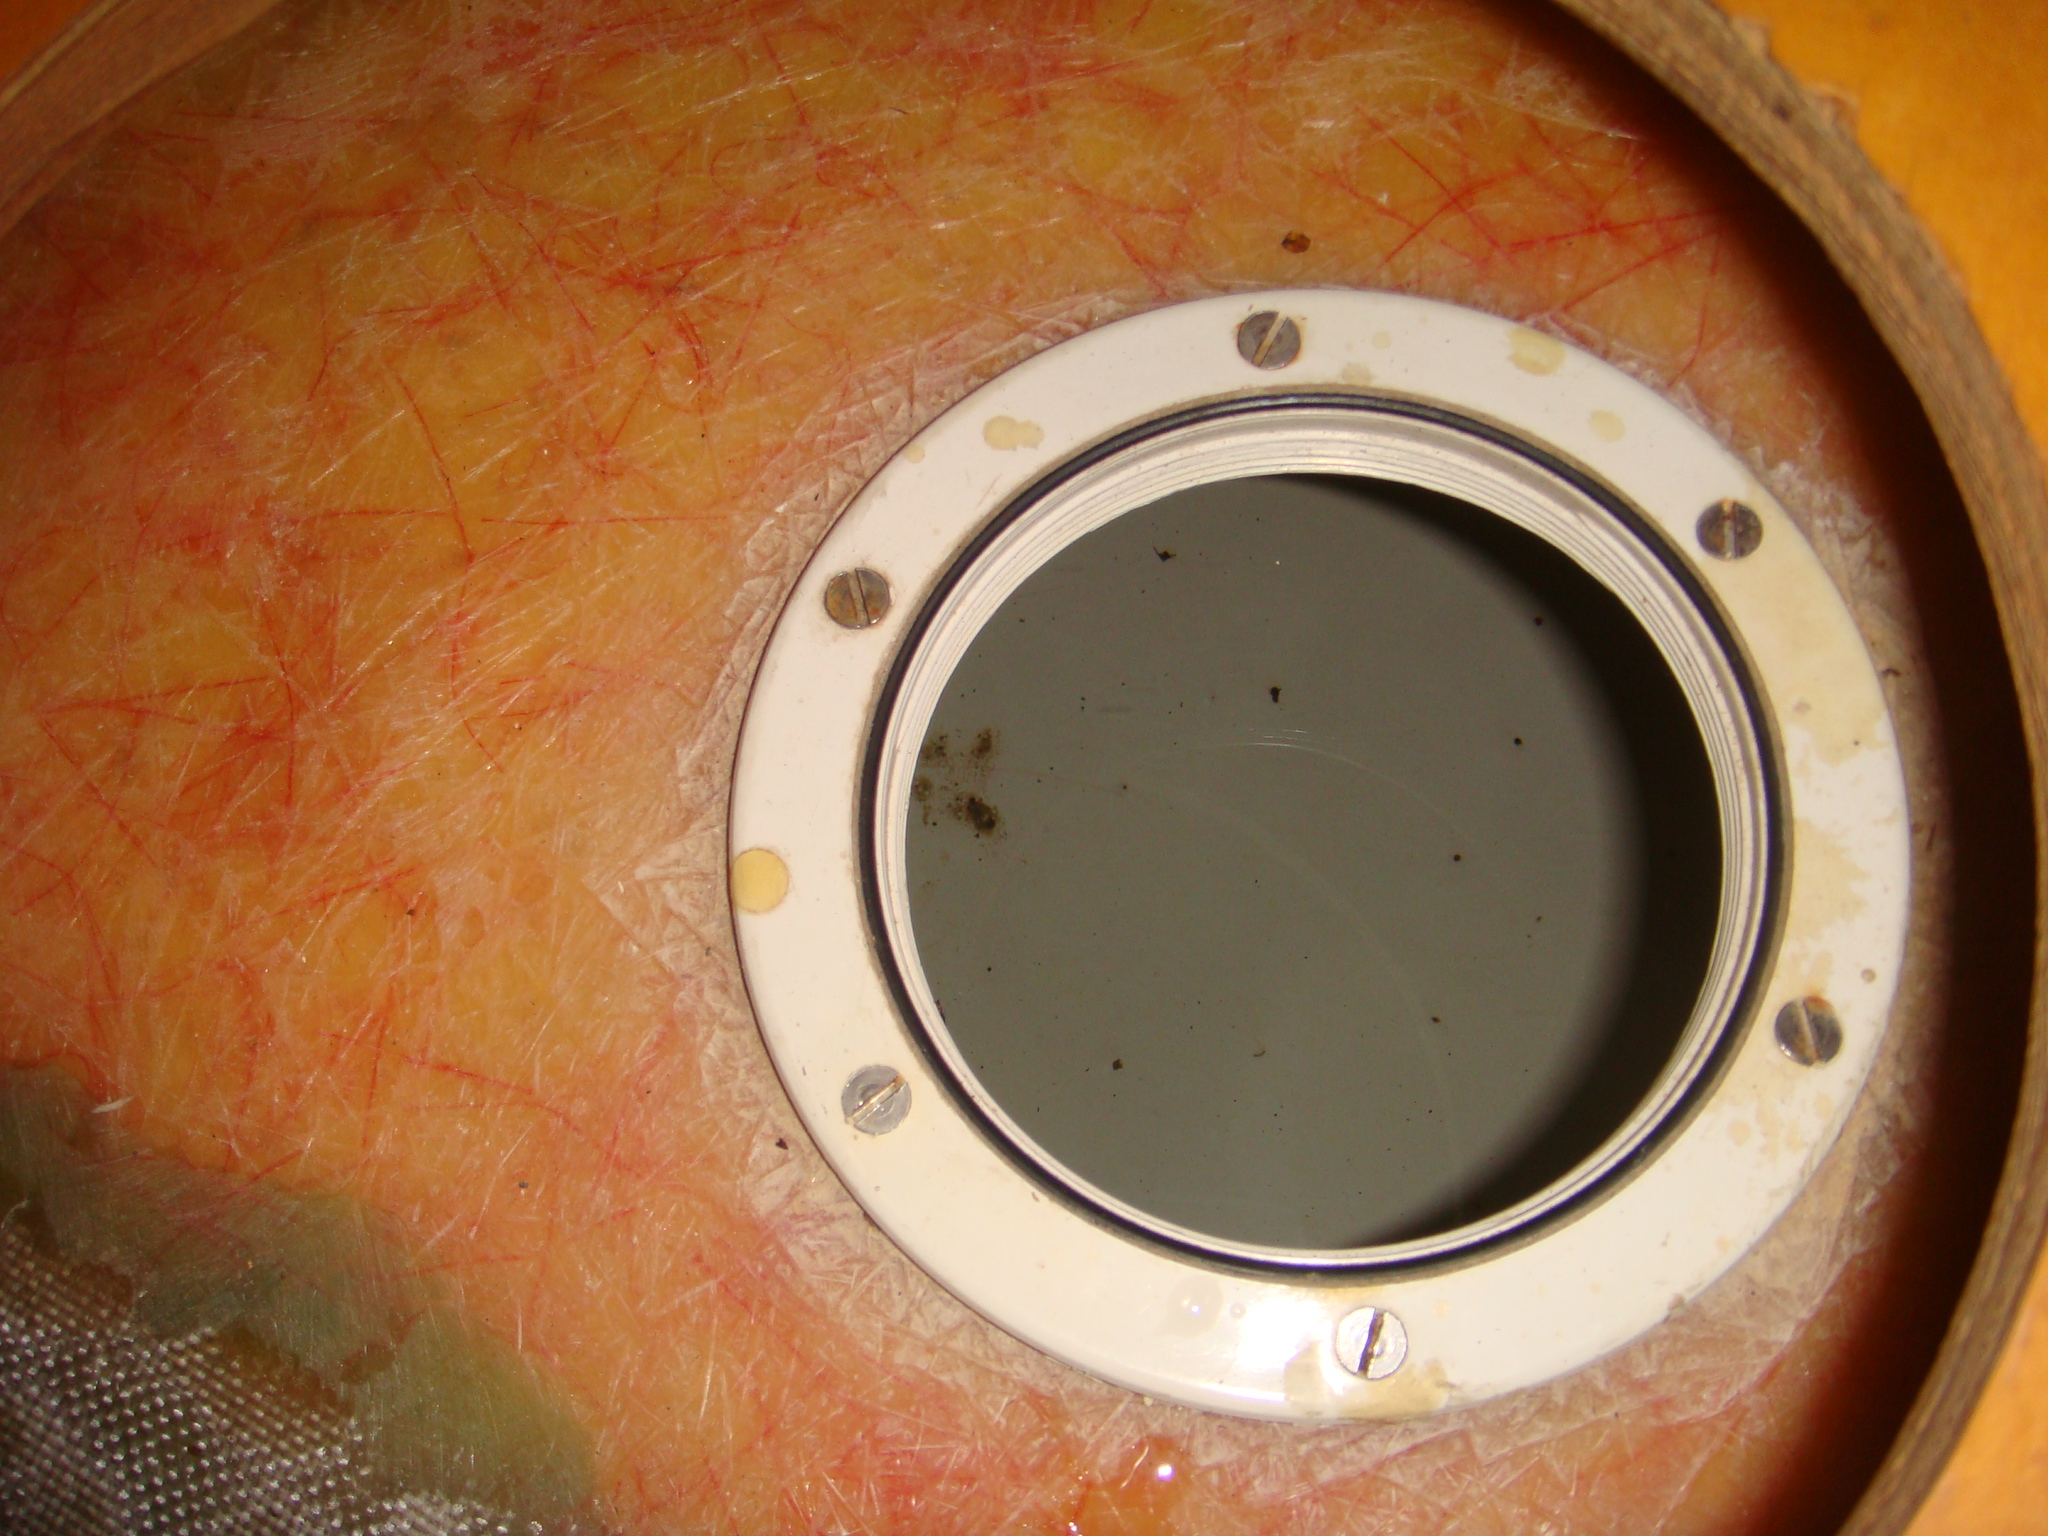
 Access Port in Aft Section of the Tank |
There is a sliding bunk board under each Settee mattress.
These boards are moved inward about 6" to widen the settee when
used as a berth underway. When the bunk board is slided fully inboard, as far as the table will allow, the single access port to the tank is exposed. Since there are no water level gauges on any of these tanks, the access port is prinicipally used to monitor the water level. If I intend to fill the tanks to nearly the top I expose the access port as shown on the left so I can shut off the water before the tank overflows. |
| When I am dockside I
normally just use a timer when filling a tank. With normal
dock water pressure it takes over 10 minutes to fill a tank.
I use 8 minutes whenever I fill a tank without monitoring the
level throught the access port. This has normally provided
a large margin of error to avoid over-filling the tanks.
The Pearson Owner's Manual warns of not overfilling the tanks
because the excessive hydrostatic pressure can burst the
fiberglass tanks. I'm guessing that is what caused the leak in the Port tank. I believe I got a false indication of that tank being empty (water pump not able to bring the fresh water system up to pressure), and added 8 minutes of water into that tank when it may have been nearly full. |
|
| Regardless of the cause, one
of the principal water tanks on Sarah will not hold water.
So the first step is to find where the leak is and seal it.
Then maybe add gauges to the tanks so I can avoid
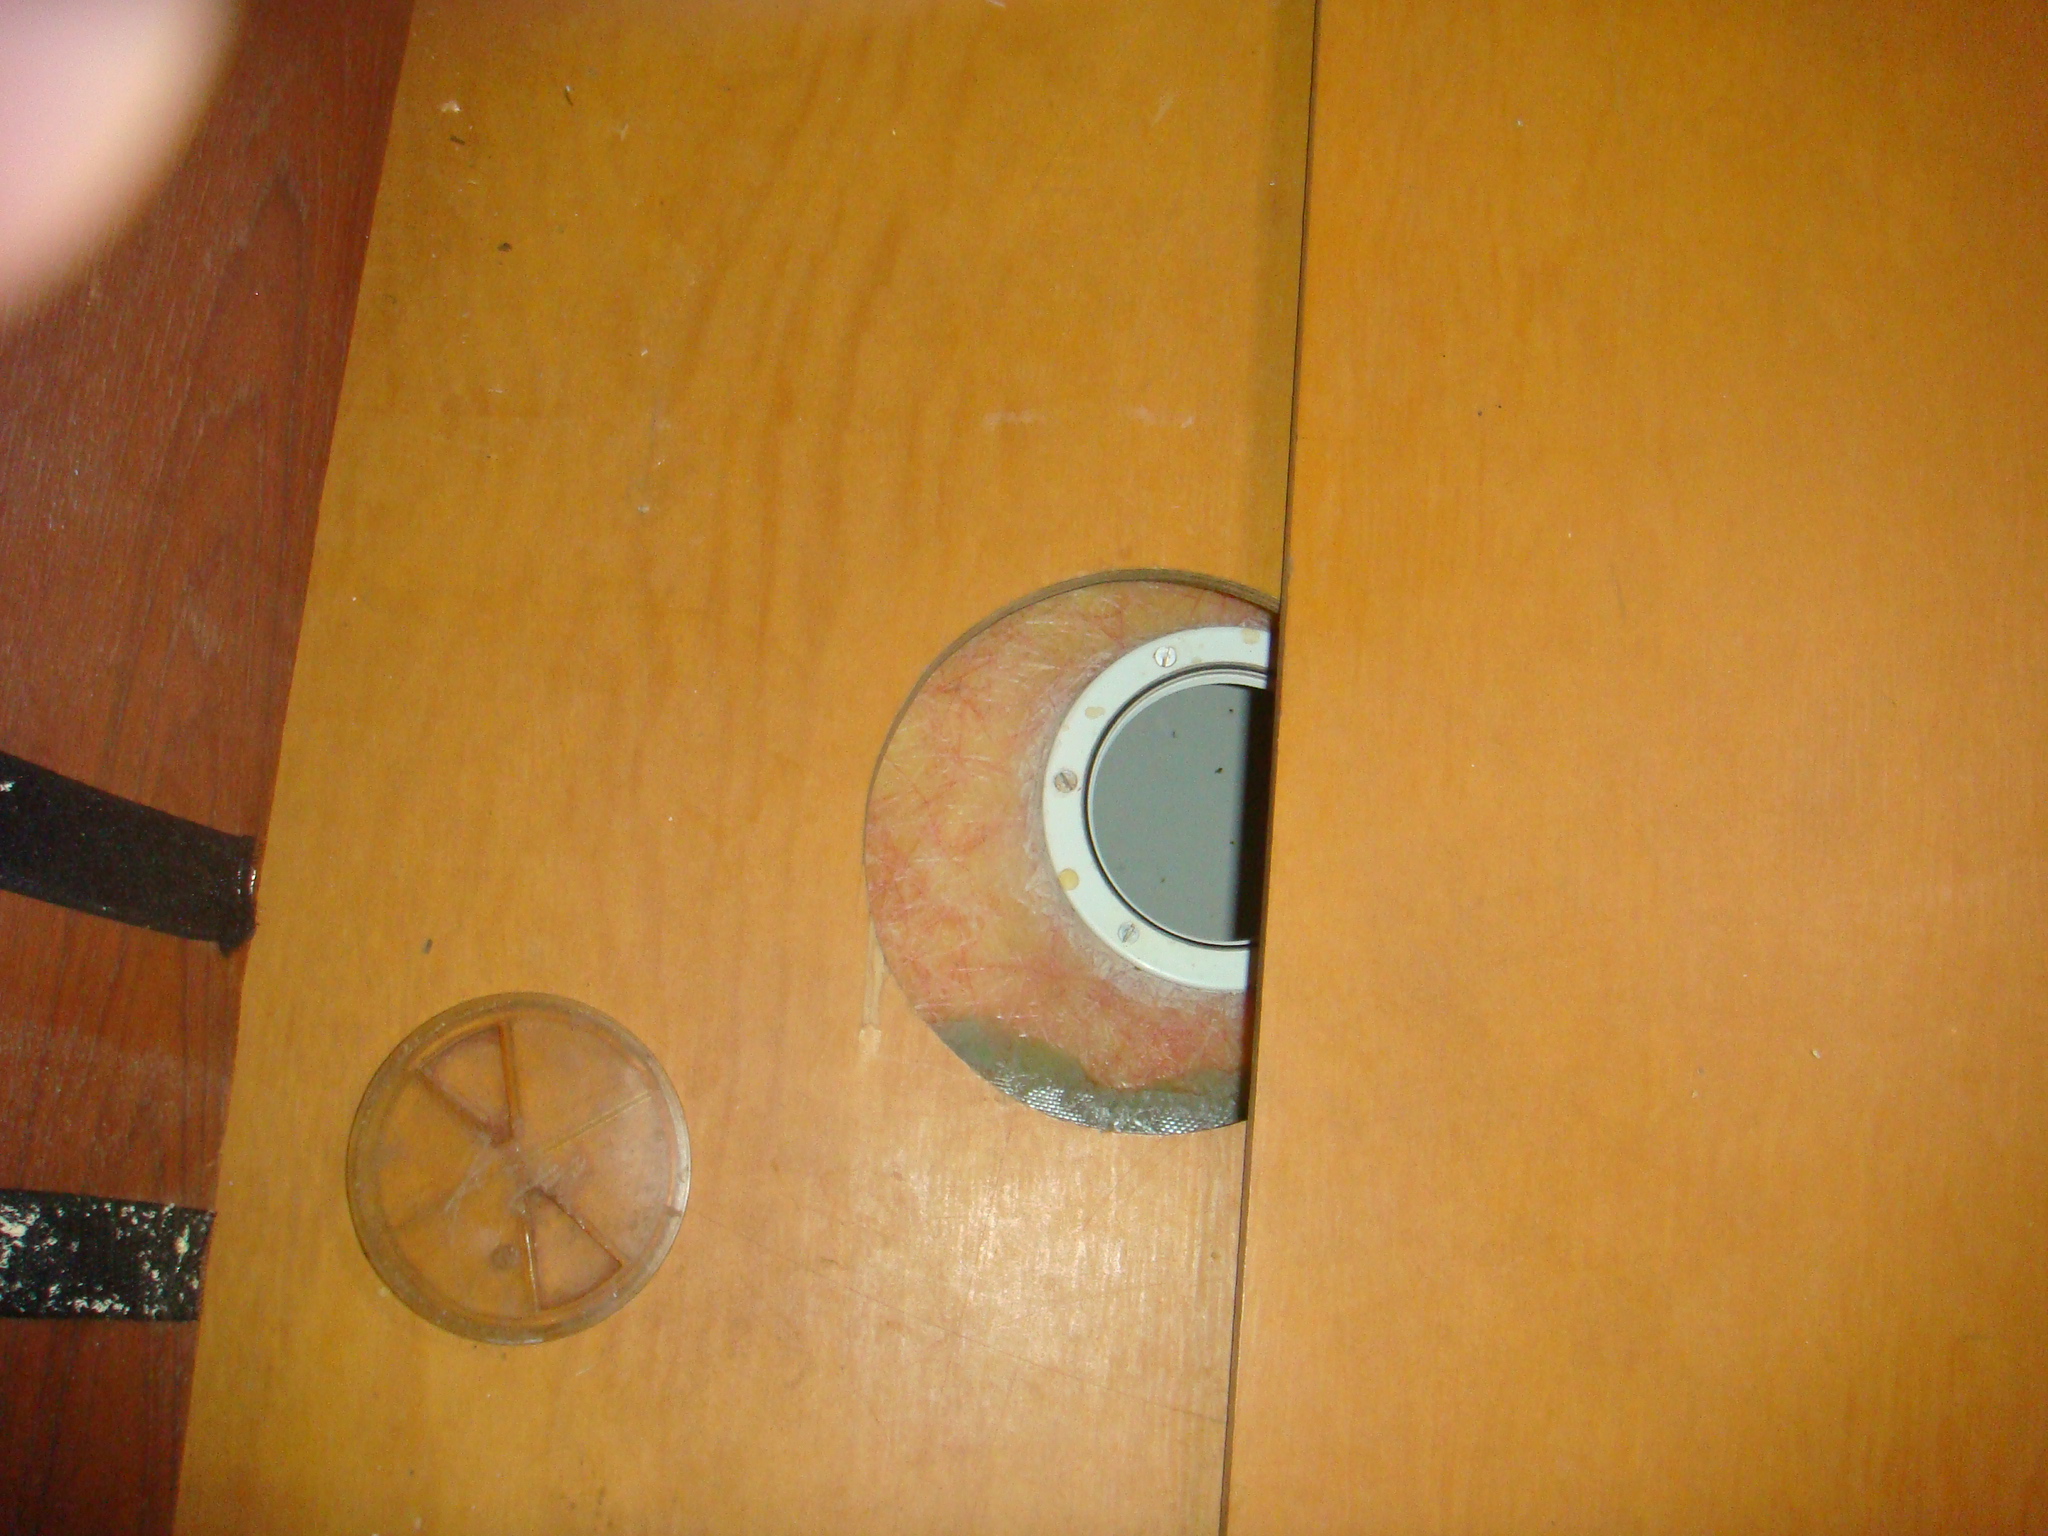
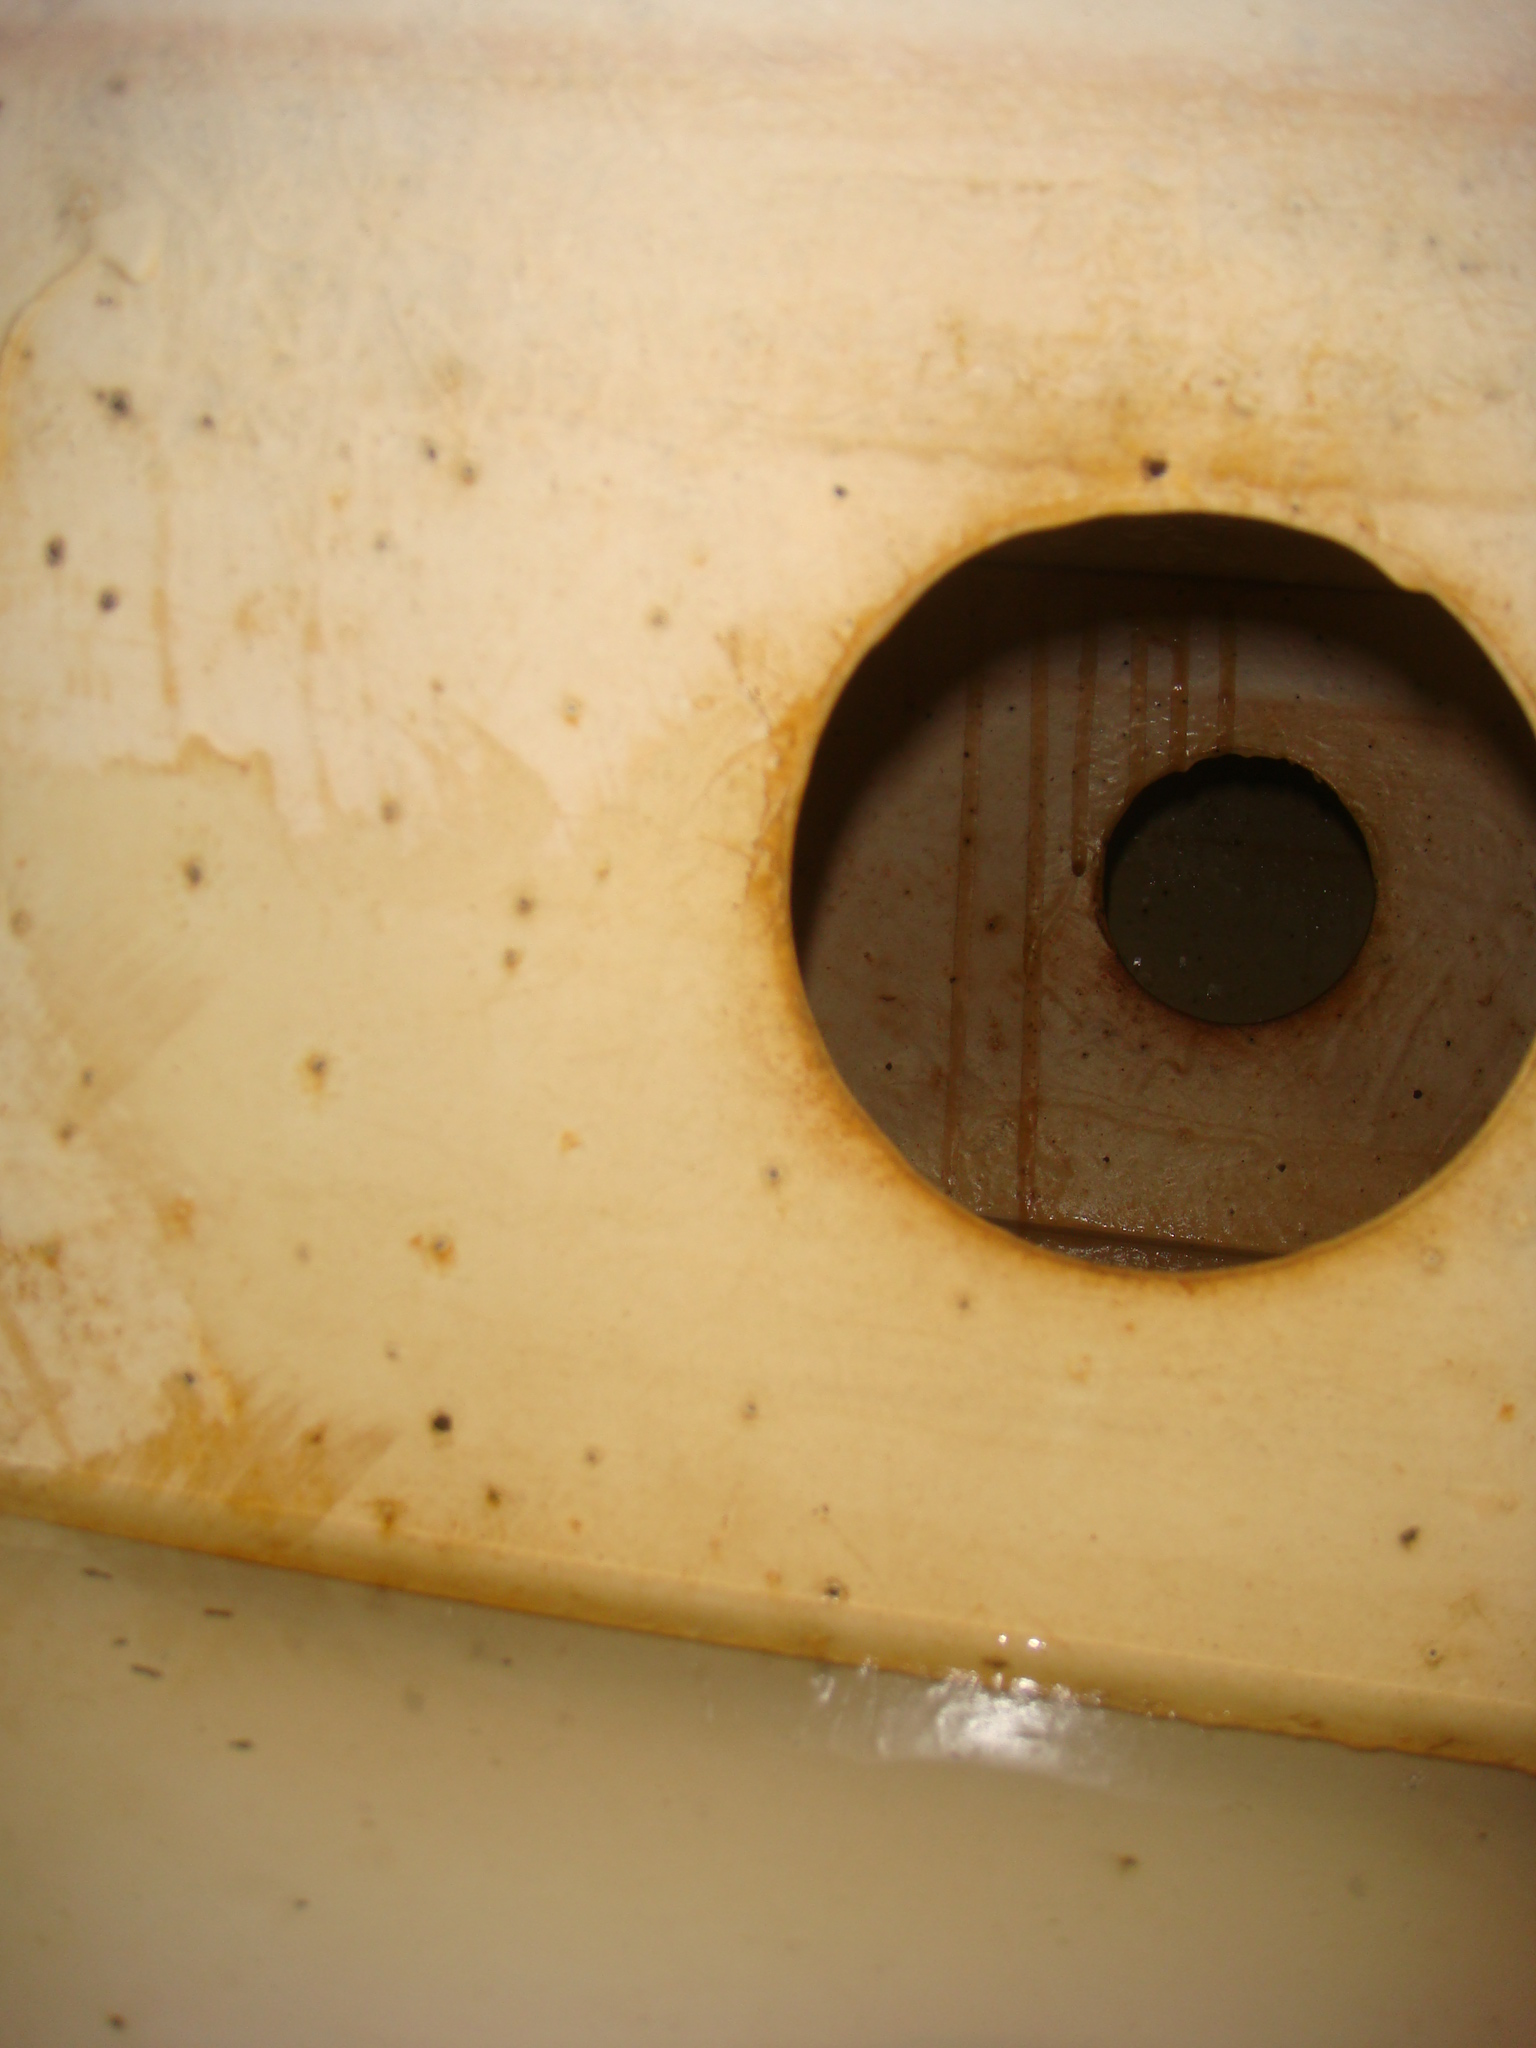
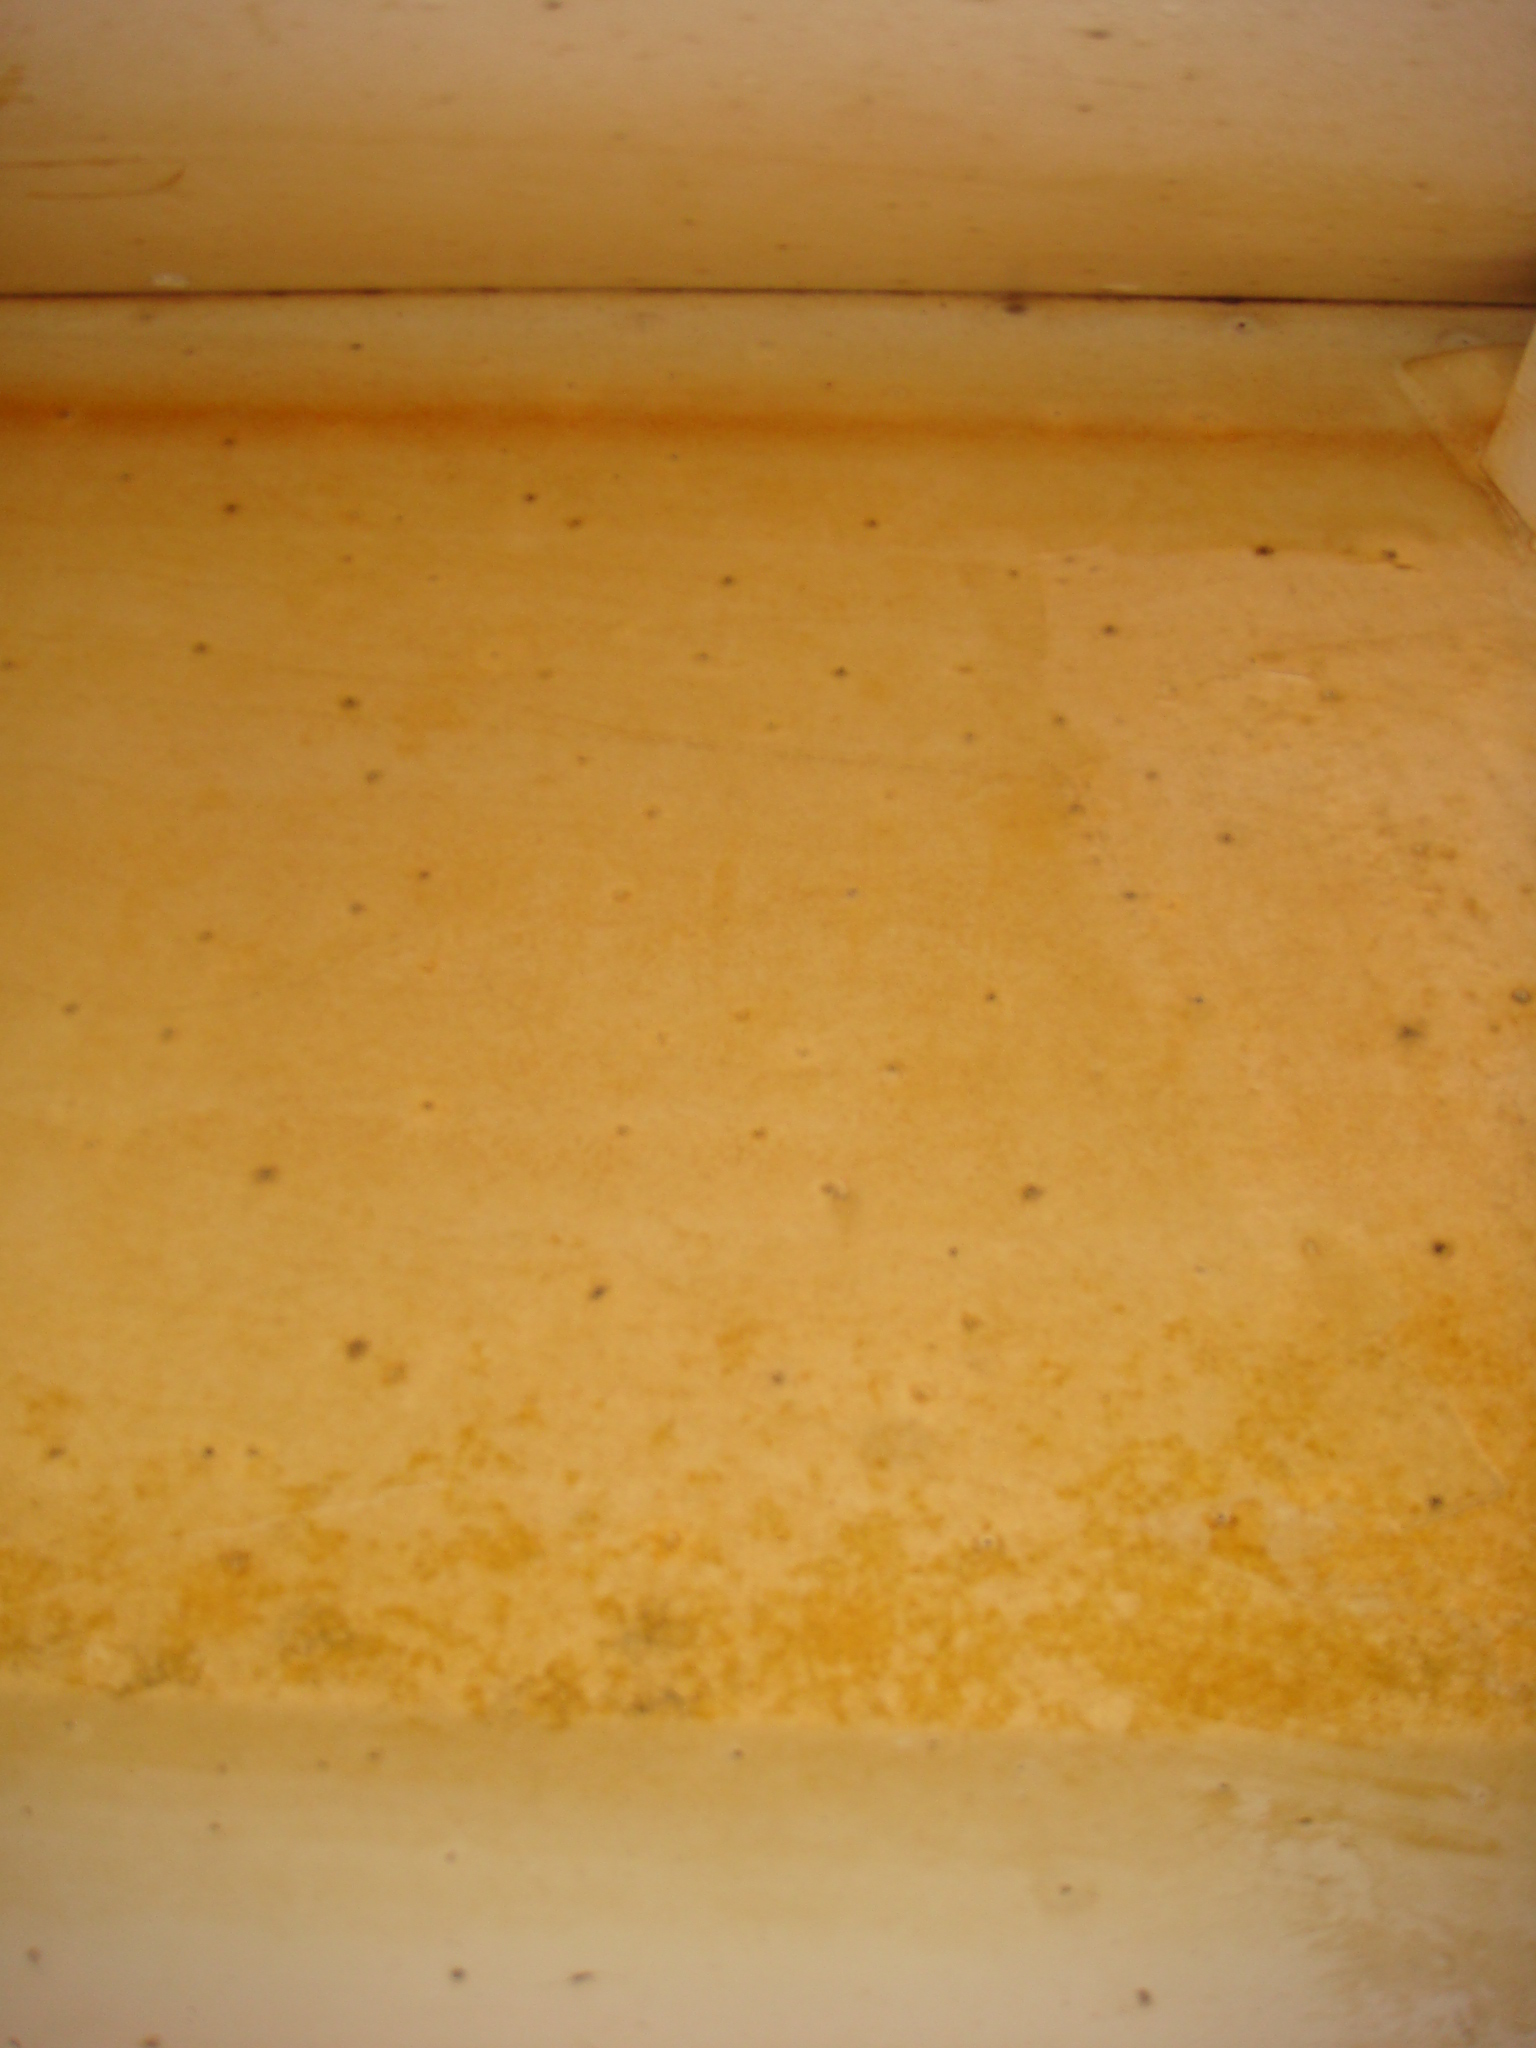
overfilling in the future. Below are pictures I took from the access port. They do not show a visible crack in the tank walls in the aft section of the tank. As shown below there are two baffles forward of the access port. The water under the cabin sole indicates that the leak is likely in the center section of the tank. I will have to cut an access port to that section of the tank to determine if the leak is there. From the level of the water it appears the leak is very low in the tank wall, but probably not in the bottom. |
|
| Searching For the Leak | |
 Outboard end of 1st Baffle |
 Baffle, Looking Forward to Next Two Sections |
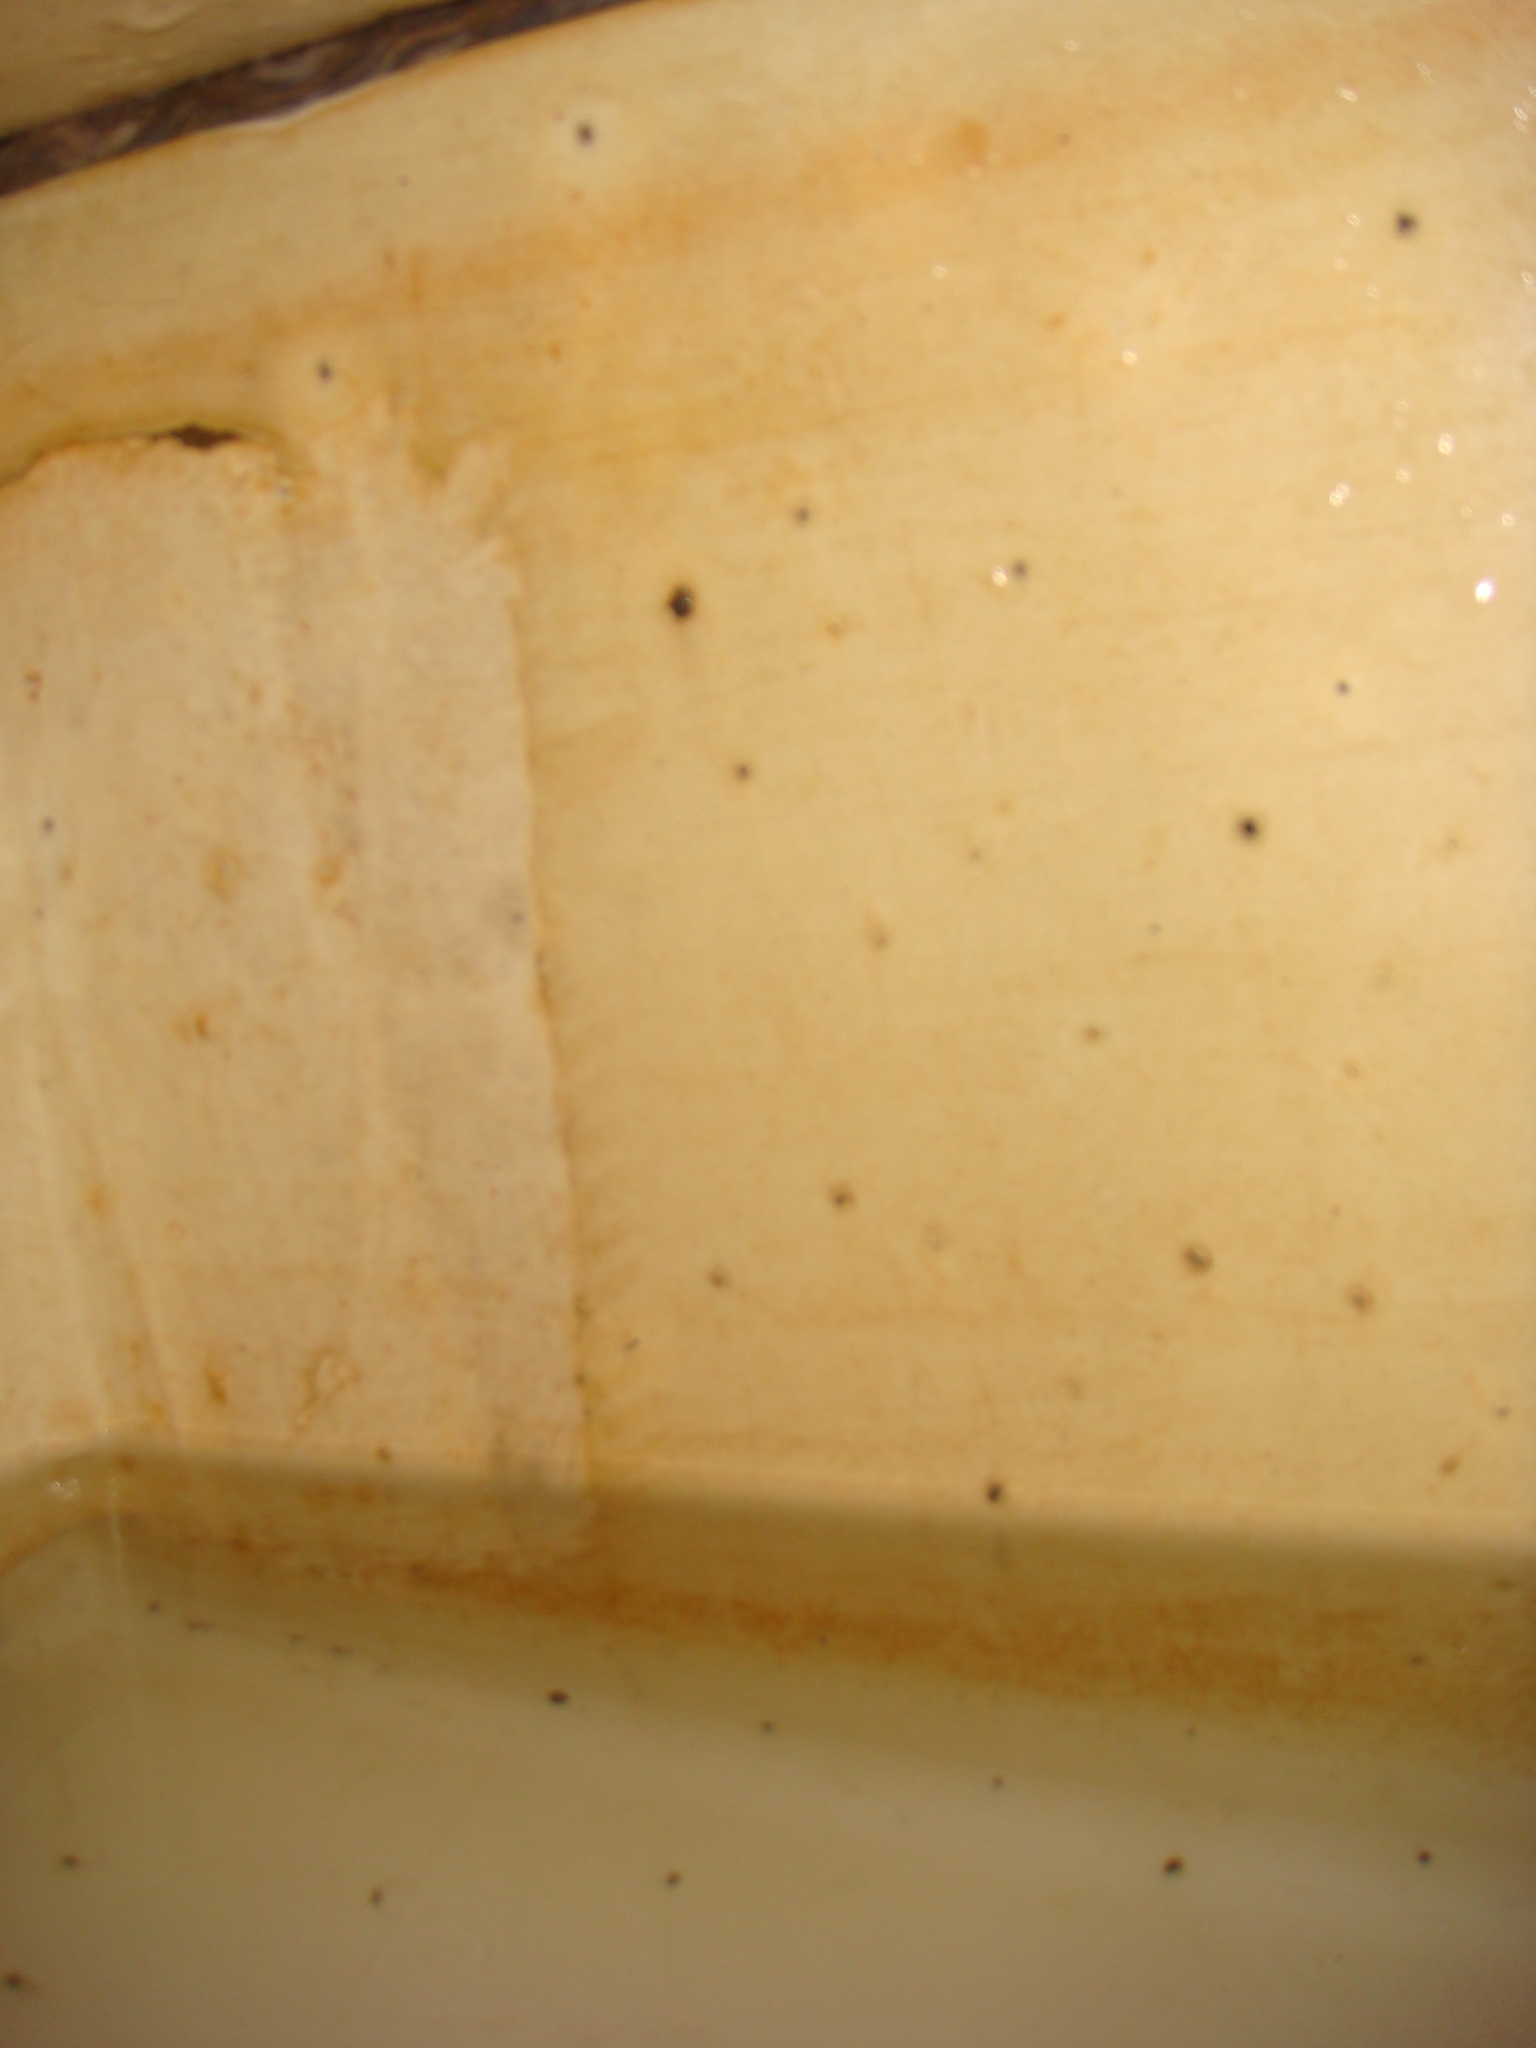 Inboard End of 1st Baffle |
 Inboard Side of Tank |
 Inboard Side of Tank, Looking Aft |
 Aft End of Tank |
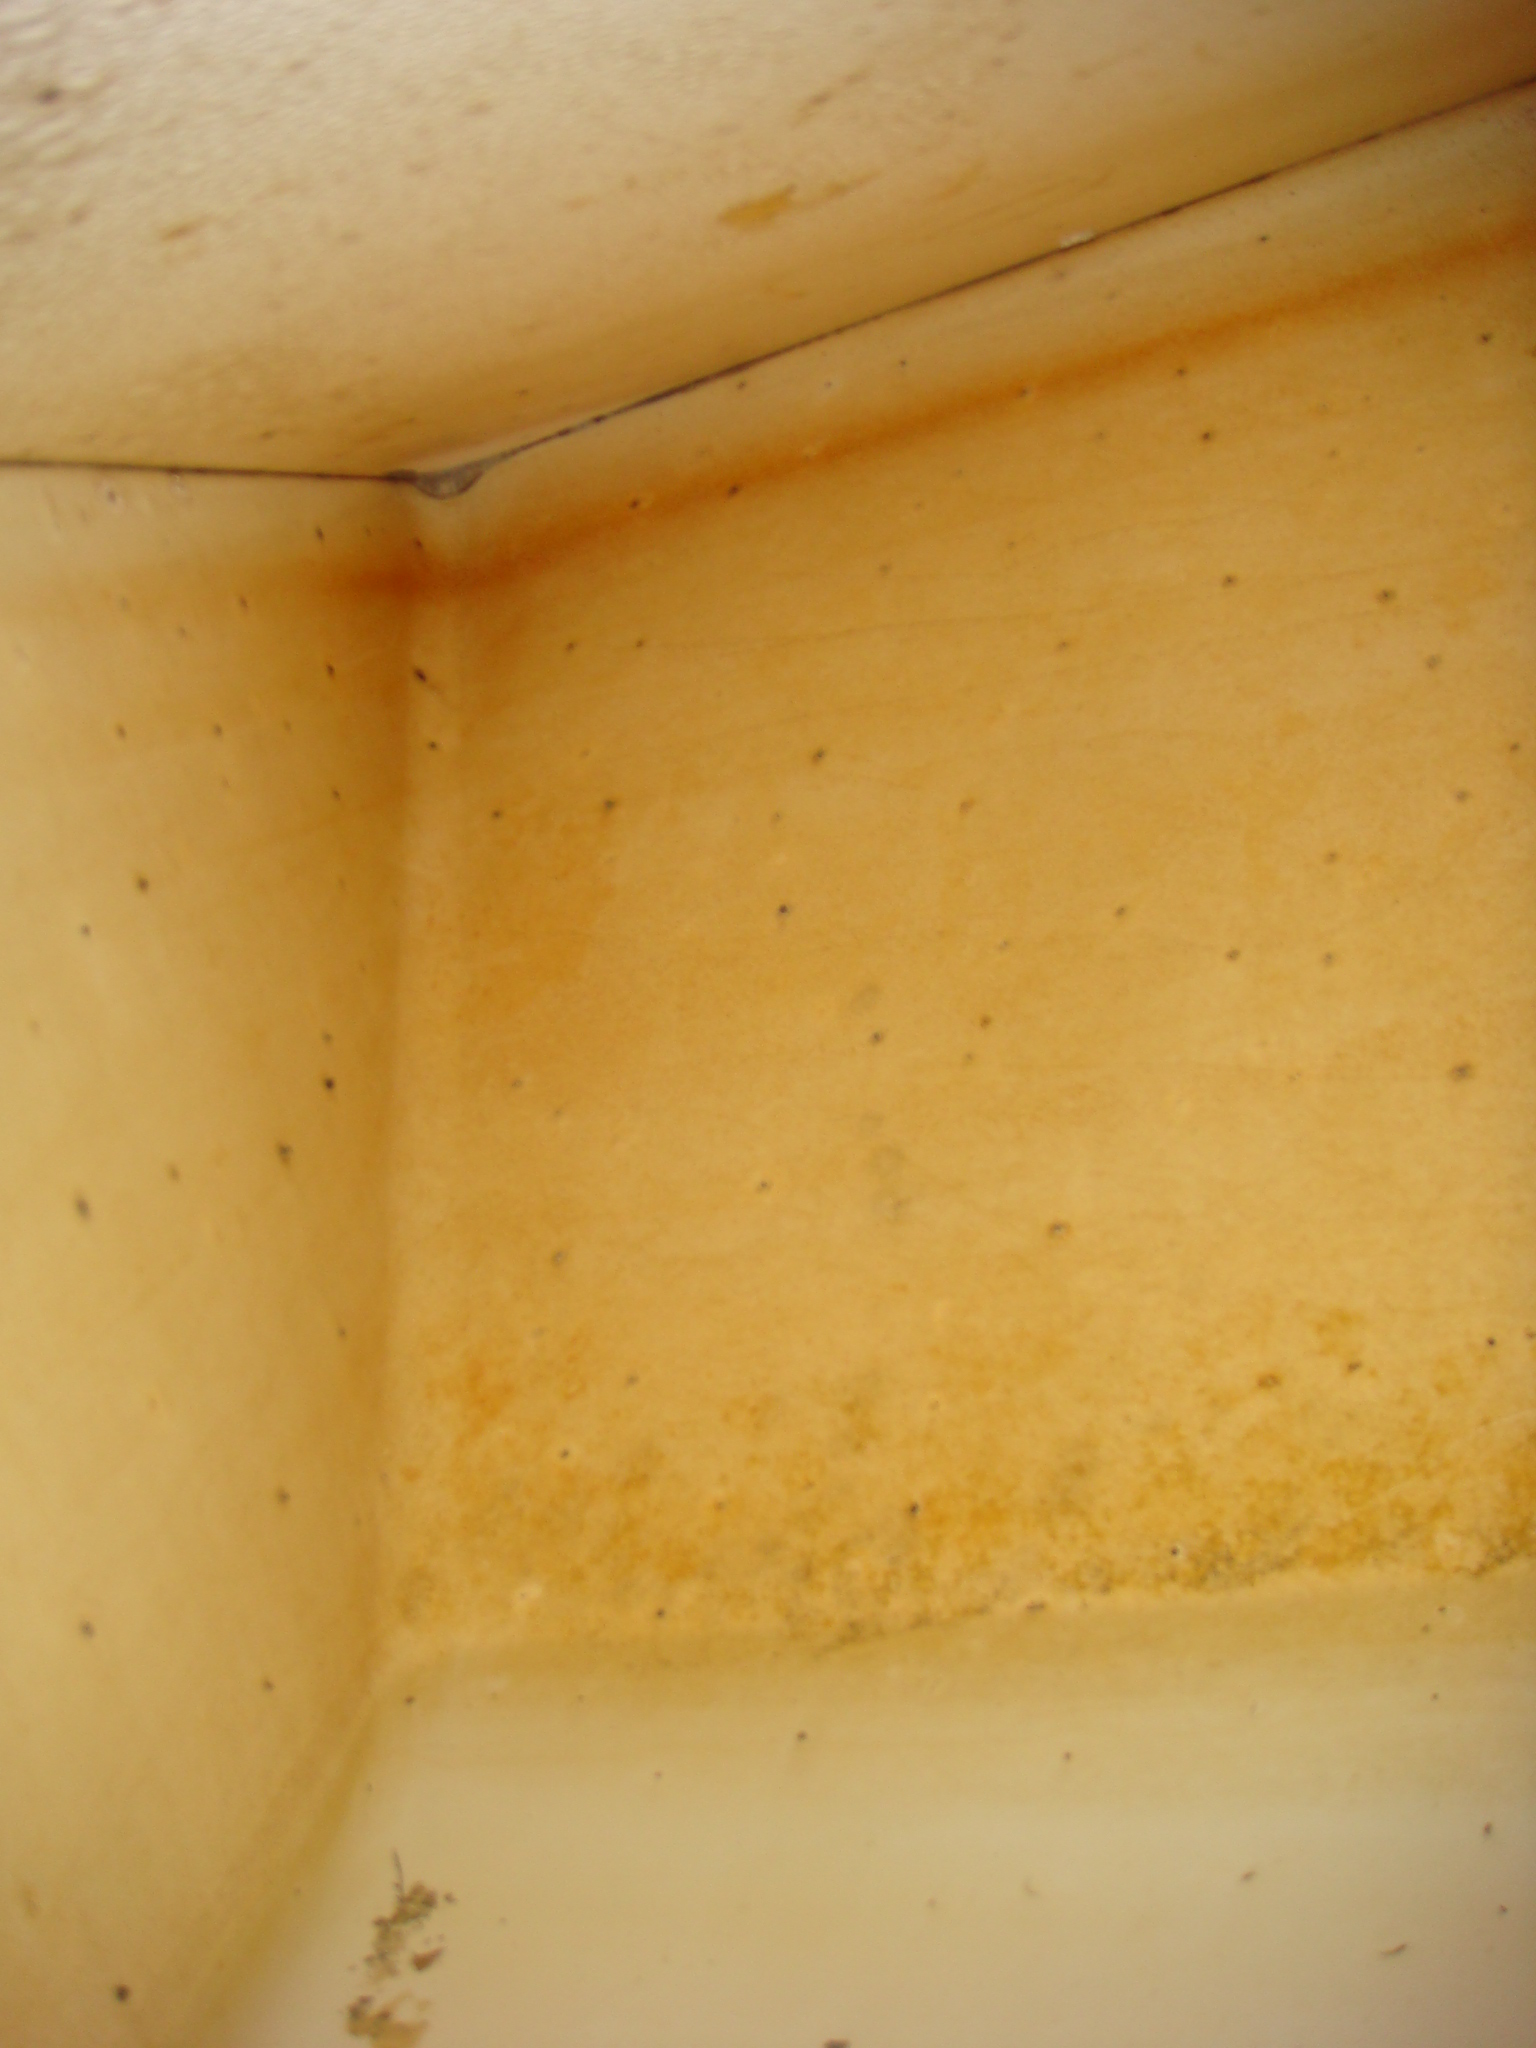 Aft Outboard Corner of Tank |
 Outboard Side of Tank |
| When I pulled up the hatch in the cabin
sole, just inboard of the settee, I found water was in the
plywood core. This job just got a lot bigger. Not only do I have to find and seal a leak in the tank, I may also have to replace a big chunk of the cabin sole. To make things worse, I discovered water in the hatch inboard of the Starboard settee. Looks like I have a leak (although much slighter) in that tank as well |
 Water in the Core of the Cabin Sole |
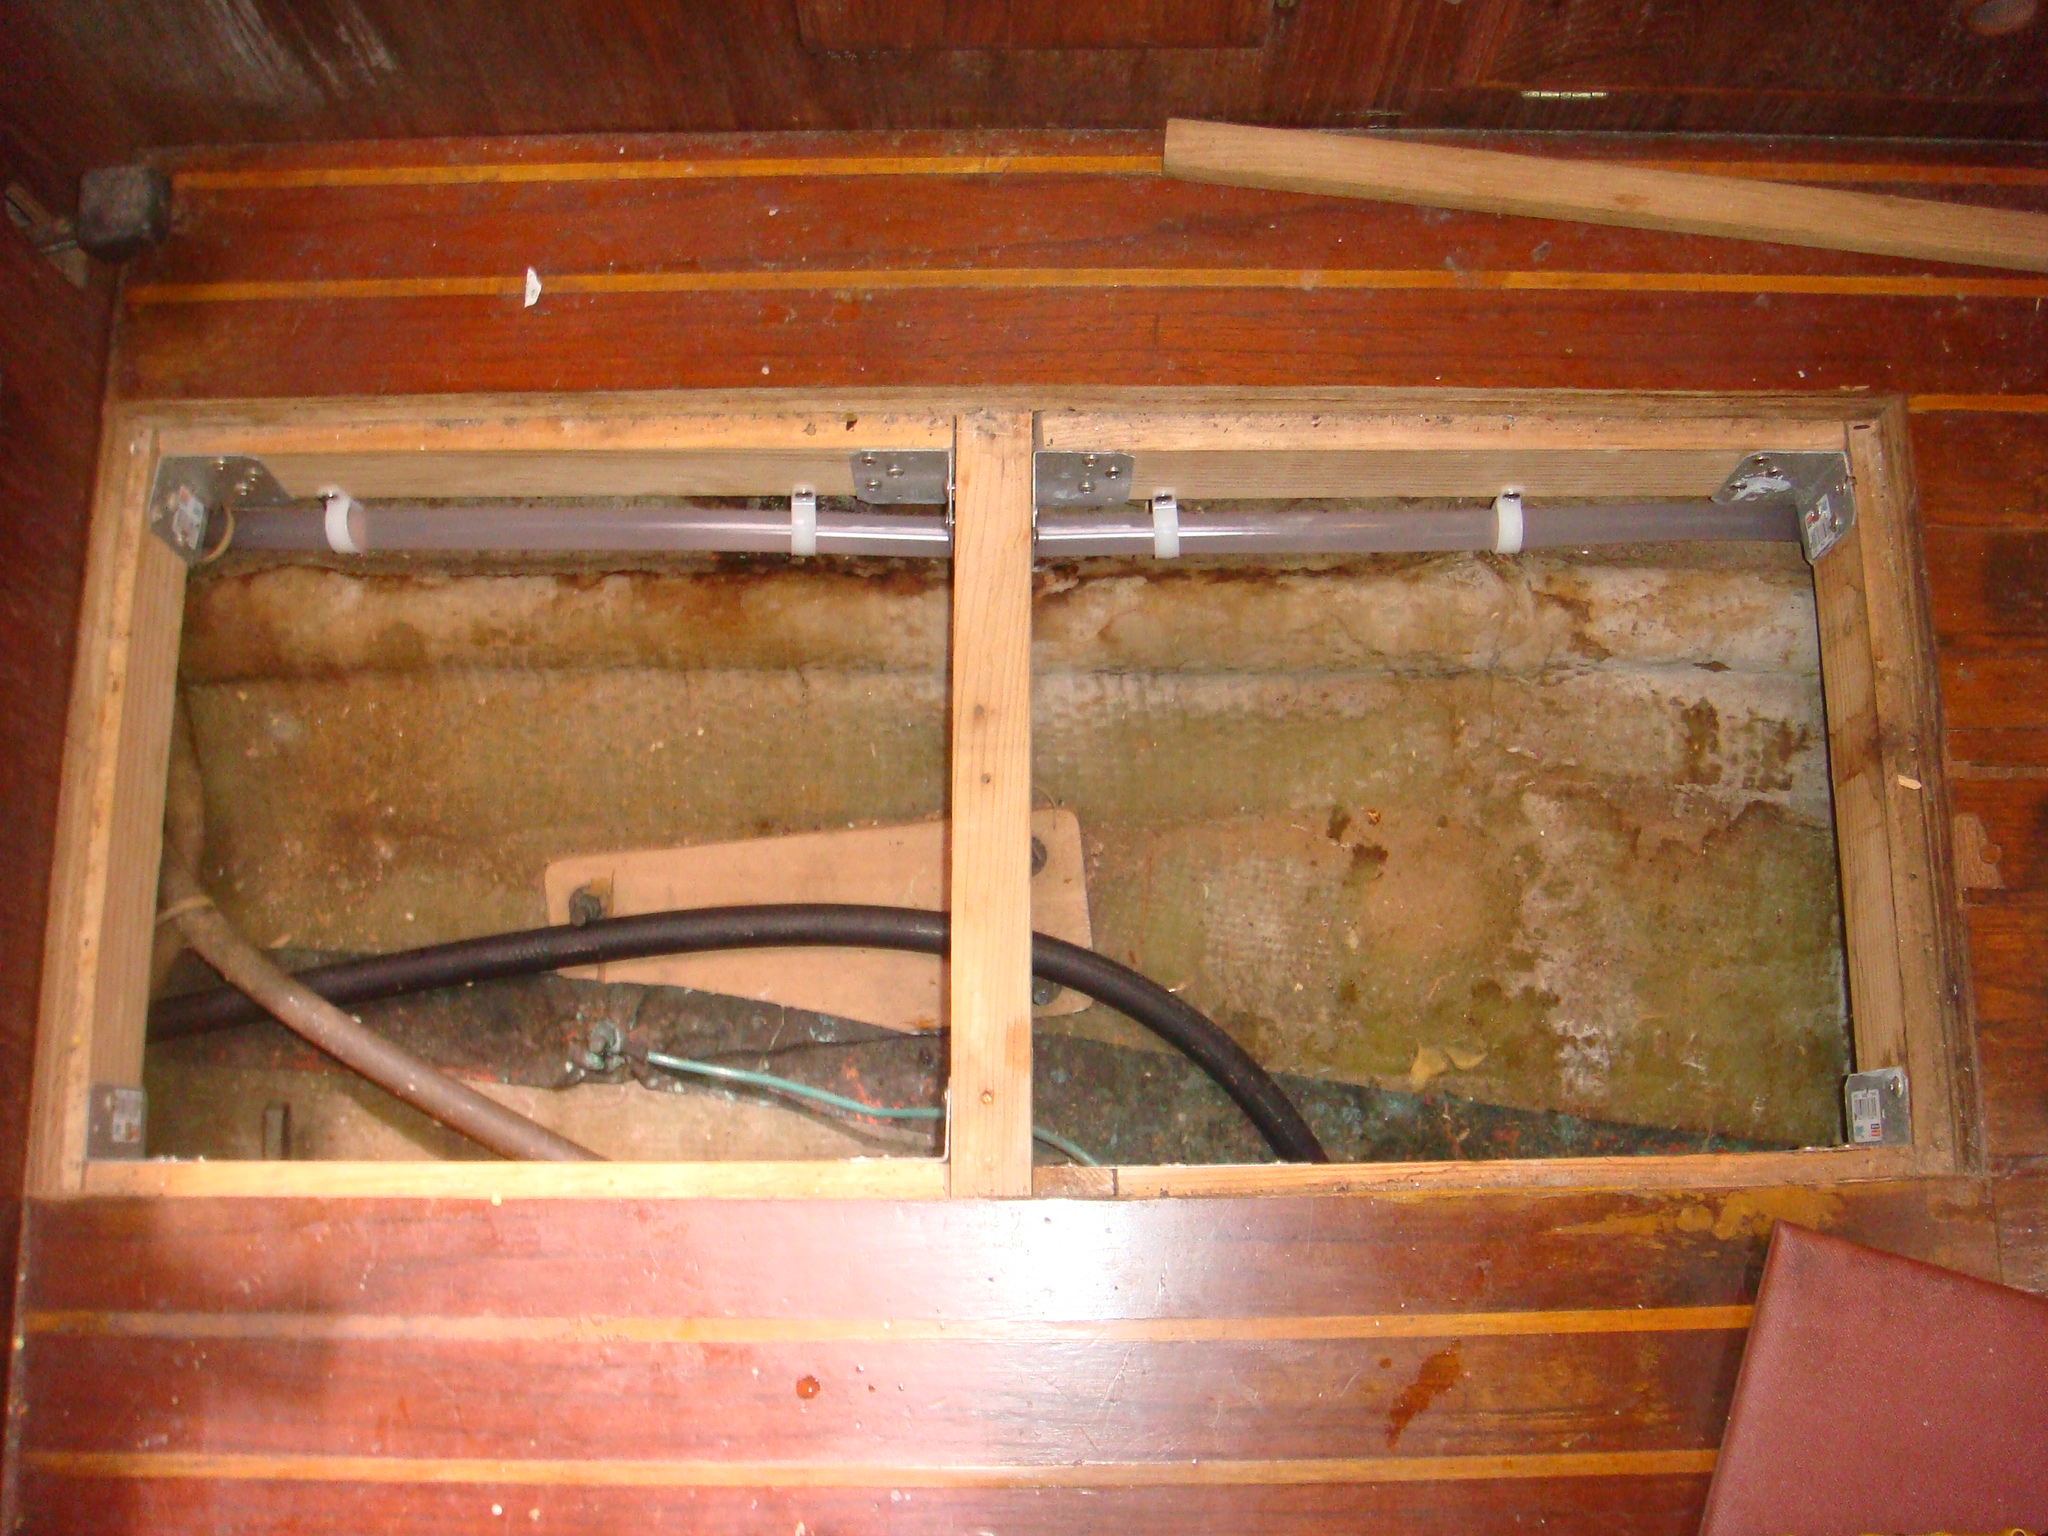
 Plywood Sub-Floor Under the Water Tank |
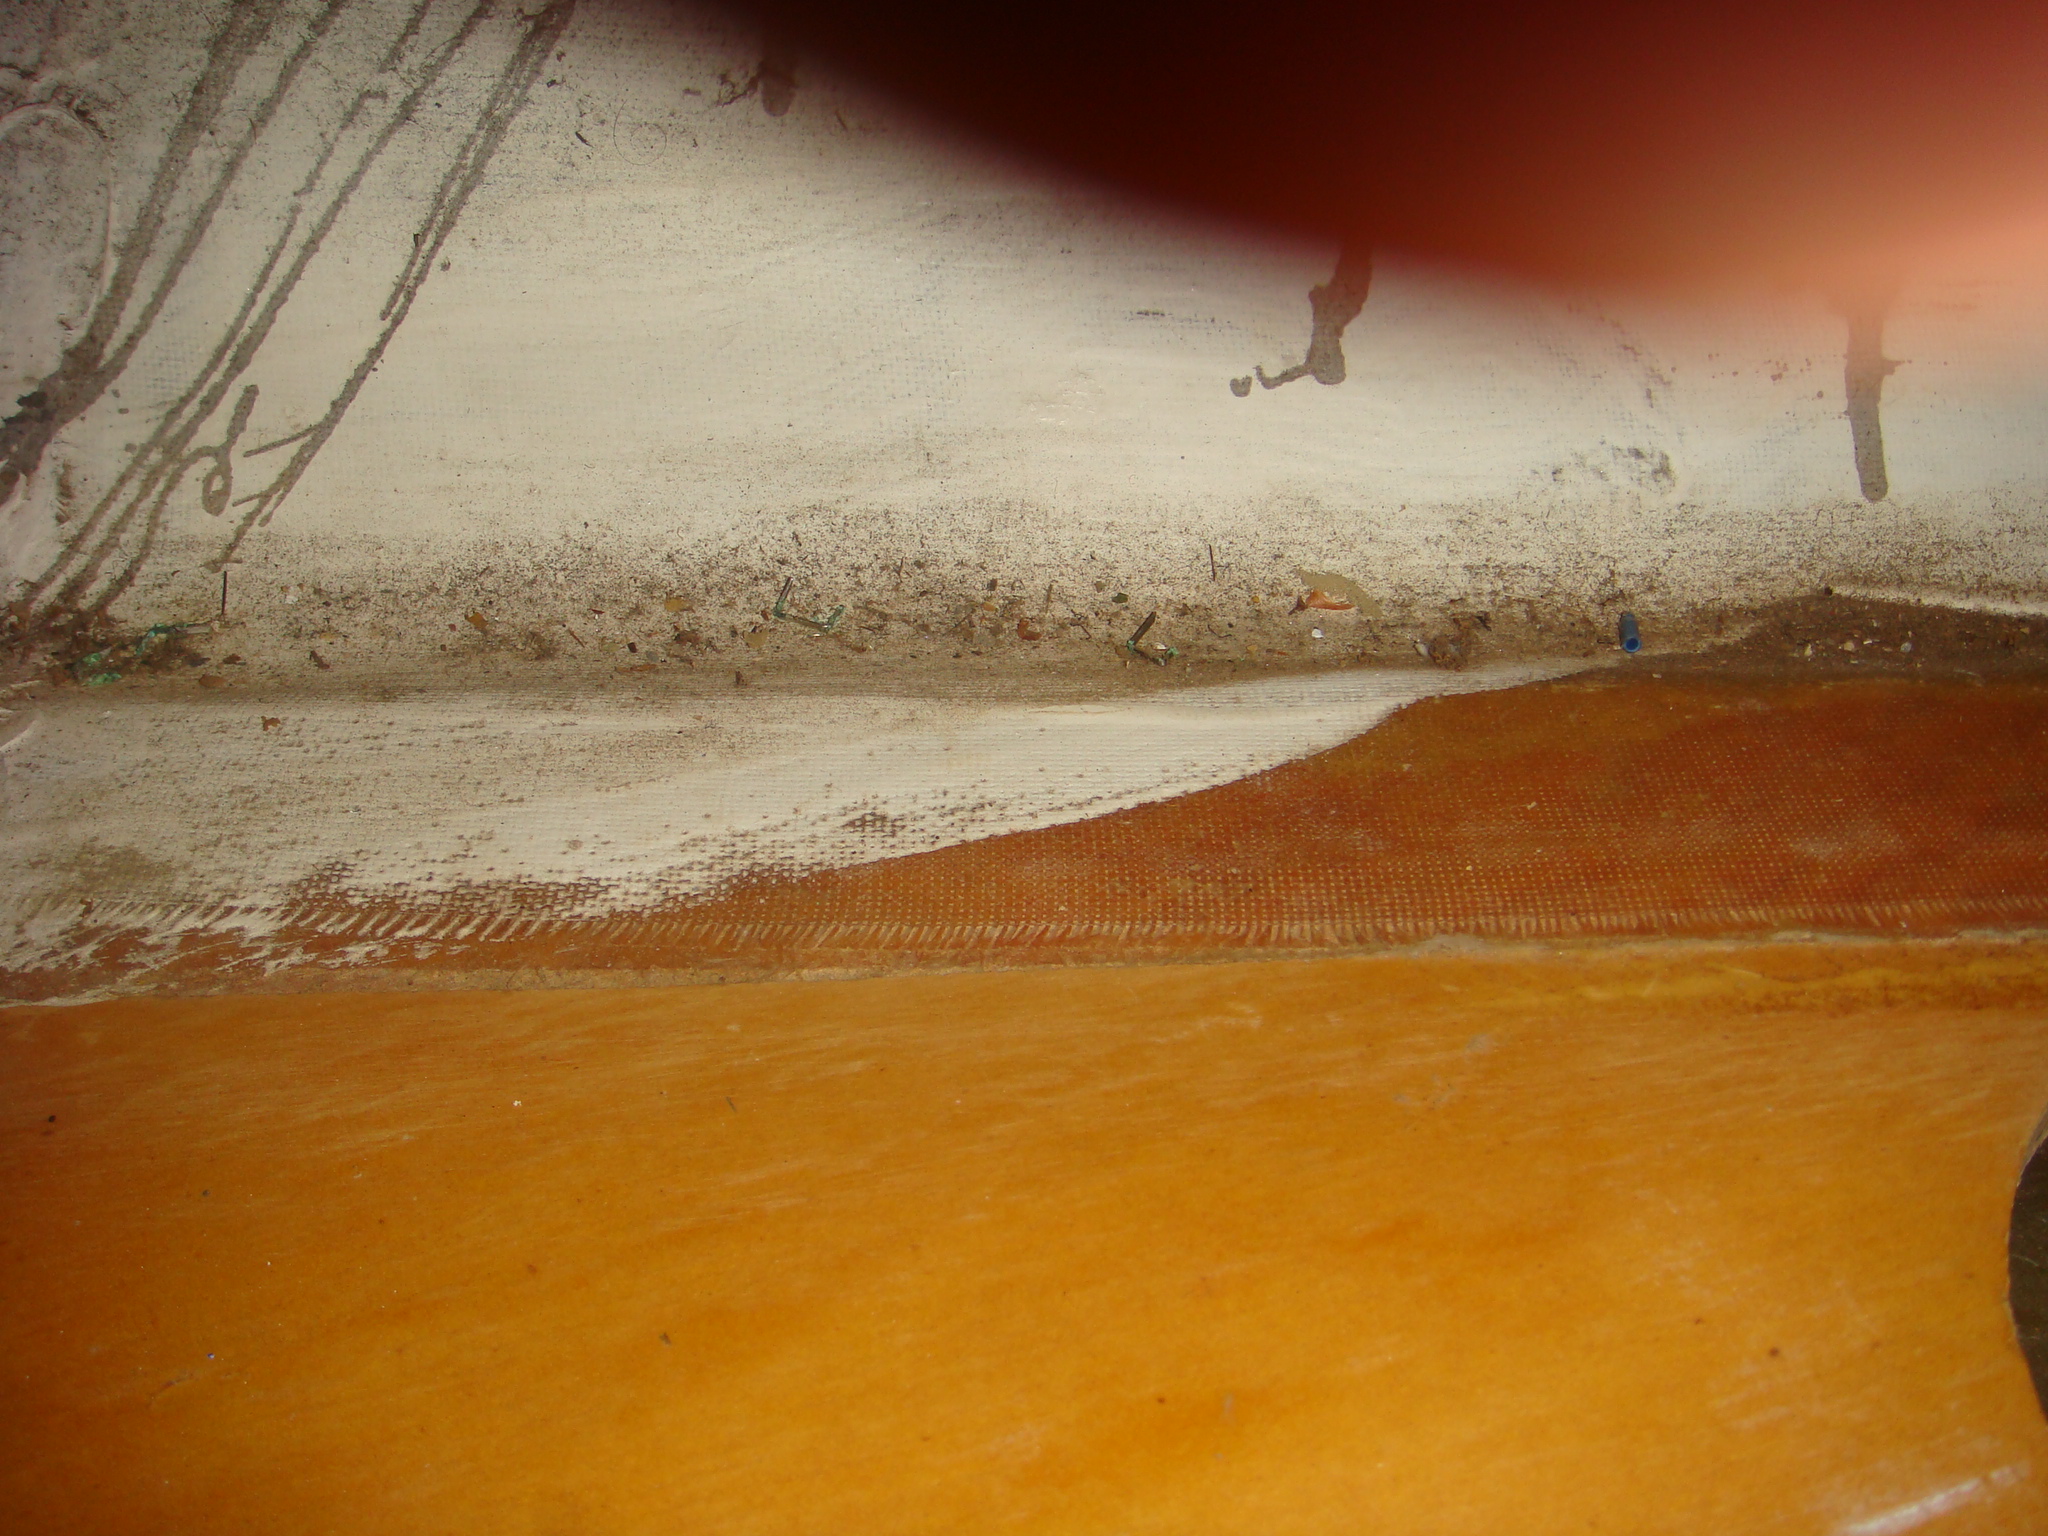
I also took pictures under the cabin
sole to see if any water was coming through the cabin sole or
down the hull on the outside of the tank. This area is very dry. Since I don't see any tabbing under the sub-floor and no moisture below the sub-floor, it appears the water entry into the cabin sole is on the inboard side of the tank. |
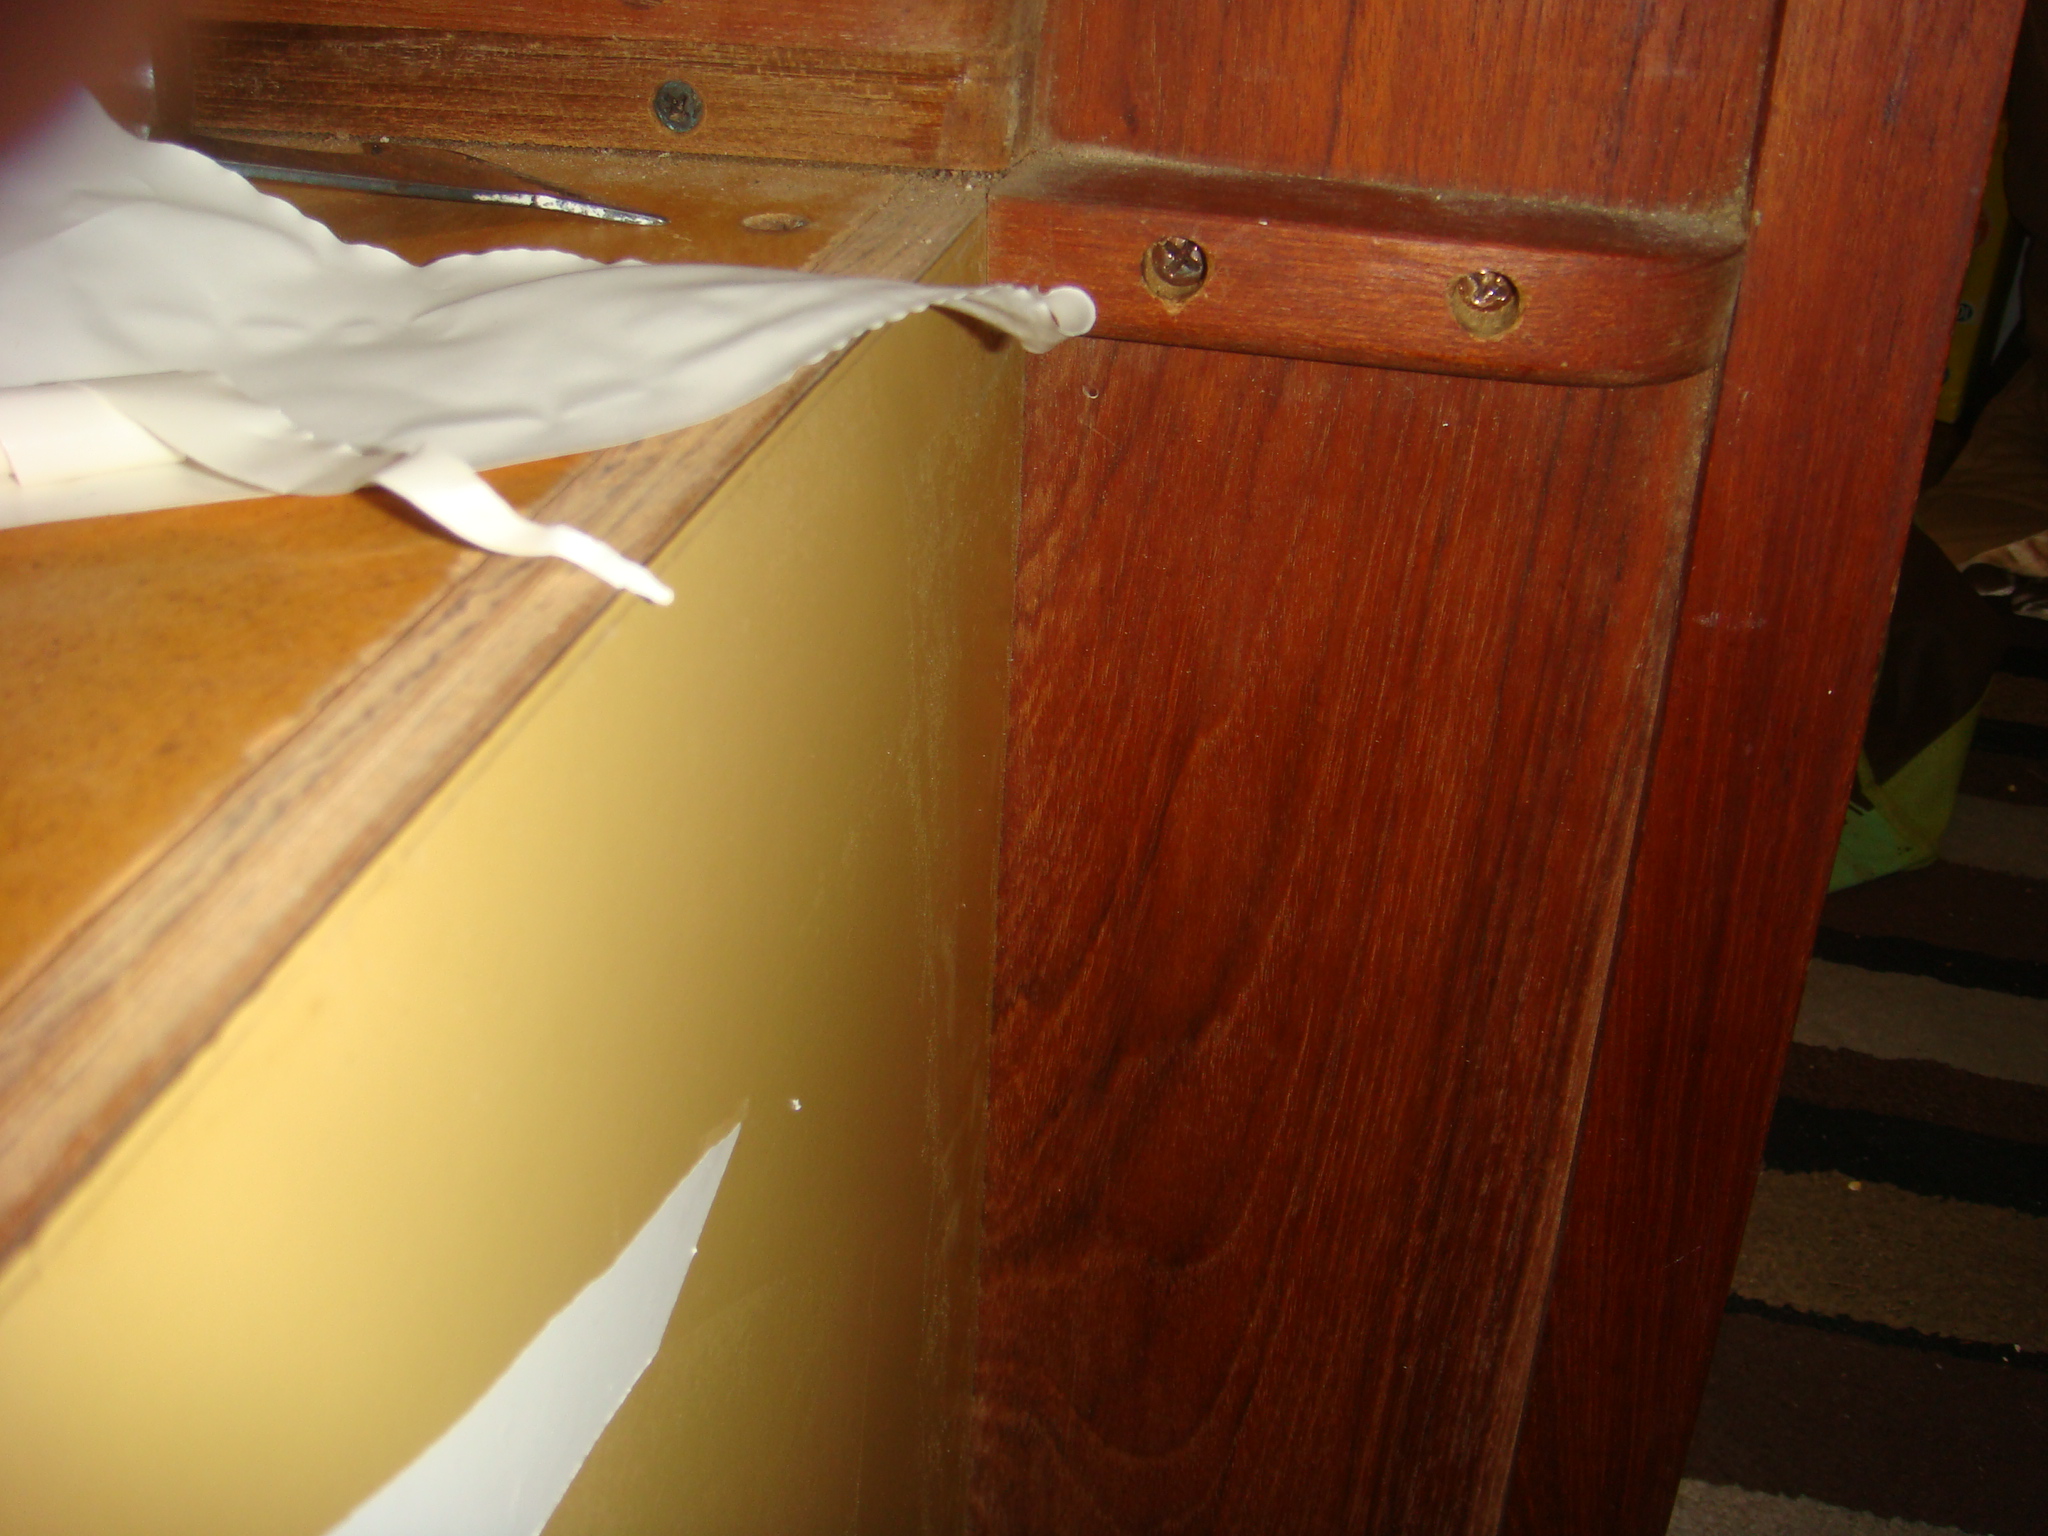
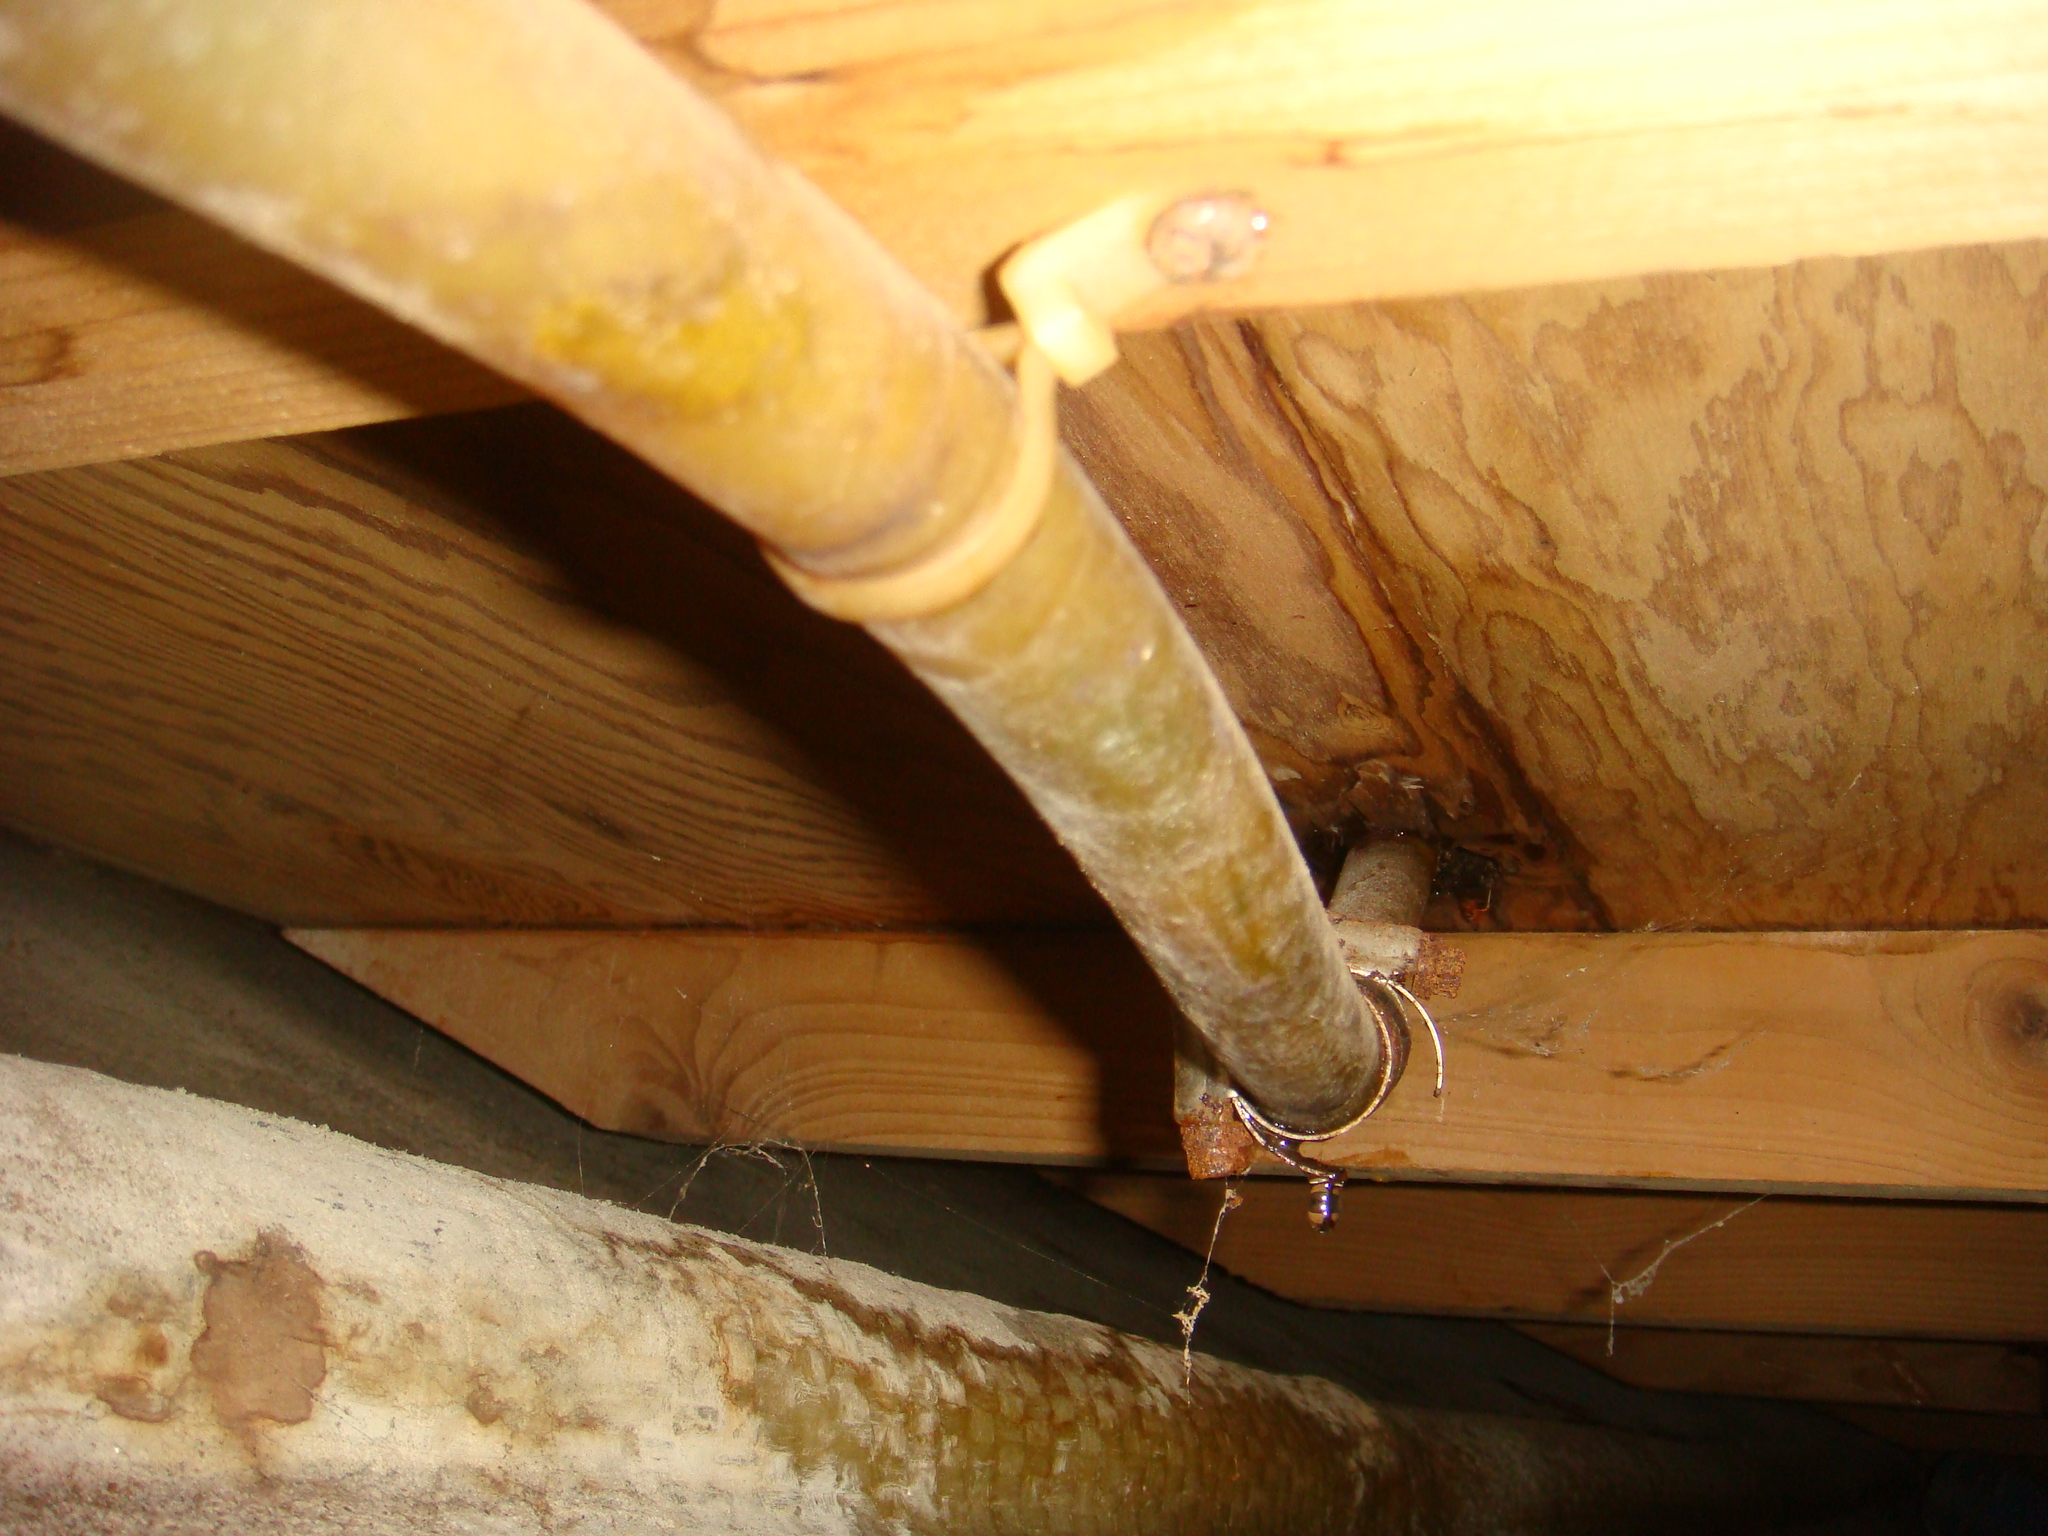
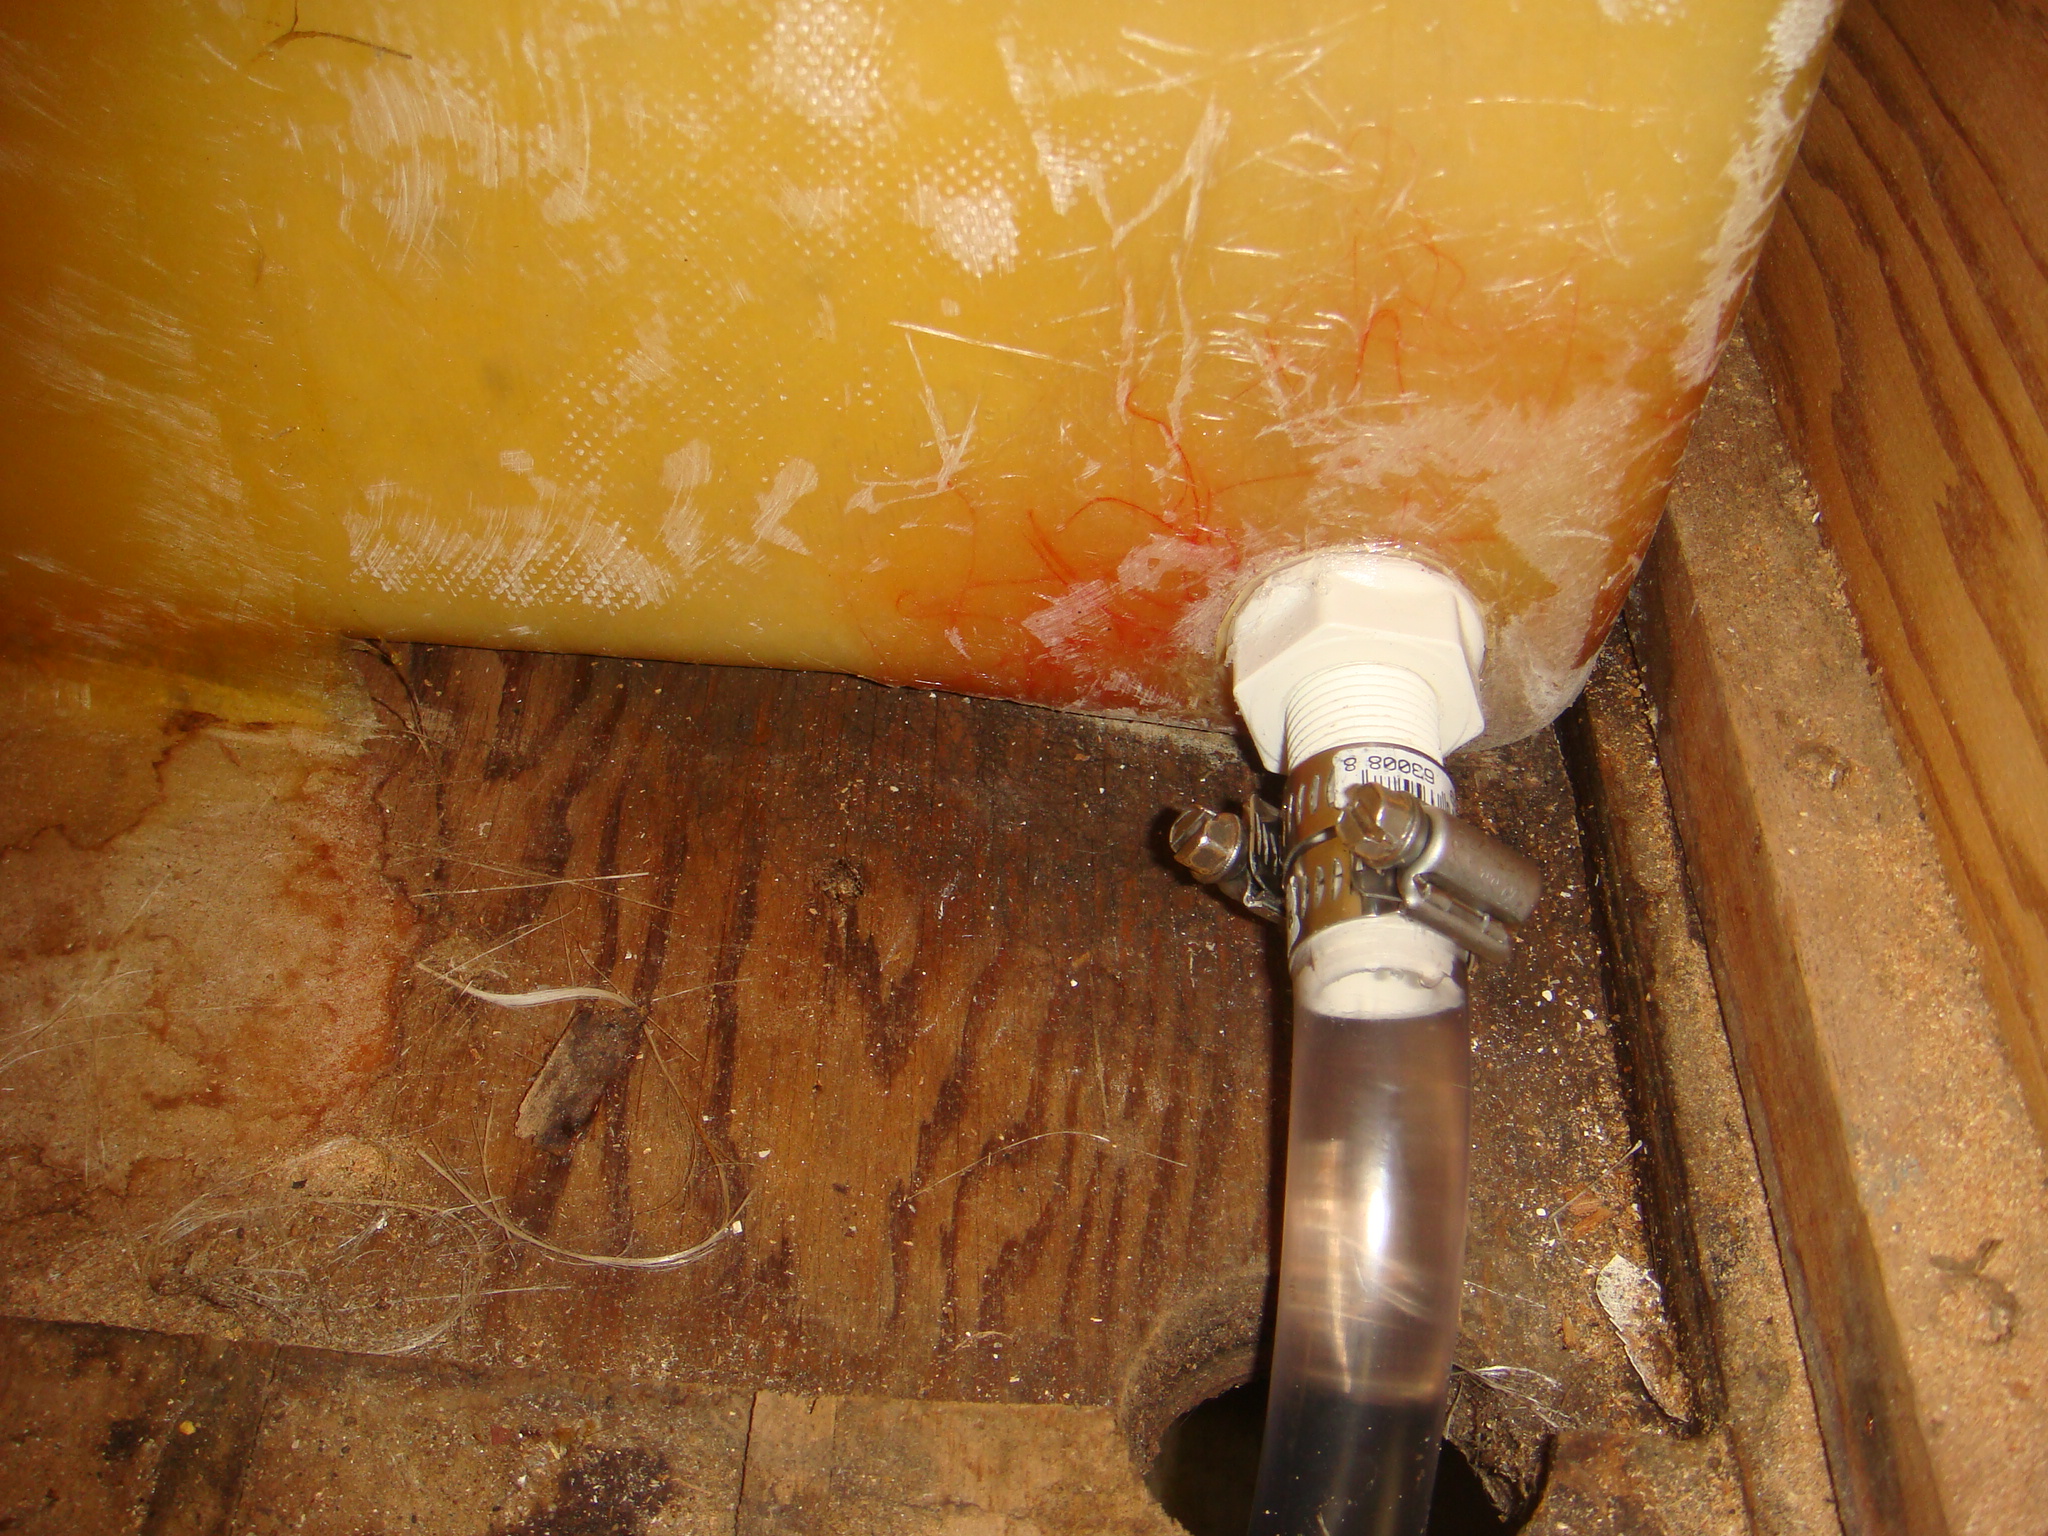
| The picture on the right from the galley cabin sole. The water hose from the tank to the manifold for the pressure pump can be clearly seen. Also it can be seen that the hose is connected to a short pigtail hose from the hose barb on the tank. The two hose clamps are very corroded. Looks I'll be replacing the water hose as part of this project. |
 Water Hose From Tank to the Manifold |
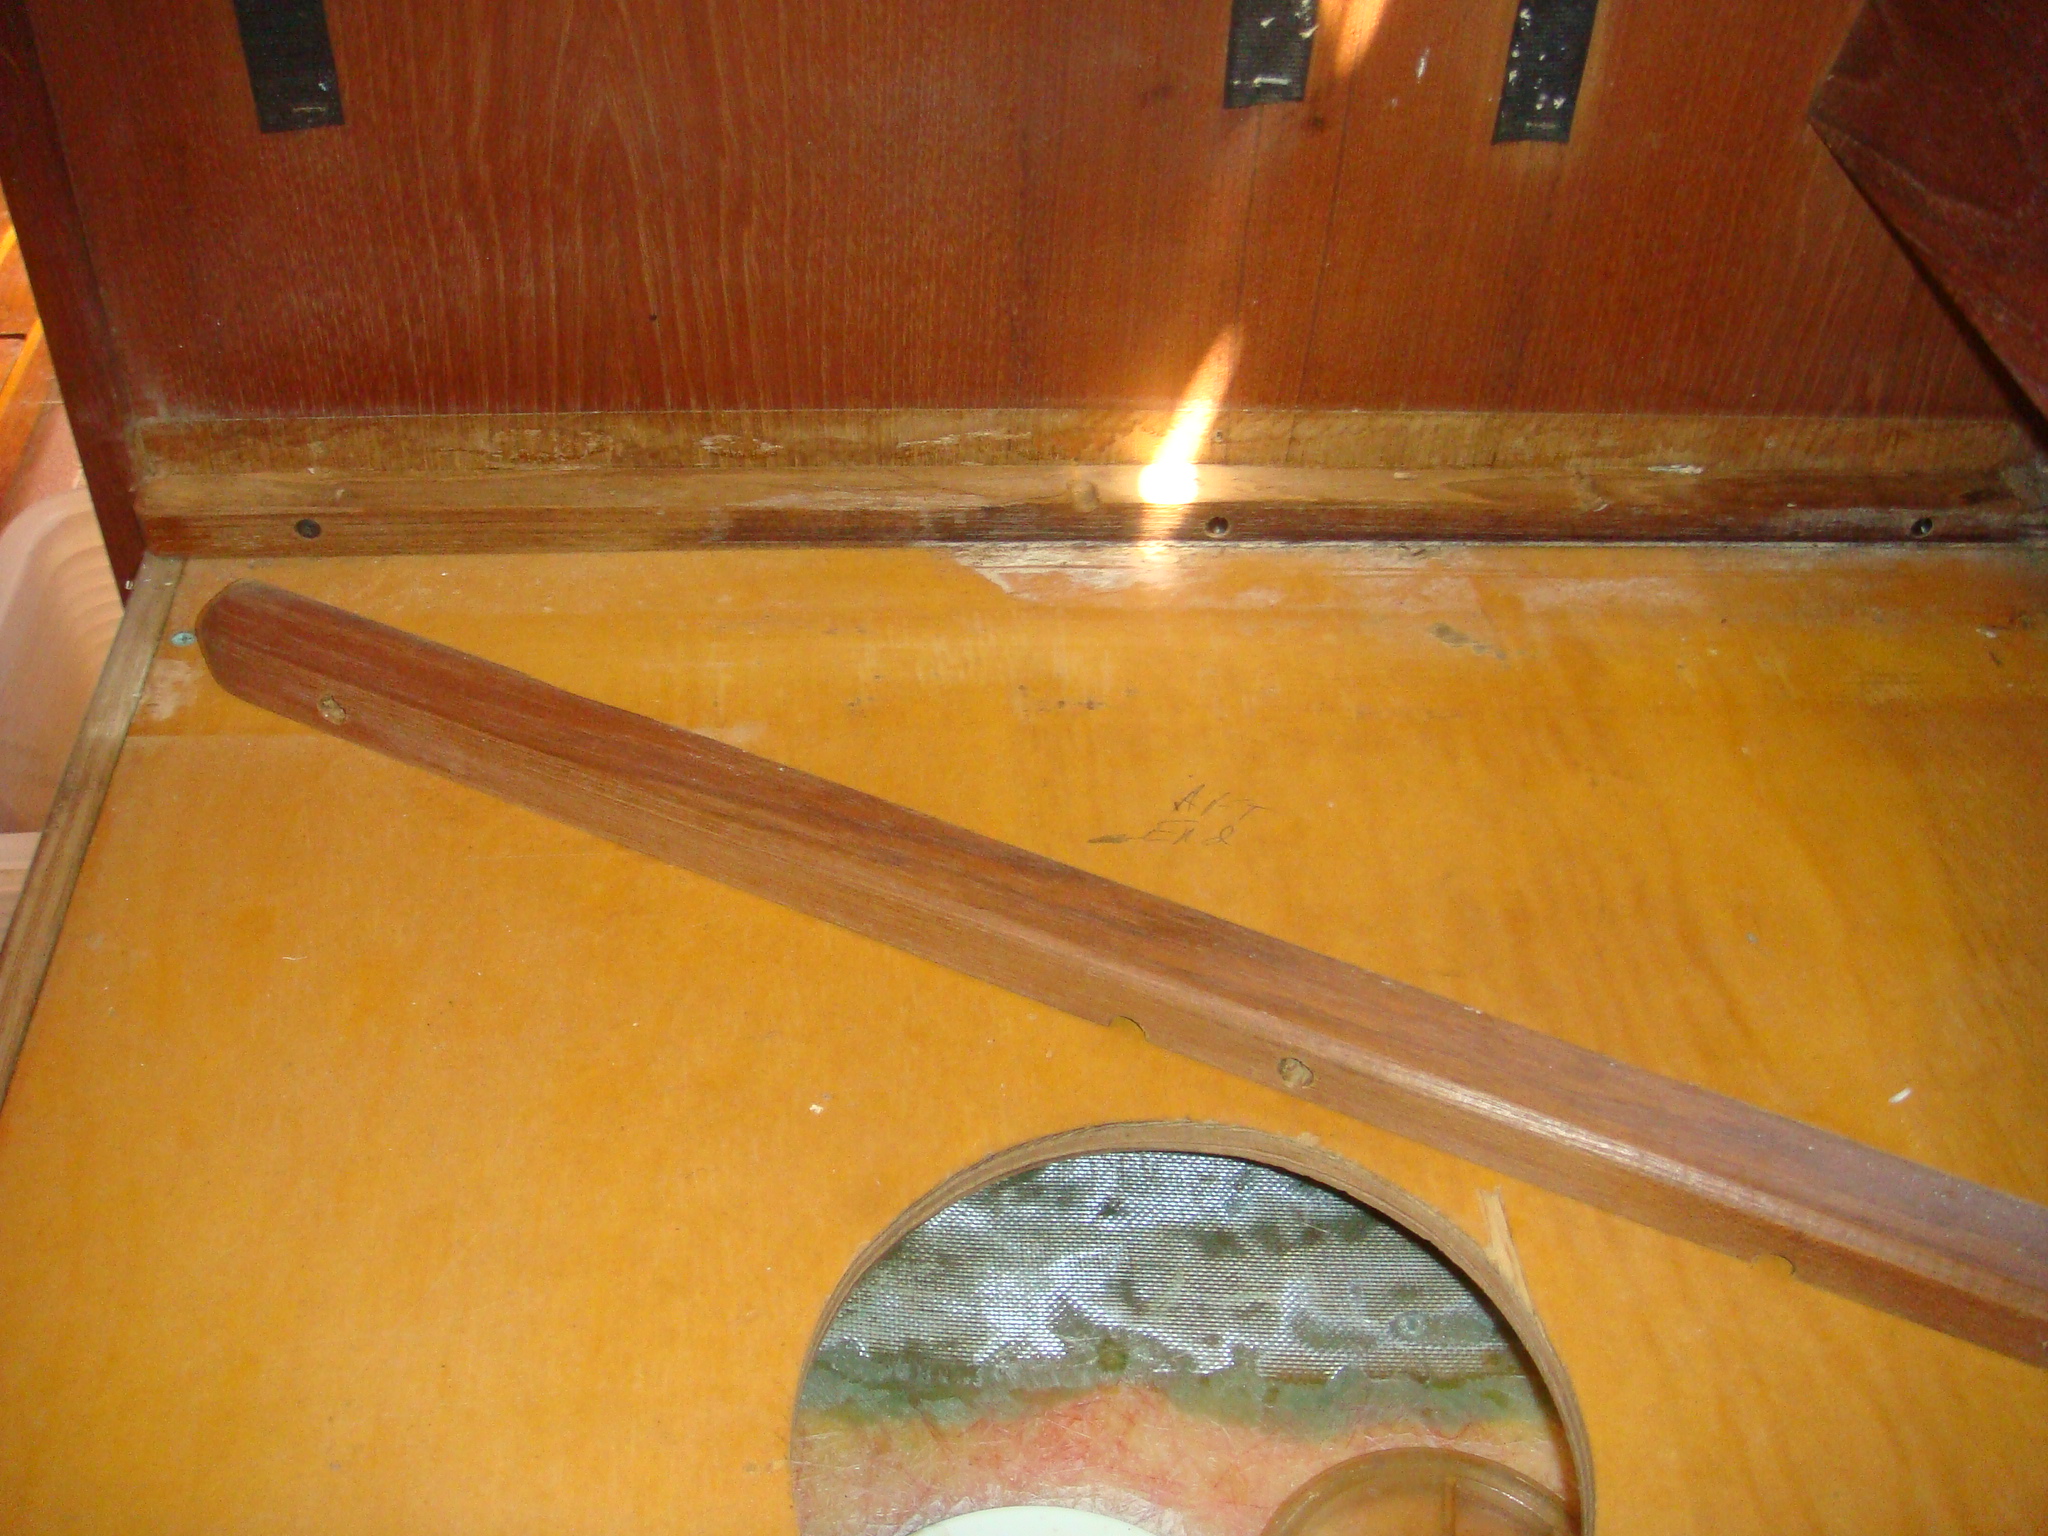 Retaining Guide for the Bunk Board Removed |
So the first step in finding the leak is to gain access to
the other sections of the tank. To do this I first had to
remove the bunk board. The board will almost slide out,
but the mast stops it a few inches short of being free of the
retaining guides at each end of the settee. On the left I have removed the top of the retaining guide at the aft end of the settee and could then pick up the bunk board and remove it. The only difficulty with removing the guide was to remove the screw plugs with an ice pick. |
|
Things would be a lot easier if I could remove the plywood
cover over the tank, but it is tabbed into the hull.
Removing this piece of plywood would require a lot more
destruction that I am willing to perform at this point. So I'll have to cut some large holes in this cover to gain access to the top of the tank, then cut holes into the tank to find and fix the leak. |
 Tank Cover Tabbed Into the Hull |
 Inboard Bulkhead on the Settee |
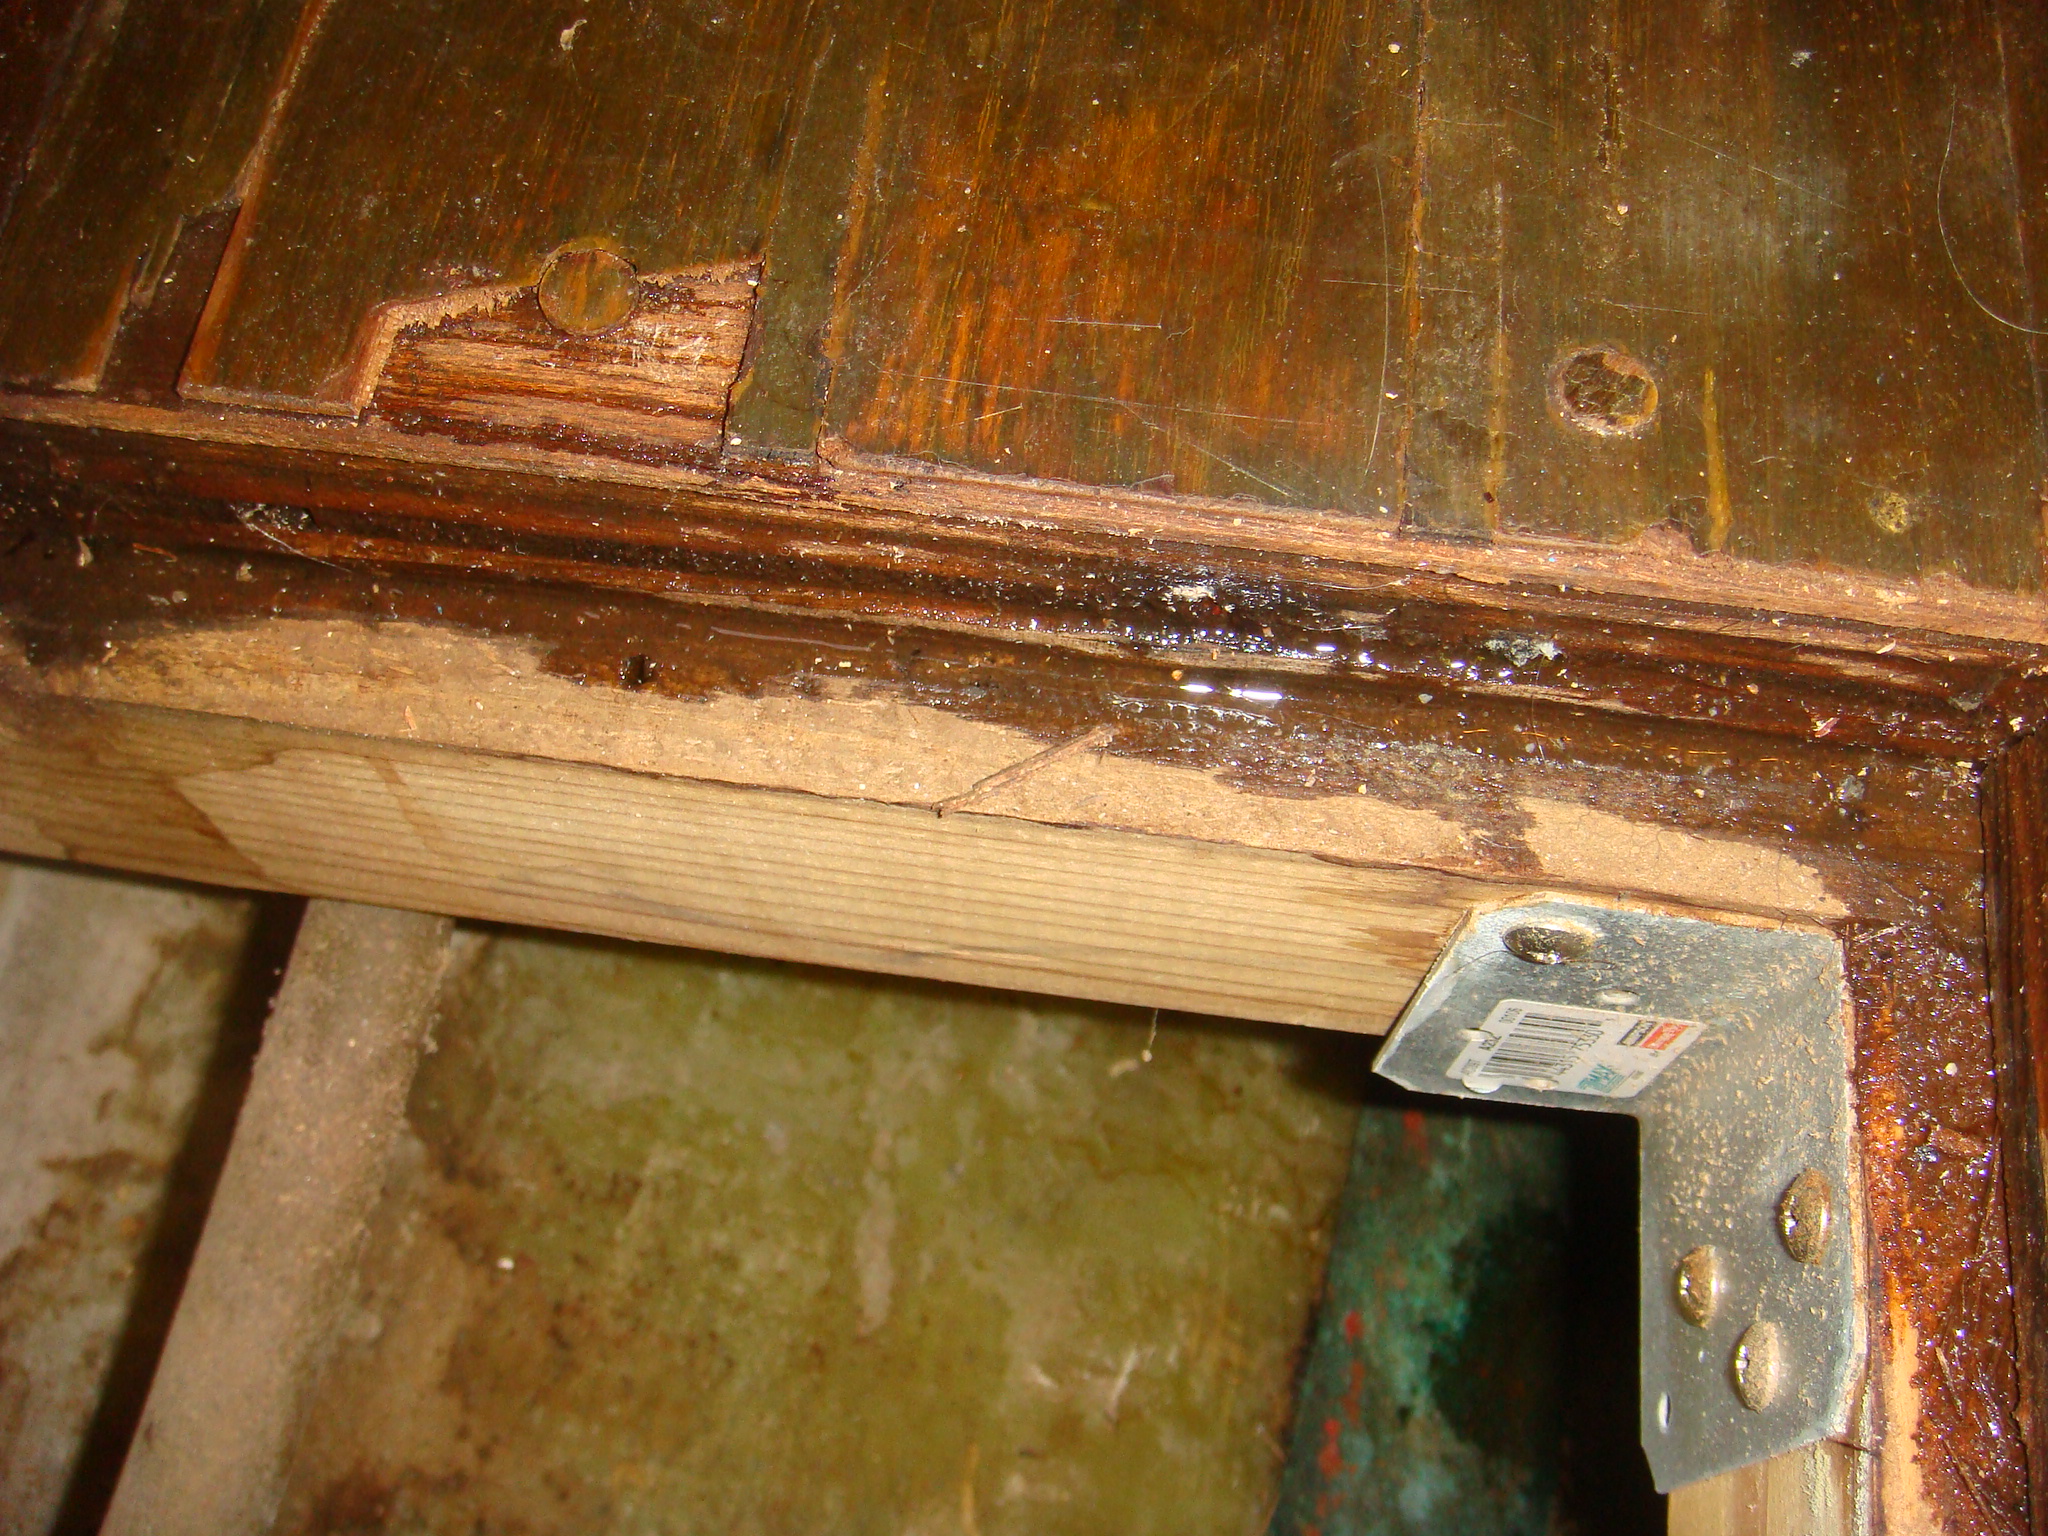
I did attempt to remove the bulkhead
inboard of the tank by removing the screws from the tank cover
into cleat stock on the inside of the bulkhead. Then I
removed the small moulding at the forward end of the settee.
This removed all visible fasteners, but the bulkhead would not
move. It's either tabbed into the forward and aft bulkhead
or secured with screws inside the tank compartment. If I need to get access to the inboard outside of the tank I will have to cut an access hole in this bulkhead. |
| In the process of attempting remove this bulkhead I peeled back the plastic coating. I don't know what this coating is made of, but it looks like it was put over the standard mustard-colored formica covered plywood used throughout the early P424s. | |
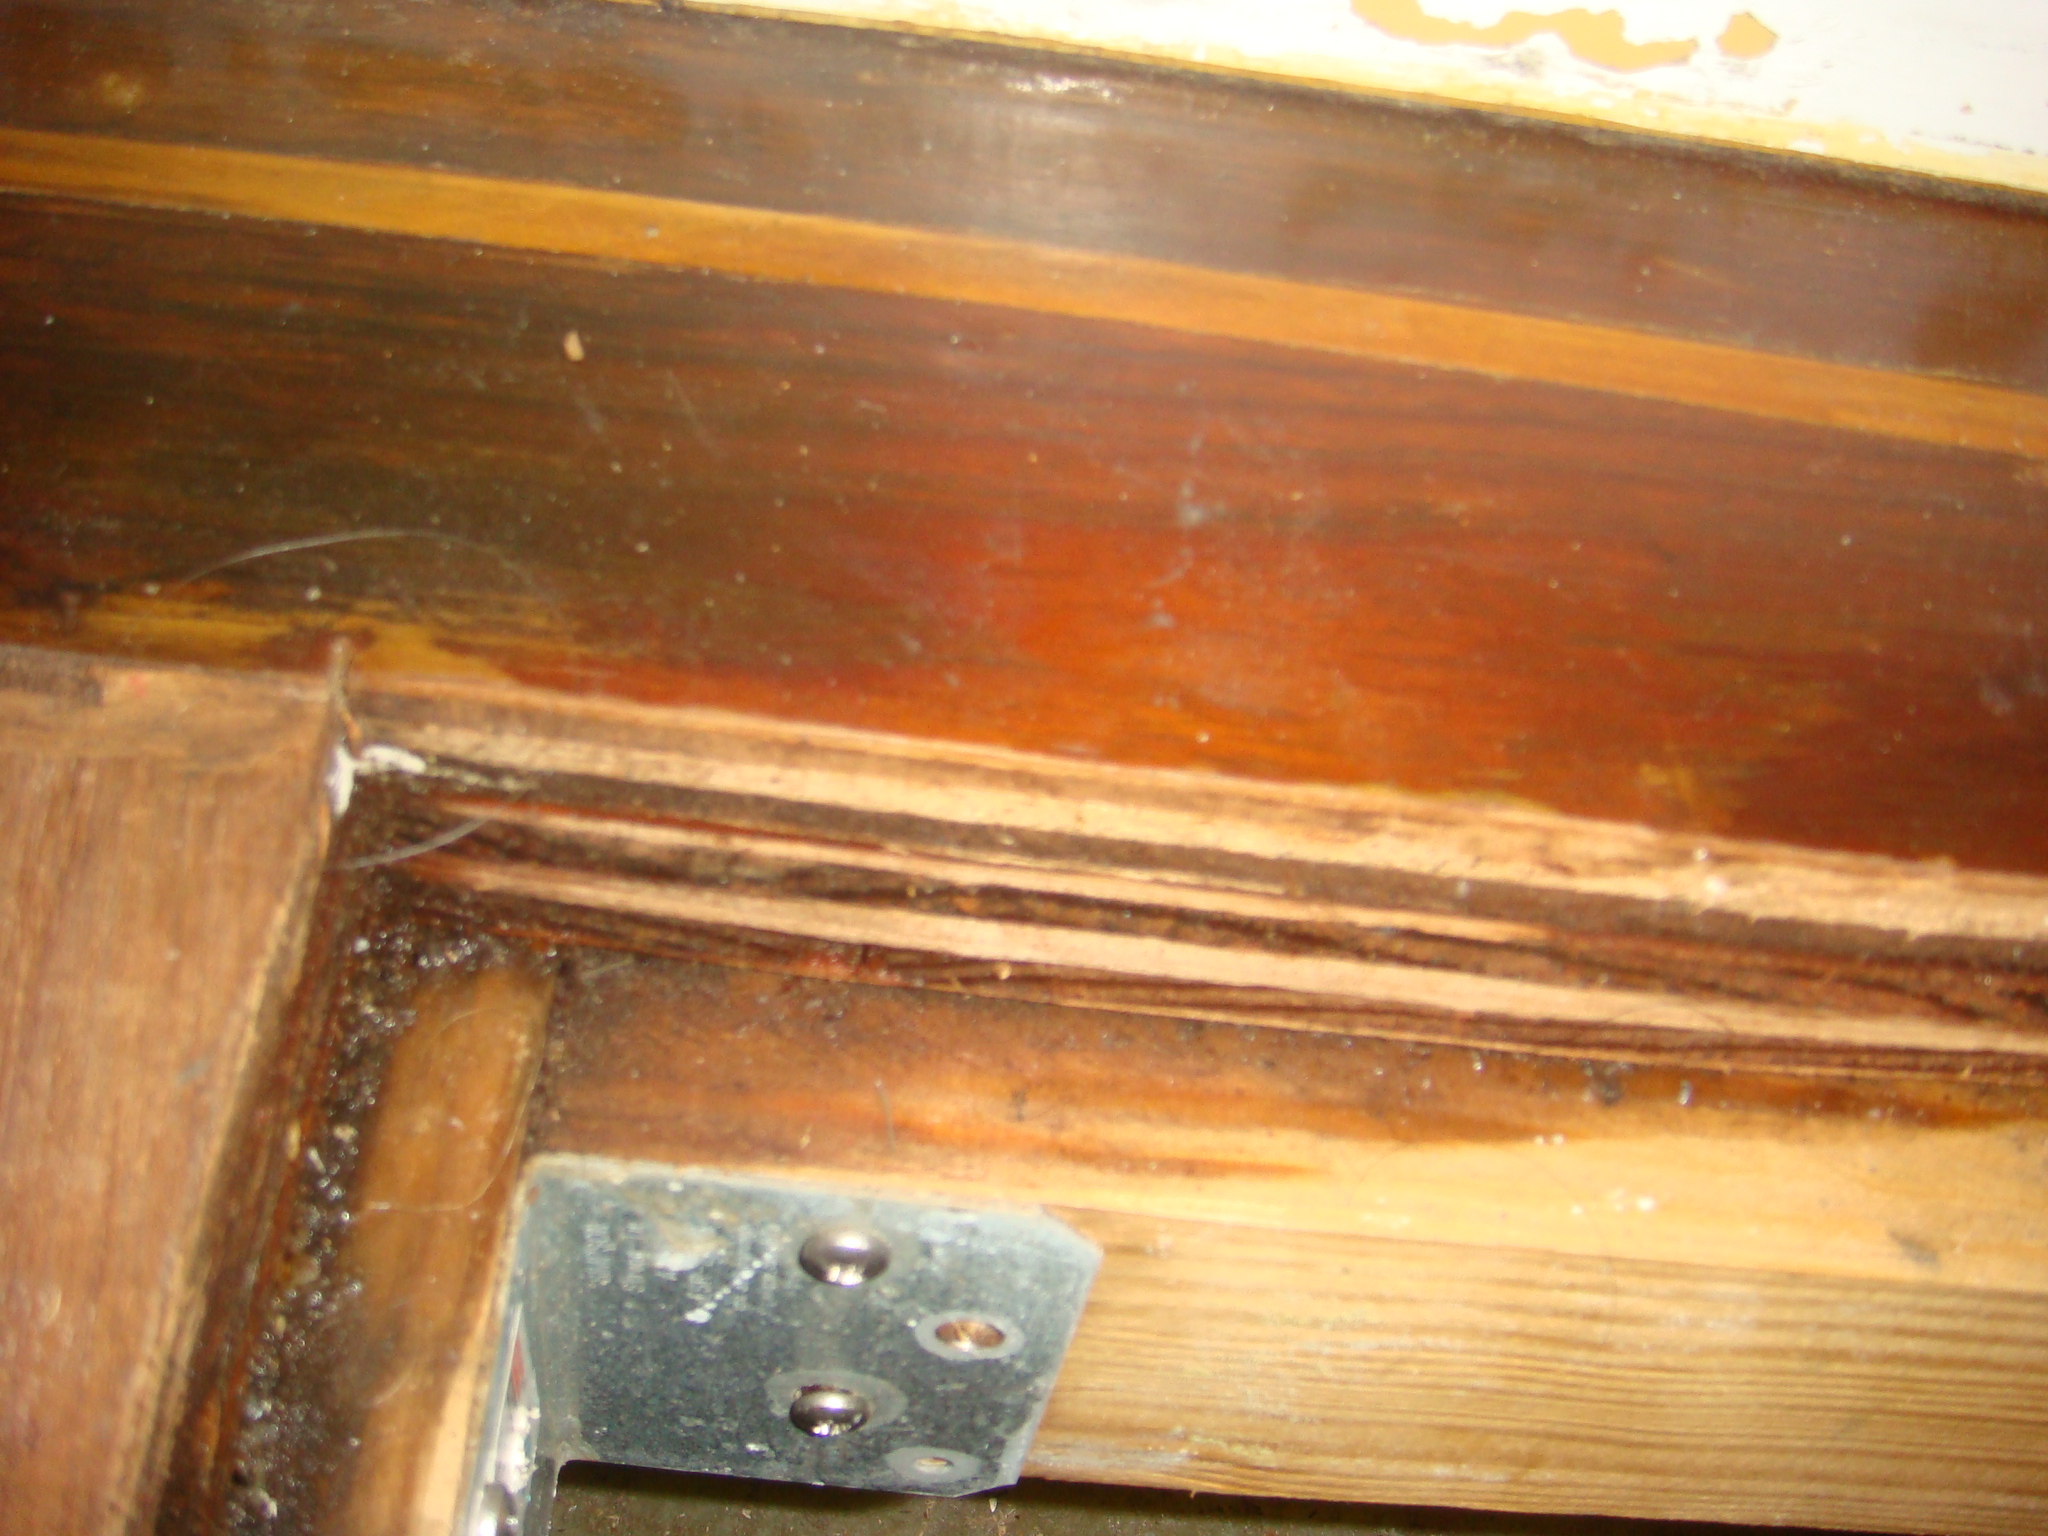
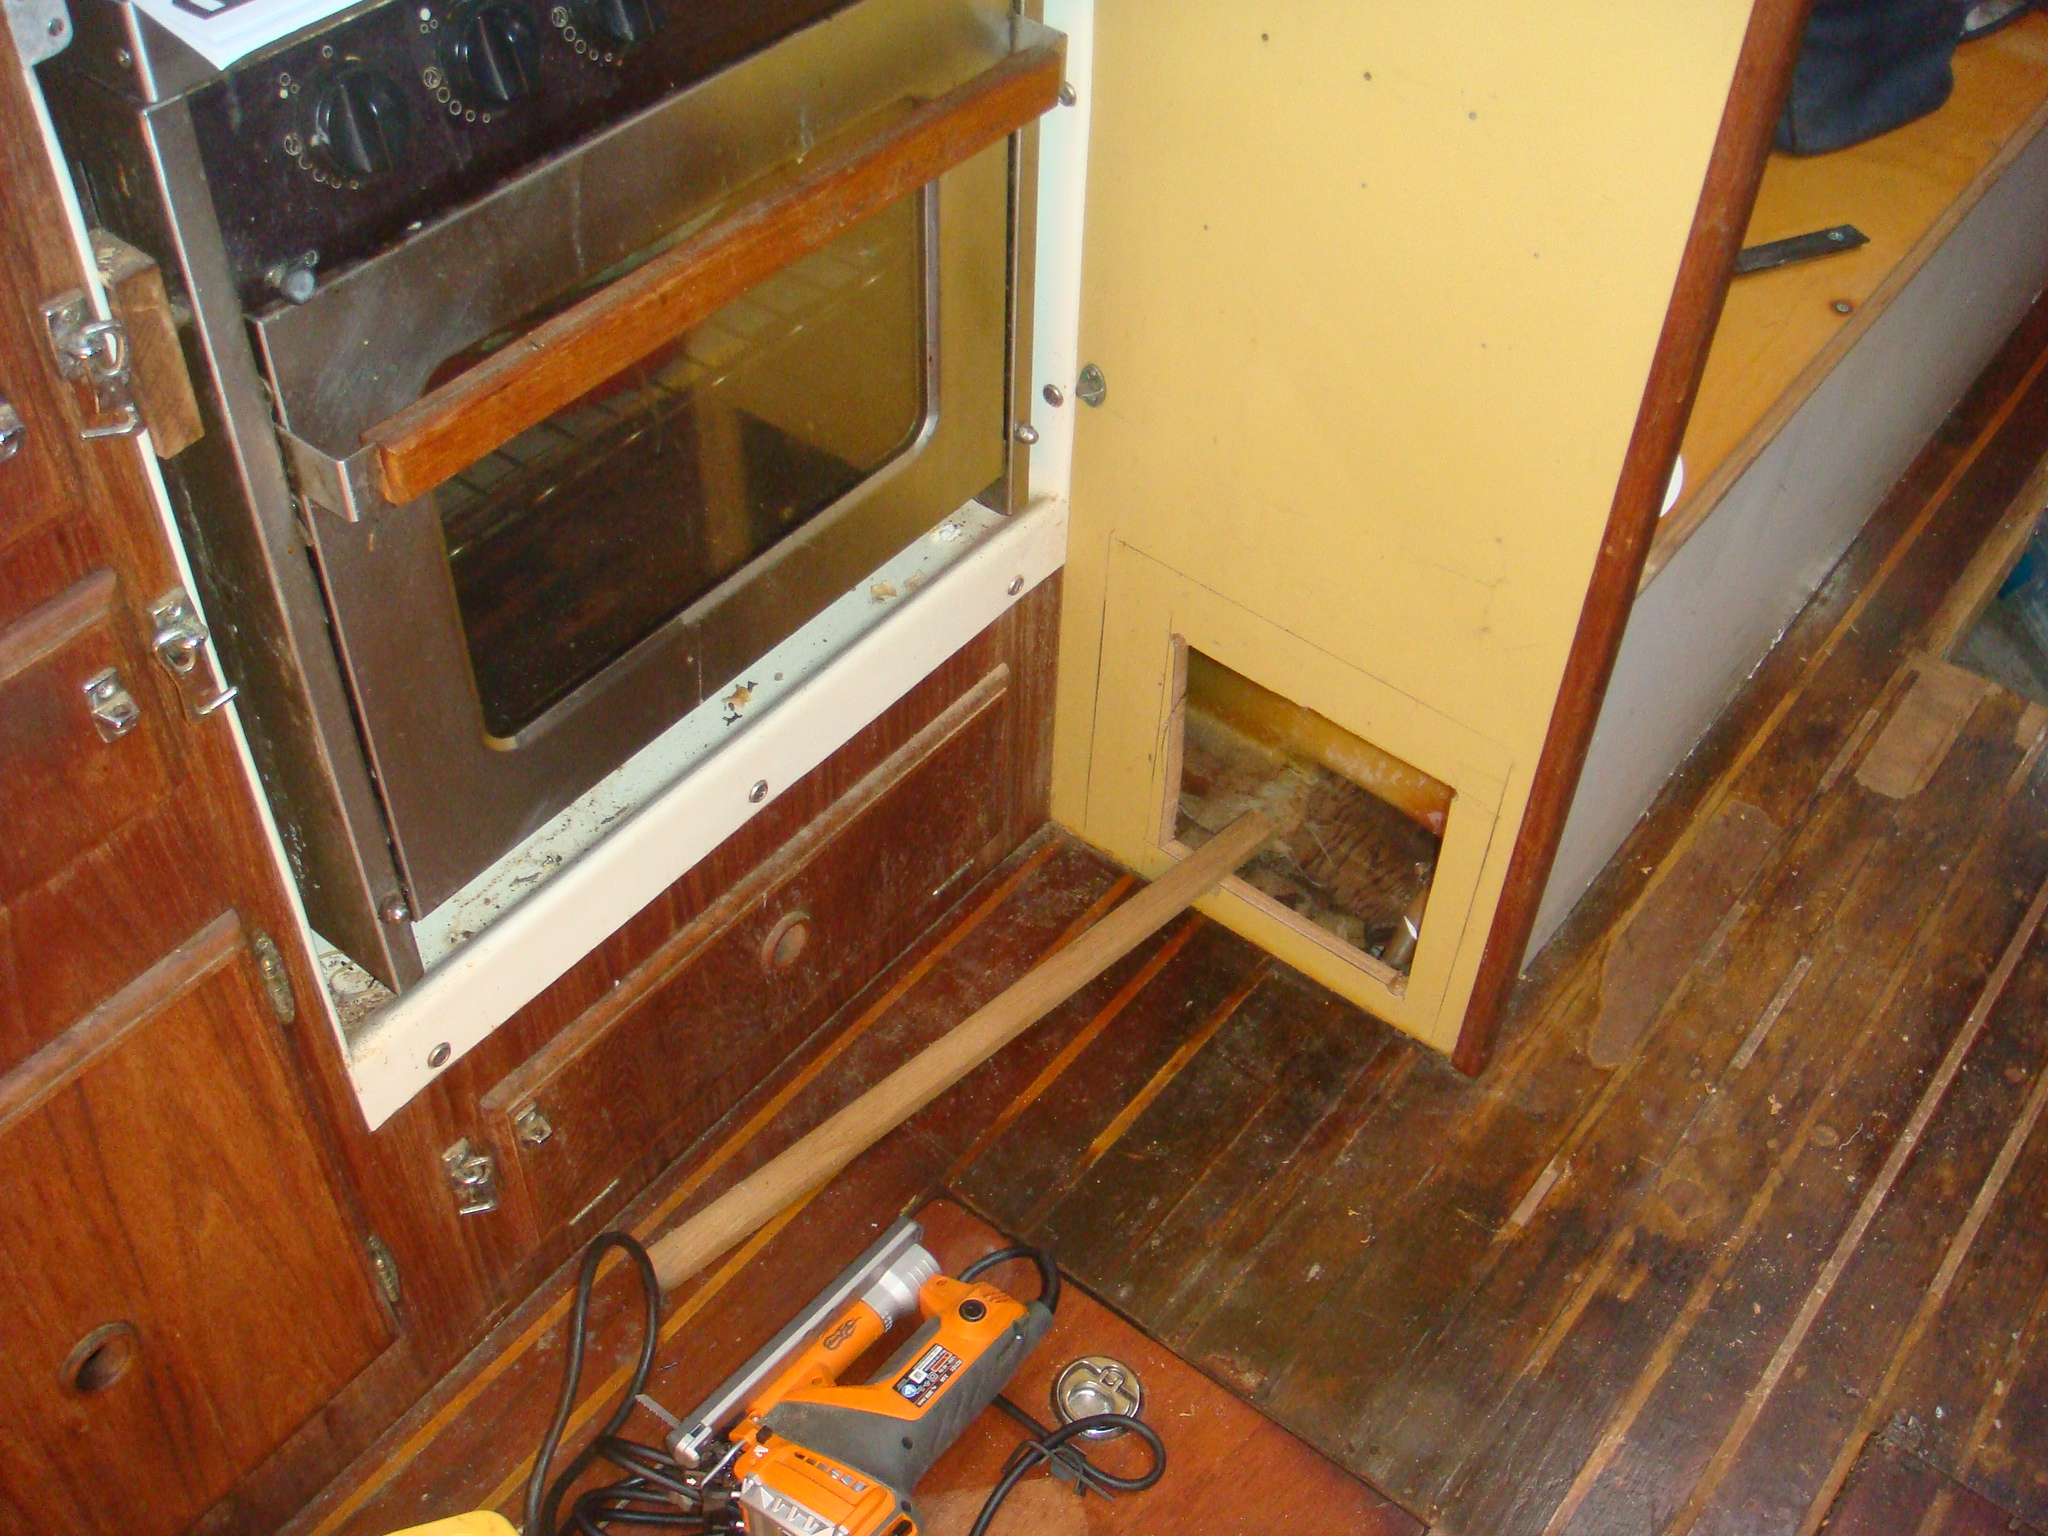 Hole Cut in Bulkhead Aft of the Tank |
Before I started cutting more holes in the tank to find the
leak, I decided to gain more access to the outside of the tank.
The first access was gained by cutting a hole in the bulkhead
aft of the tank. There is a large open area between the
tank and the bulkhead. Many other P424 owners have cut a
similar access hole to gain additional storage space. I will cover this hole with a piece of HDPE. |
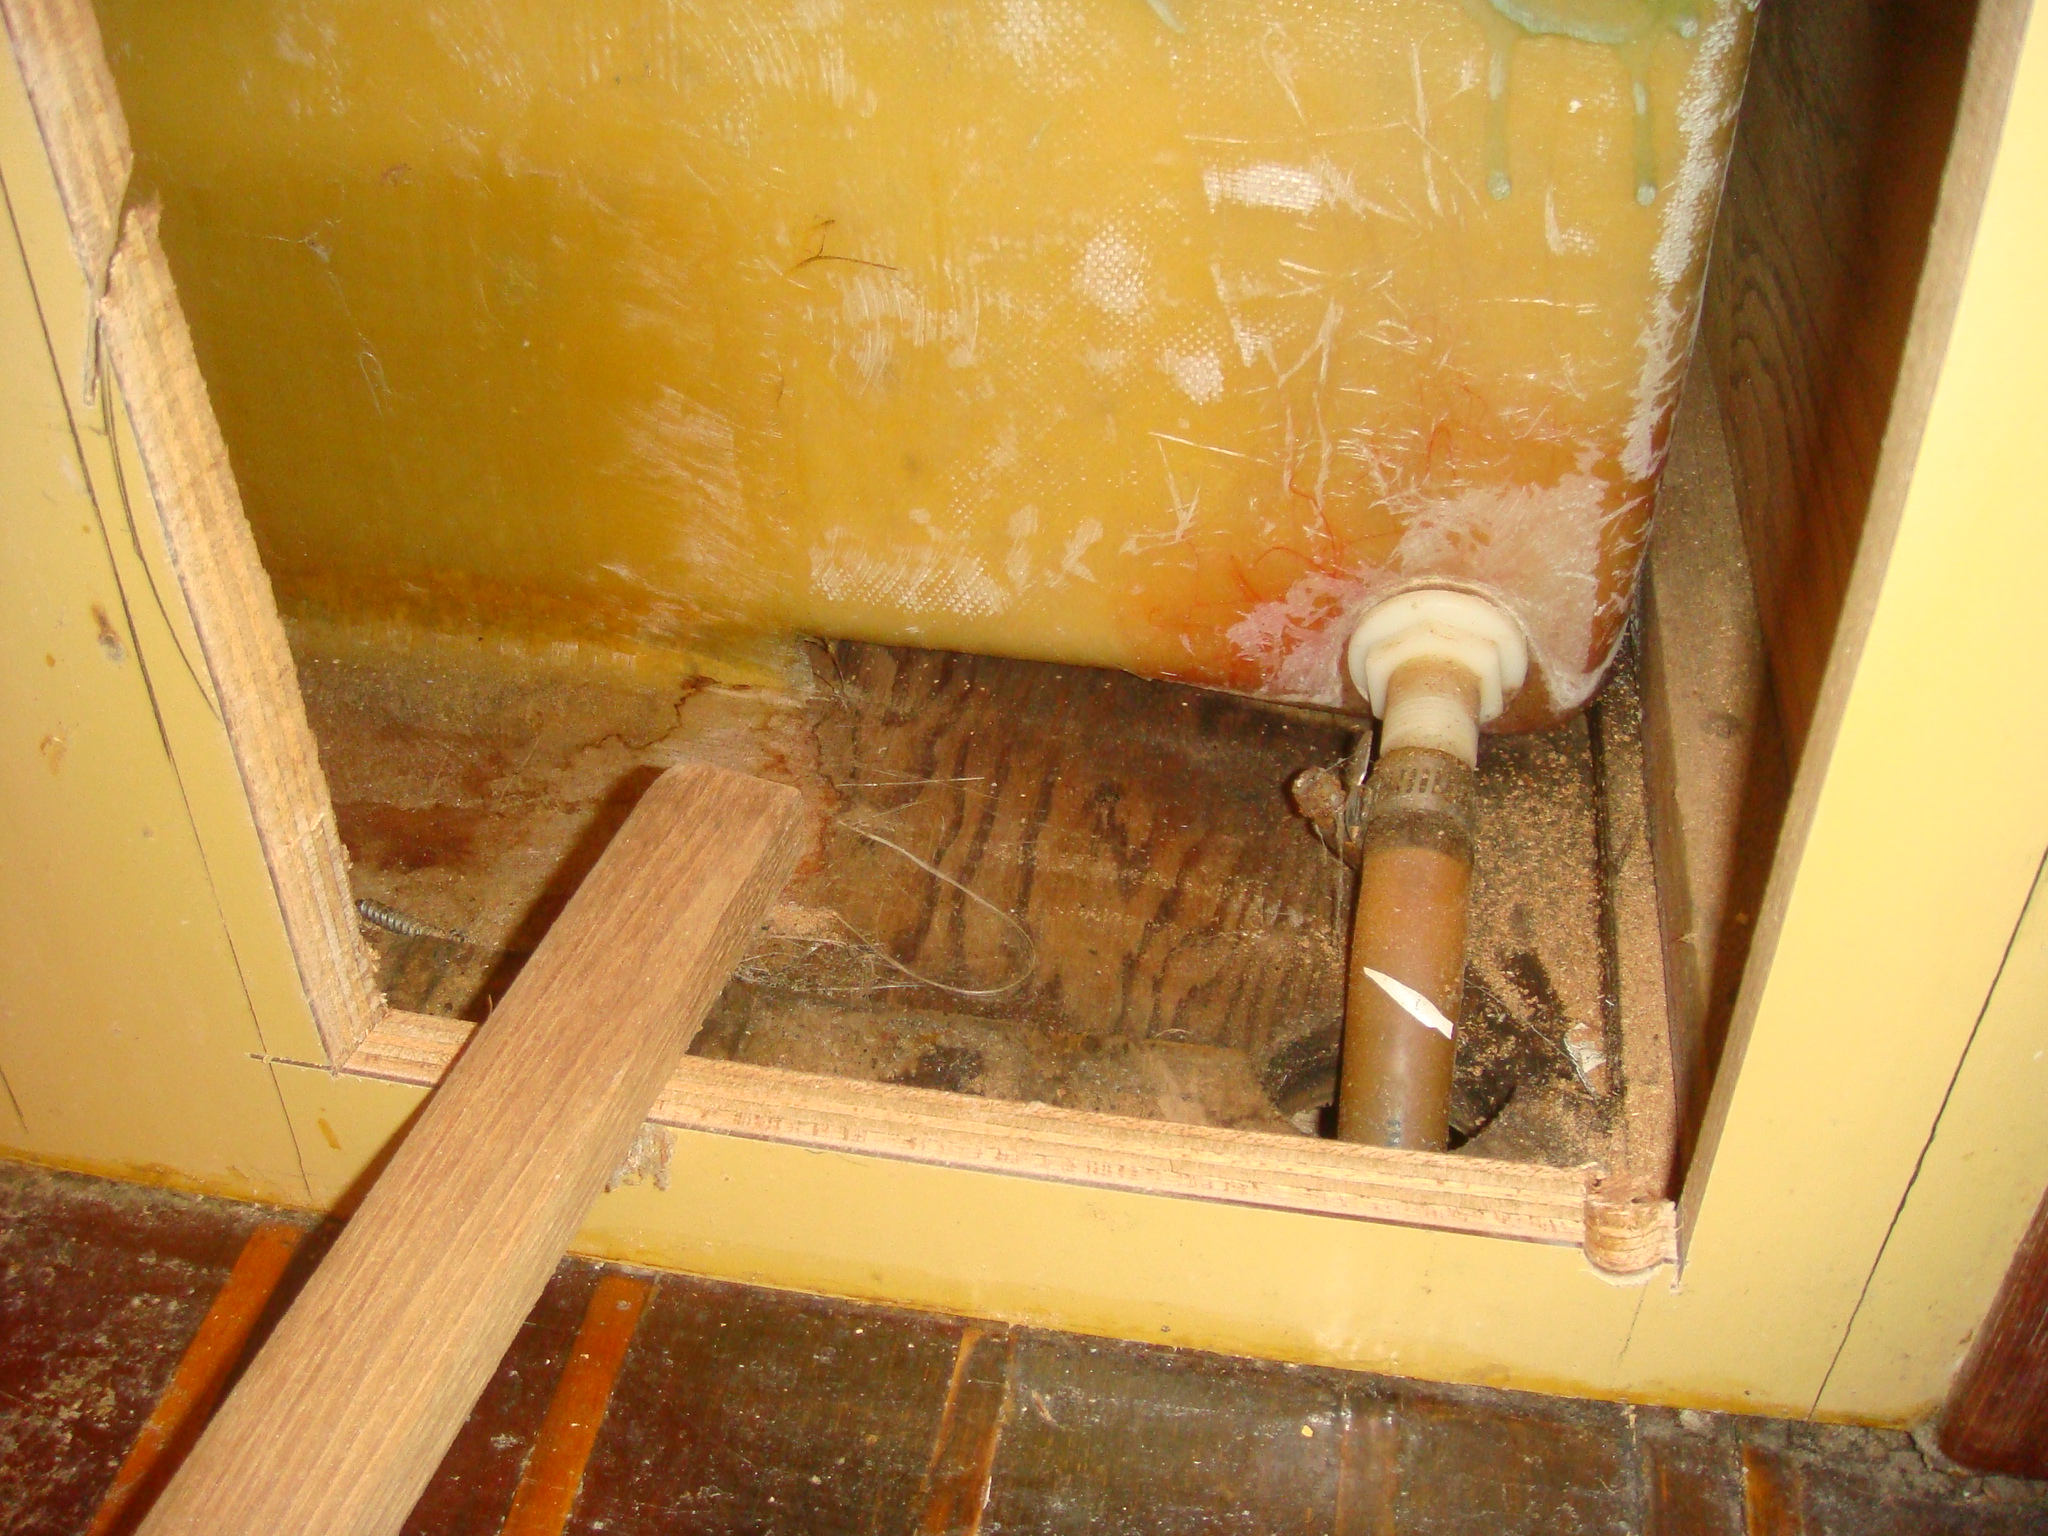
| In the picture on the right the hose
barb from the tank is visible. Pearson should have
provided this access for no other reason than to get at this
hose connection. This picture also confirms that the tank rests on the subfloor, which explains how the water has gotten into the cabin sole. Water on the subfloor can seep directly into the core of the Teak veneer plywood. |
 Space Between the Tank and the Aft Bulkhead |
 Space Between the Tank and the Inboard Settee Bulkhead |
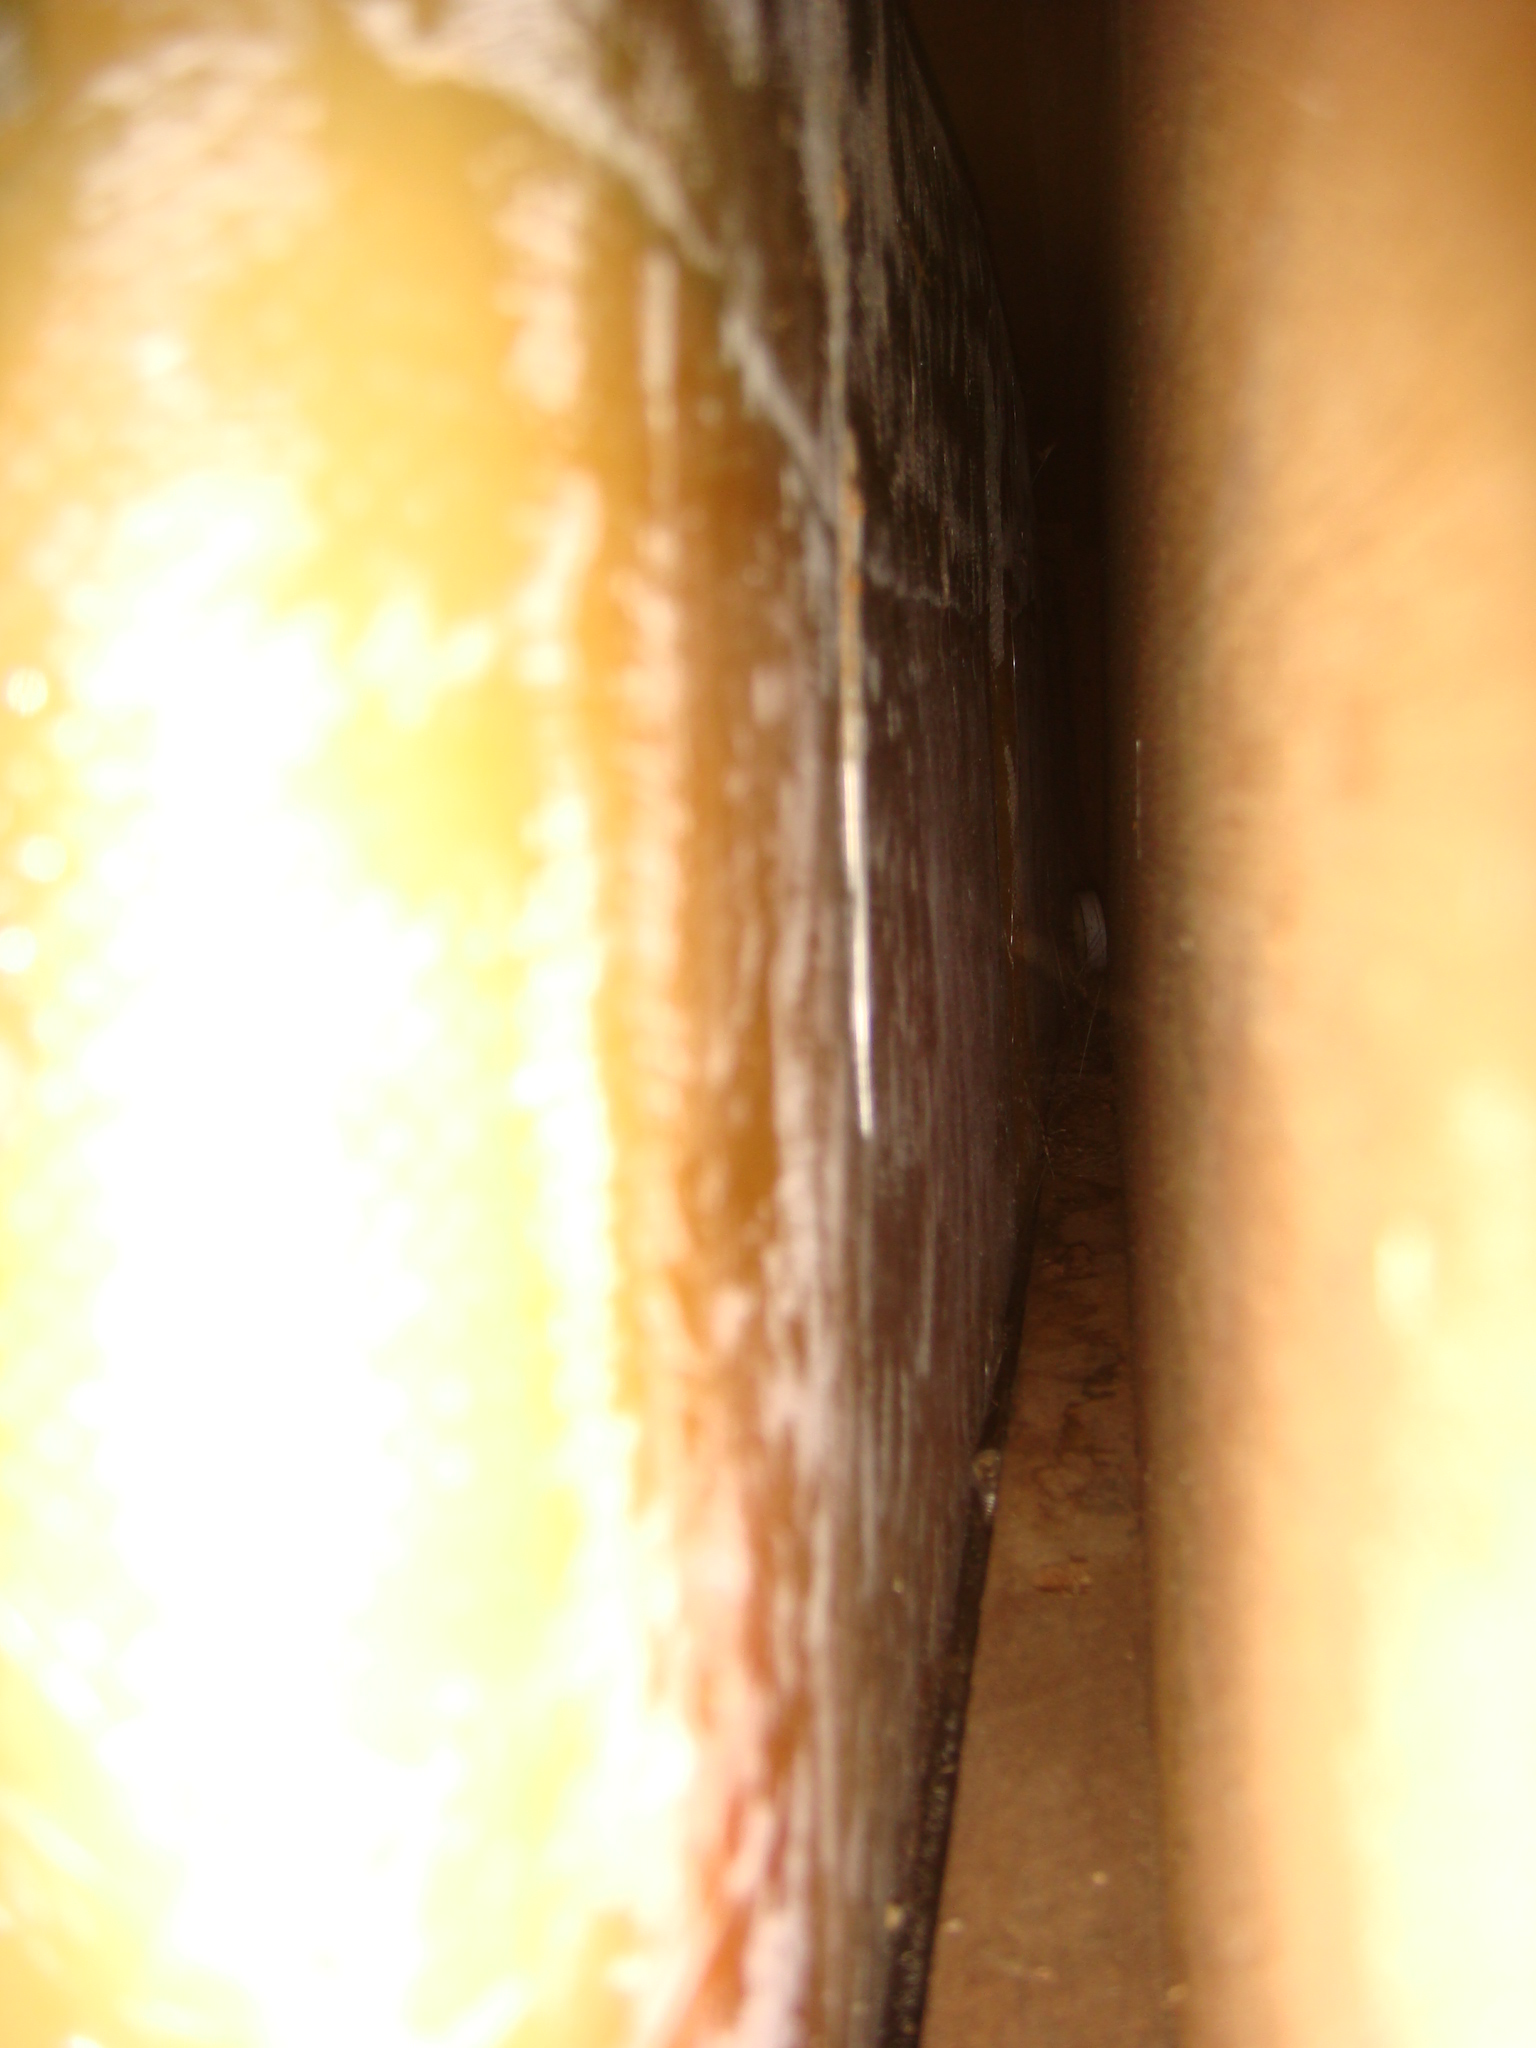
On the left is picture of the space
between the tank and the inboard settee bulkhead. No leak
is apparent here. With the additional access to the outside of the tank I now have a chance to locate the leak without cutting several holes in the top of the tank. |
| One Leak is Found | |
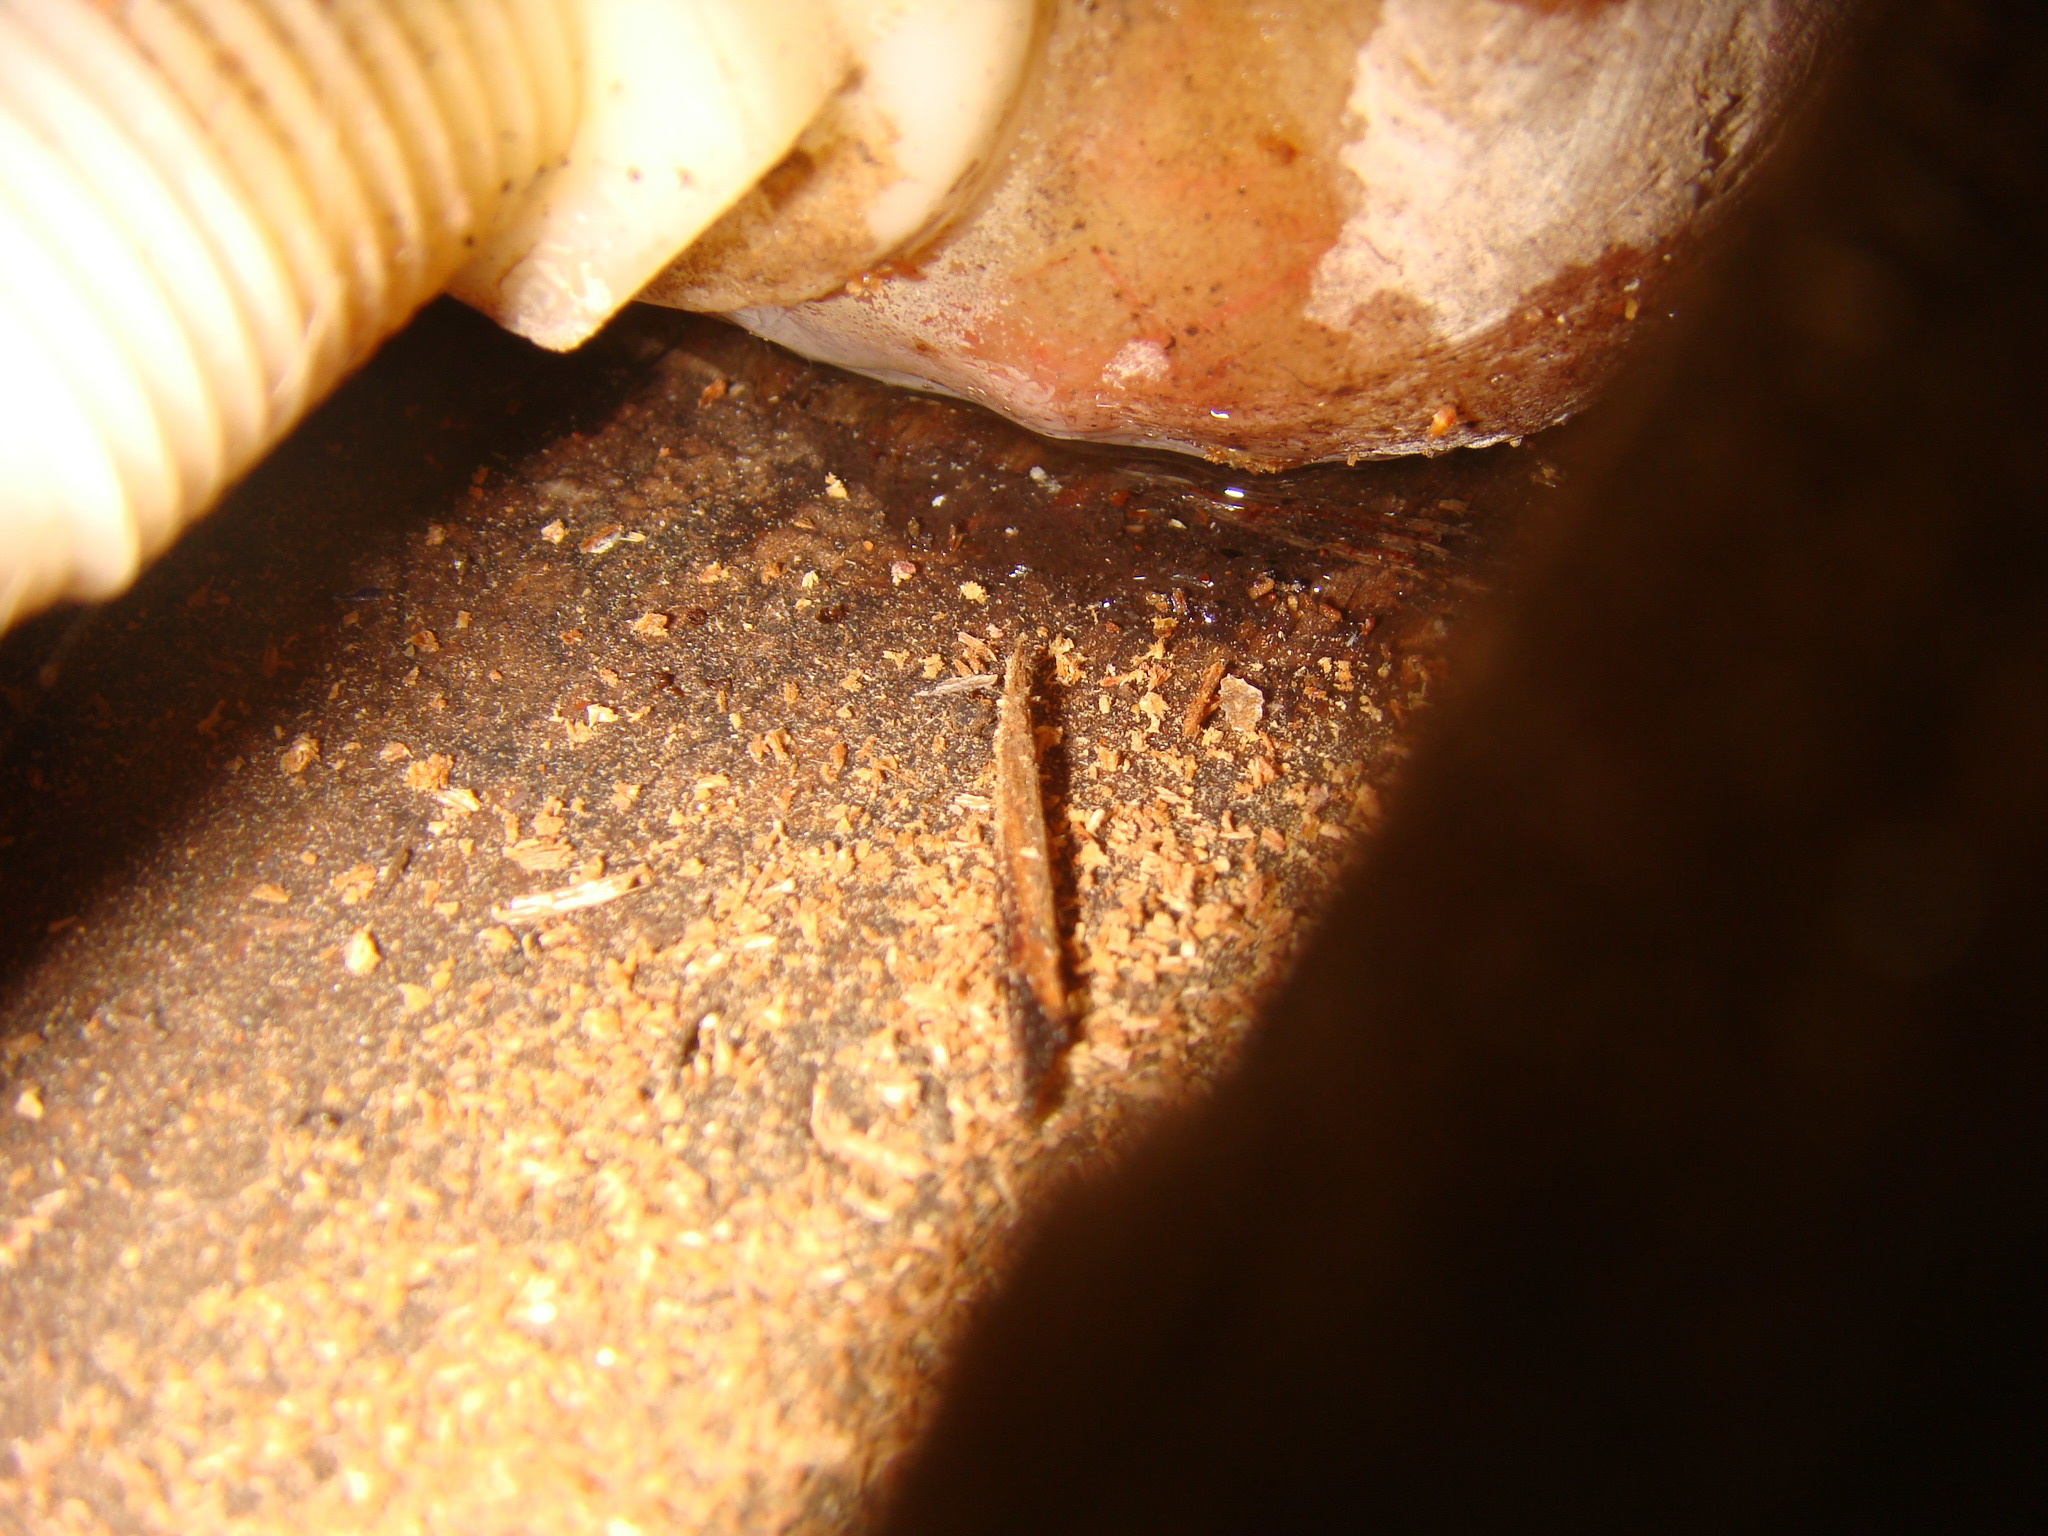
| The next day I partially filled the tank
and observed water forming under the tank near the hose fitting
almost immediately. Within a few moments water started to
ooze out of the cabin sole in the cutouts for the galley and
port sette hatches. Looking under the cabin sole I could see water dripping from the delivery hose. I decided to remove the delivery hose before going further, but when I put a nut driver on the hose clamp the hose barb came loose from the tank. |
 Water Under the Aft Inboard Corner of the Tank |
 Water in the Galley Hatch Cutout |
 Water in the Port Settee Hatch Cutout |
 Water Dripping From the Delivery Hose |
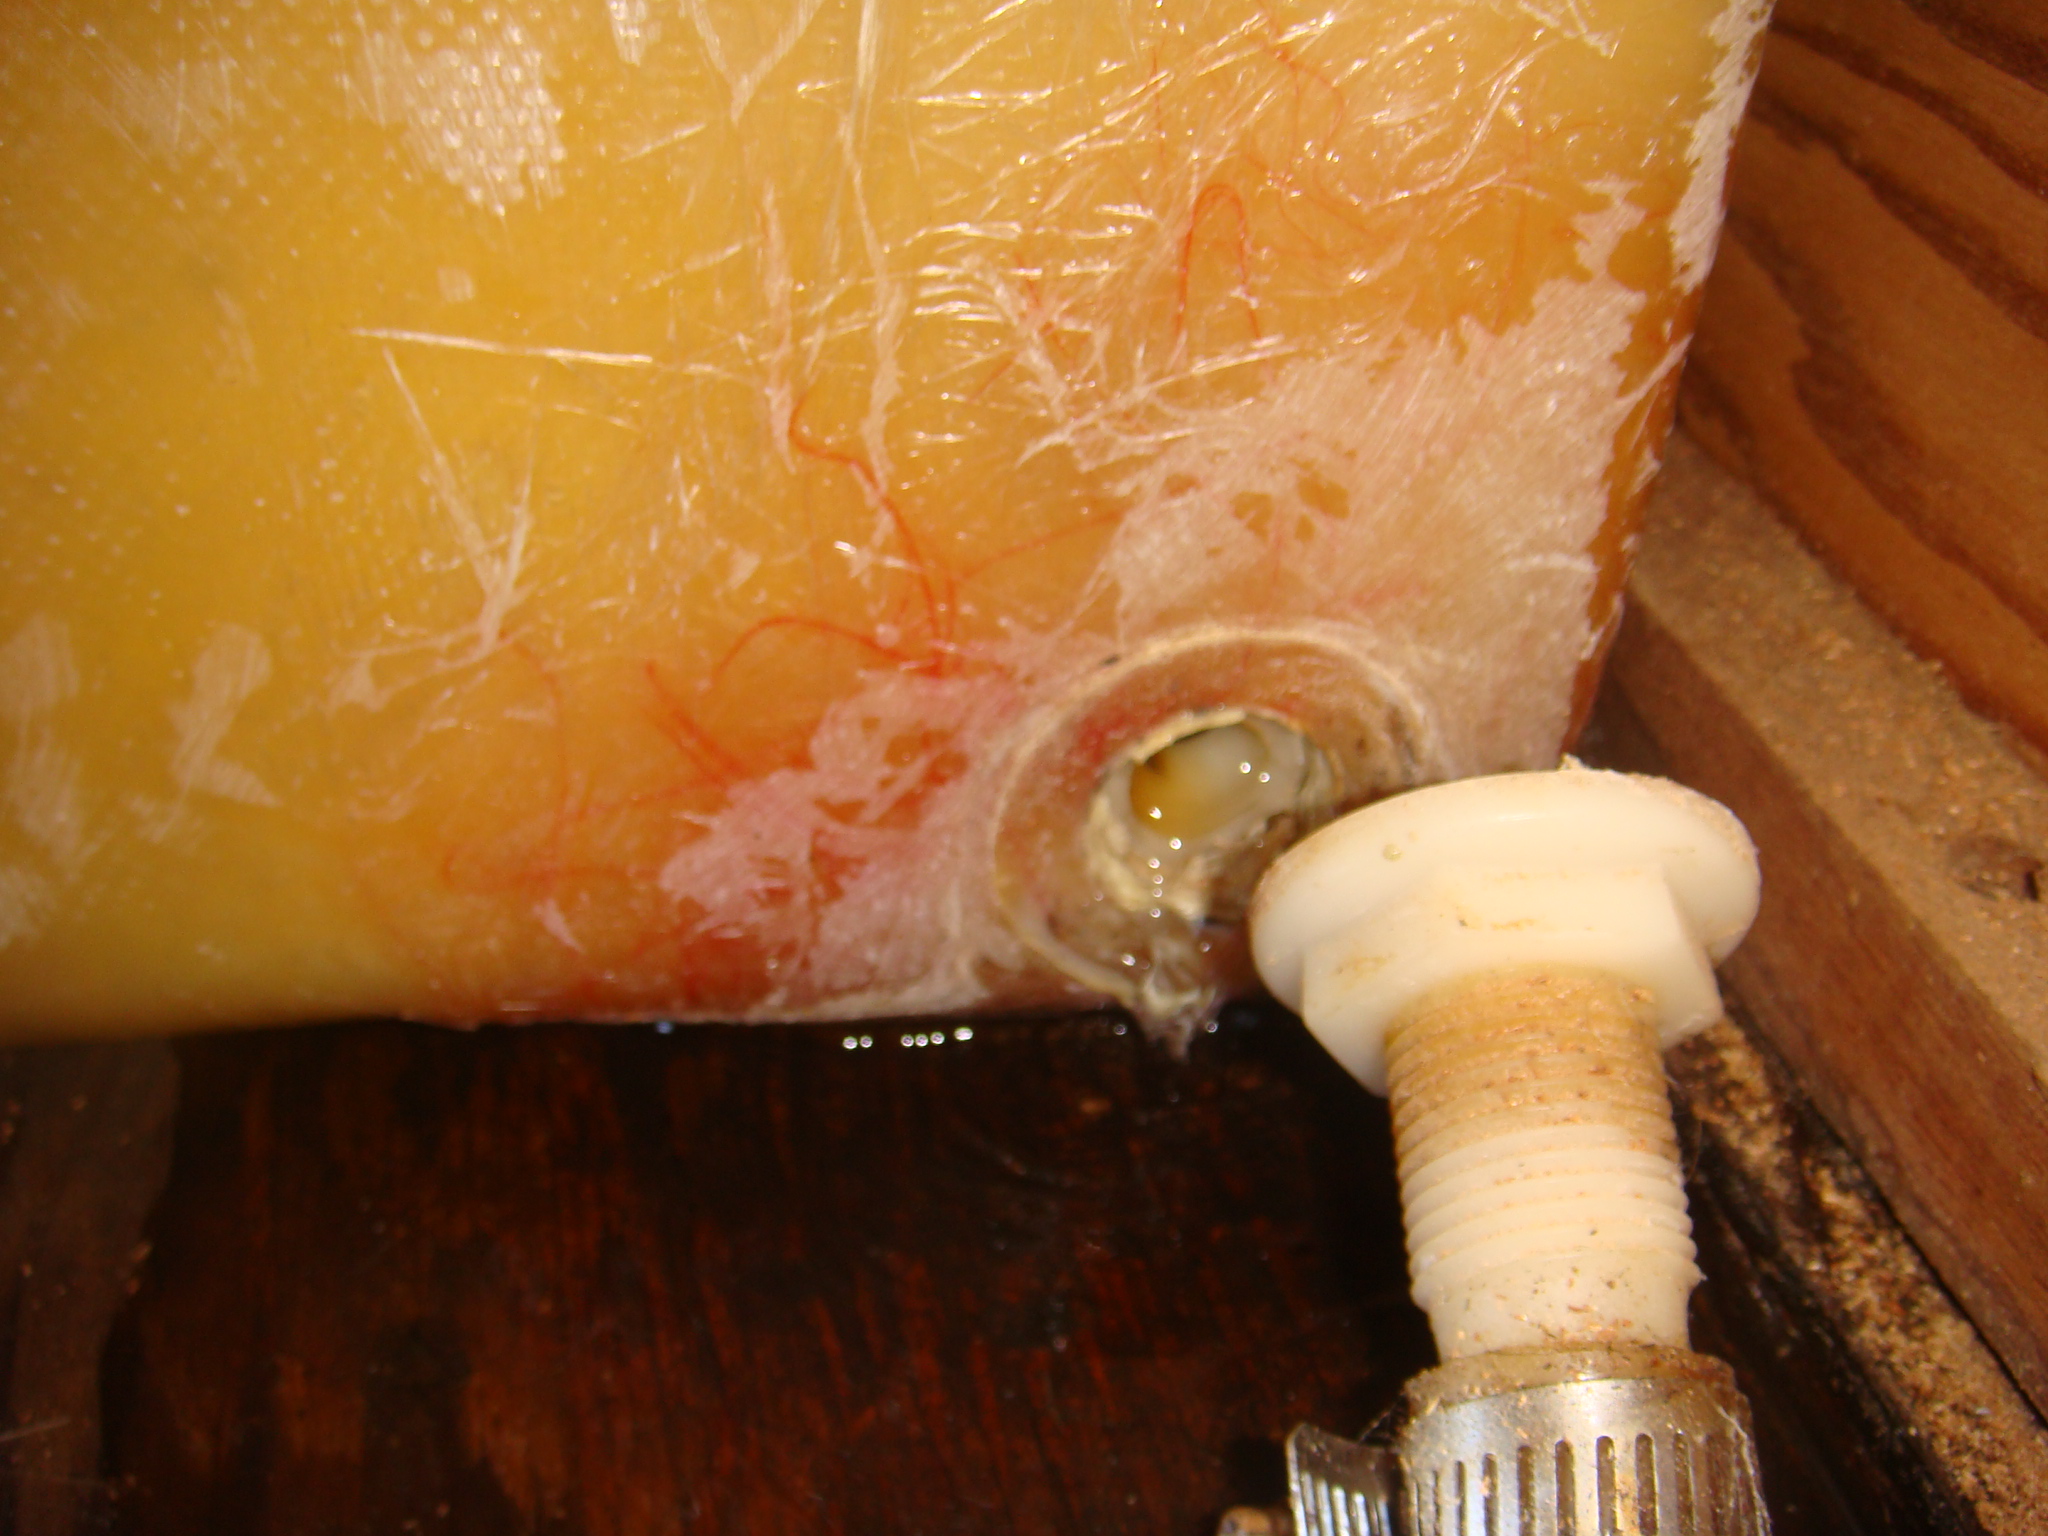 Hose Barb Fitting Broken Off the Tank |
| I have found at least one leak, and it
is probably the easiest possible source to fix. The only
problem would be if Pearson decided to bed the fitting to the
tank with Expoxy or 3M 5200. Thankfully not and I could
reach the inside piece and remove it as shown on the right. There maybe another leak, but I won't be able to determine that until after this leak is fixed. |
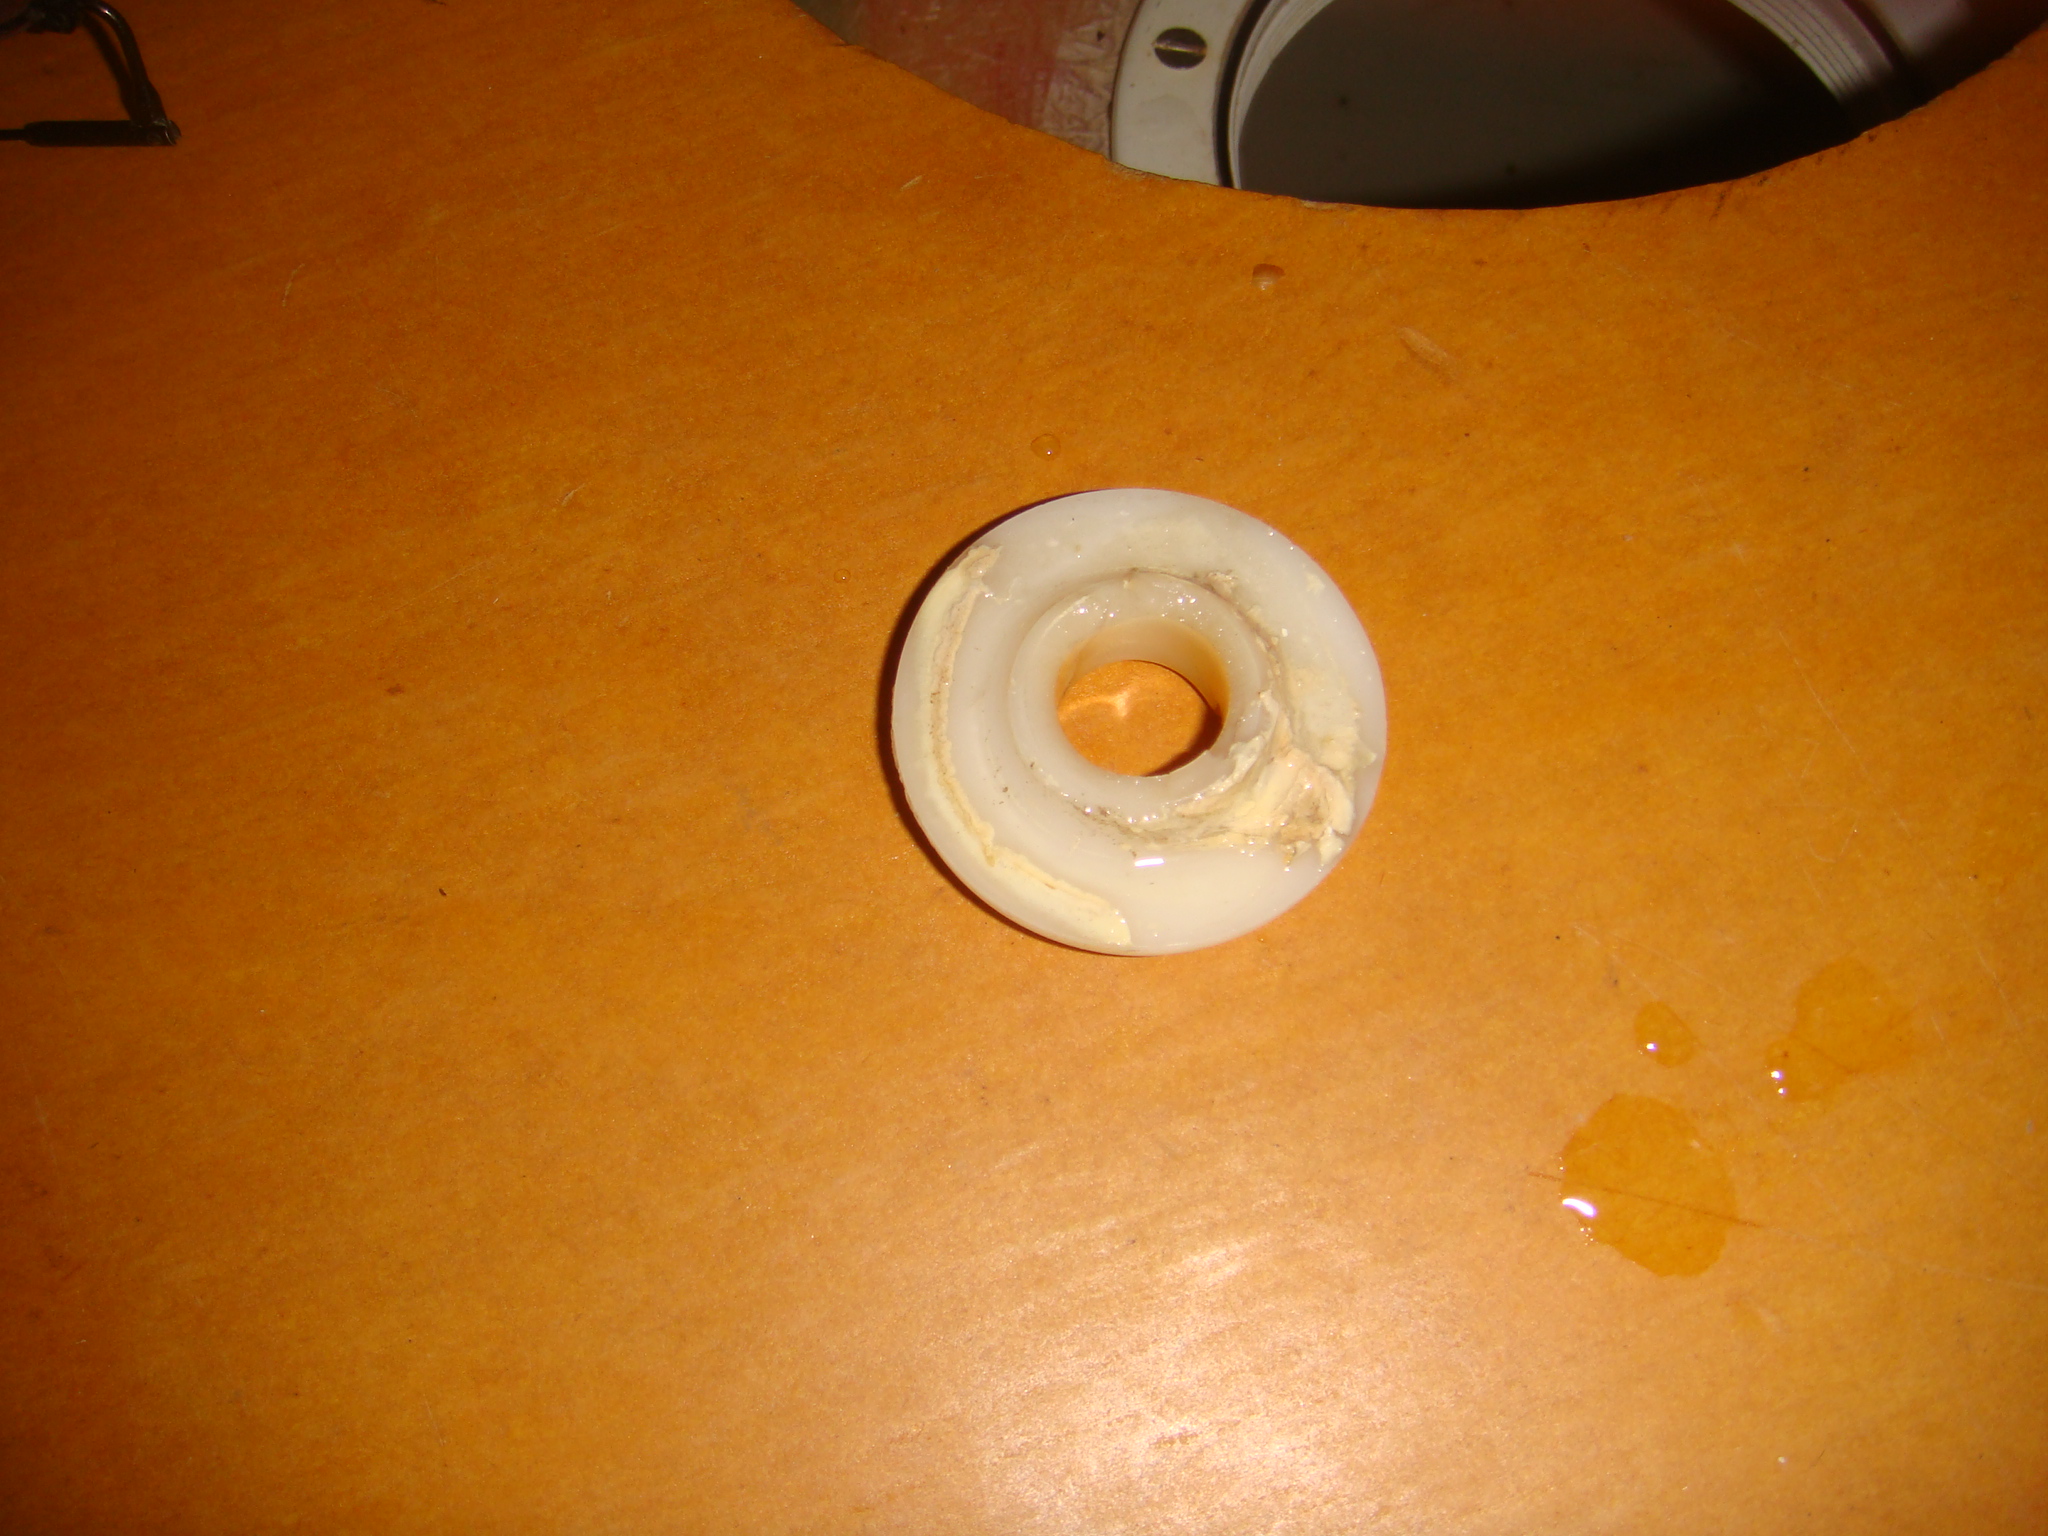 Inside Piece of Hose Barb Fitting |
| Fixing Leak and Testing | |
 New Host Barb Fitting Installed |
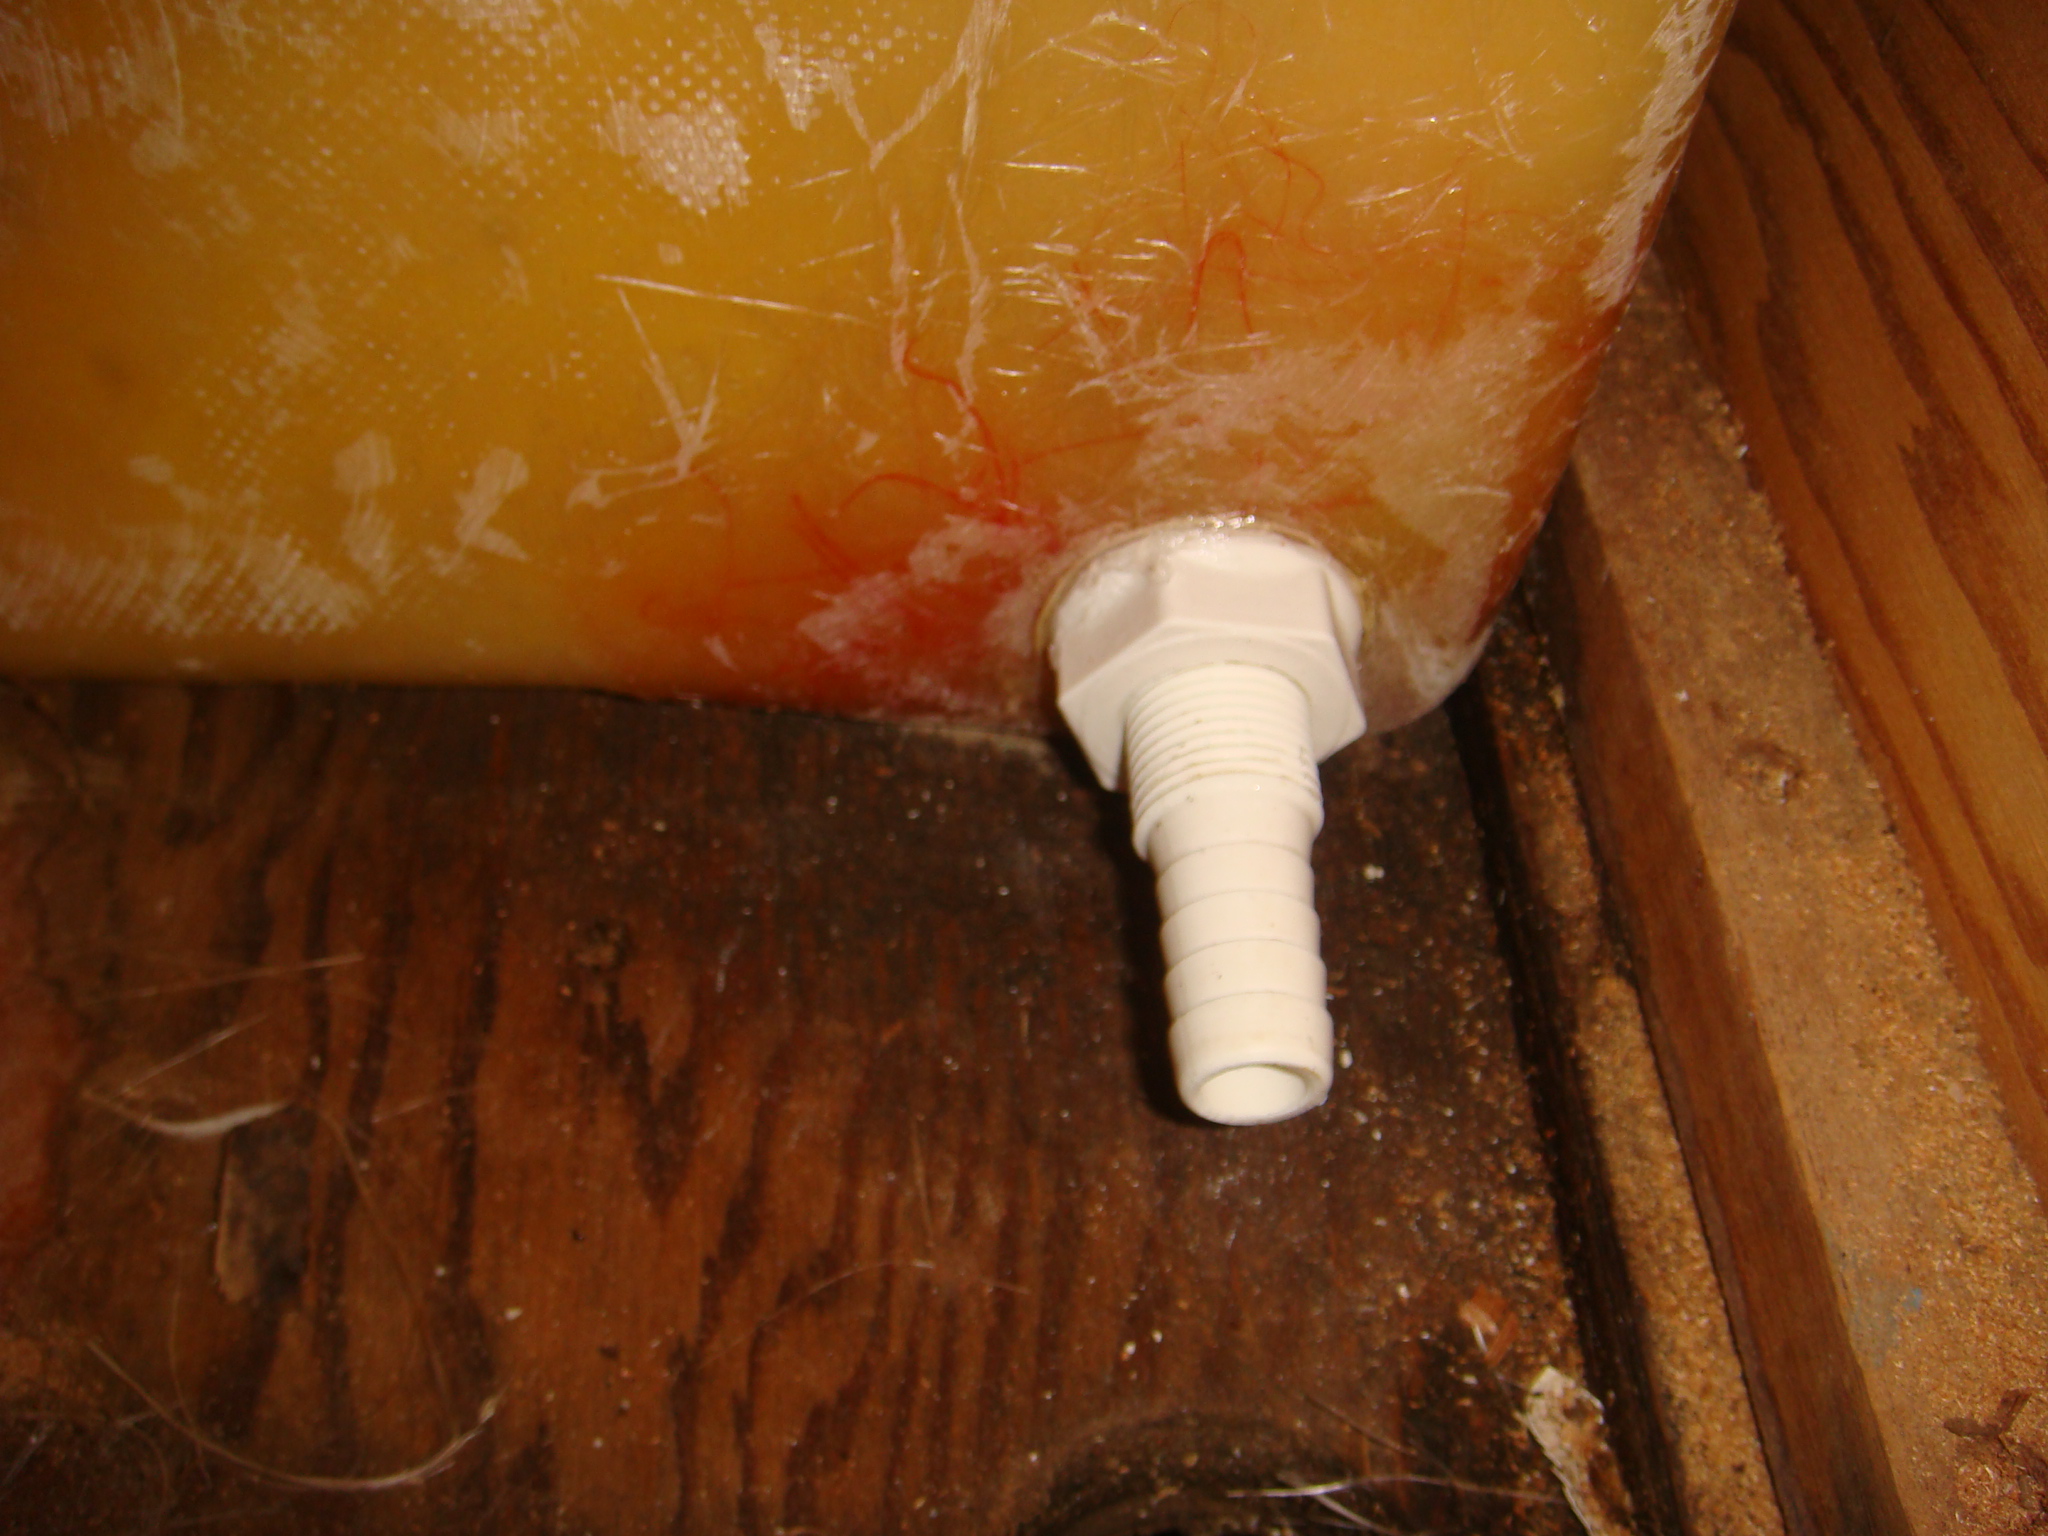
Fortunately West Marine carries the exact same fitting. In
the picture on the left the fitting has been installed on the
tank and sealed with clear Silicone. I cleaned up the inside and outside of the tank surface around the hole with acetone after letting the area completely dry. The fitting is only hand tight. I will let the Silicone set for 12 hours or more before I tighten it and then hook up new hose. |
| The next day I checked the fitting and
it did not require any tightening so I ran the new hose from the
manifold under the galley sink to the tank and secured each end
with new hose clamps. Then I filled the tank to within 2" of the top and watched for any leaks. As you can see in the pictures below, after ten minutes there was no sign of a leak where there was a lot of water before. |
 Tank Filled to Within 2" of the Top |
 No Moisture Around the New Fitting |
 No Moisture in the Cabin Edge |
| When I attached the water hose to the tank
fitting I noticed that the bend in the hose does exert some
downward pressure on the hose barb. This possibly caused
the failure. Of course it took 35 years to fail, so I'm
not too worried about it. In any case I now have easy
access to the fitting. I left things opened up for the next 24 hours just to be sure, then I put the cabin back together again. |
|
| On the right I have secured the new water hose. |
 Water Hose Secured to Hatch Supports |