Sailing Topics
| Cooking With a Thermos | |
| For a number of years I've read articles by people who use a
Thermos for cooking. A thermos cooker is a slow cooker
that uses the insulation of a Thermos pot to provide most of the
necessary heat for a long cooking period.
This device potentially makes a lot of sense for boating,
camping, and RVing which provide limited cooking facilities. This page describes my use of the Shuttle Chef Thermos Cooker. |
|
| Many people use a conventional Thermos bottle for cooking.
That seems to work fine, but it has obvious limitations,
e.g., capacity to cook for more than one person. Also most
Thermos bottles have a narrow mouth and a water tight seal.
The narrow mouth makes inserting anything other than
liquids difficult. The seal raises the risk of splash back
when the bottle is openned as thermal cooking requires starting
the process at a high temperature. I have several Thermos bottles on board, and I will experiment with them once I have mastered or given up on the Shuttle Chef. |
|
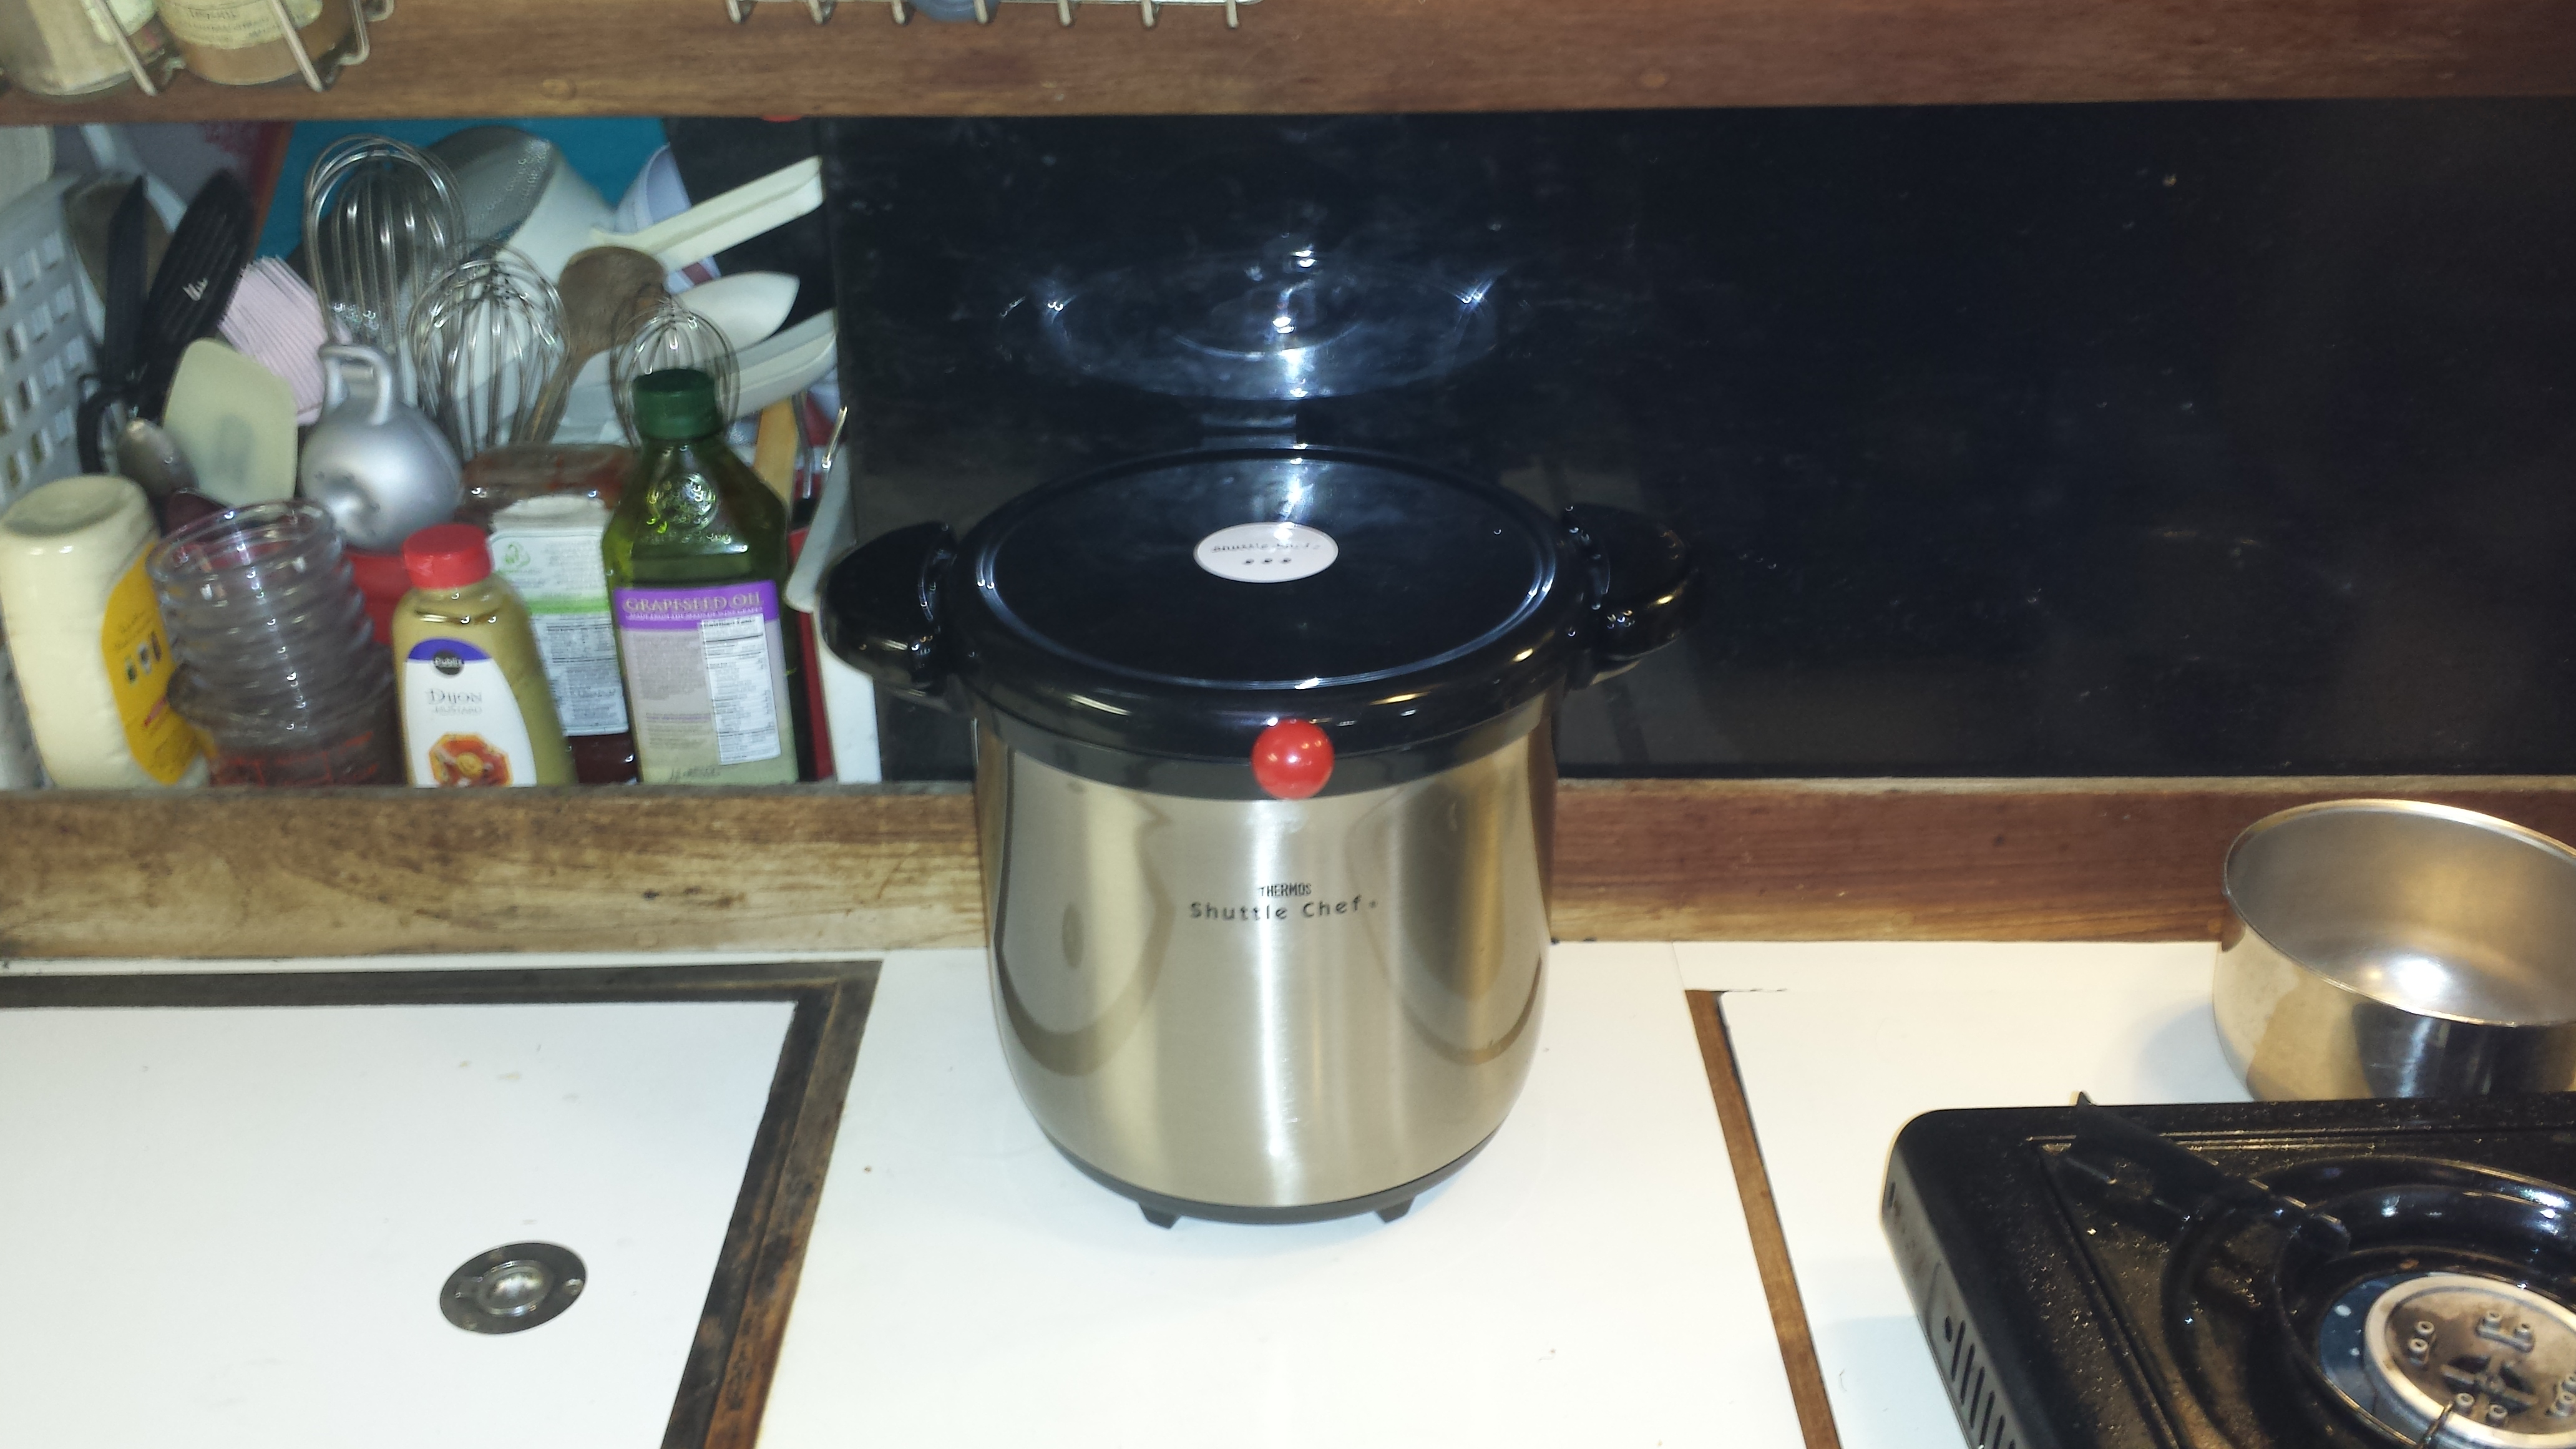
| After much procrastination I finally purchased the 4.5Lt
Shuttle Chef (shown on the right) from Amazon.com. The
Thermos pot is on the left and the inner pot, where the food is
cooked, is on the right. This is a pricey item for the galley (>$150 USD on Amazon.com), but it is a quality product. The inner pot appears to be of All-Clad quality. If nothing else I've got a great stock pot. I did, however, have a few minor disappointments with this purchase. |
 The Shuttle Chef Thermos Cooker |
| My first disappointment was immediately after I ordered the
Shuttle Chef. The shipping was free so I didn't check the
shipping time. When I received the shipping notice the
projected delivery was over a month away. Turns out the
unit had to be shipped from Japan to the West Coast then shipped
overland to my location. The second disappointment was when the unit finally arrived and I removed the nice-looking cook book that came with the unit. |
 The Cookbook That Came With the Cooker |
| I was anxious to start using the cooker and wanted to select
my first Thermos cooker recipe. When I openned the cook
book I discovered it was written entirely in Japanese. When I was stationed on Okinawa in the 1960s I learned a few Japanese phrases such as, "konnichiwa" (thank you), "gomen nasai" (sorry), and "chotto matte" (just a sec). Actually when the some of the bar maids on Okinawa used the last phrase they often inserted "f--king" between chotto and matte. Anyway my limited Japanese was of little use in trying to decipher this cook book. No matter, there are plenty of recipes on the Internet. |
 All in Japanese |
| My intention is to use this device as much as possible during the hotest months of the year. I plan to start cooking the meal in the morning, when it is still cool. Then place the meal in the cooker for the remainder of the day as it slow cooks, and have it for dinner. I also hope to use it when on a passage by securing the cooker and prepare a meal with minimum time spent in the galley. | |
| First Attempt - Sausage Stew | |
| A few days after I received the Shuttle Chef and familiarized myself with the product and some recipes I attempted my first meal. This was a sausage stew based on a recipe for a Casoulet of sausage from one of the Thermos Cooker websites: (http://www.thermalcookware.com/). | |
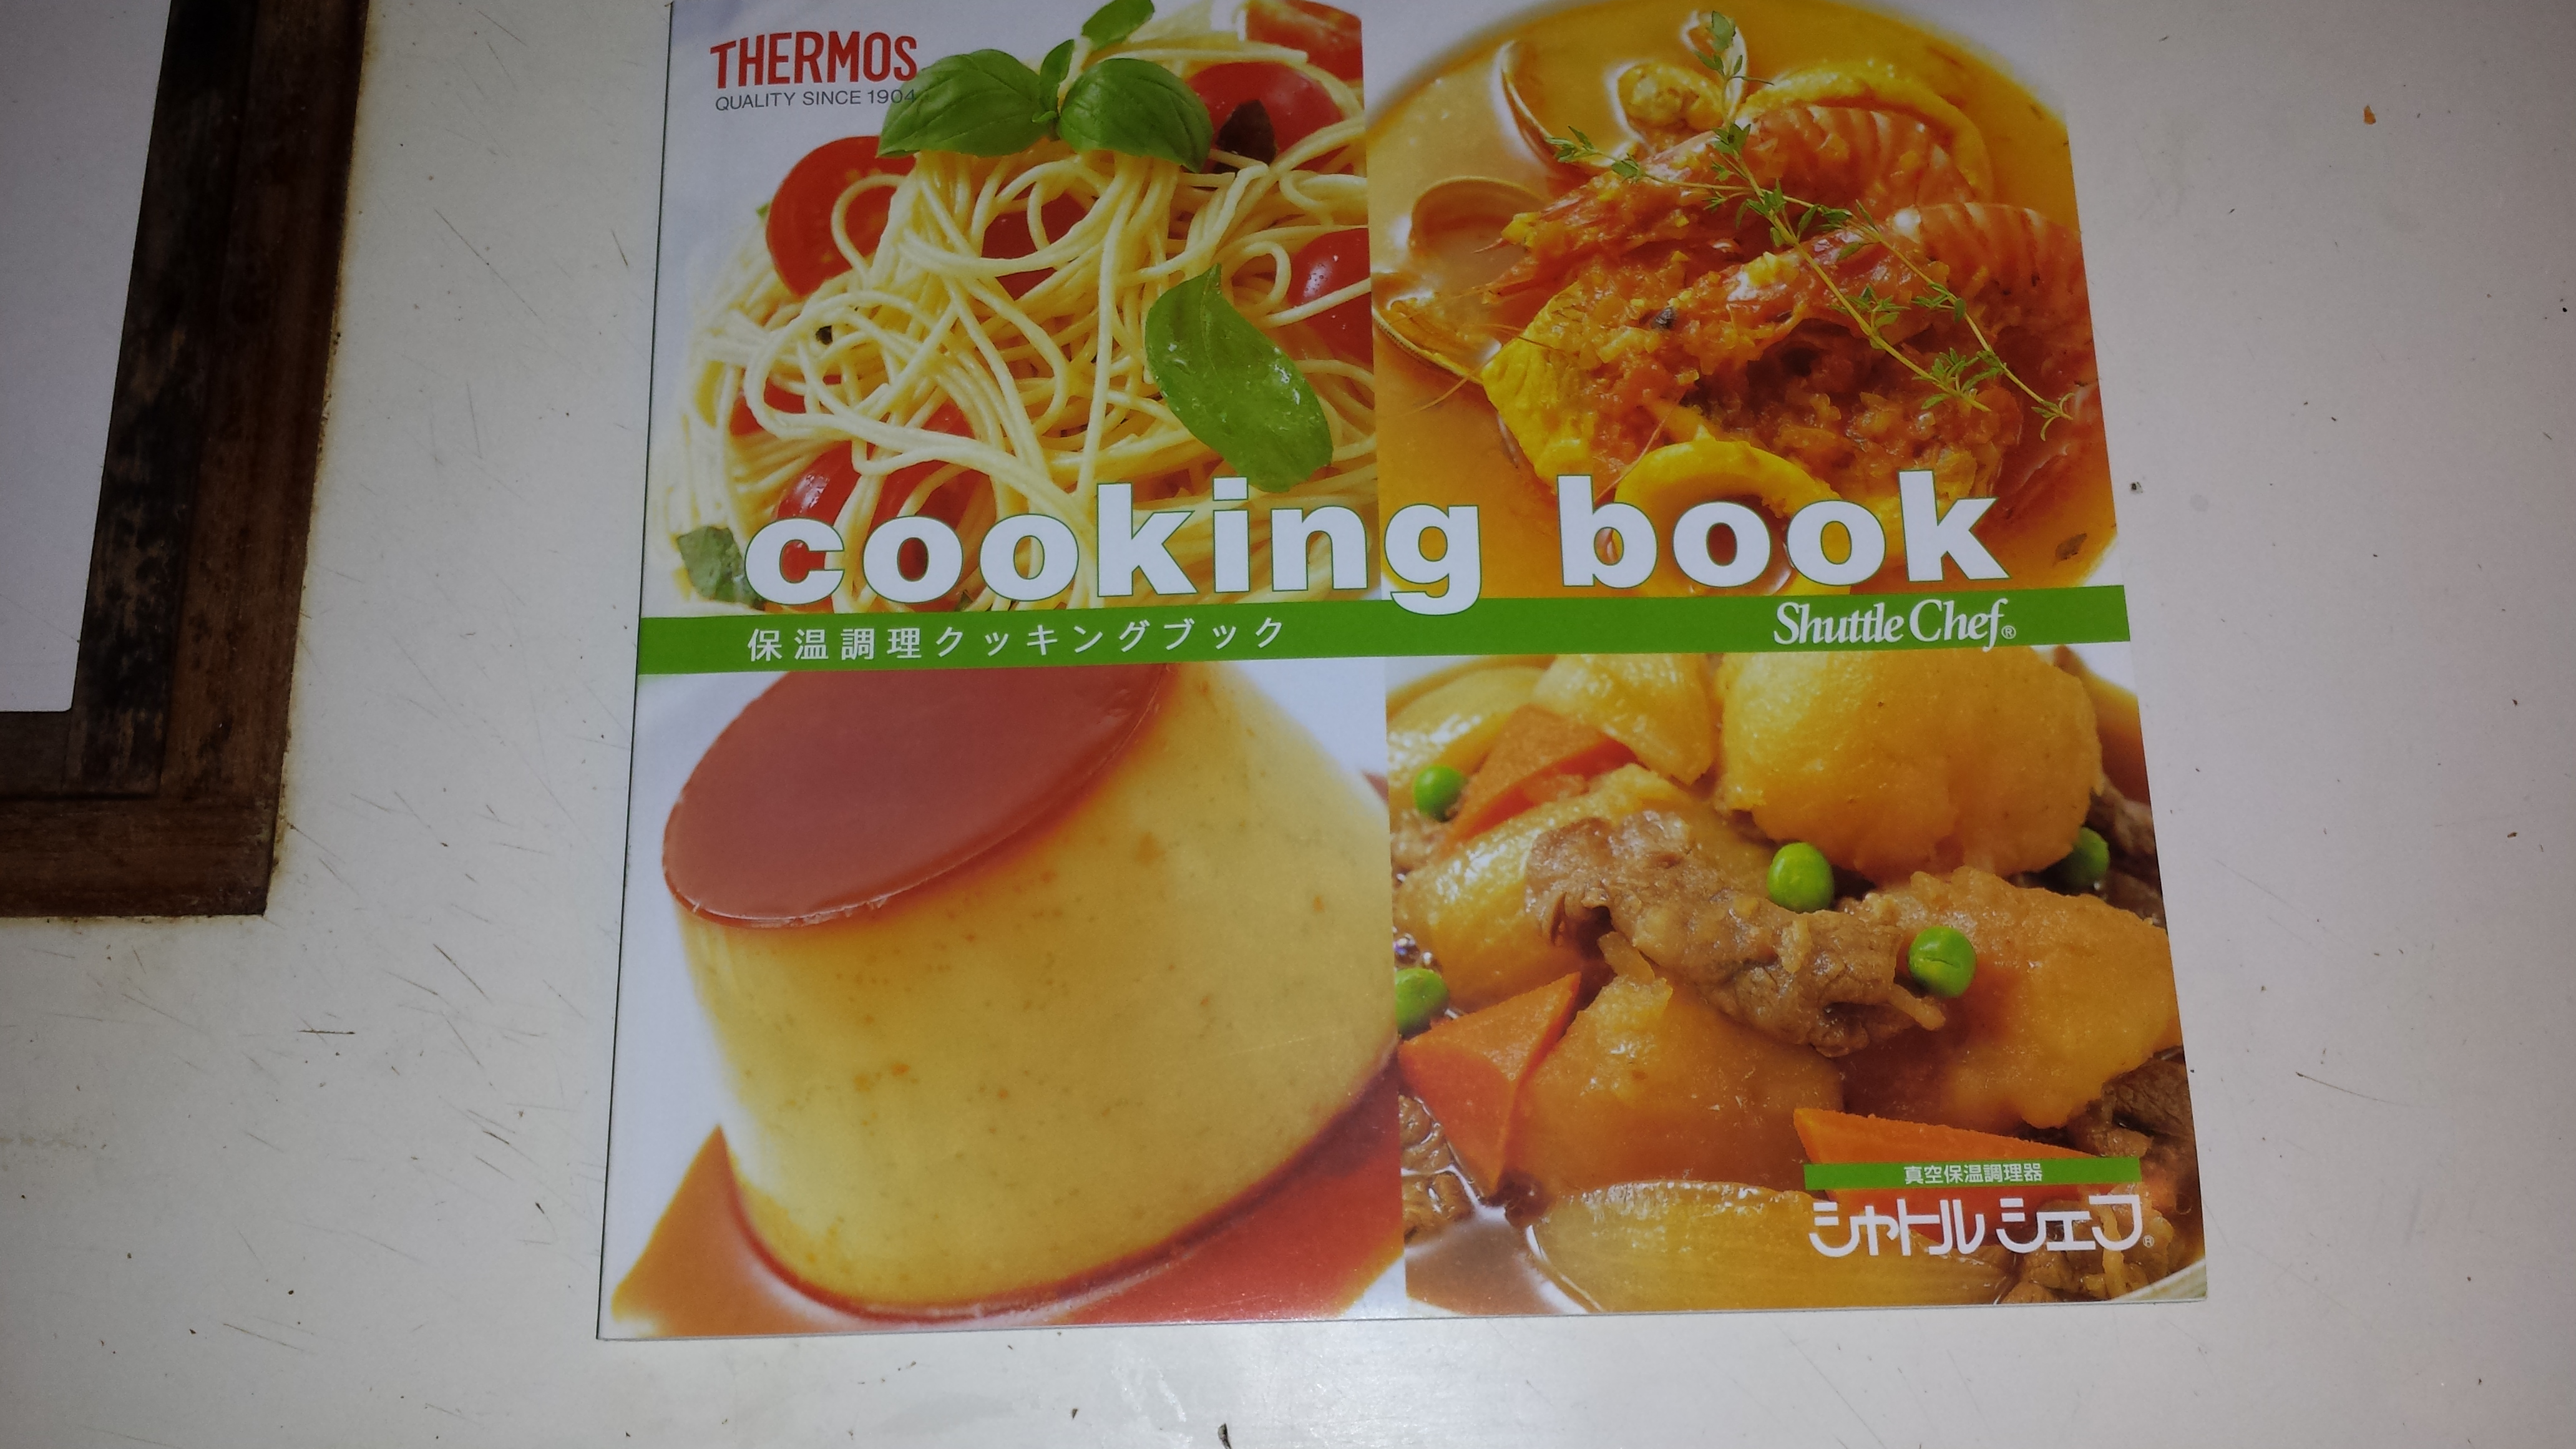
| I didn't have all of the ingredients specified in the recipe
so I made my own adaption using Italian and Bratwurst sausages,
Cannellini and Chickpea beans, onions, garlic and carrots. First I browned the sausages in the cooking pot as shown on the right. After browning I removed the sausages, add 3 slices of bacon cut into 1" bits. When the bacon was partially rendered I added the vegetables and cooked them until wilted. |
 Browning the Sausages |
| I cut the sausages into 1" pieces and returned them to
the pan. I added one cup of white wine to the pot,
then a cup of chicken broth. I brought the stew to a boil
then reduced the heat to a simmer. The picture on the right shows one of the requirements of this cooker is to fill the pot as full as possible to maximize the amount of heat in the pot. |
 All of the Ingredients in the Pot |
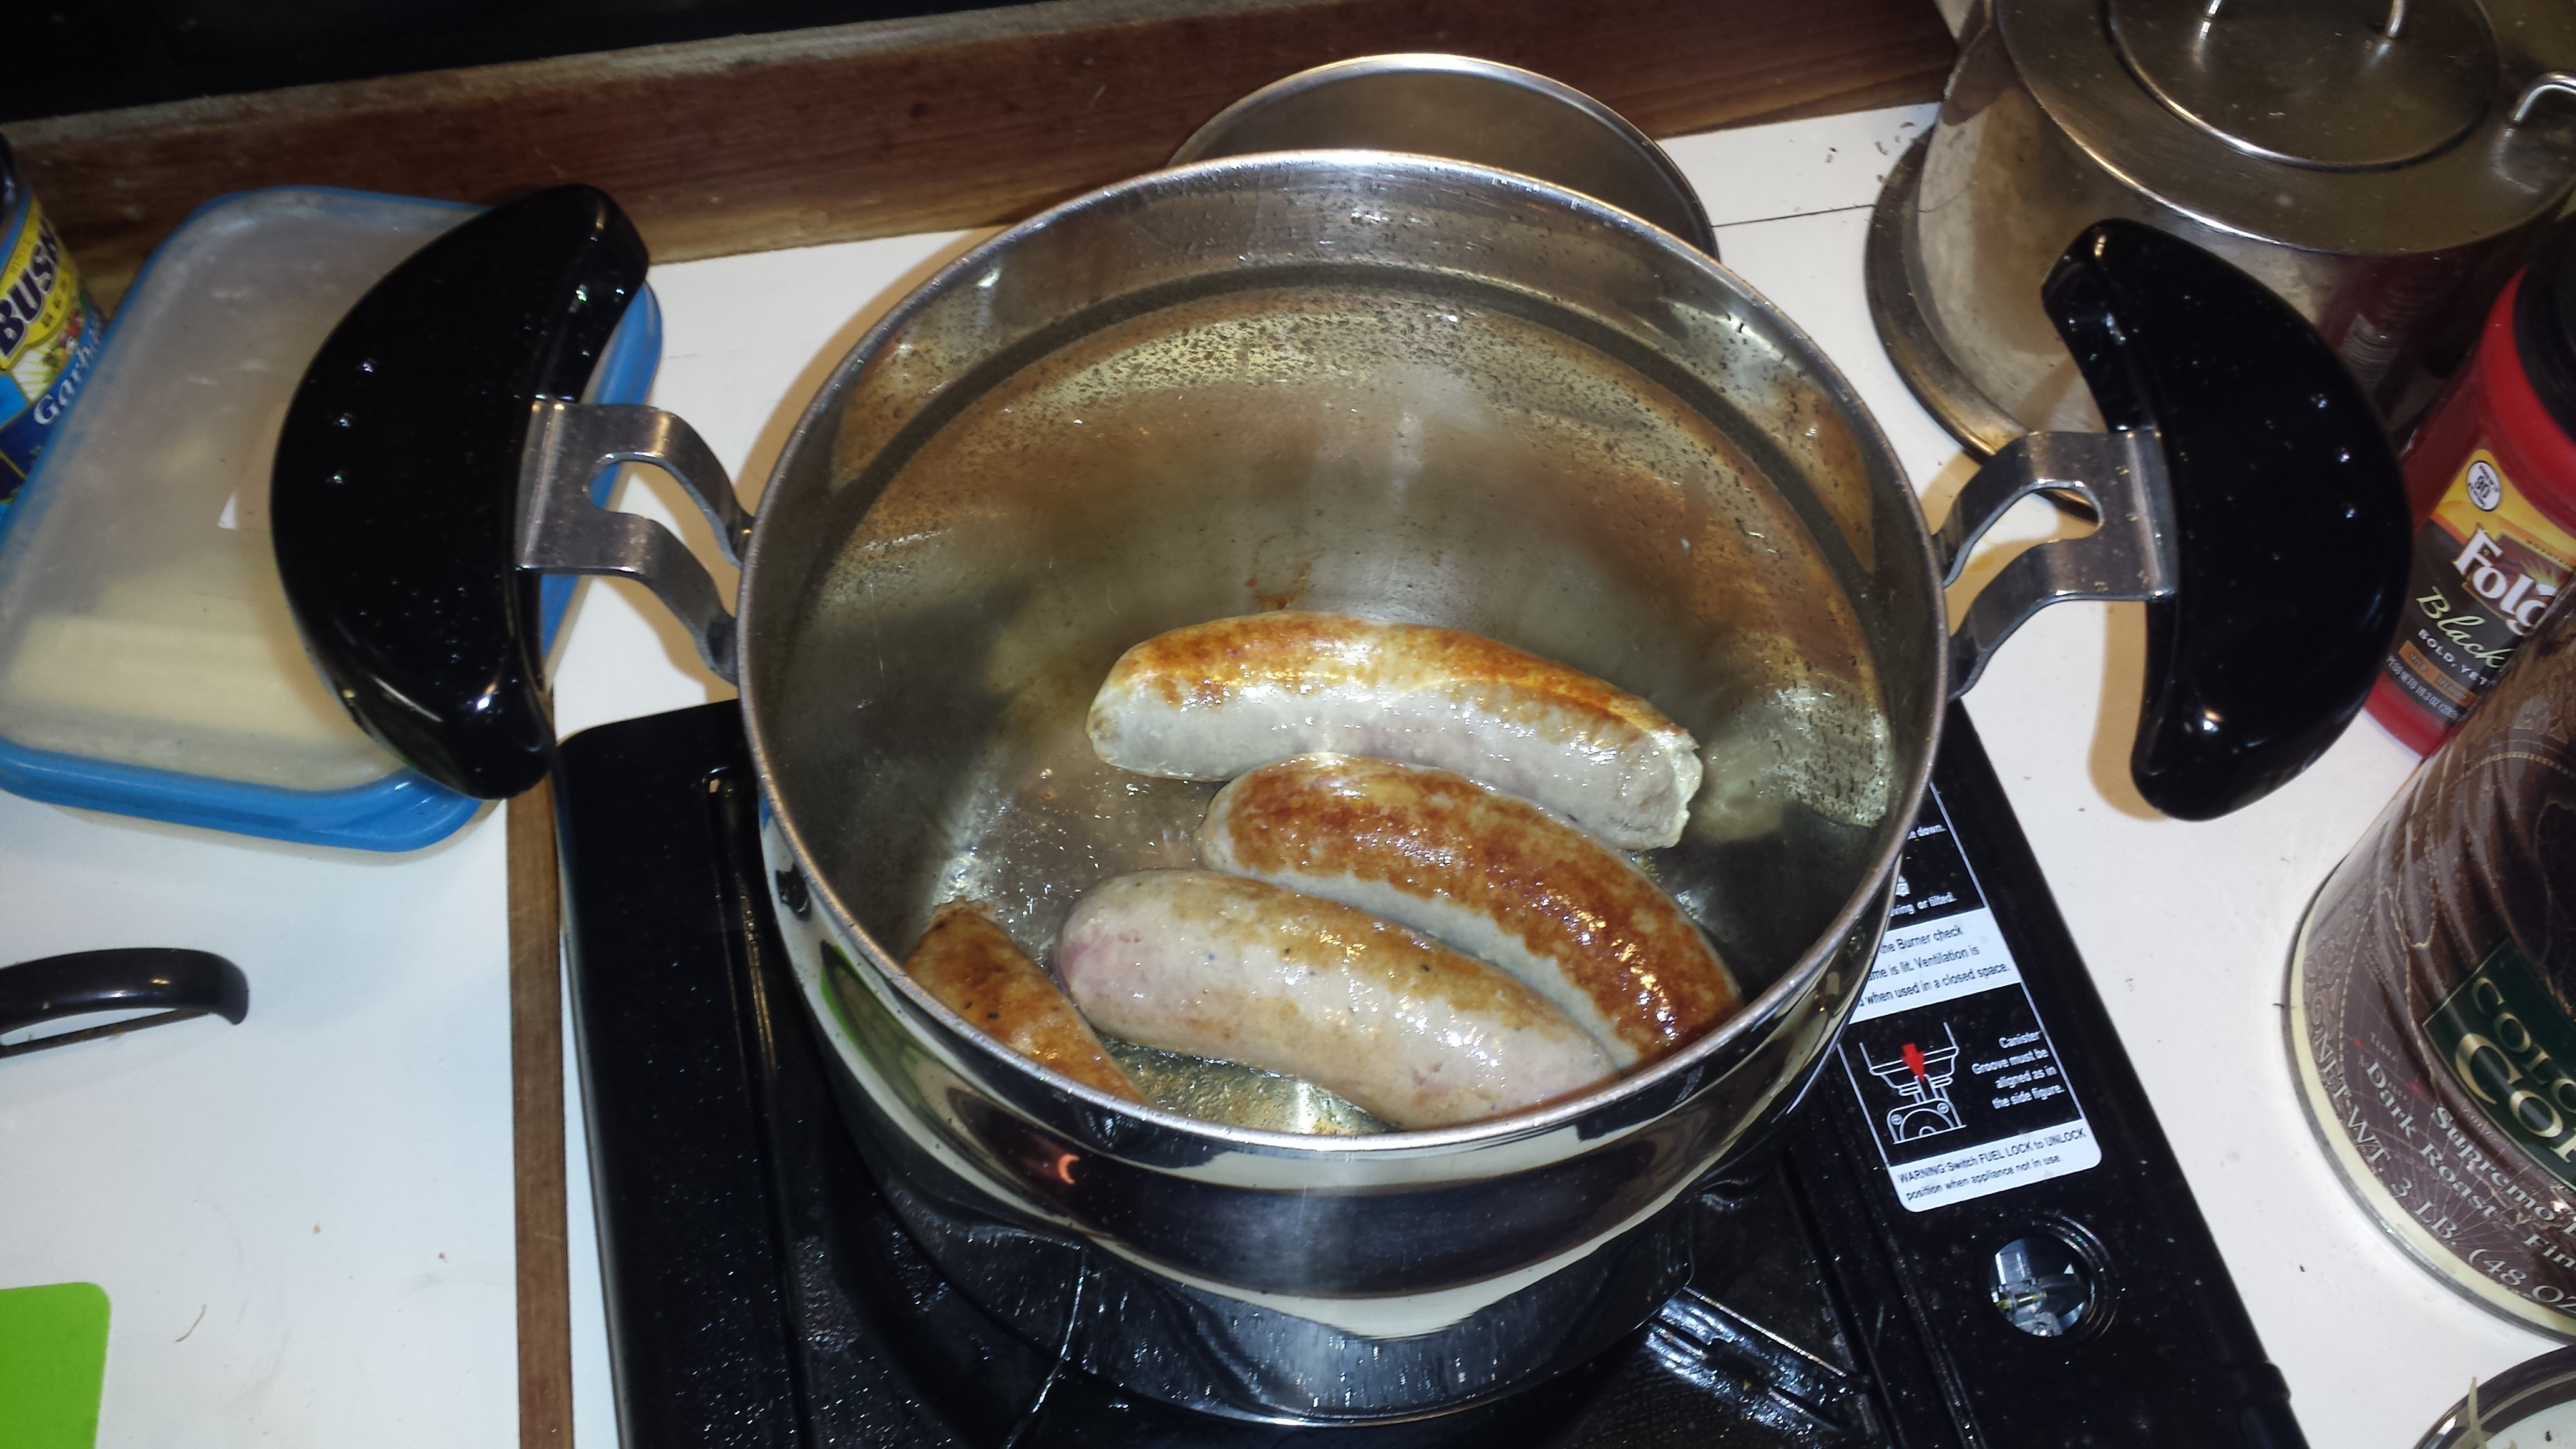
| Next I covered the pot and let the stew simmer for about 5 minutes. This is necessary to insure the food and the pot have absorbed the maximum amount of heat before inserting the pot into the Thermos. |
 Simmering the Stew for 5 Minutes |
| Then I inserted the cooking pot into the outer Thermos pot ... |
 The Cooking Pot Inserted in the Thermos |
| and closed the cover on the Thermos. I then set the cooker aside and allowed it to slow cook my sausage stew. |
 Cooking the Sausage Stew on the Galley Counter |
| Six hours later I ladled myself a bowl of the stew and
grated some Parmesan cheese ontop, as shown on the right.
Actually I believe the stew was fully cooked in less than four
hours, but it was still warm and tasty after six. I can see one of the limitations of this cooker for a single person - I've cooked enough stew for at least six servings. So most of this will go into the frig and be used for several meals. I won't be using this cooker to make another meal until I have eaten the rest of this stew. |
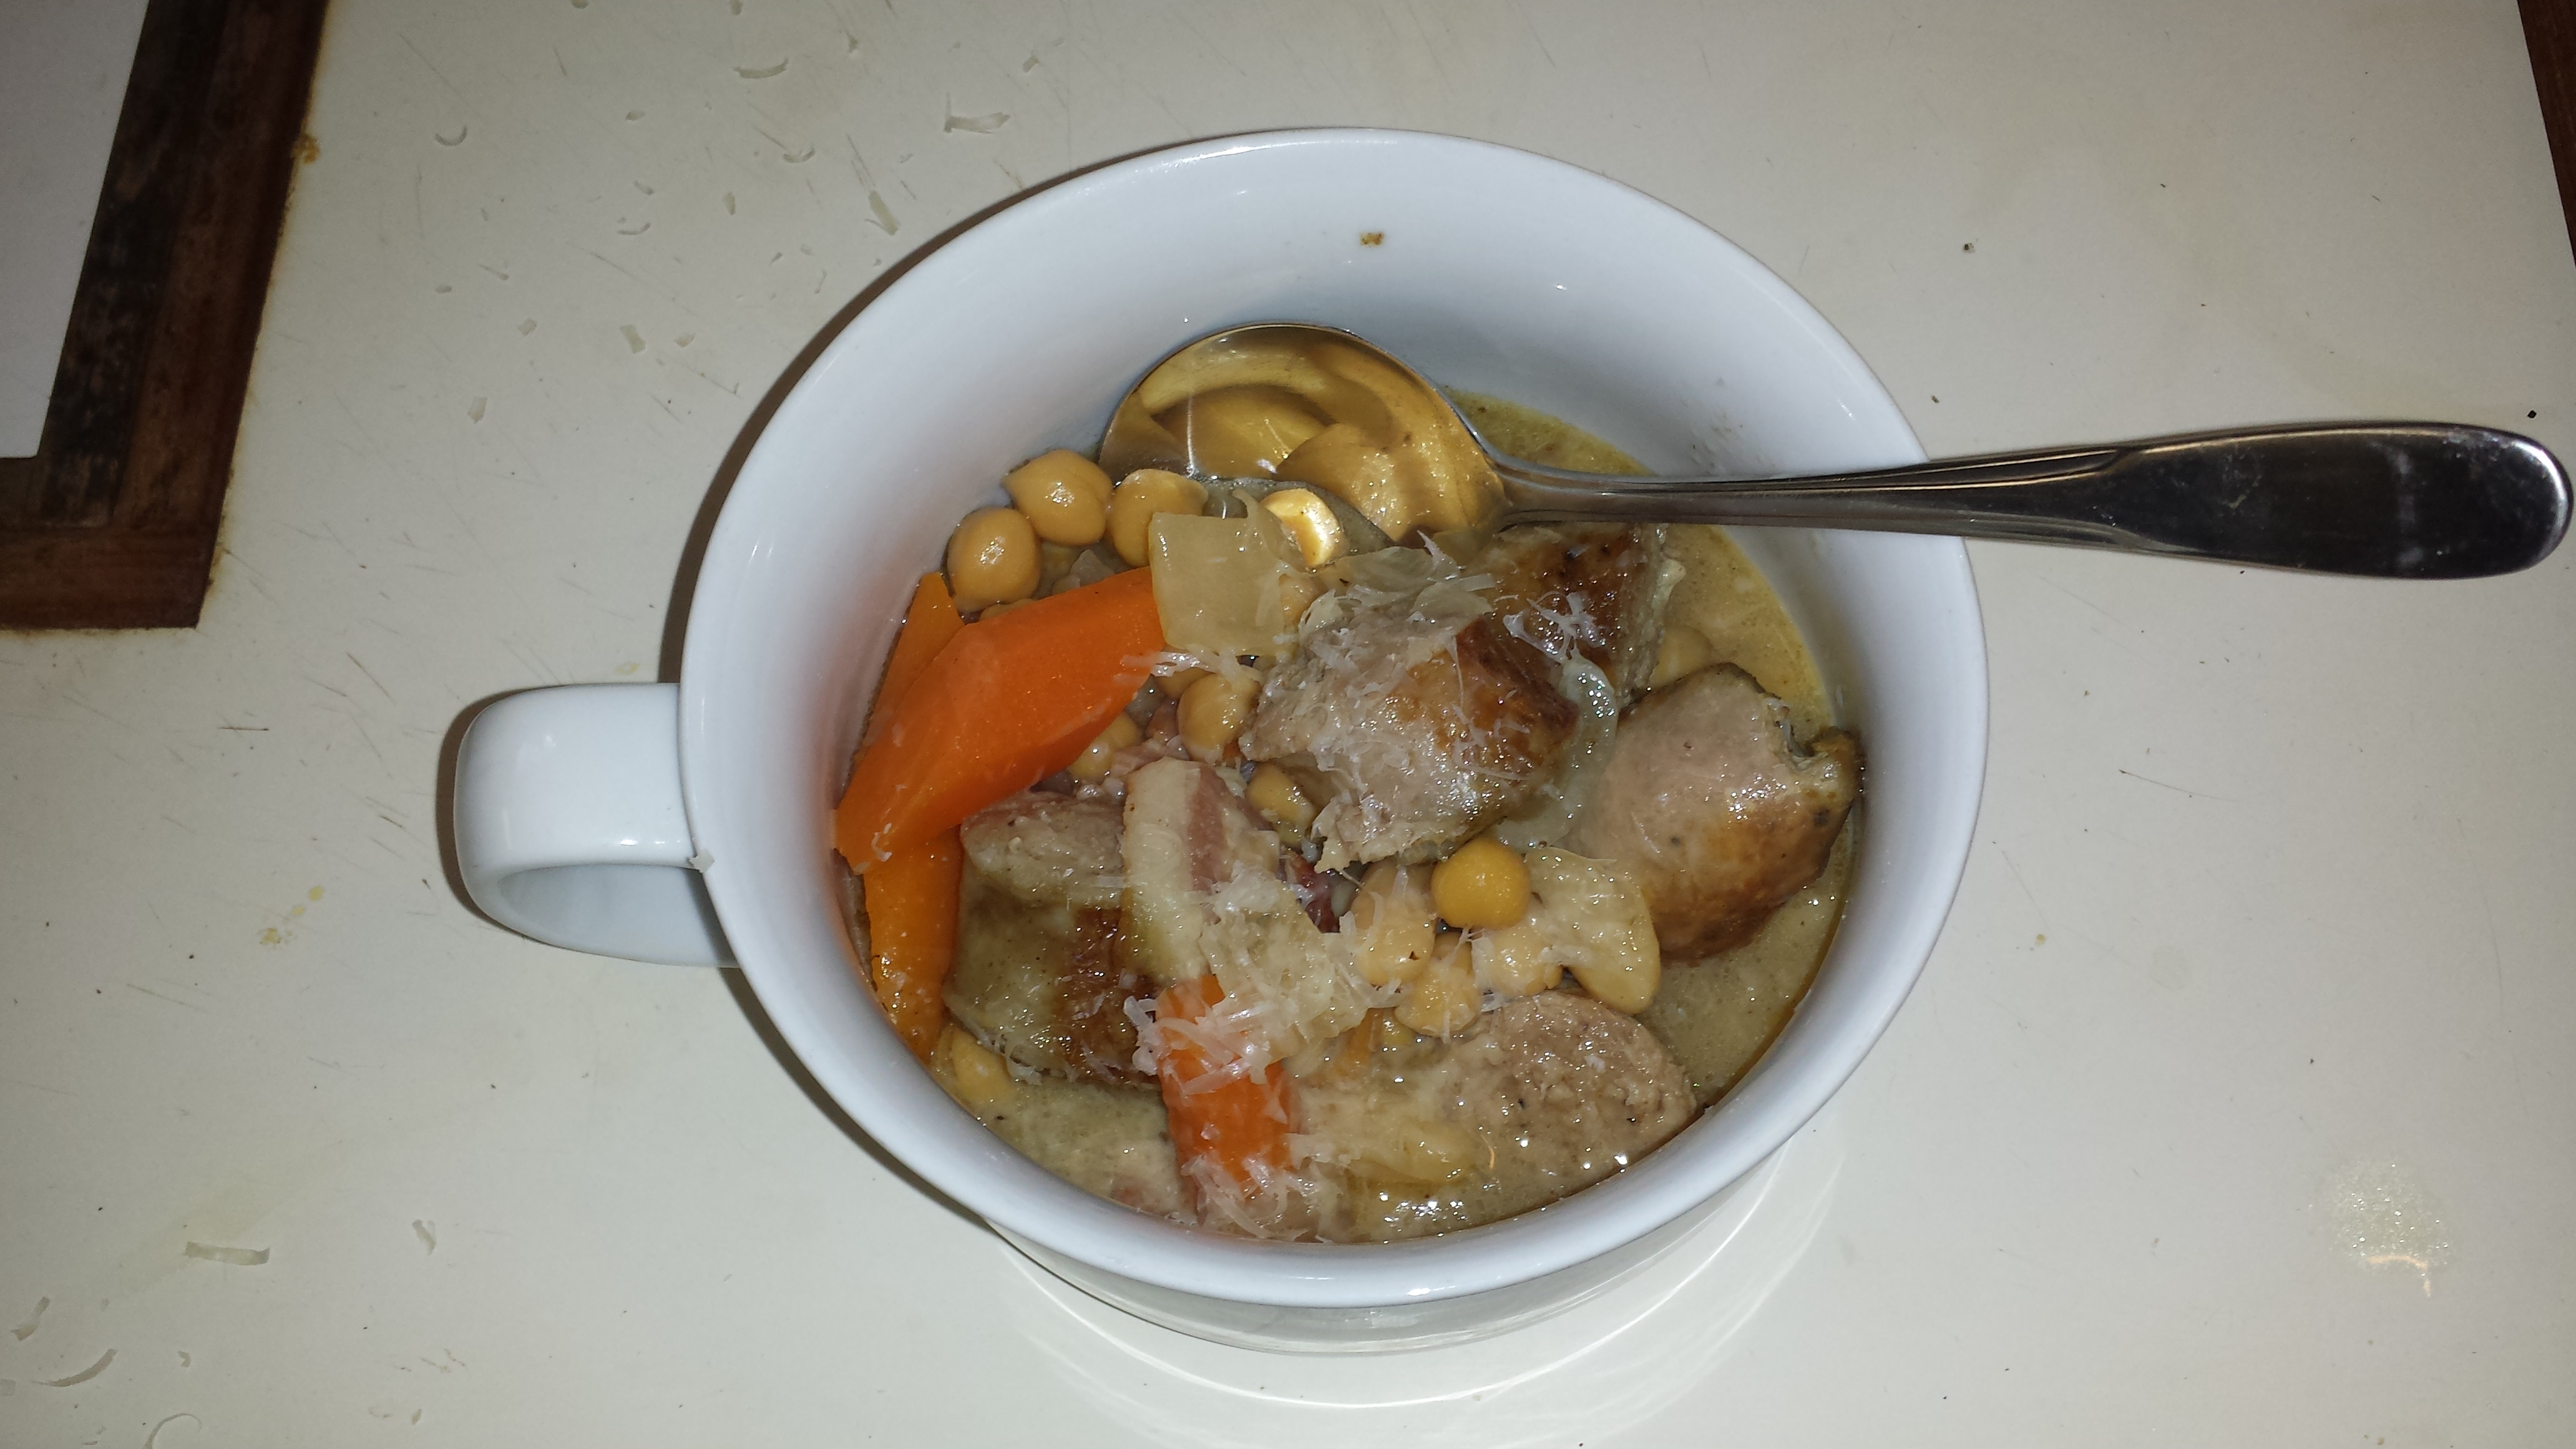 Sausage Stew, Ready to Eat After 6 Hours |
| I have declared this first attempt a success. The stew did come out a little more salty than I prefer, although I added no salt to the pot. The bacon certainly added some salt. Possibly the canned beans may have had salt added. I'll need to watch the ingredient contents more closely in the future, especially the canned items. | |
| Second Attempt - Carribbean Style Chicken | |
| It took me several days to consume all of the sausage stew I cooked on my initial attempt with this cooker. For my second attempt I went back to the Thermal Cookware website for a chicken recipe. This is a Carribbean style spicey recipe. | |
| First I marinaded 8 chicken thighs (again the need to fill
the pot) in a mixture of onion, garlic, chipotle, paprika,
cumin, soy sauce, rum and Sherry vinegar. Once more I had
to adapt the recipe to the ingredients I have on board. I marinaded the chicken in the frig overnight. The photo on the right shows the marinade in a Zip-Loc after I removed the chicken. |
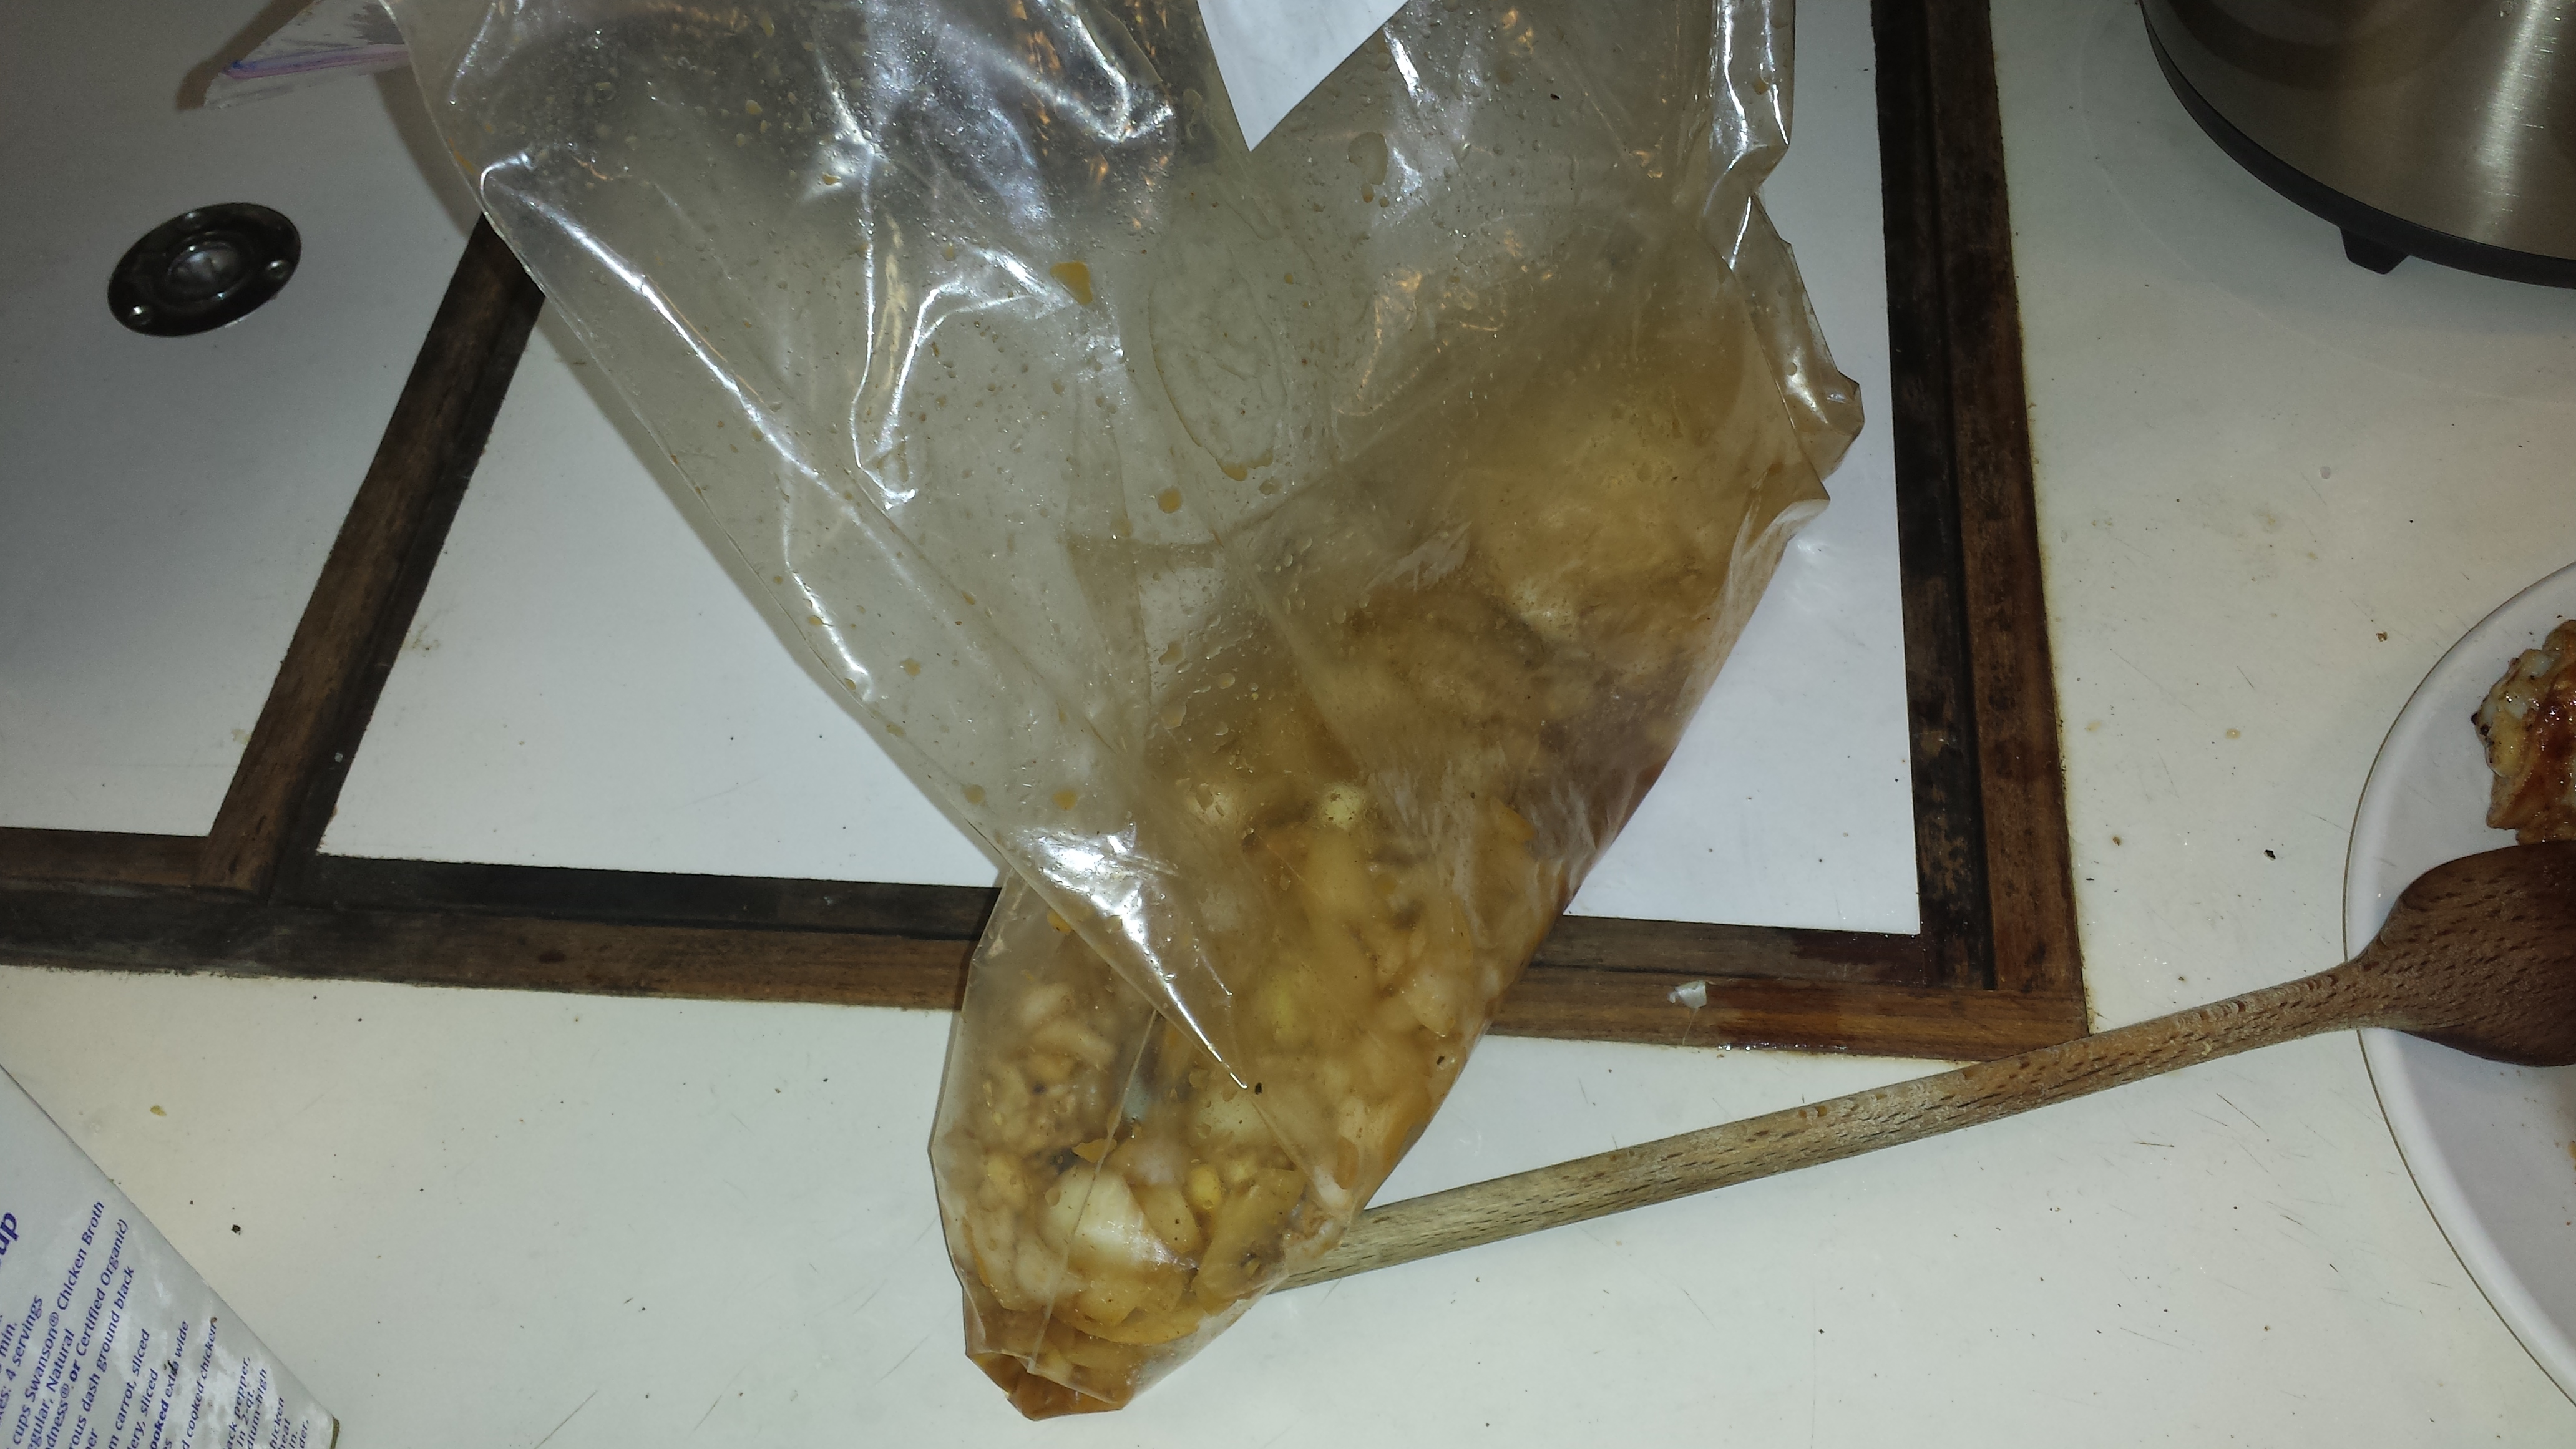 The Marinade Mixture |
| I added brown sugar to grapeseed oil and heated the mixture in the pot. Then I browned the chick thighs, 3-at-a-time. |
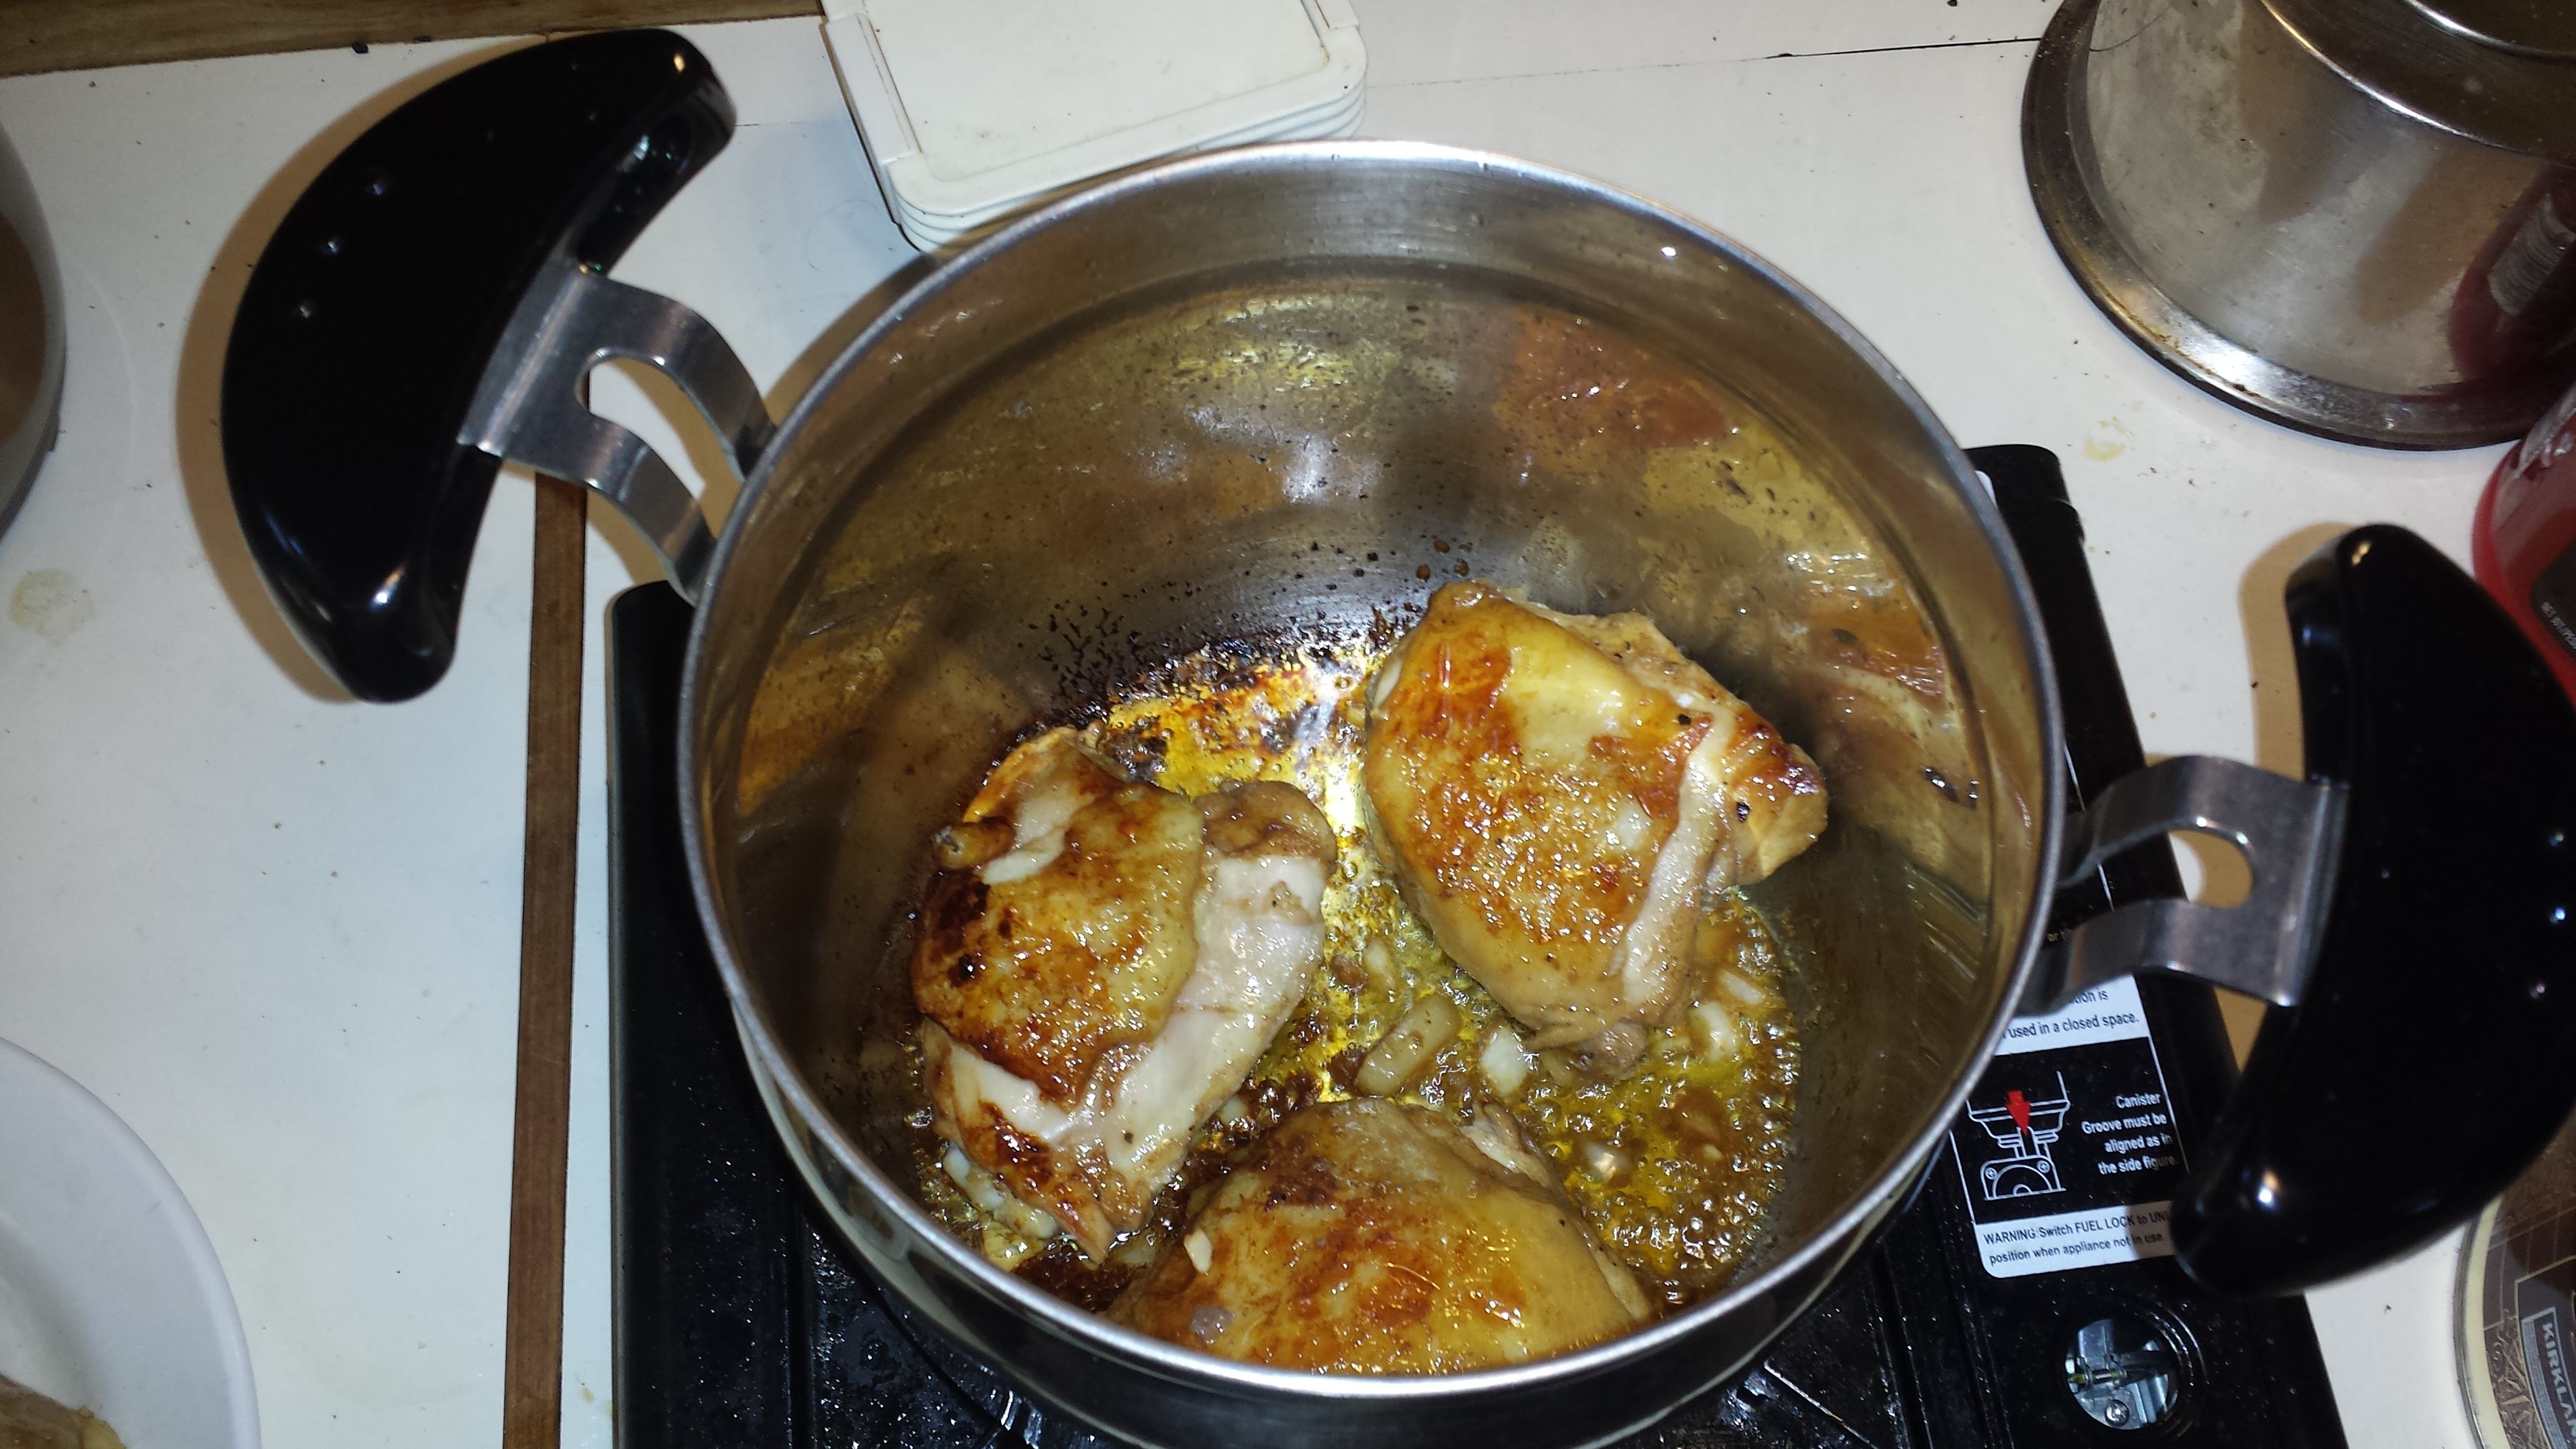 Browning the Chicken |
| I removed the browned chicken pieces from the pot then added 1-1/2 cups of long-grain rice to the pot along with the marinade mixture. |
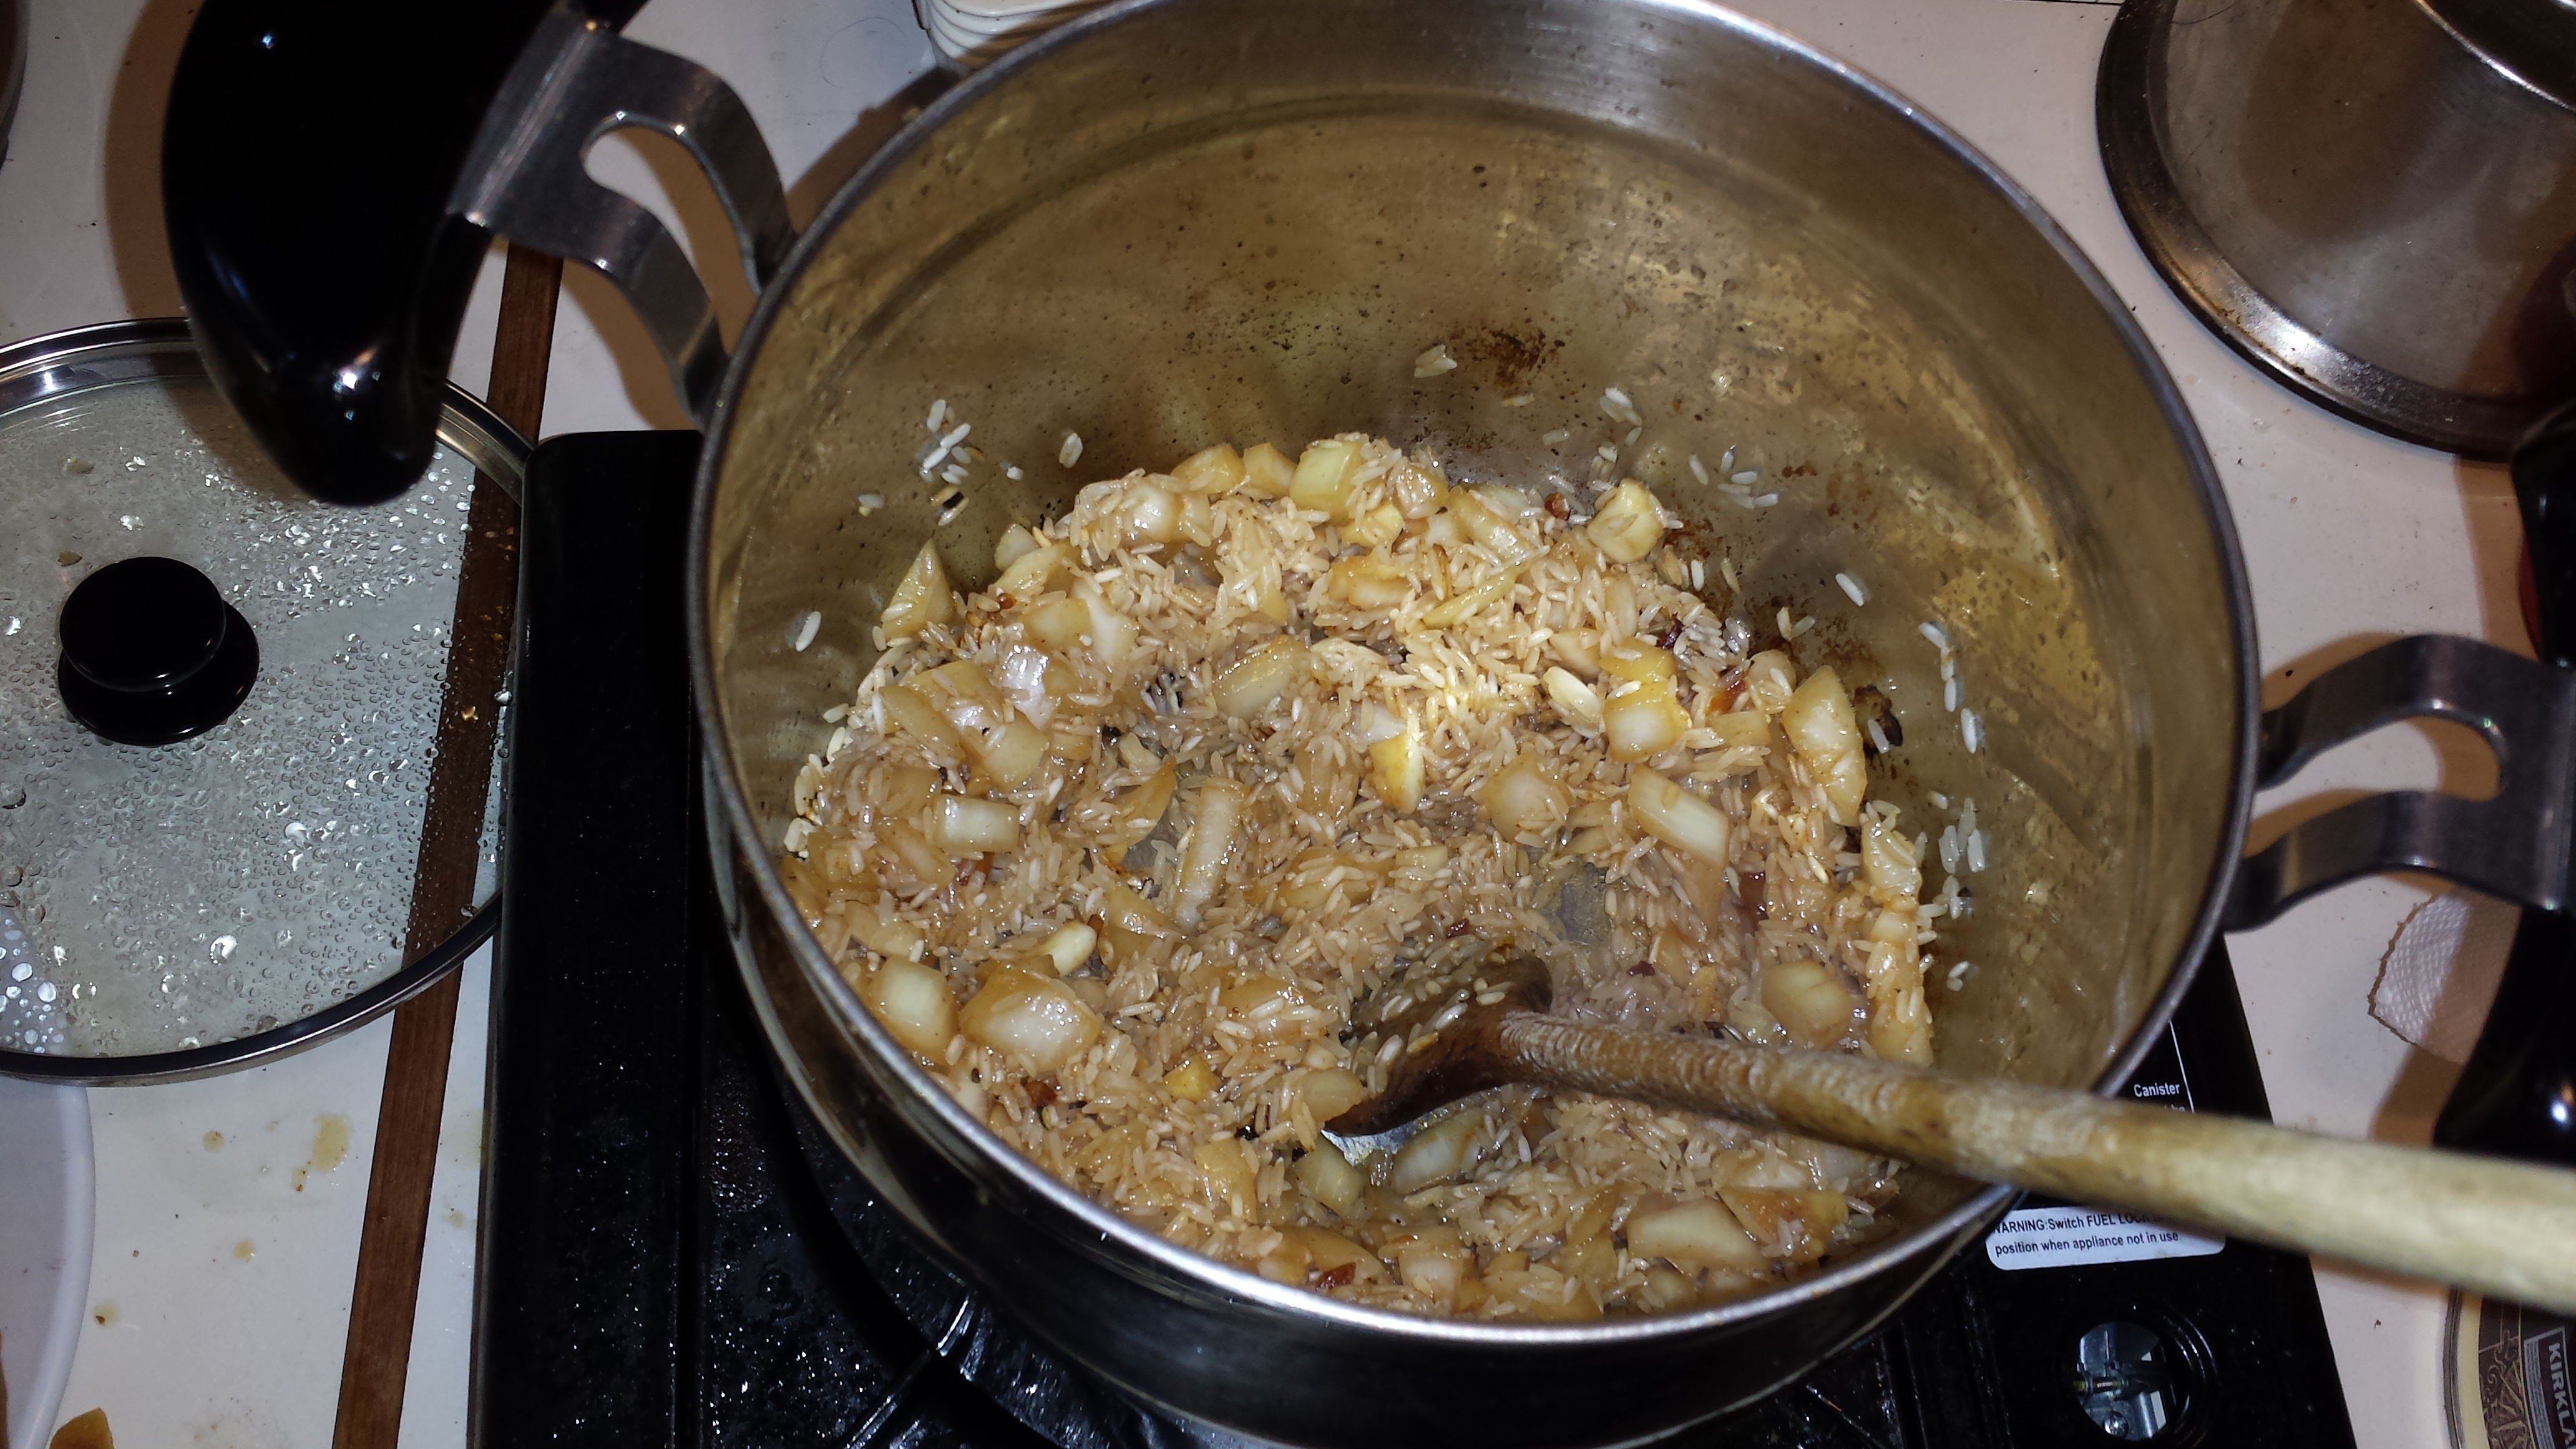 Heating the Rice and Marinade |
| After the rice and marinade were heated through I added 1
cup of chicken broth and 3 cups of water. I discovered
that this broth is likely the source of the saltiness in the
sausage stew. I normally buy salt-free or low-salt chicken
stock, but this purchase was made in the Bahamas with a
more limited selection in the store. When the rice liquid began to boil and I put the chicken back in the pot. |
 Bringing Everything to a Boil |
| I covered the pot and reduced the heat to a strong simmer. After five or six minutes I put the pot in the Thermos and went on to other chores. |
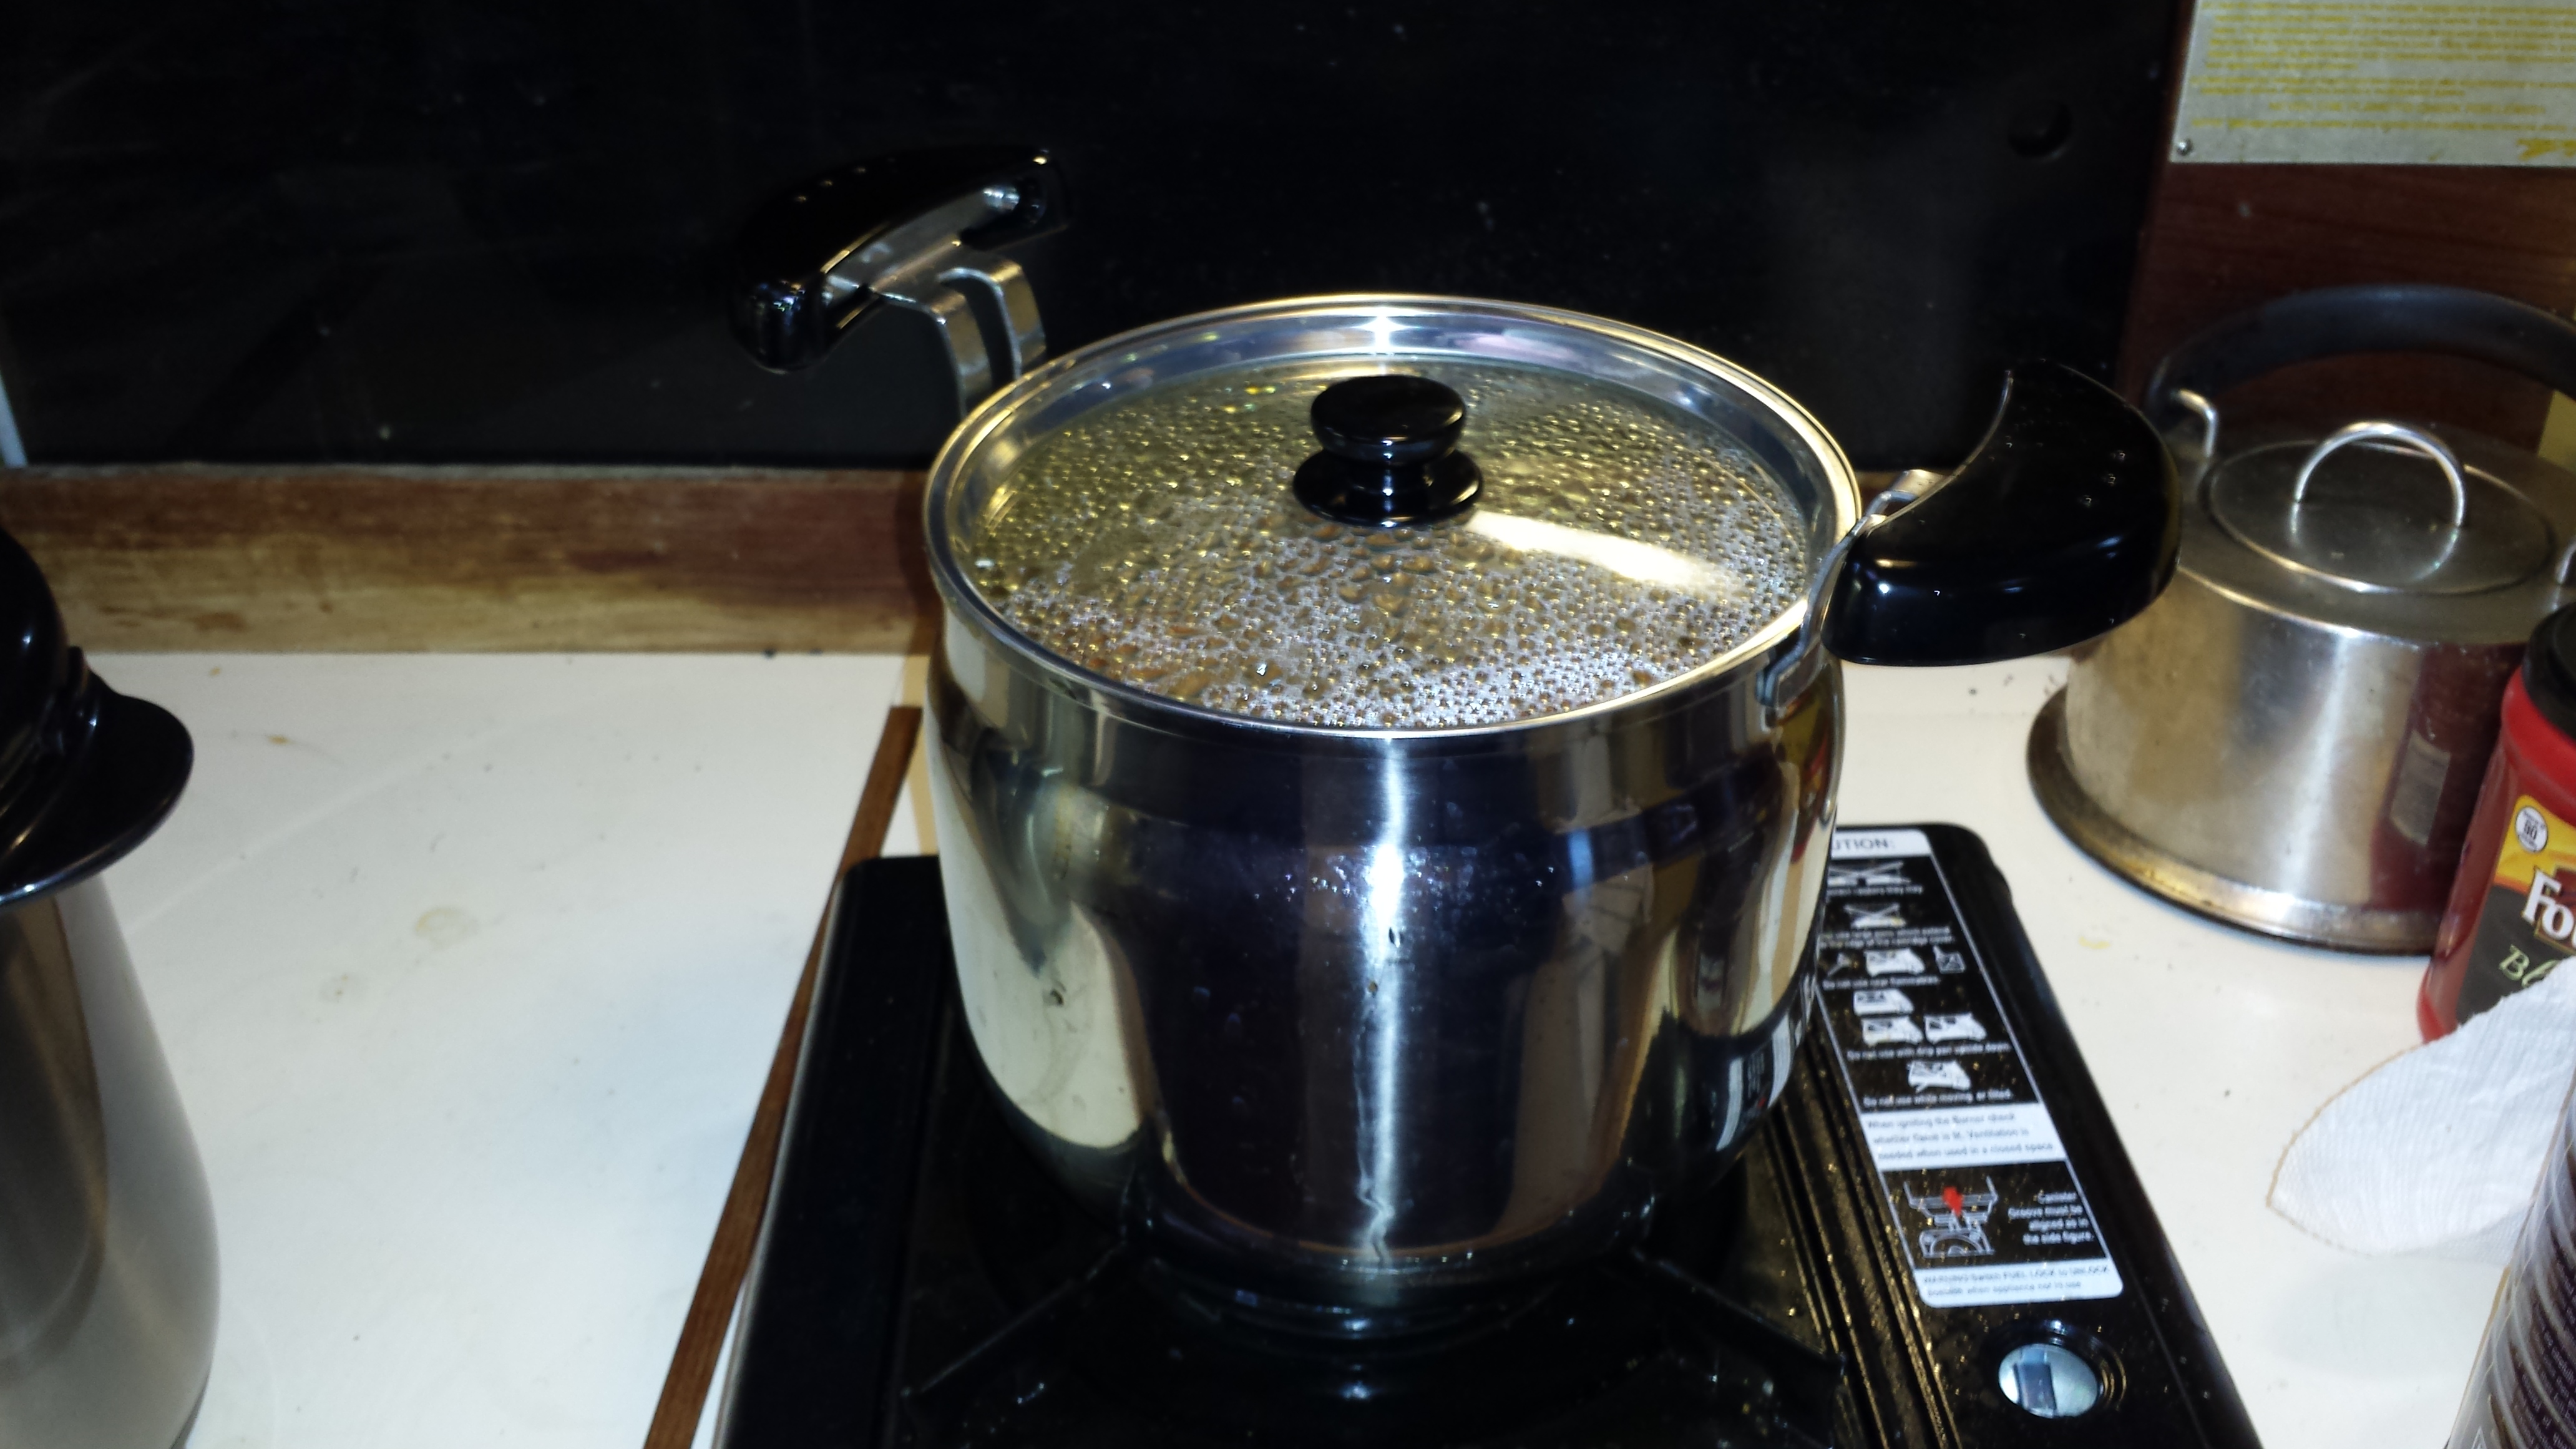 Simmering the Meal for 5 Minutes |
| Five hours later I served myself dinner. I cooked some frozen peas to provide some color to the dish. The chicken was fully cooked and moist. The rice was a little over cooked and mushy, but still nice. I think this recipe would be better if I had allowed it to cook for 3 instead of 5 hours. |
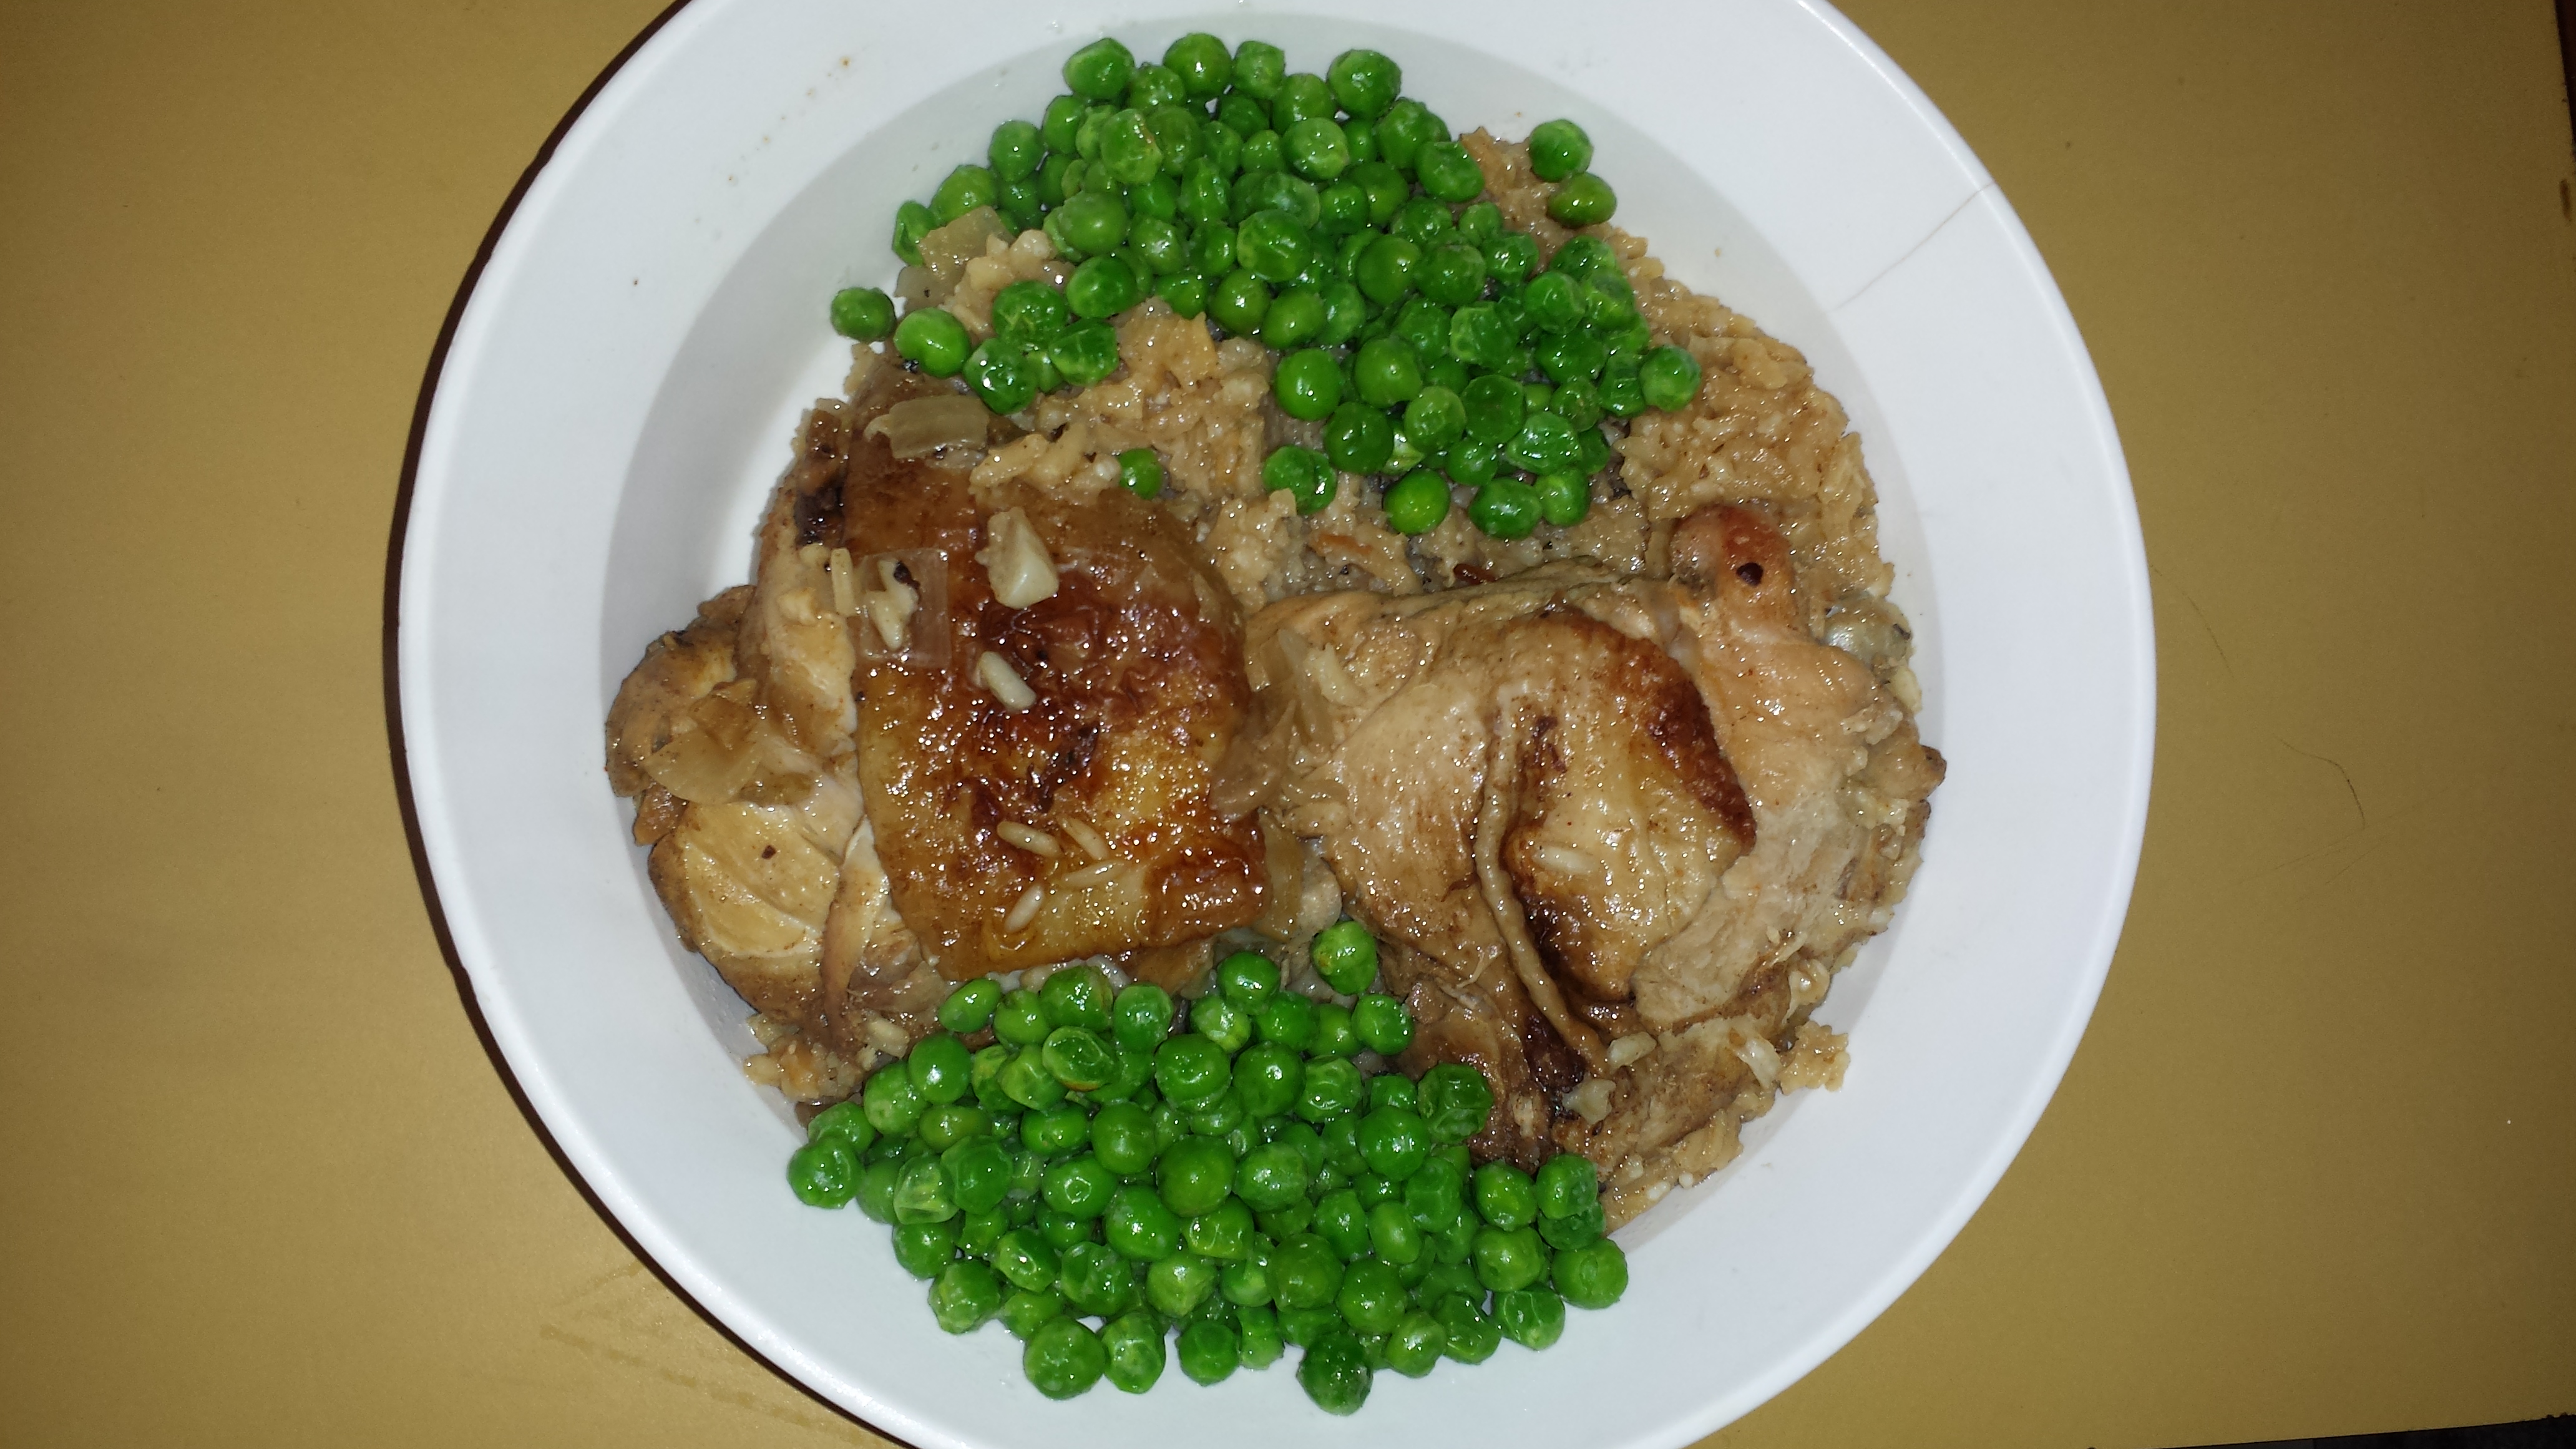 Dinner of Spicey Chicken and Rice with Peas |
| Ratatouille | |
| For my third meal prepared with the Shuttle Chef, I went
with a recipe of my own for Ratatouille. Like most of my
recipes the ingredients depend on what I have on board and what
sounds good to me. For this Ratatouille I used (2) large eggplants; (1) large vidalia onion; (1) leek; (2) carrots; (2) Jalapeñas; (6) garlic cloves; (2) Zuchinni; 1/4 cup of olive oil; and (2) cans of diced tomatoes. Most of the ingredients are shown on the right. |
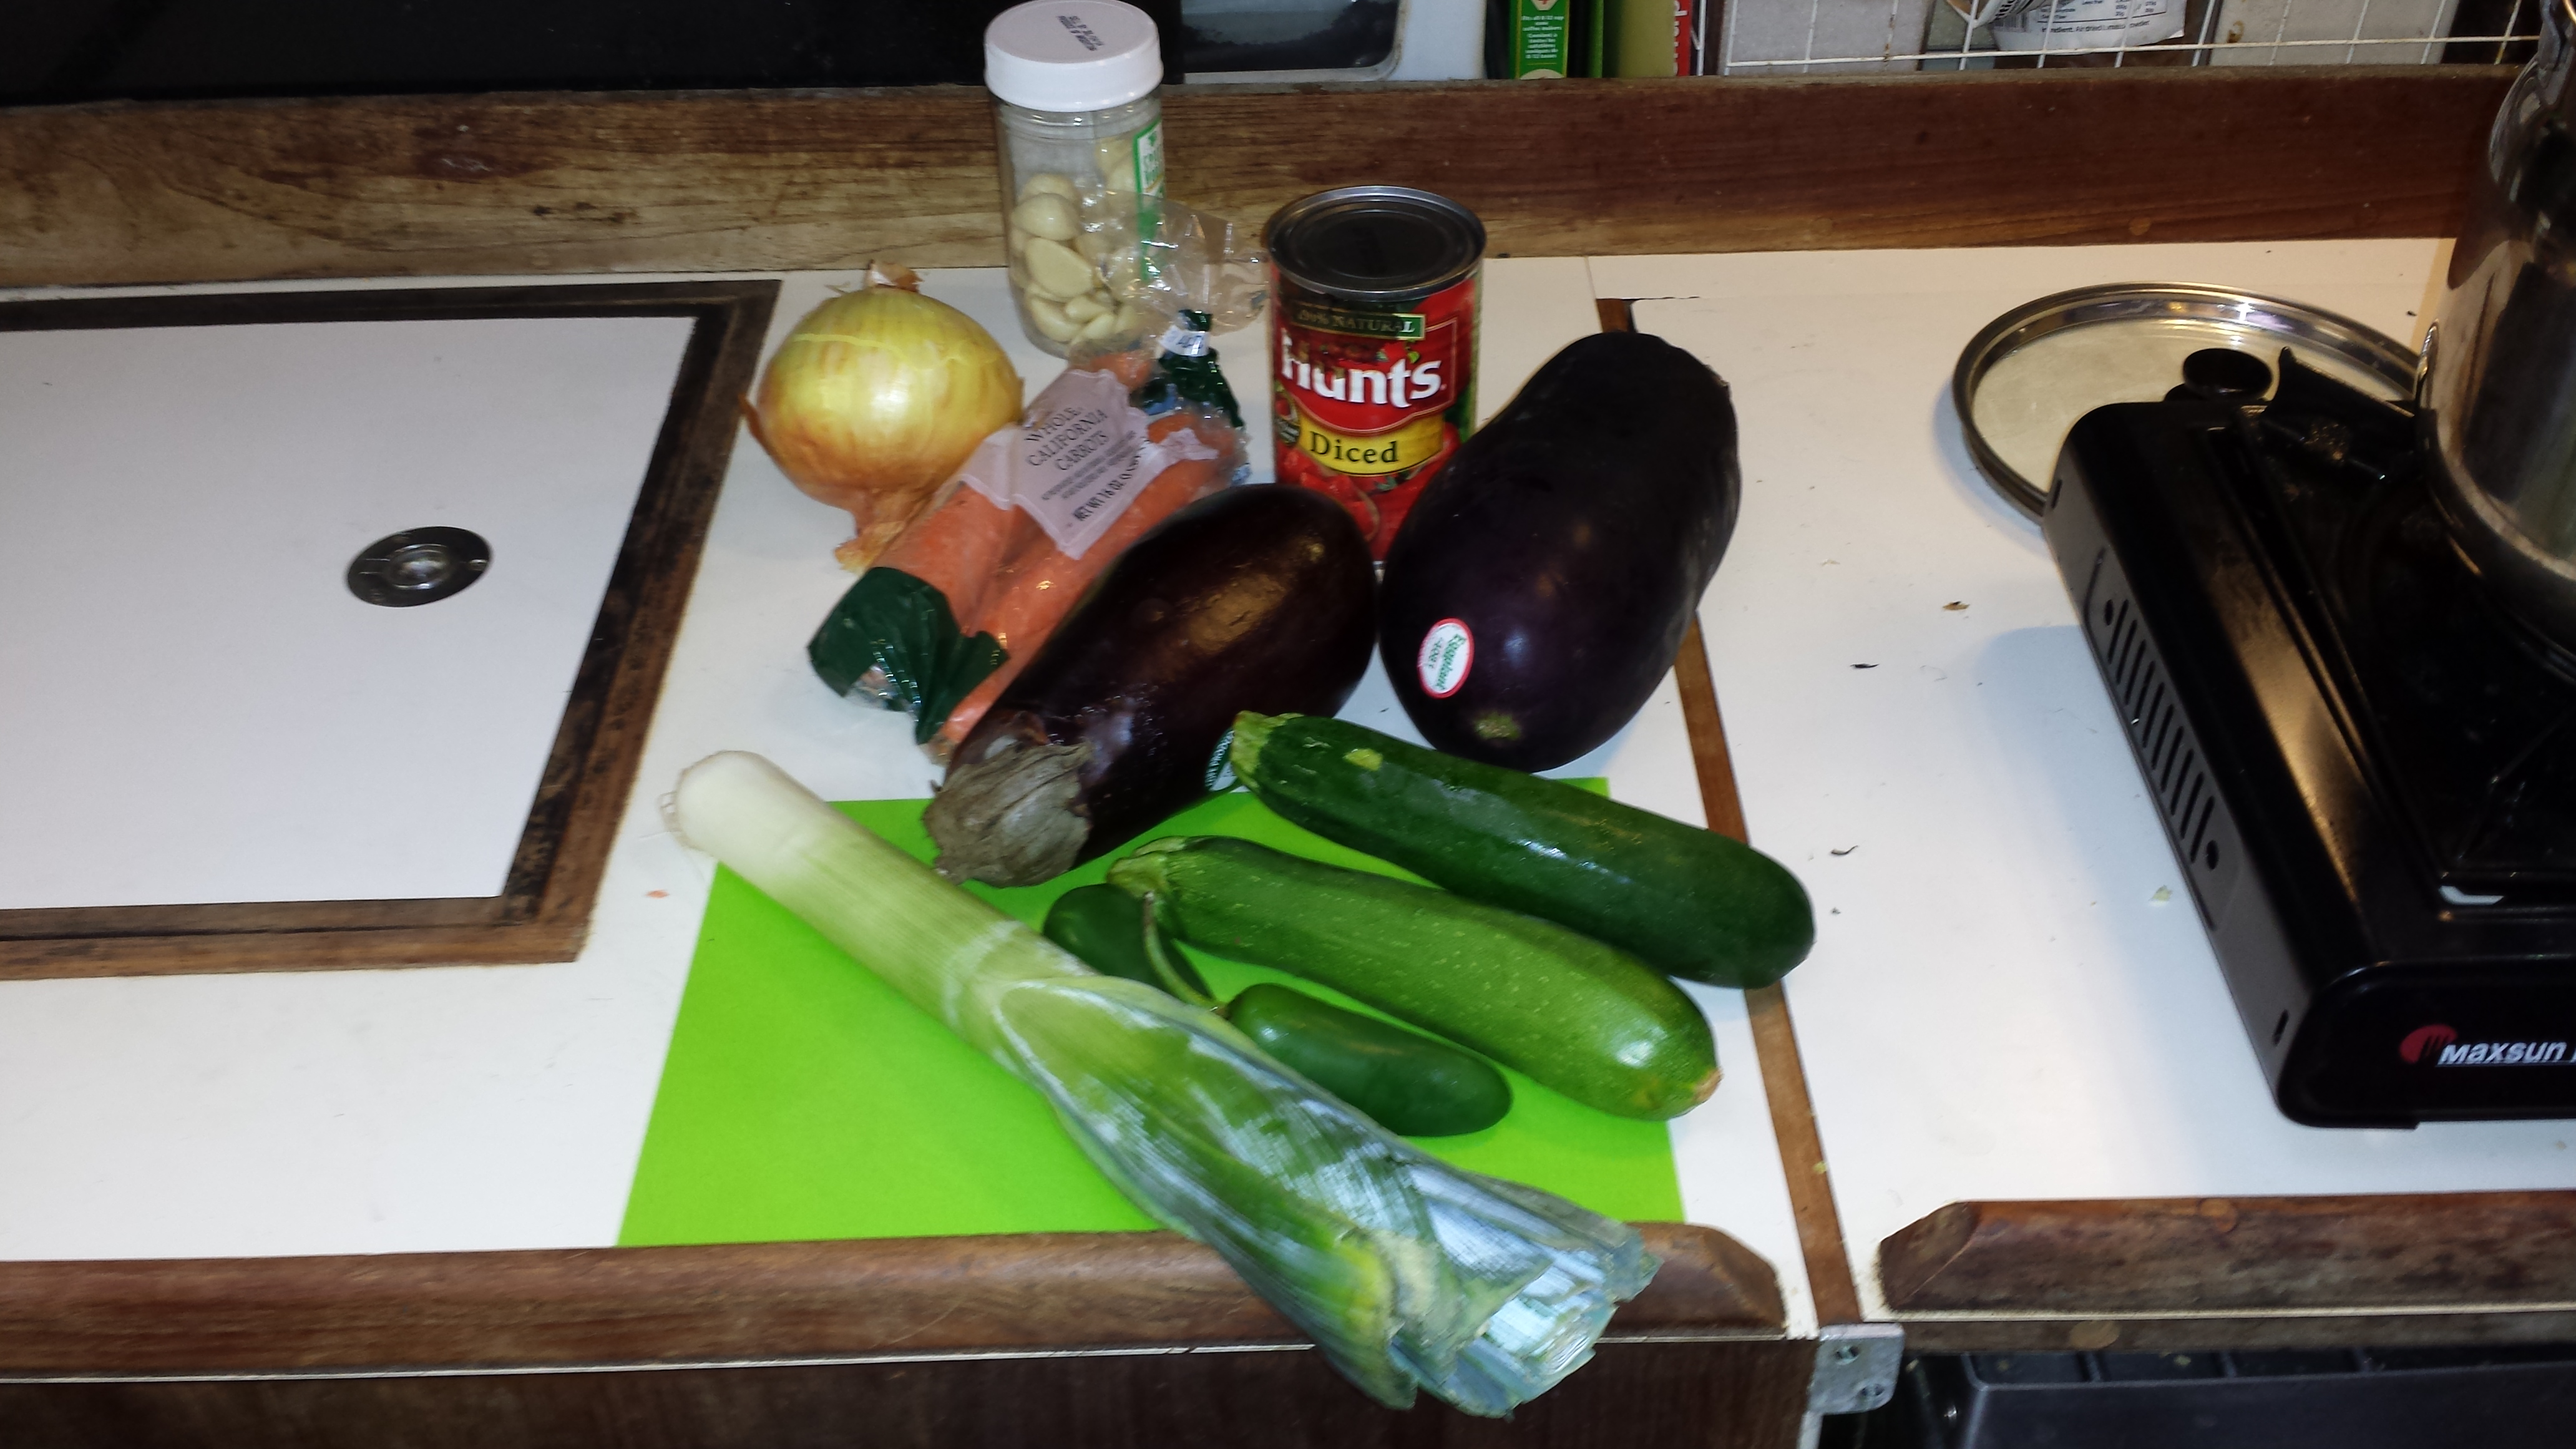 Ingredients for Ratatouille |
| The onion, carrots, leek, zuchinnis, and eggplant were coarsely chopped. The garlic was minced. All of the ingredients, except the tomatoes were added to the pot over medium heat. Everything was stirred to coat with the olive oil. |
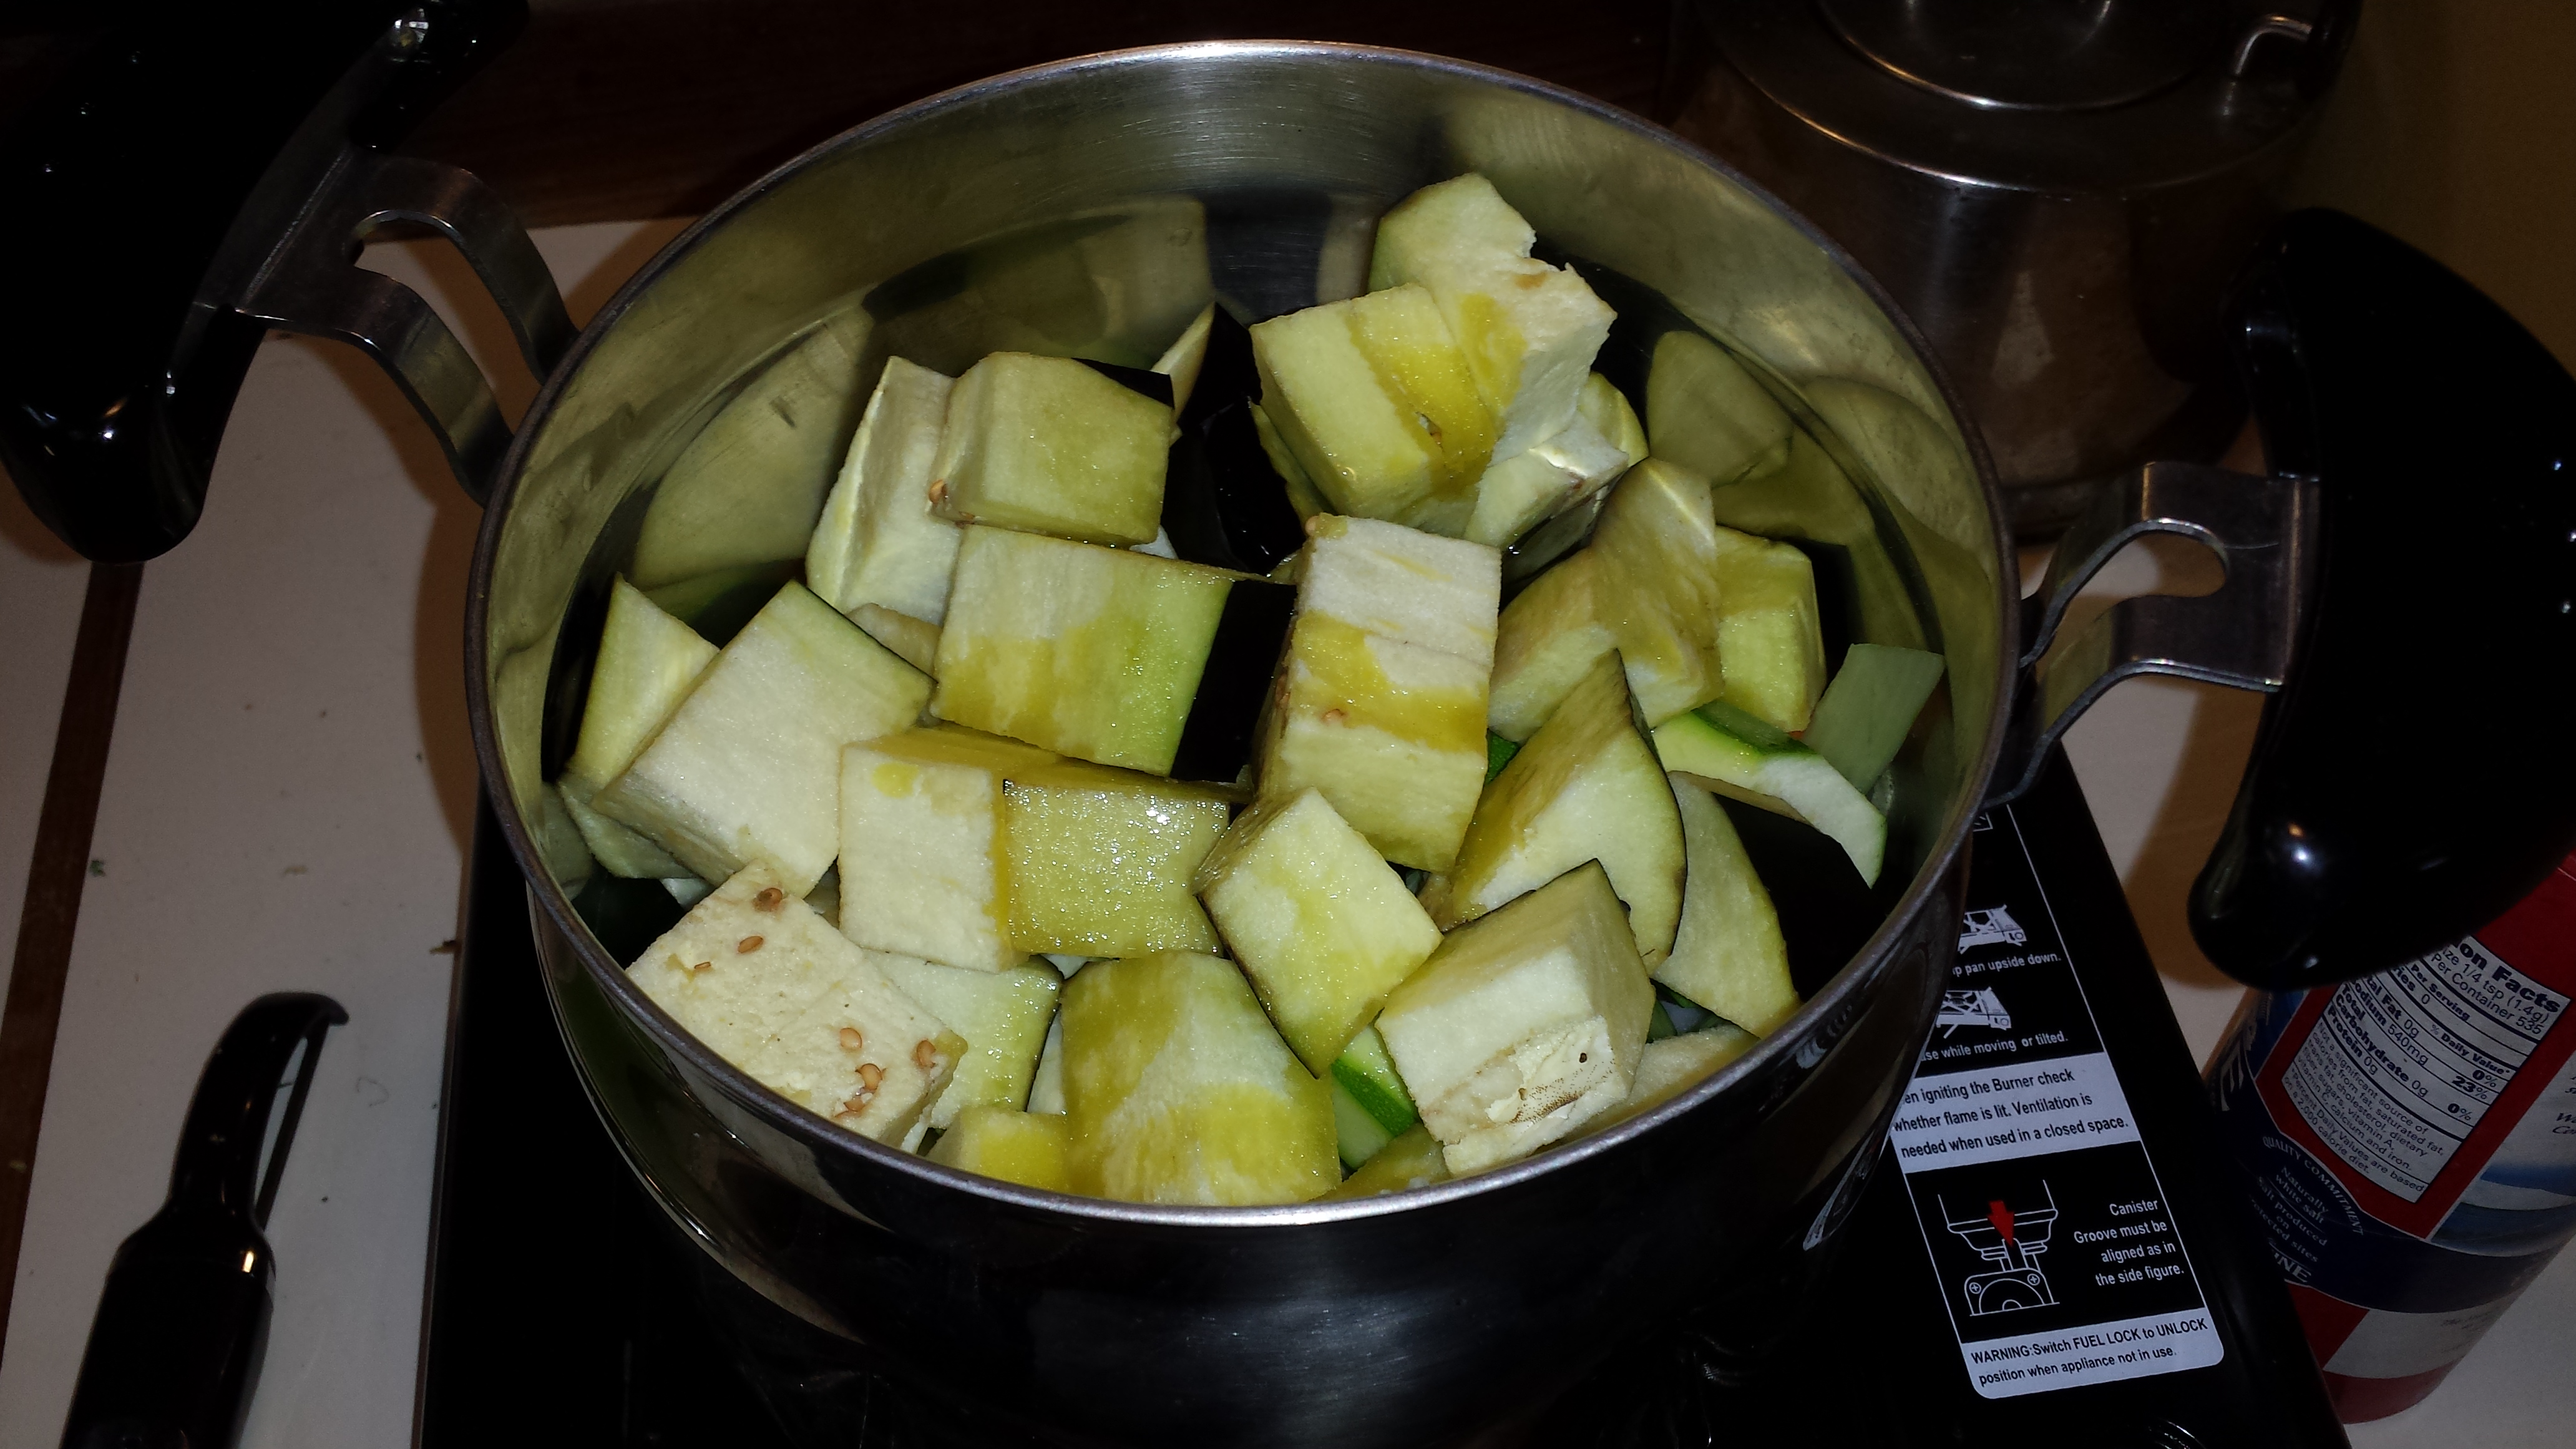 Everything Except the Tomatoes in the Pot |
| Then the tomatoes were added to the pot and everything
stirred to mix. The pot was covered and cooked over a
medium flame for 15 minutes then the pot was placed in the
Thermos. When cooked on a stove top the Ratatouille takes about an hour. For the Thermos cooking I estimated it should cook at least three hours. |
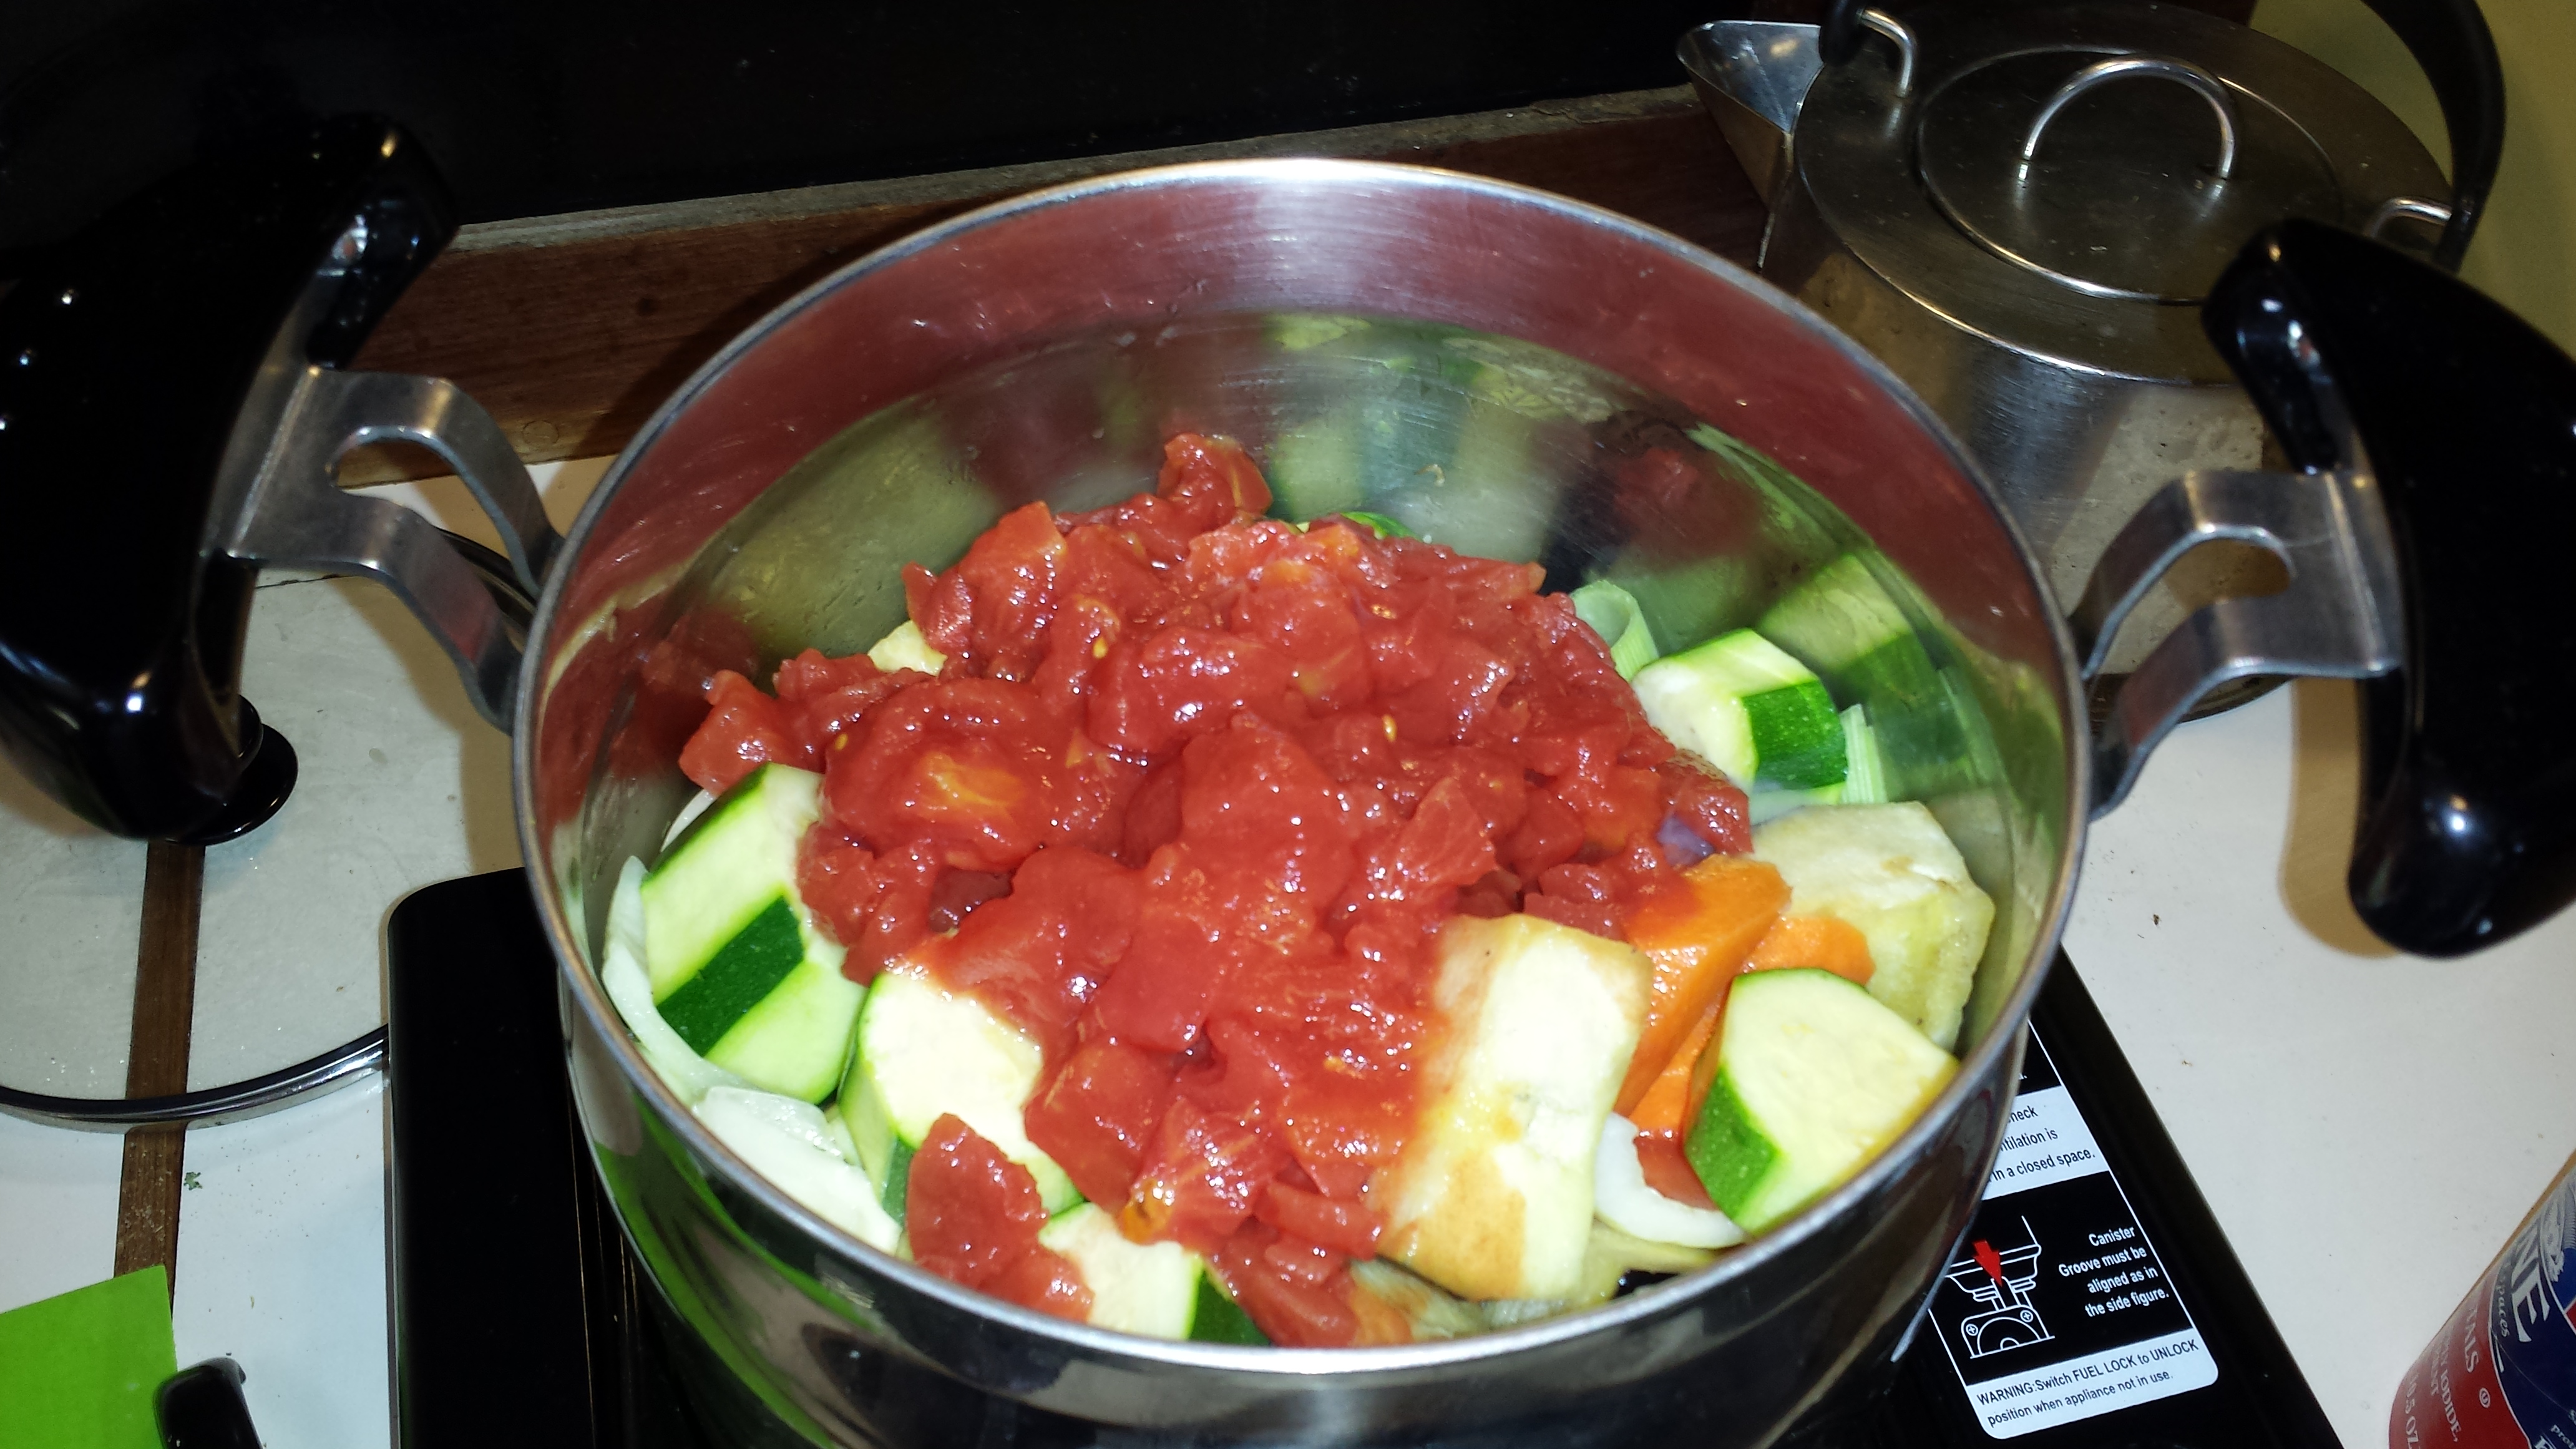 Adding the Tomatoes |
| At the end of three hours all of the vegetables were soft except the carrots. Carrots are not traditional in a Ratatouille, but I like to have one root vegetable in the stew. In the future I will probably cut the carrots a little finer, although having a little crunch in the stew is a nice addition. |
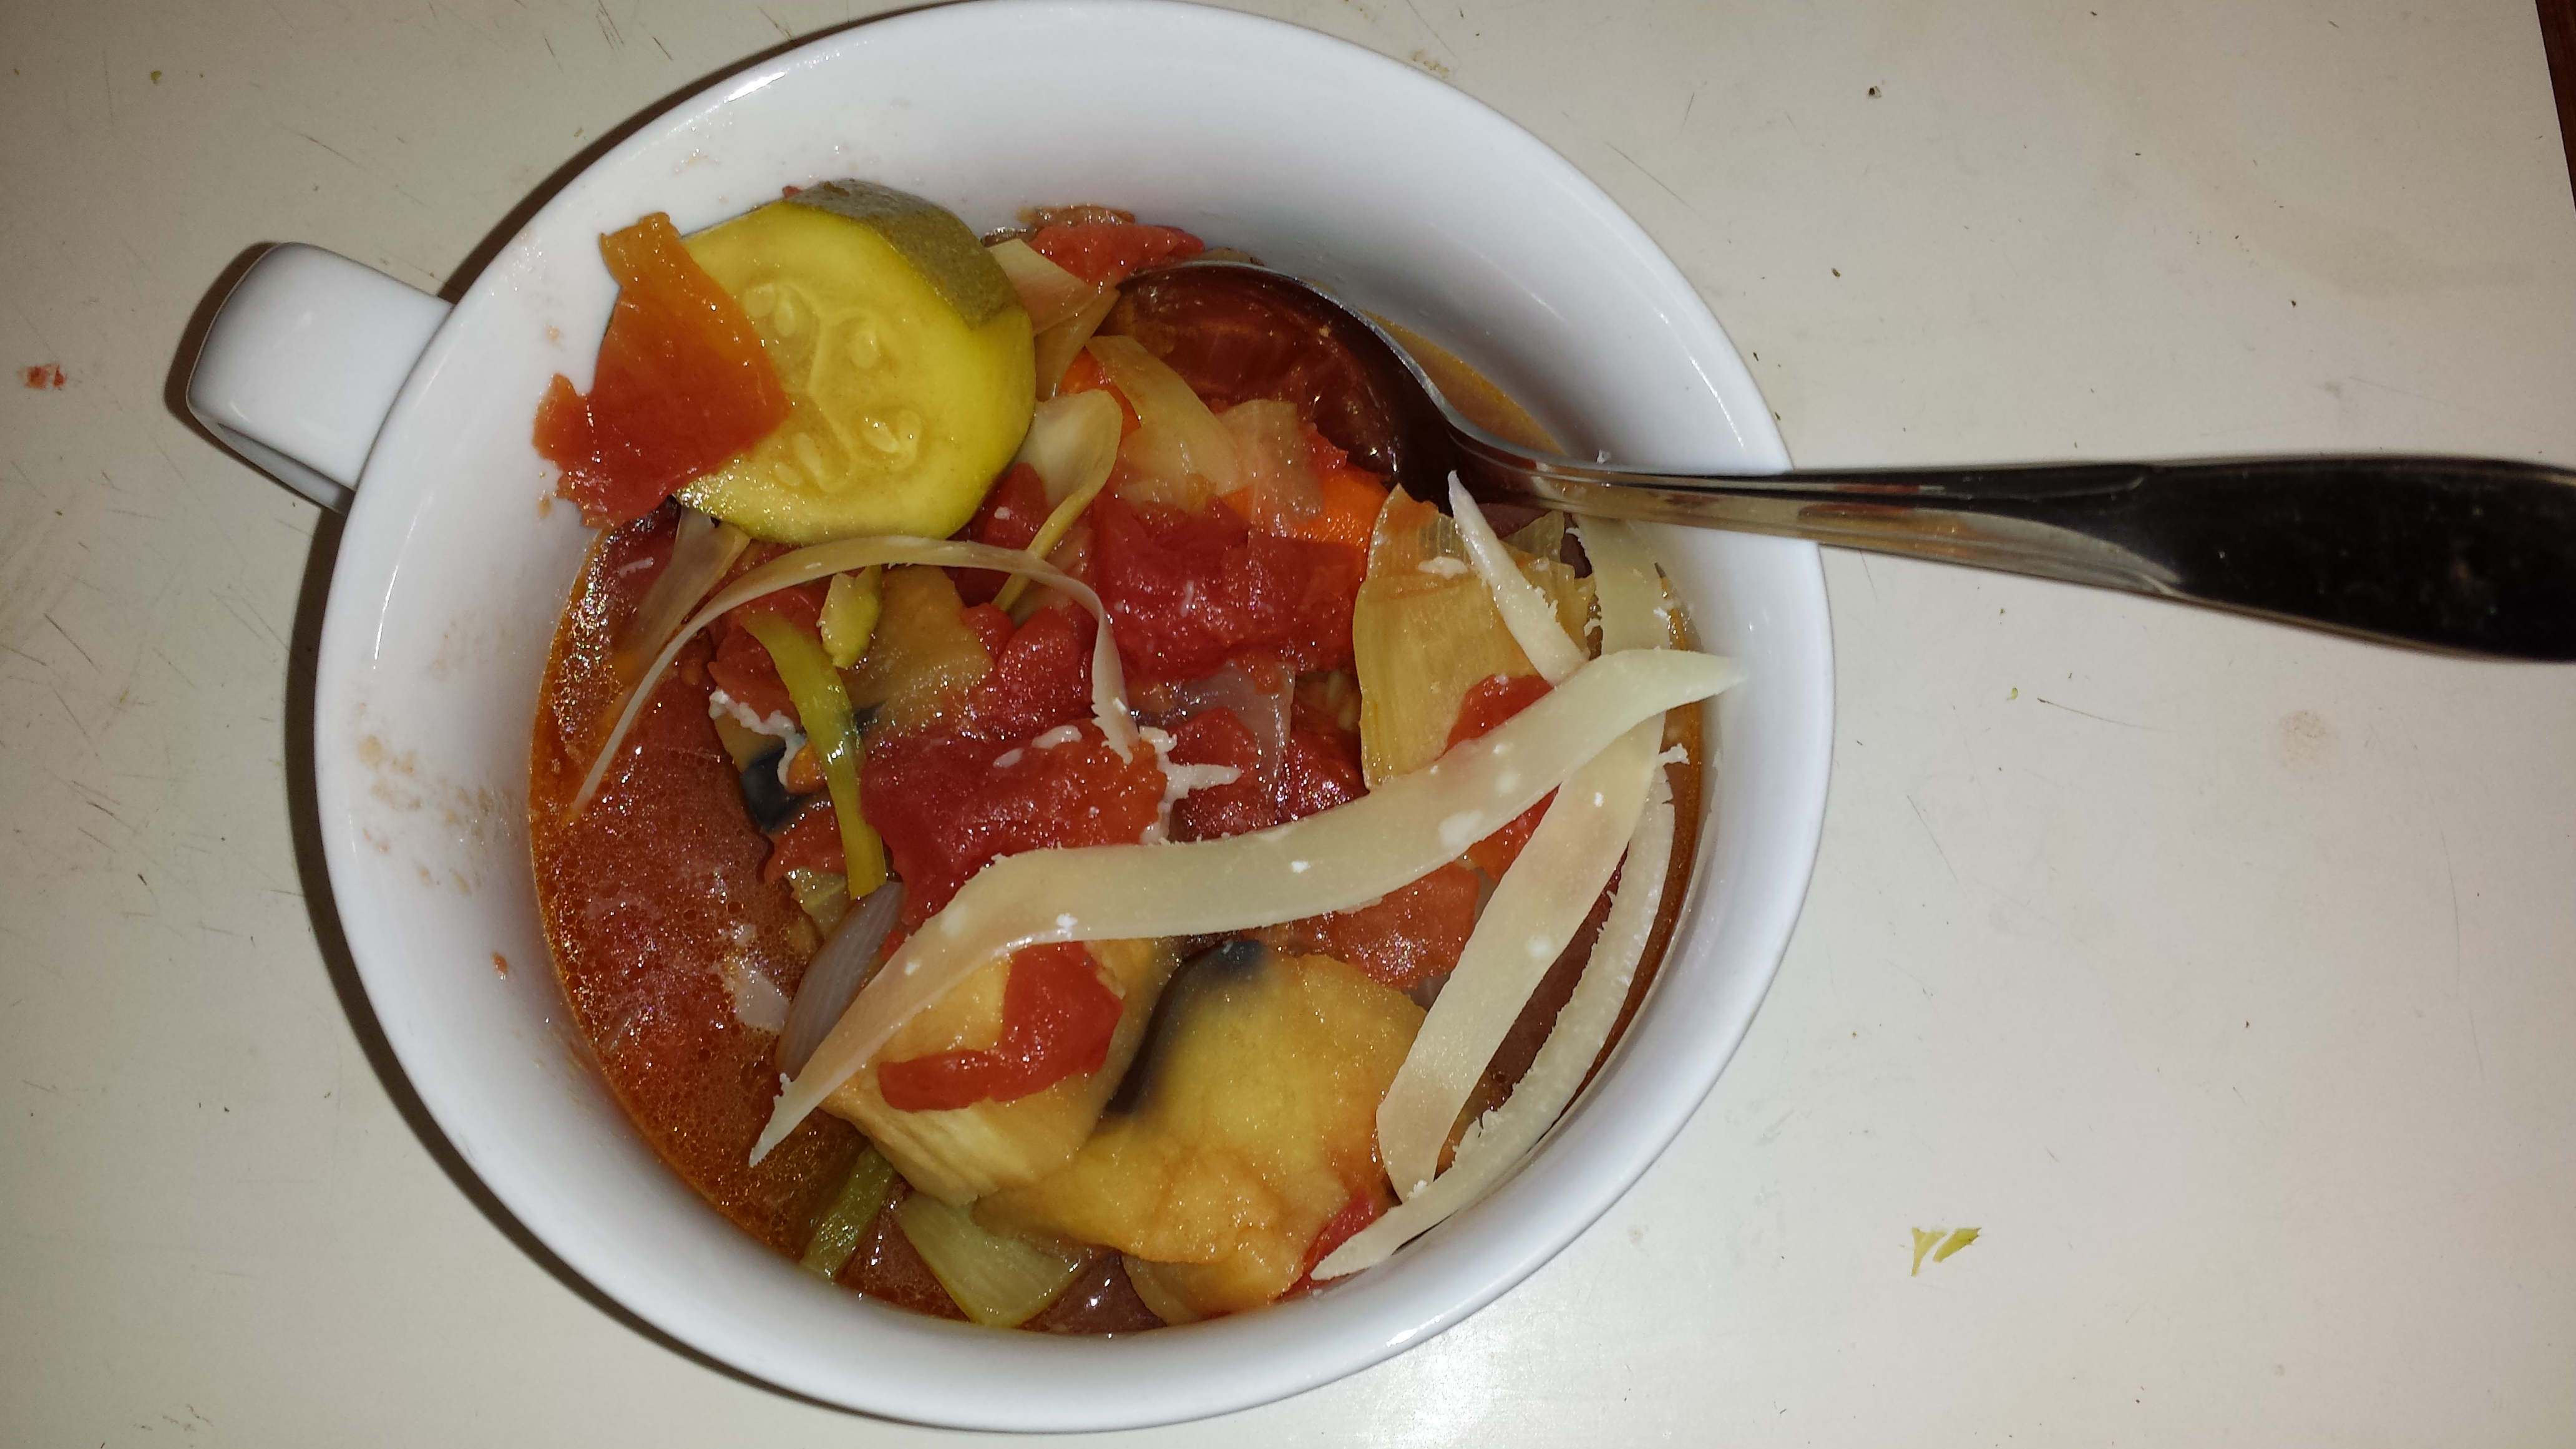 A Bowl of Ratatouille |
| After a Few Months | |
| I've owned the Shuttle Chef for about 4 months (as of Nov, 2014), and I'm starting to see the benefits and limitations of this cooker. | |
|
PROs:
|
CONs:
|
| As of May,2017 I haven't really used the Shuttle
Chef a lot as a slow cooker. As pointed out above, it
really isn't an effective slow cooker. For that purpose
I've added a Sous Vide cooker
to my galley inventory. The one area where the Thermos
Cooker does work well is in keeping a meal warm. I can
prepare a stew or other dish in the cool of the morning and it
is still warm enough to serve in the evening. I do continue to use the inner pot for making stock, soups, stews, etc. It has allowed me to get rid of my old stock pot which was bulkier and of less quality. One use for the outer thermos is as a temperature holding container for pot luck dinners. At the Ortega River Marina in Jacksonville, FL we have a pot luck dinner once a month. For these occasions I've cooked a side dish (rice, soup, etc.) conventionally in the pot on the stove, then inserted it in the thermal container to transport it to dinner area. That keeps the food warm no matter how late the meal actually starts. |
|
| Further Reflections on the Thermos Cooker | |
| For the past few years I've largely abandoned this device for my cooking. I do use the inner pot for cooking on the stove top, and the thermos pot for transporting dishes to pot luck dinners, but for me the themos cooking has been a failure. Not because the cooker doesn't work as advertised, but becuase my delcining health has prevented me from taking advantage of its capability. I've been tied to the dock for much of the last 4 years (as of 2018). The main benefit of the cooker for me was to allow the preparation of meals while I was underway on Sarah (especially when single-handing). That hasn't happened and not likely to in the future. | |